How to Make an Embroidered Lace Shirt

Sometimes my ideas come spontaneously and other times I am inspired by something. For this DIY I was definitely inspired when I saw an amazing couture dress with the most amazing colors and fabric design. I used the dress as a basis to create a shirt that was more my style but shared the same unique details.
Tools and materials:
- Fabric
- Sewing machine
- Scissors
- Pins
- Interfacing
- Pencil
- Pattern paper
- Ruler
- Lace
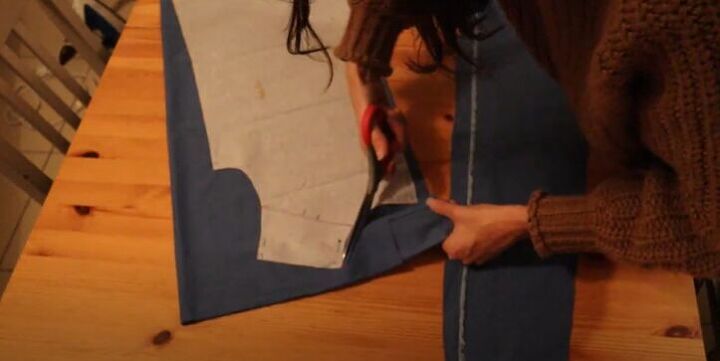
Cut out the fabric
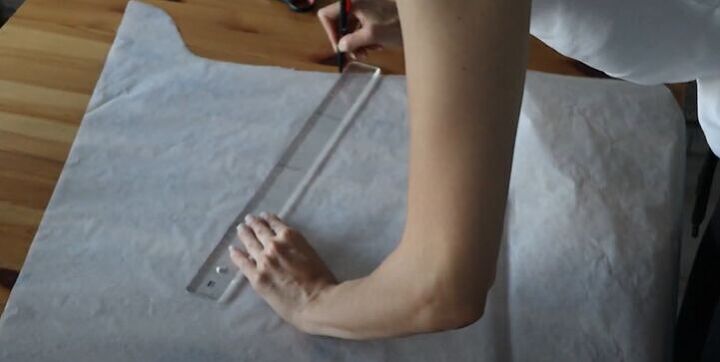
For the pattern of the shirt, I used a previous pattern I had made without making any adjustments. The only changes I would be making for this shirt would be on the sleeves. I pinned the pattern to my blue fabric and cut it out leaving a bit of seam allowance.
I used the same basis for the upper part of the sleeves and cut out the fabric I would need.

Fold pleats at the back
I started working with the back panel. I folded the pleats and sewed it to the shoulder piece, right sides together.
Create a button tab
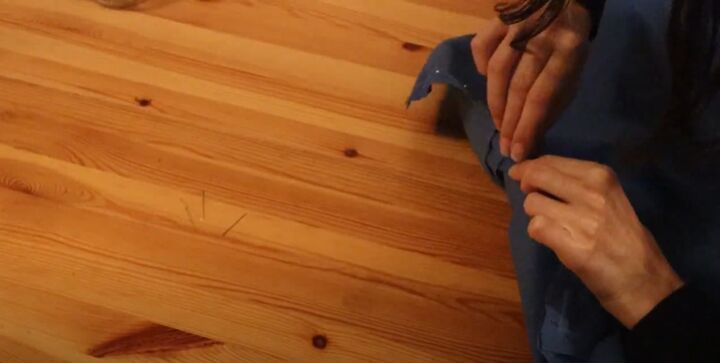
For the front pieces, I folded the fabric twice to create a button tab on each side and pressed the folds. I then topstitched the button tab in place.
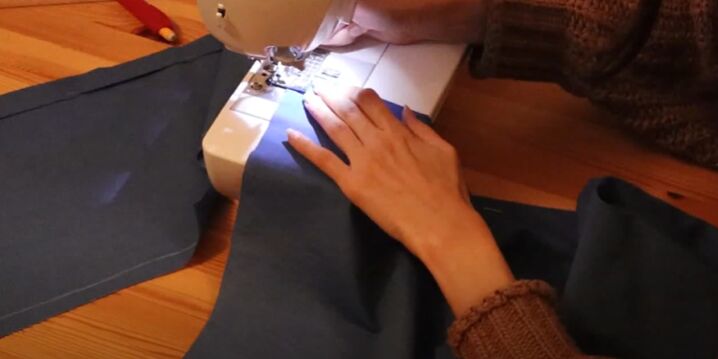
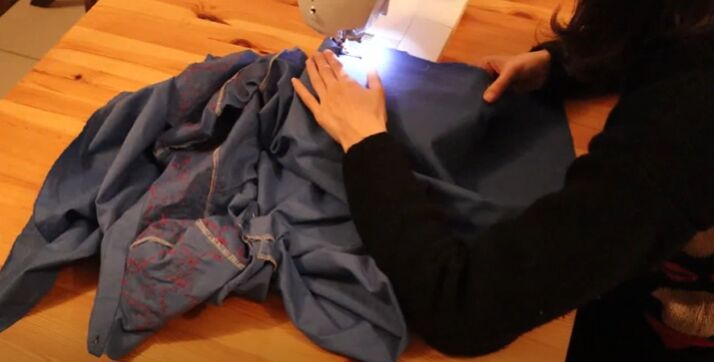
Sew the front and back pieces
Next, I pinned the front and back pieces, right sides together, and then sewed.
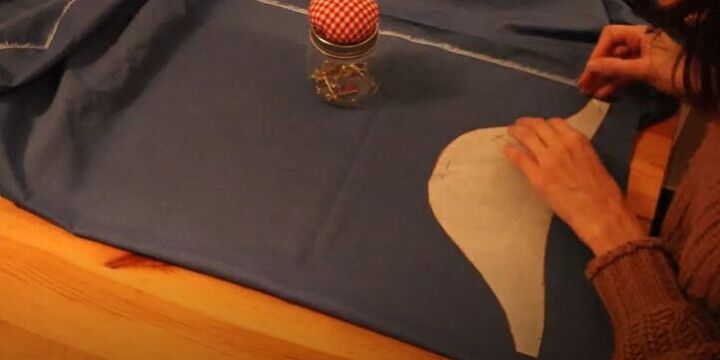
Sew on lower sleeves
It was then back to the pattern paper to start drafting the bottom part of the sleeves for my new shirt.
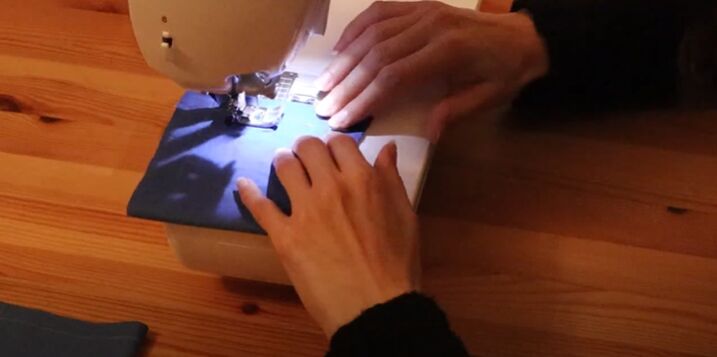
Once I had cut out the lower sleeves, I pleated at the top and then attached them to the upper sleeve pieces, right sides together.

I then cut off the excess fabric using my serger.
Attach the collar
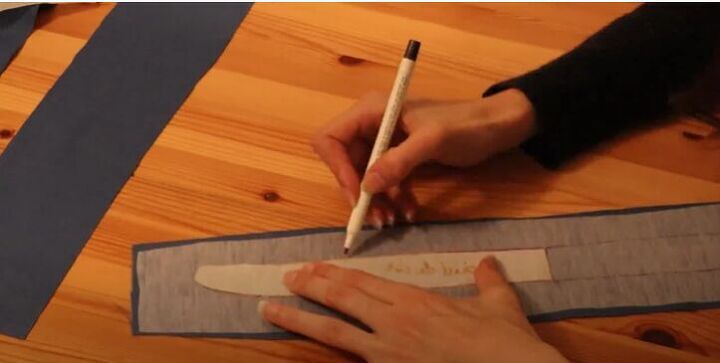
Next, I started working on the collar for my shirt. I added some interfacing to a few strips of fabric which would become the collar and collar stand.

Once the pieces were ready, I sewed the collar to the collar stand.
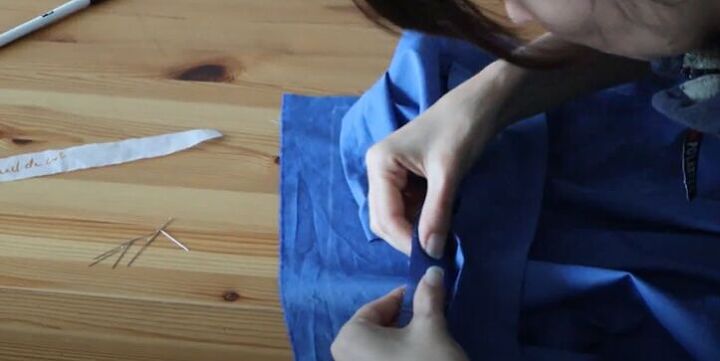
Next, I pinned and sewed the collar in place on the bodice.
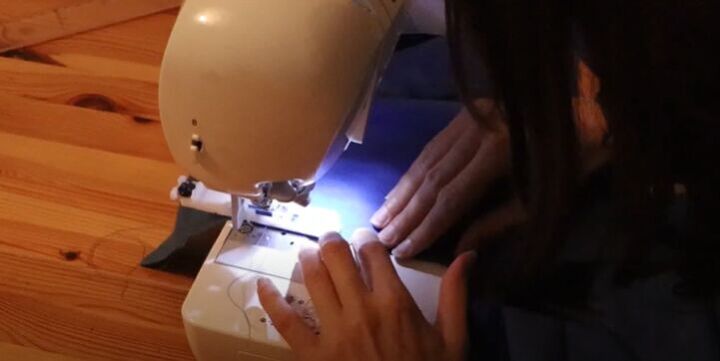
Sew buttons and buttonholes
I moved on to sew all the buttons and buttonholes on the shirt using my button foot.
Attach the sleeves
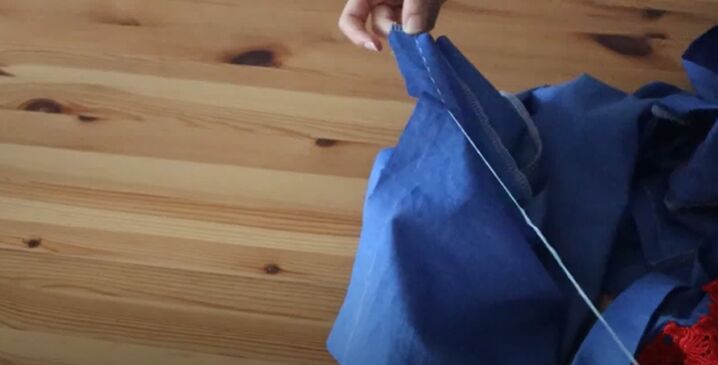
I also pinned and sewed the sleeves onto the bodice, right sides together. I didn’t rush to sew closed the sleeves and sides as it would make the embroidery process more difficult.
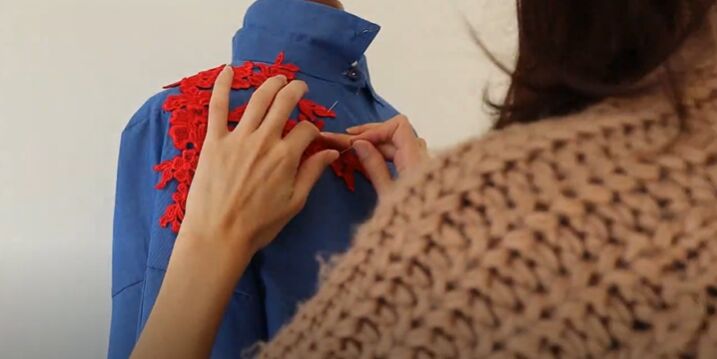
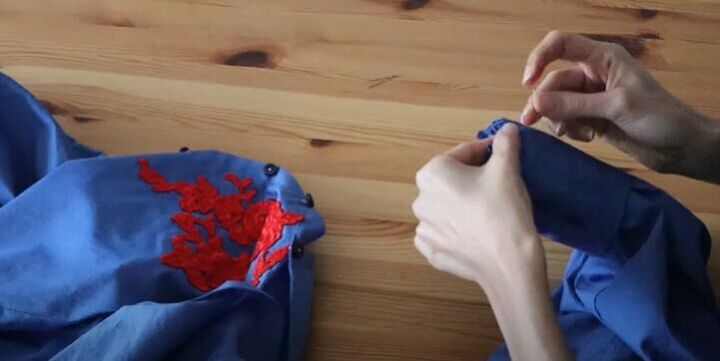
Add the lace
I put the shirt on my mannequin and started playing around with the positioning of the lace pieces until I was happy. I wanted the lace to be on the upper bodice and at the top of the sleeves.
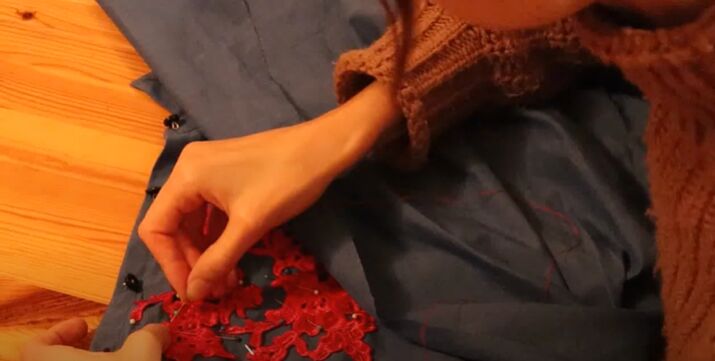
With the lace positioned perfectly, it was time to start hand sewing. Although this was the longest part of this DIY project, I found it very relaxing.
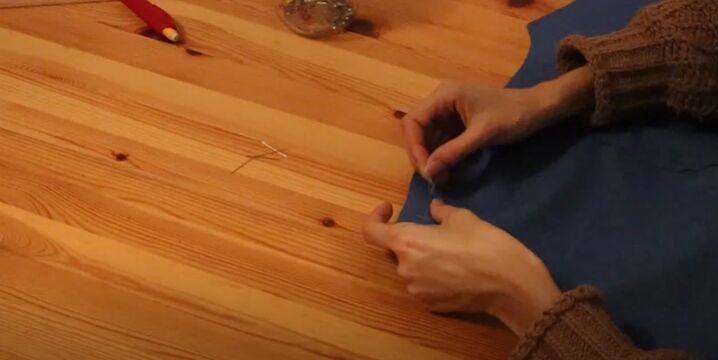
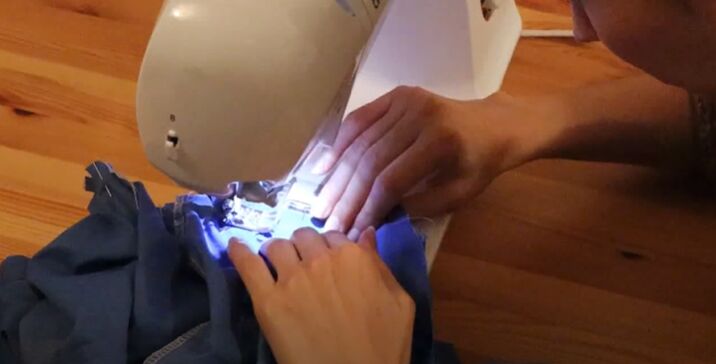
Sew closed the shirt
Once I was finished with the lace, I could finally go ahead and sew closed the arm and side seams of the shirt. I also sewed the hem of the shirt and decided what length I wanted my sleeves.
Attach cuffs
Next, I cut two rectangle pieces and sewed them to create cuffs.
Having decided on the final length for the sleeves, I cut off the excess fabric and gathered the sleeve ends to create the desired look.
Next, for my final step, I pinned and sewed the cuffs onto the sleeves.

I love my beautiful, lace embroidered shirt! What is your favorite detail on this piece? Let me know in the comments!
The author may collect a small share of sales from the links on this page.


Comments
Join the conversation
I love the sleeve !
Thx you, you are unique.