How to Make a DIY Lace-Up Shirt With Eyelets, Inspired By Shein

In this tutorial, I’ll show you how to transform a plain button-down shirt into a sexy DIY lace-up shirt. If you’re interested in learning how to make a lace-up front shirt, then keep reading to find out how I did it.
Let's get started!
Tools and materials:
- Shirt
- Chalk
- Measuring tape
- Grommets
- Grommets machine
- Scissors
- Interfacing
- Pins
- Sewing machine
- Thread
- Iron
- Seam ripper

I saw this lace-up shirt dress on Shein and fell in love with it. I thought this could be something I might be able to make myself.
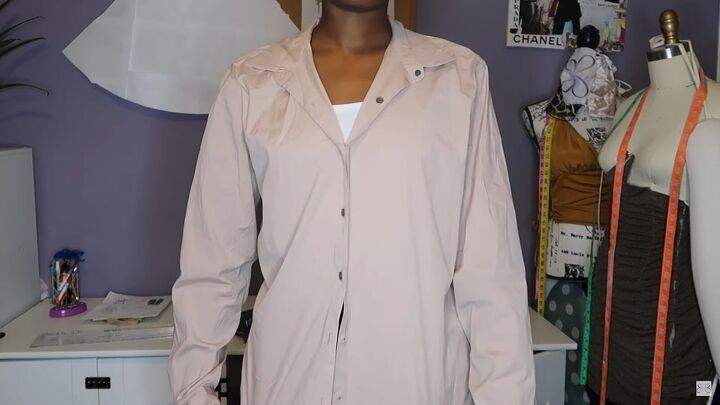
So, I decided to use this old button-down shirt to recreate the look.
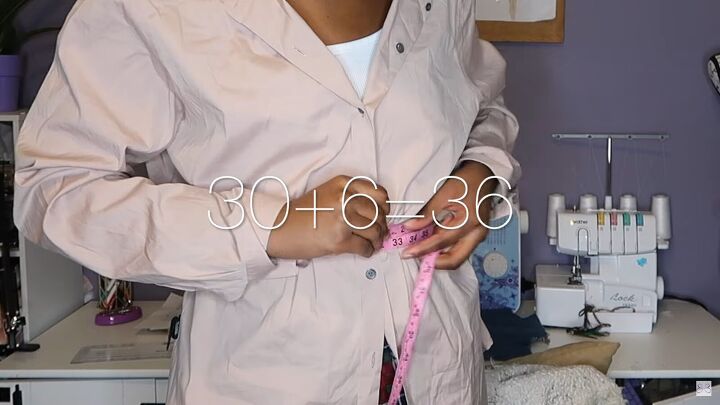
1. Take your measurements
First off, take your waist measurement and add 6 inches.
Next, measure how wide your shirt is. My front measurement was 24 inches. Multiply the front measurement by 2 to get the whole length.
Then, subtract your original waist measurement from that. So for me, the equation goes like this:
- 24 x 2 = 48
- 48-36 = 12
So, I need to take away 12 inches.
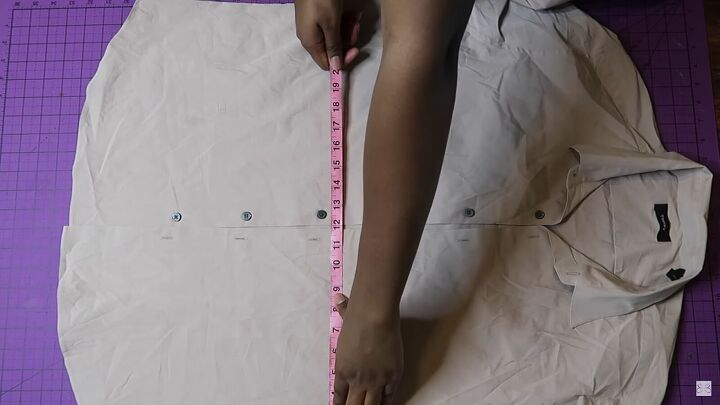
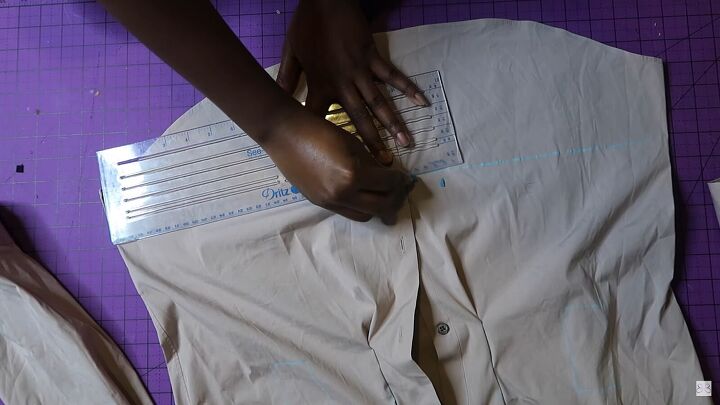
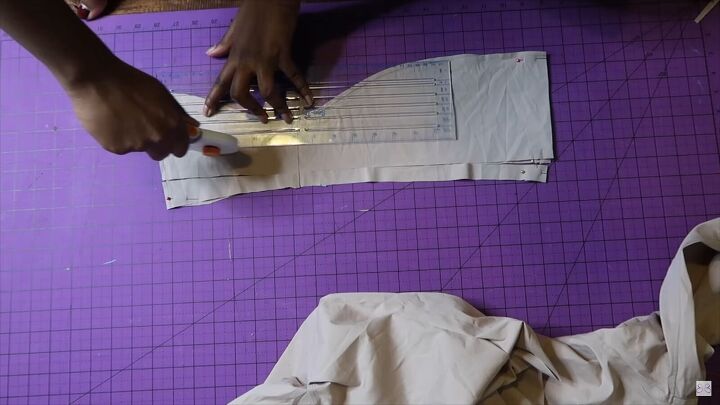
2. Measure the darts
To take away 12 inches, you’ll need to make some darts. Here, I measured one inch from the center placket. Don’t go too high or too low when marking the darts.
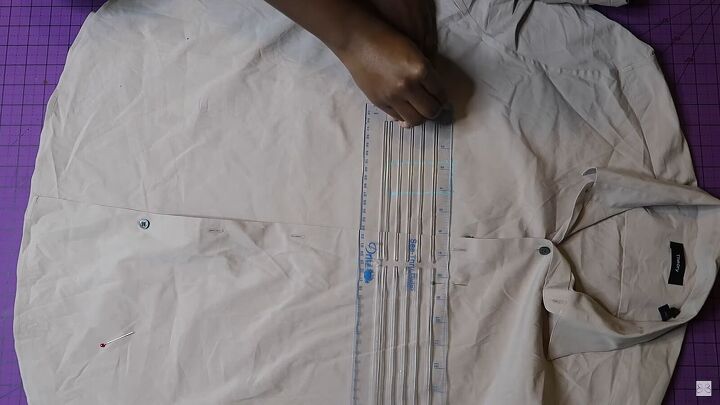
I’ll be making a total of 6 darts: 2 in the back and 4 in the front. Each dart should measure around 1.5 inches wide and 3 inches long.

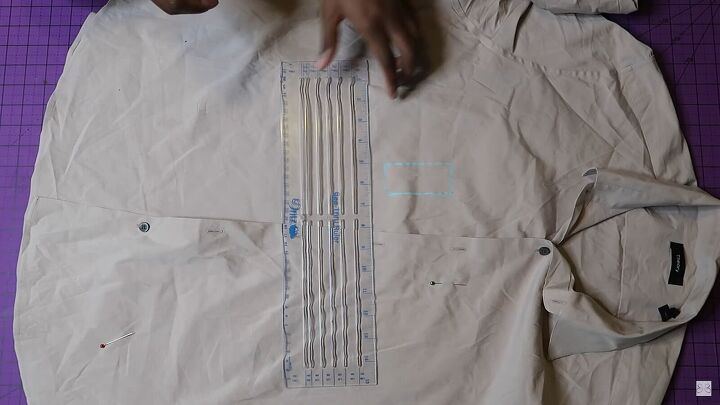
Draw out the rectangles and test out the darts before altering the shirt. Do this by pinning and within the rectangular area, as shown.
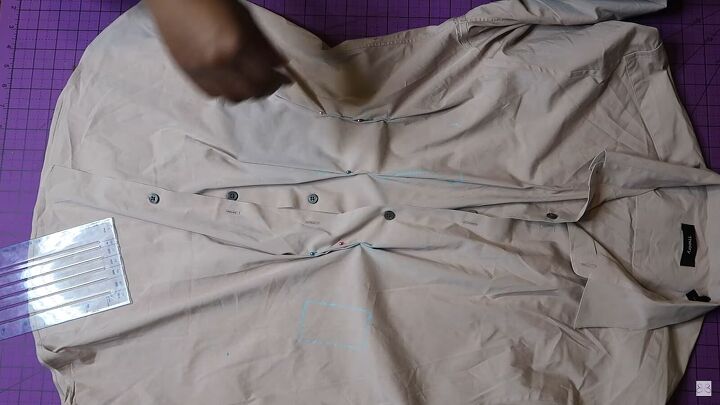
Remember, you don’t want to cinch too much or too little fabric. This will give you a pretty good idea of how it will look.
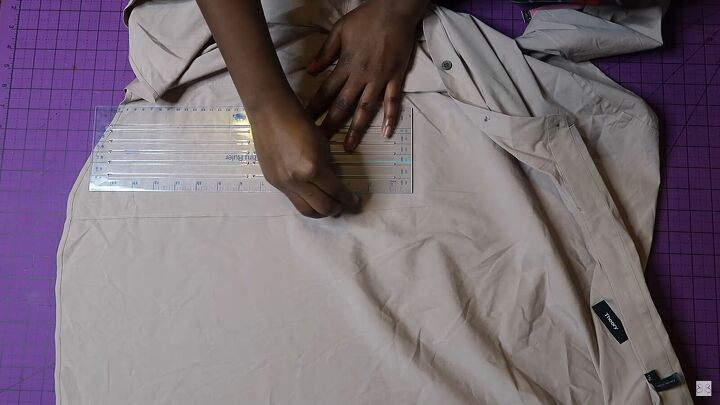
Now, create your back darts. One each side will be best. Also, you can make the back darts a bit longer; instead of 3 inches, make them 4 inches.
3. Cut the bottom
Cut the bottom of the shirt as you’ll need the extra fabric to create the placket in front. Draw a straight line and cut carefully.

From the spare fabric, cut two rectangles that measure 3.5 inches long and 2.5 inches wide. These will be your front plackets.
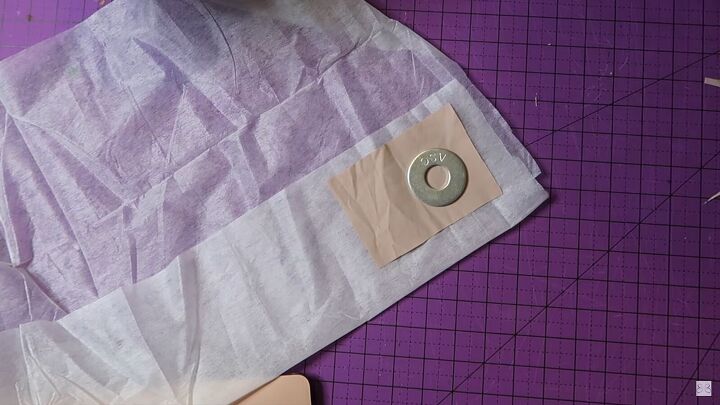
Next, lay one placket piece on some interfacing and cut to size.
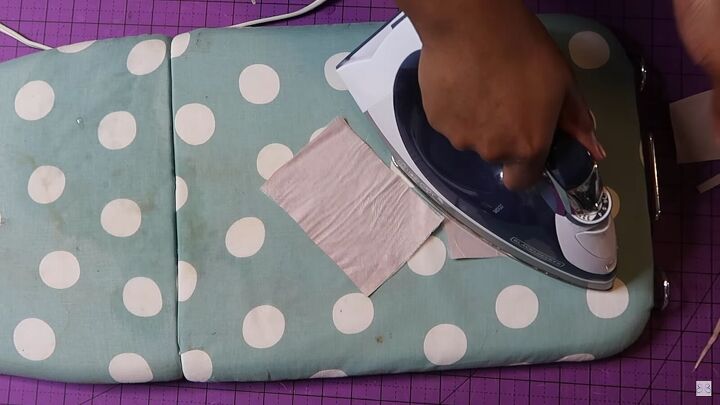
Fuse the interfacing to the fabric using an iron.
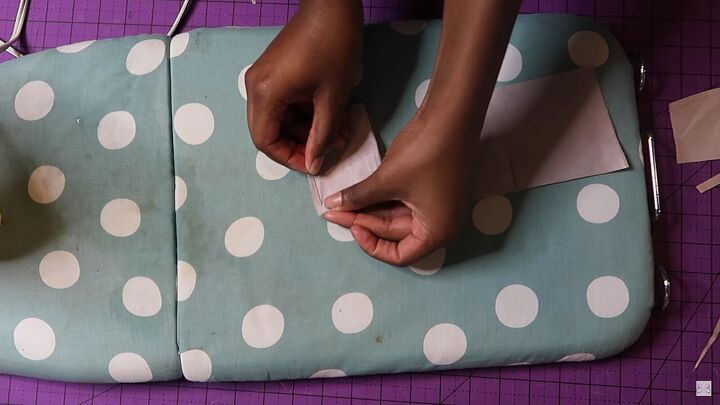
Fold each piece right sides together and pin the edges.
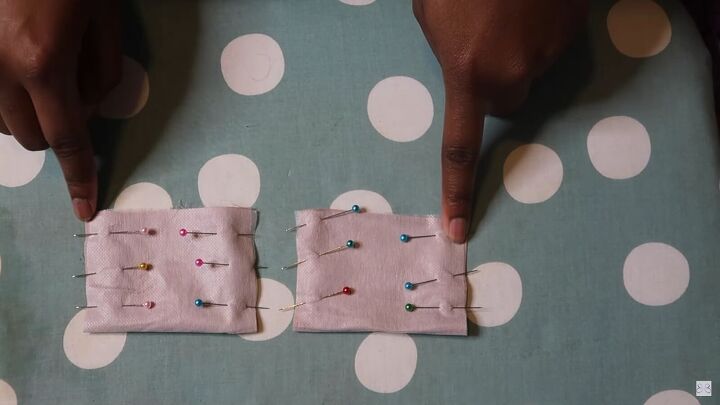
Then, stitch the outer edges and turn the plackets inside out afterward.
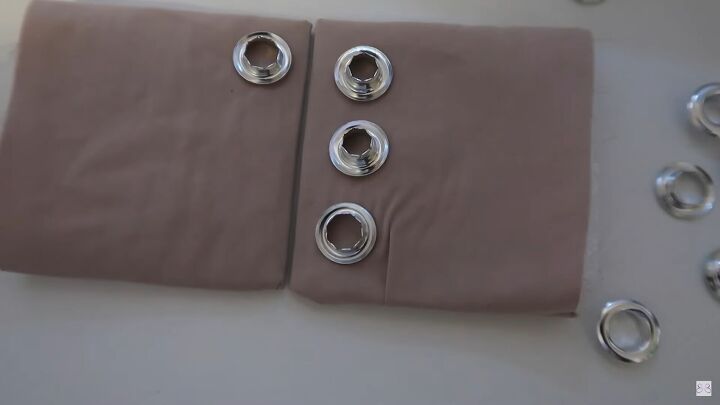
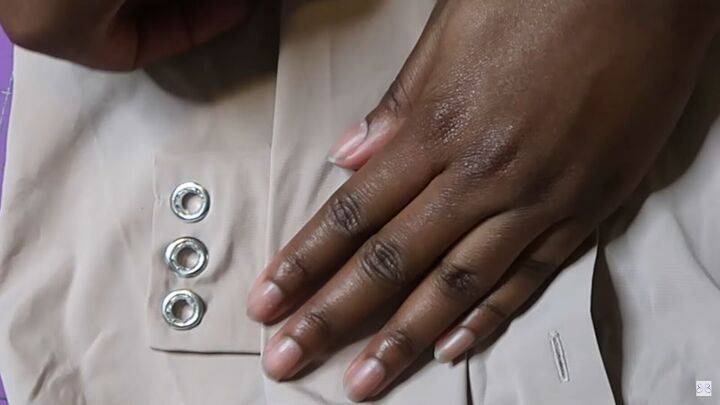
4. Add the grommets
Place your grommets on your placket pieces. Ensure they are spaced out evenly and don’t look too congested.
Line them up as symmetrically as possible and mark where each grommet goes for ease of reference.
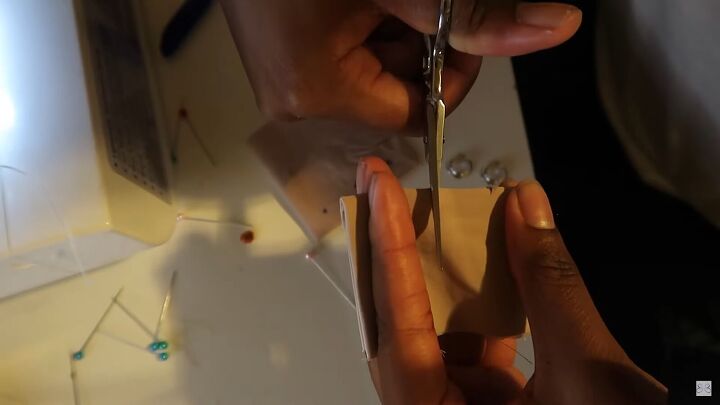
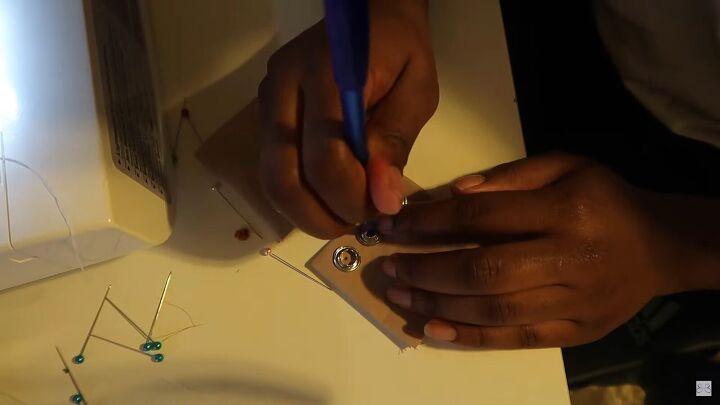
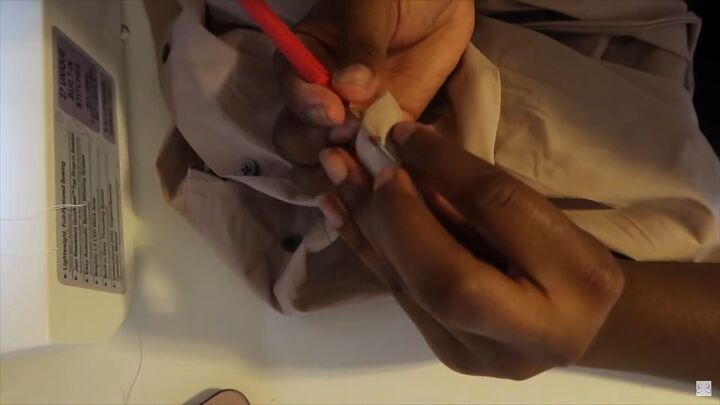
Fold the fabric piece and make a snip on each marking.
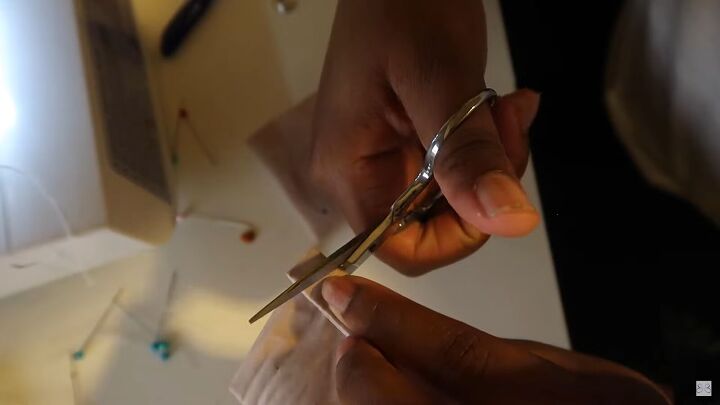
Then, fold the piece the other way and snip again.
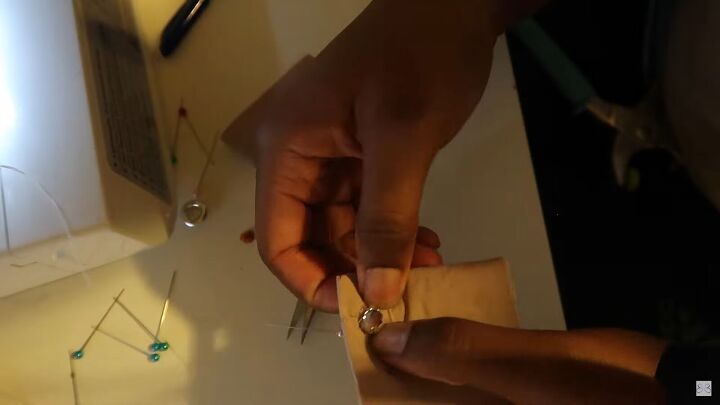
Squeeze each grommet through each hole. There will be a lot of pulling and tugging, and you may need to use your scissors to open the hole even more slightly.
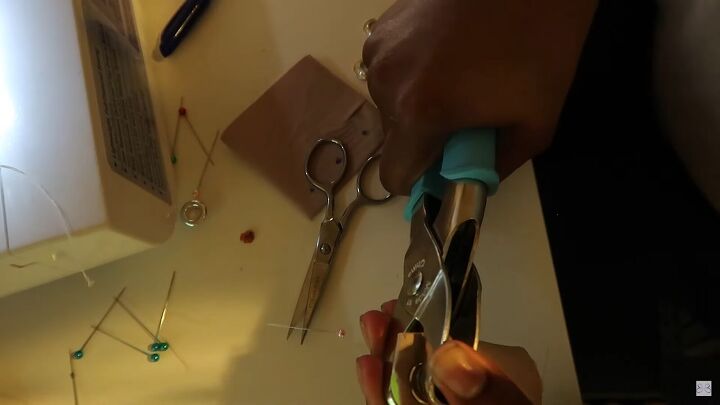
Next, punch in the grommet using grommet/eyelet pliers.
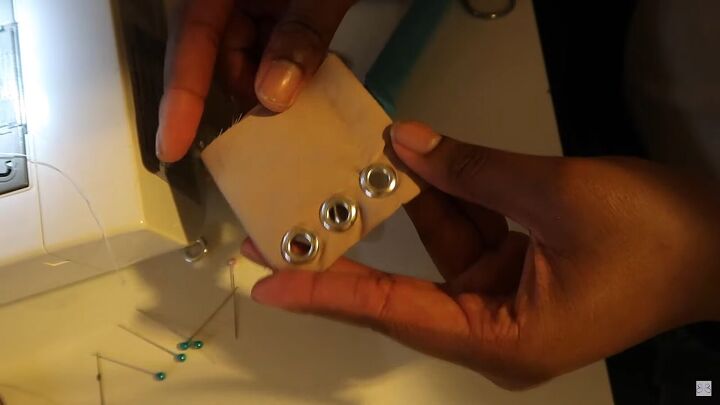
Repeat the process. This is what you should be left with, three perfectly aligned grommets on each side of your fabric piece.
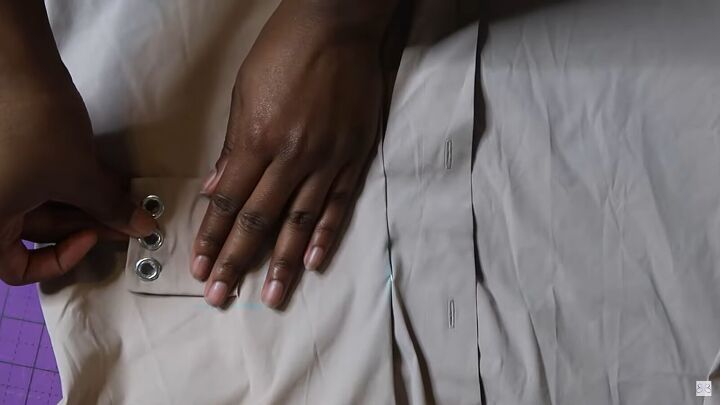
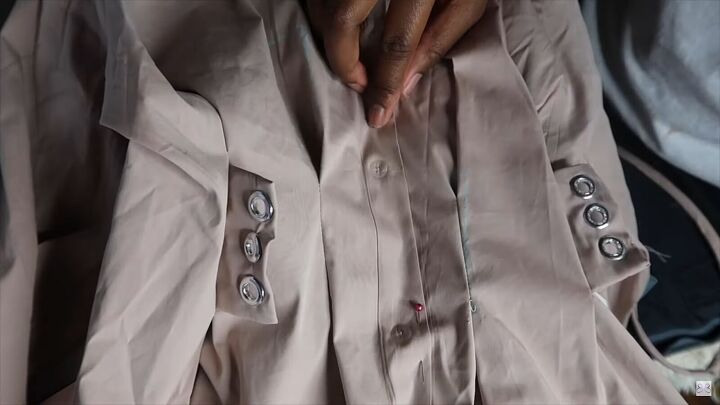
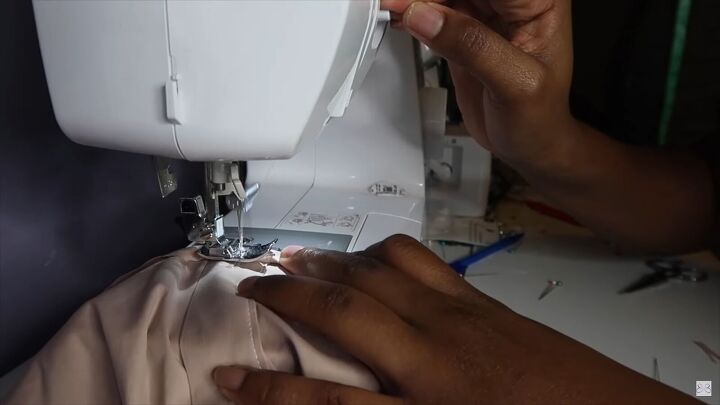
5. Assemble the DIY lace-up shirt
Sew your first dart and then insert the placket on the second dart (don’t sew the second dart yet). Insert it with the wrong side facing upward.
Then, fold your shirt over so that it aligns and connects to the rectangular marking that you did. Pin the layers and sew to secure the placket and dart in place.
The placket should be sandwiched within the dart.
6. Change the buttons (optional)
This step is totally optional. I didn't like the original buttons on this shirt so I manually removed each button with a seam ripper.
Next, I pinned the button placket together and sewed it straight down for a seamless finish.
7. Make the lace-up front
Connect the scrap fabric and make two strips that will be the lacing for the front of the blouse. Connect the short ends, fold the strip in half lengthways and stitch the raw edge. Lastly, flip each strip inside out.
8. Hem the shirt
Double fold the bottom raw edges and hem the shirt all around with a straight stitch.
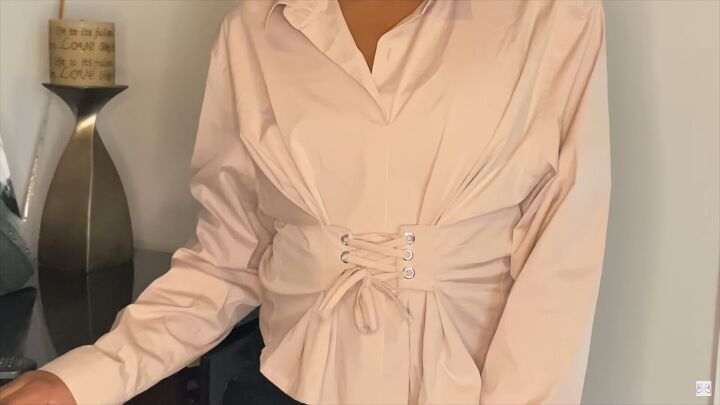
DIY lace-up shirt tutorial
So, here’s the transformation! What do you think of this spruced-up DIY lace-up shirt? It cinches right on my waistline and creates the perfect ruffles throughout the shirt.
I hope you enjoyed my tutorial on how to make a lace-up front shirt. Good luck!
The author may collect a small share of sales from the links on this page.


Comments
Join the conversation