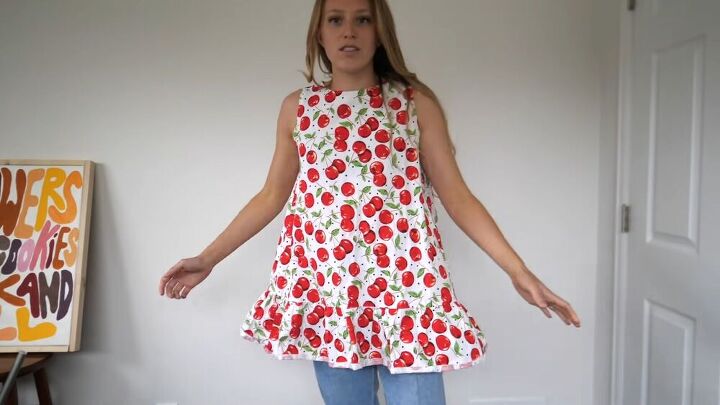
Make This Exquisite Backless Top From an Old Blouse

I'm going to show you how to sew a backless top, just in time for summer! I found a fake Dolce & Gabbana cherry print top, and I upcycled it into a beautiful backless top. The result is absolutely elegant and exquisite! So if you want to see this jaw-dropping, easy backless top transformation, keep scrolling!
Tools and materials:
- Old sleeveless button-down blouse
- Pins
- Sewing machine
- Scissors
- Chalk
- Thread
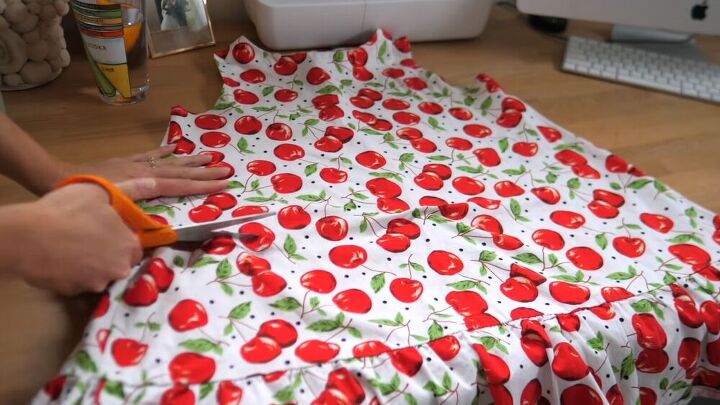
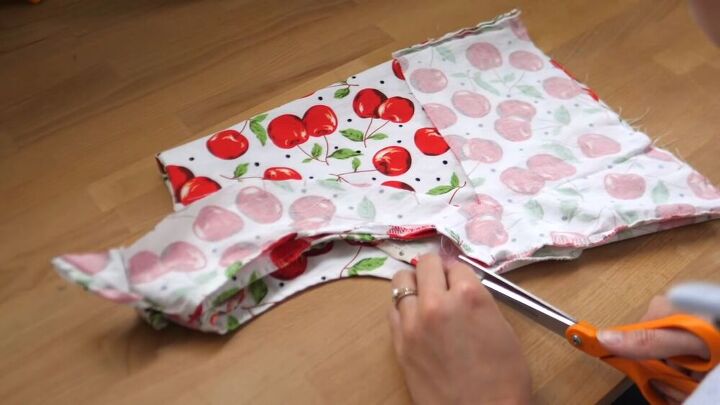
Cut the bottom panel
Wear your blouse and measure your desired length. Then, place a pin as a marker and cut out the panel.
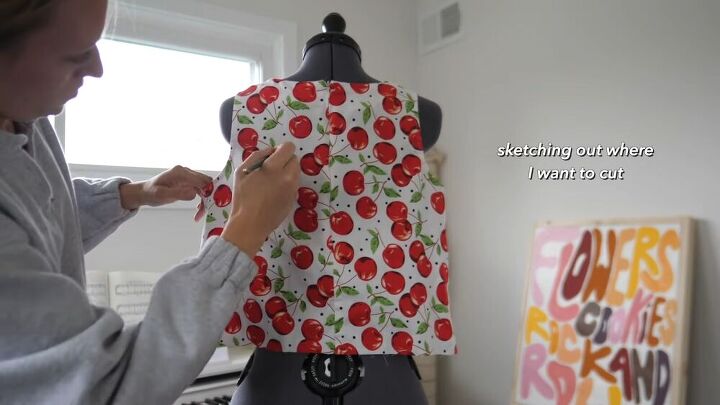
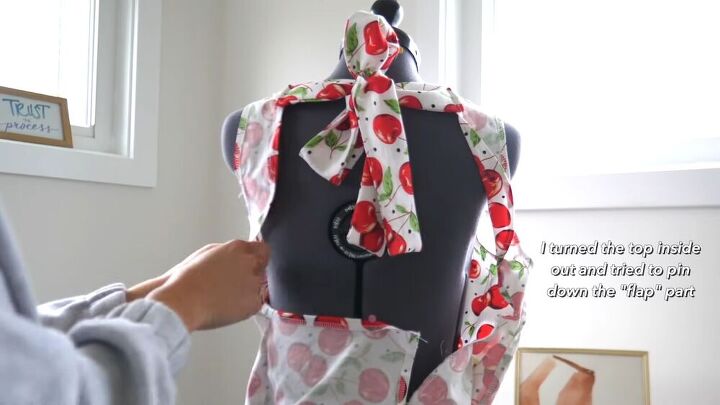
Sketch the cut
I had a mannequin, so it made it easier to see exactly where the back should be cut. If you don't have a mannequin, you can lay your top on a flat surface and draw accordingly.
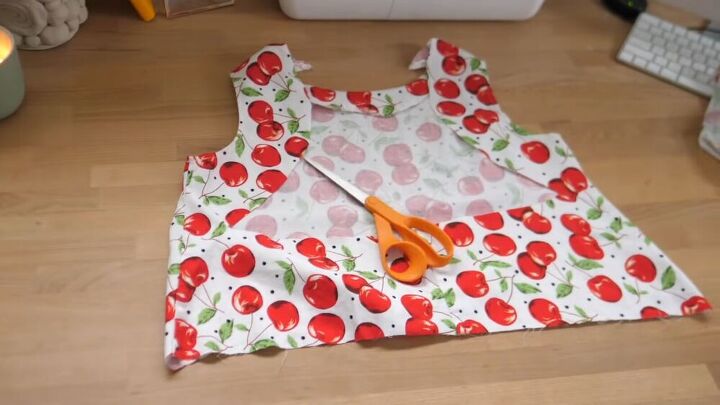
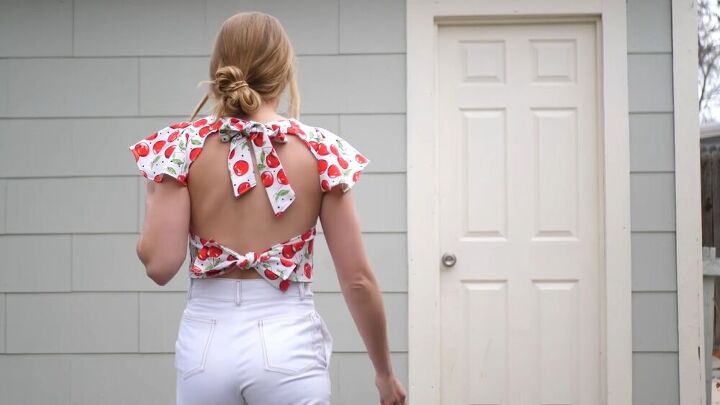
Cut the opening, as shown. I made somewhat of a triangular/diamond-shaped cut on top, leaving the neckline completely open and leaving a short panel at the bottom.
Adjust the armholes
This is optional. Personally, the armholes on this top were kind of tight for me. I took them down a little and also took in the side seams,
I noticed that just by making this adjustment, the top fit better at the back.
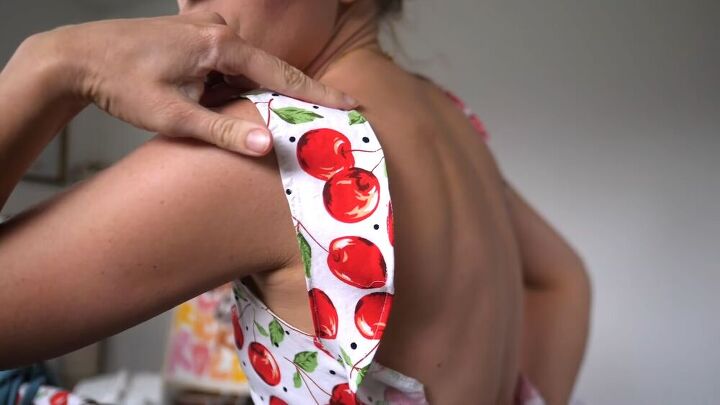
Finish off the edges of the straps
Hem the edges of the straps, so they look more professional.
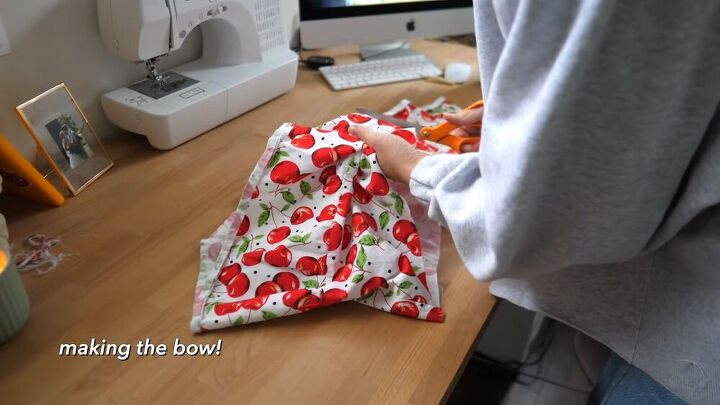
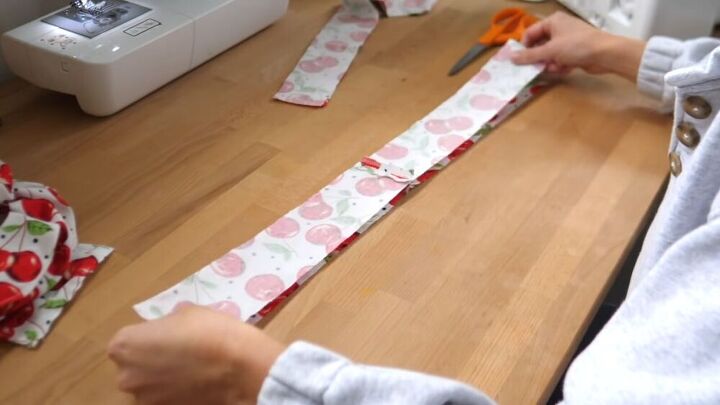
Make the bow
Remember the bottom panel we cut out? We are going to use the fabric from there to make the bow! Cut out a long strip and fold it over.

Then, cut the strip in two.
Place them right facing and sew all around the edges, leaving a gap to turn it inside out.
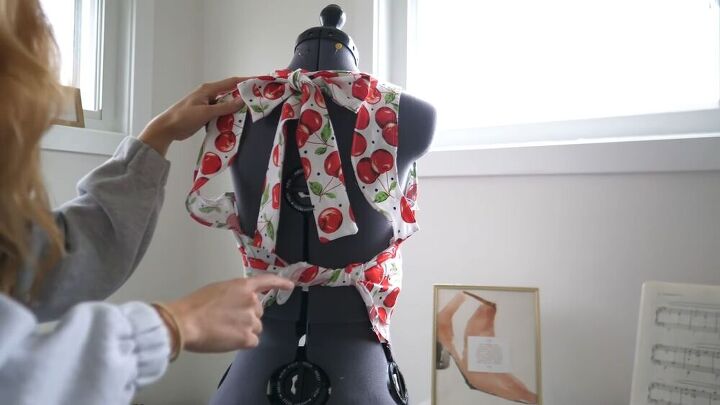
Next, create a cute bow tie and stitch the short ends to the short ends of the top open panel.
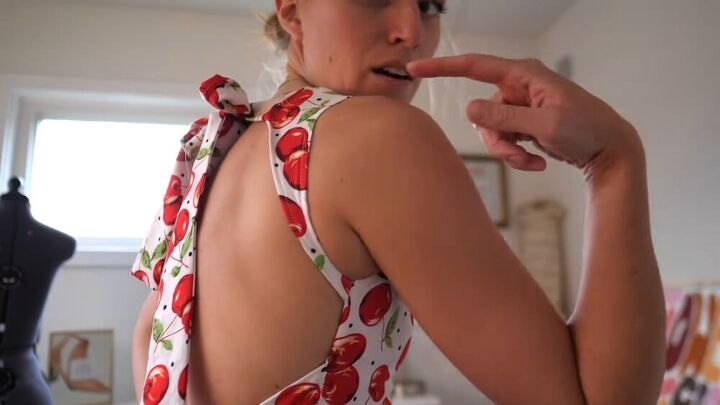
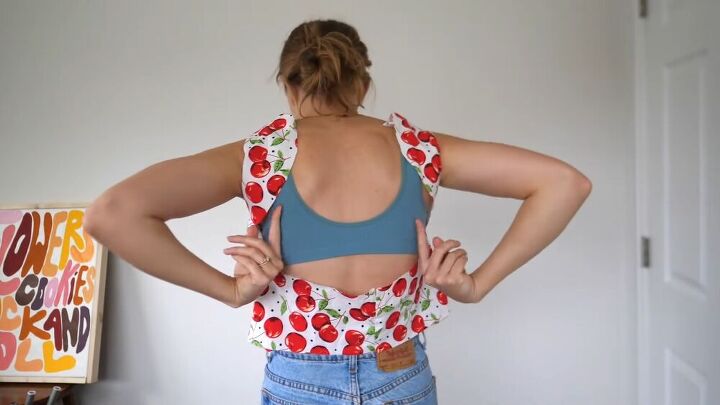
Modify the top panel
In my video tutorial, you'll see that the two top straps kind of look like wings and stick out. I tried numerous ways to get them to lay flat but to no avail. What I did, in the end, was actually cut off all the flappy bits. I made the straps thinner, and as you can see, they fit on my body like a glove. If you encounter the same issue, this is your best bet!
Make final modifications
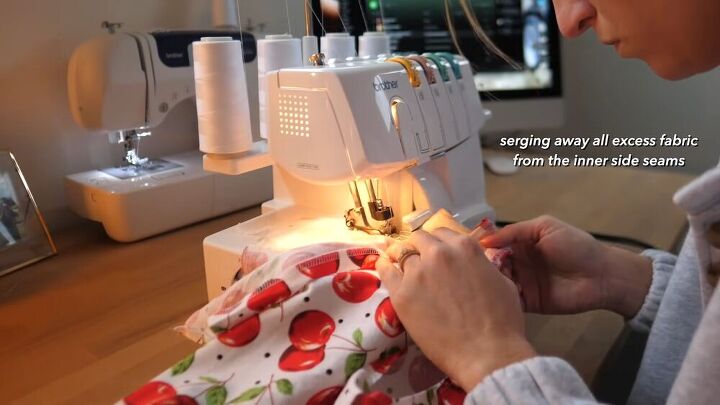
Ok, now it's time to add the finishing touches. Serge all the excess fabric from the inner side seams.
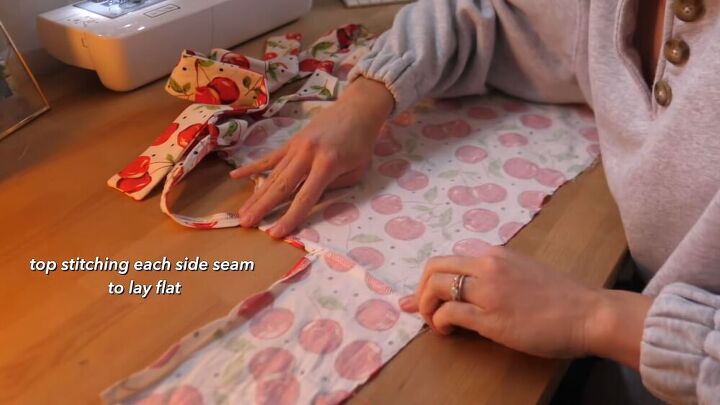
Then, topstitch each side seam so it lays flat.
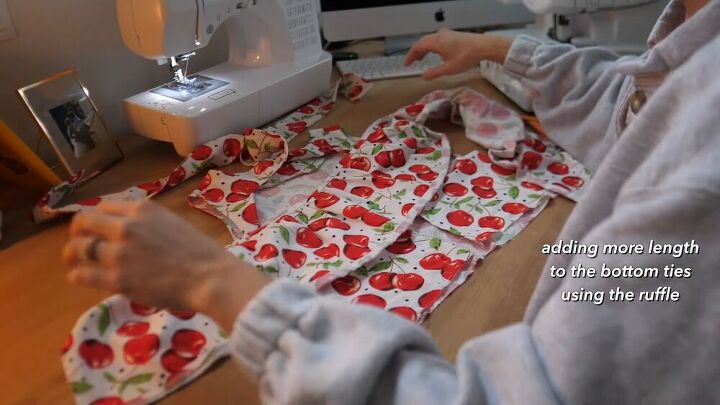
Add more length to the bottom ties by sewing on more fabric from the ruffle section. This will give your top a better grip when tied around your waist.
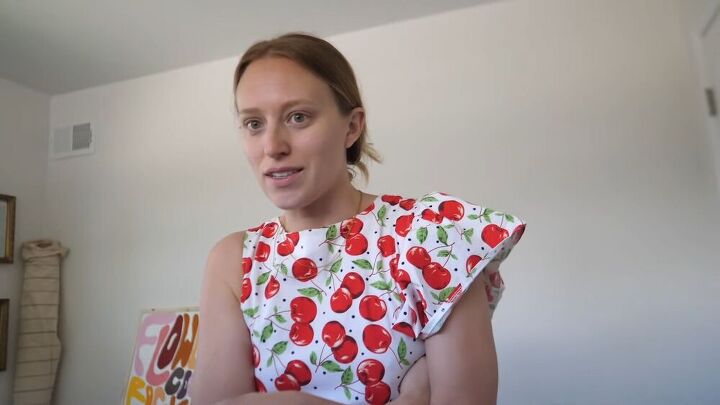
Also, I decided to add some cap-like sleeves to the basic backless top. I kind of liked the puffy sleeve vibe. This is totally optional though, but I decided to share this extra step should you want to see how it looks.
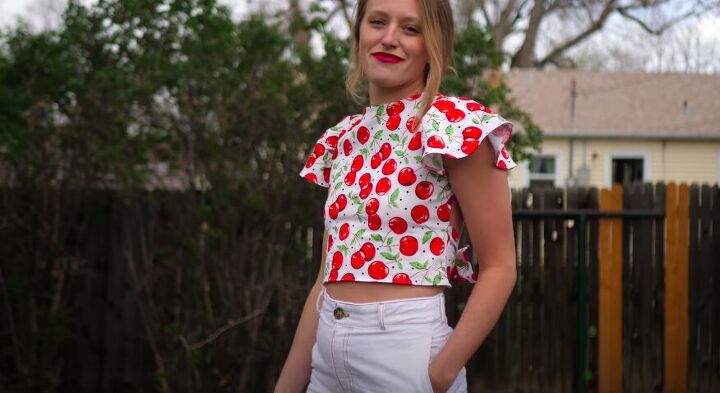
Woohoo! We're done. I'm so chuffed with the way this DIY backless top turned out. It's so chic and sexy! I absolutely love it. I hope I gave you some inspiration today to make your own backless top!
The author may collect a small share of sales from the links on this page.


Comments
Join the conversation
This is so pretty! I love the fun details you added. Thank you for this tutorial
Adorable top. Looks fantastic on you! Only wish I was in my 20’s (or maybe 30’s) again because I would definitely make/wear this top. Fun tutorial.