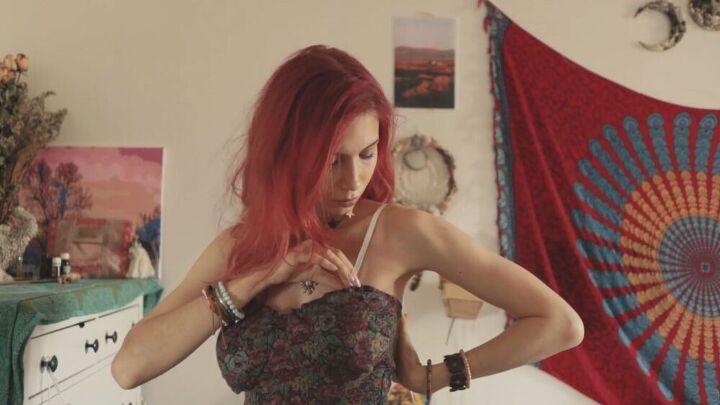
This Enchanting DIY Bustier Top Was Actually an Old Midi Skirt

This DIY bustier top tutorial is an easy thrift flip. More than that, this top is perfect for bustier girls who find it hard to find clothes that fit, especially in this style. So, here's how to make a bustier top out of an old midi skirt!
Tools and materials:
- Midi skirt
- Pins
- Marker
- White fabric
- Elastic
- Scissors
- Bra pads
- Zip ties
- Sandpaper
- Sewing machine
- Chalk
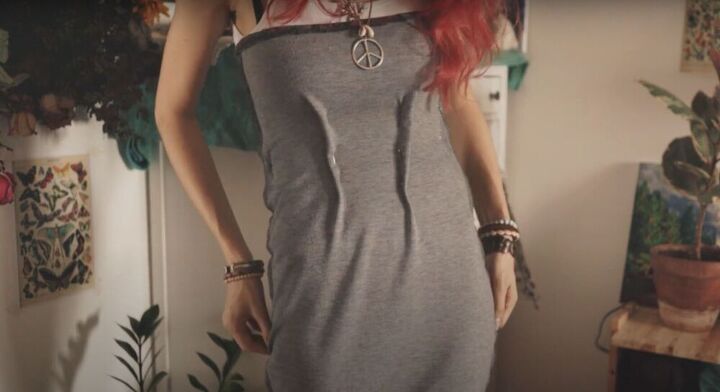
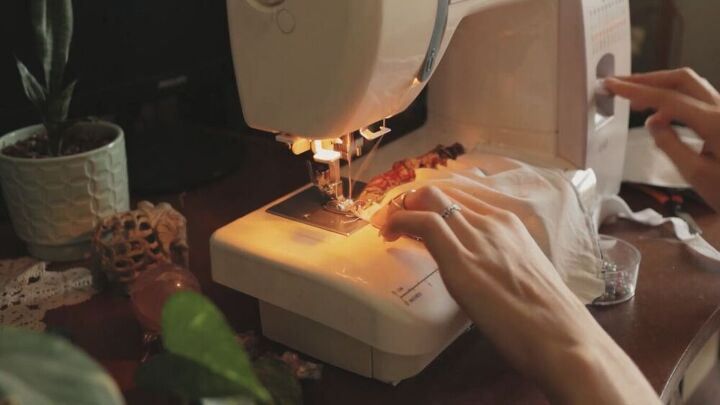
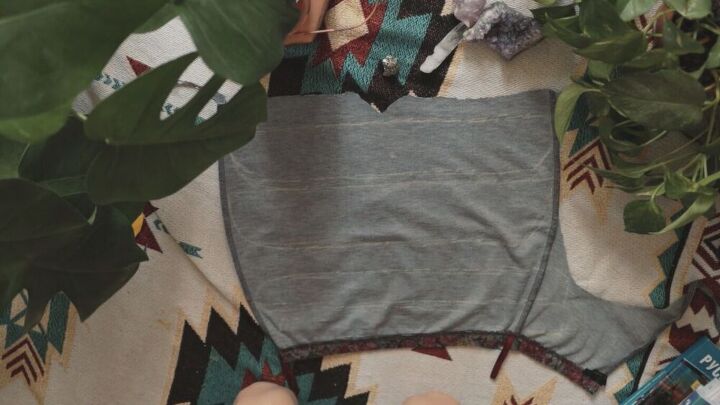
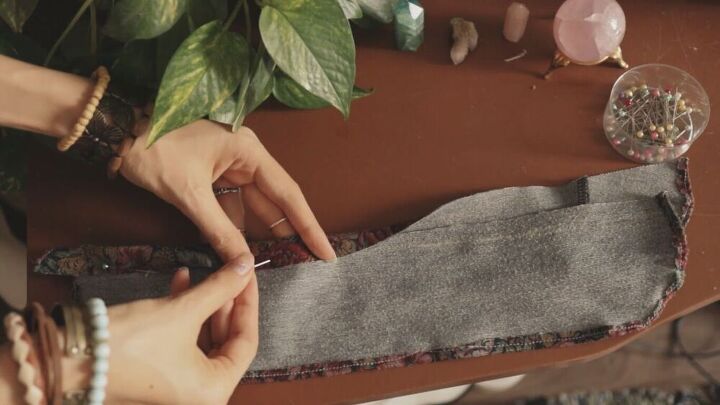
1. Adjust the skirt to fit your body
Take an old midi-length skirt, turn it inside out, and put it on over your chest. Pinch the excess fabric to form darts and pin. Adjust the side seams as well.
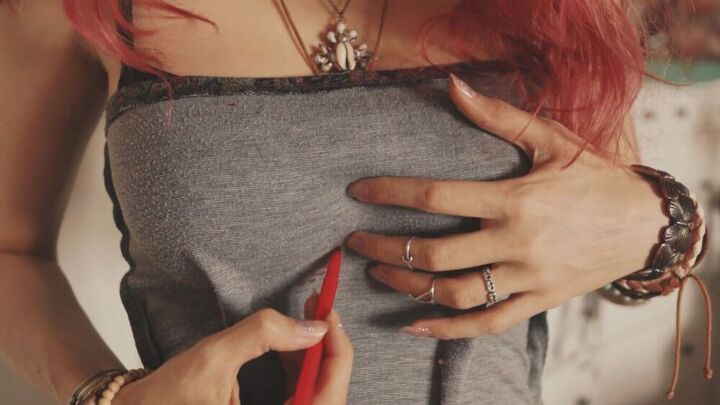
Next, grab a marker and trace around your chest and over your hip.
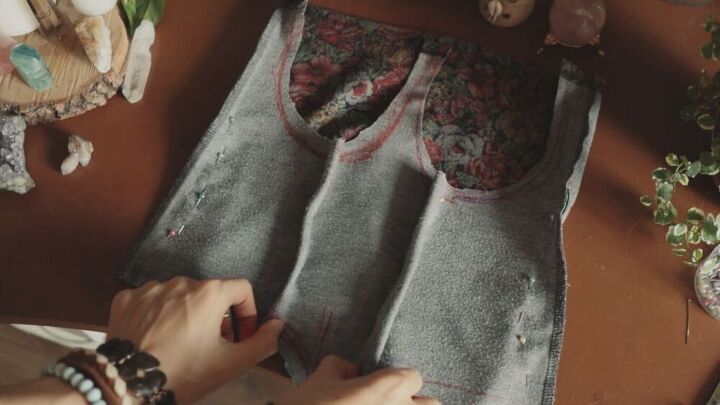
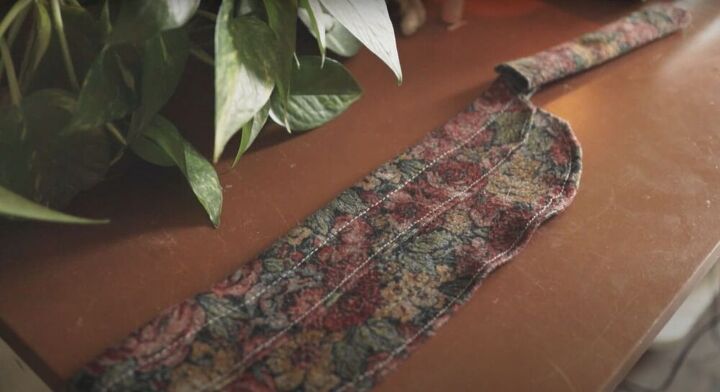
2. Cut out the pattern
Take the top off, complete the tracings, then cut out your fabric. Sew along your pins and remove any excess fabric.
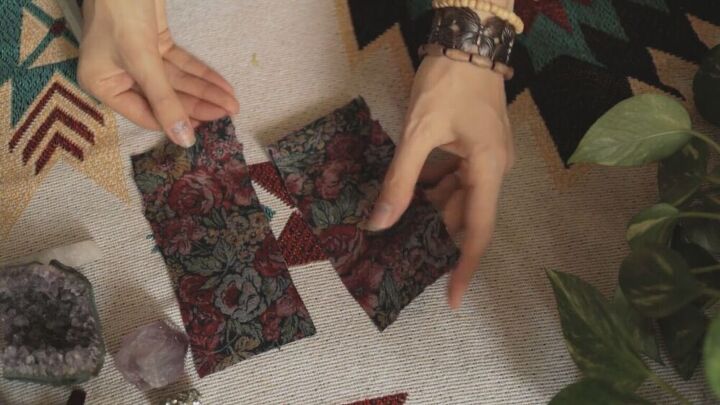
3. Cut out the bust pieces
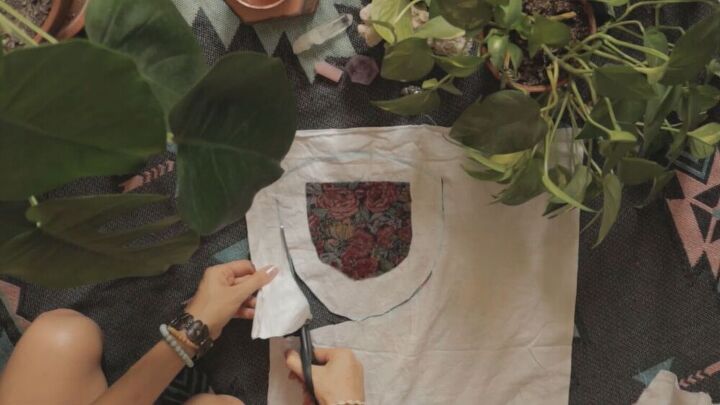
Grab a piece of plain white fabric and place your half-oval chest cut-out onto it. Use some tailor’s chalk to trace around it and cut out two matching pieces.
You can see I left a margin of a couple of inches around the cut-out. This depends on your bust size, so try to gauge the size you need by measuring your own bust.
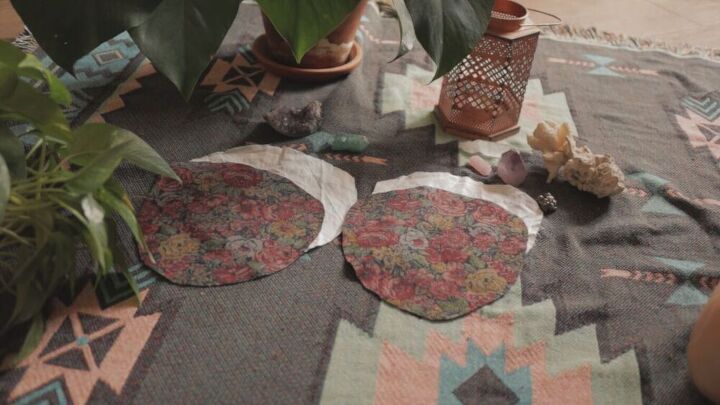
Next, cut out two more pieces in this larger size from the fabric of your skirt. Now, you have four pieces total: two for the bustier exterior and two for the lining.

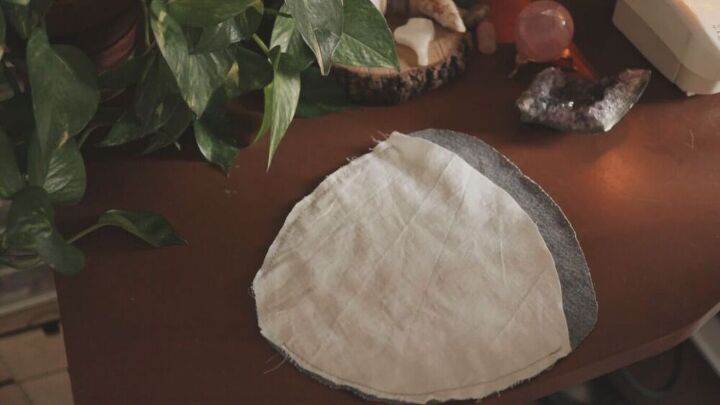
4. Pin and sew the bust pieces
Place one white piece and one patterned piece on top of each other, then pin them together along two sides. Make sure you leave the peak and one side open, then sew.
Cut off around an inch of the white material from the open side.
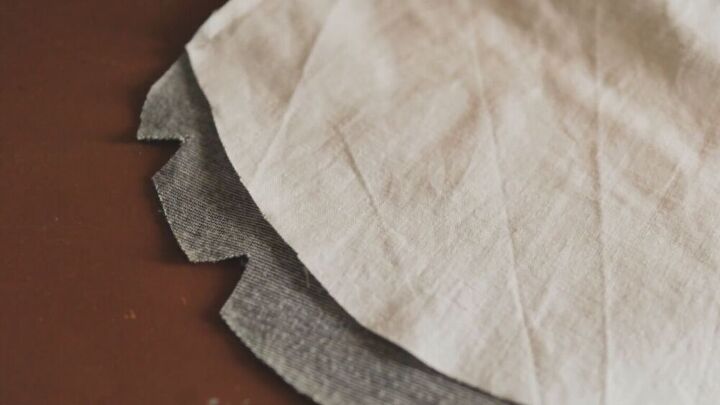
Cut small notches in the patterned fabric - this will help the material lay flat.
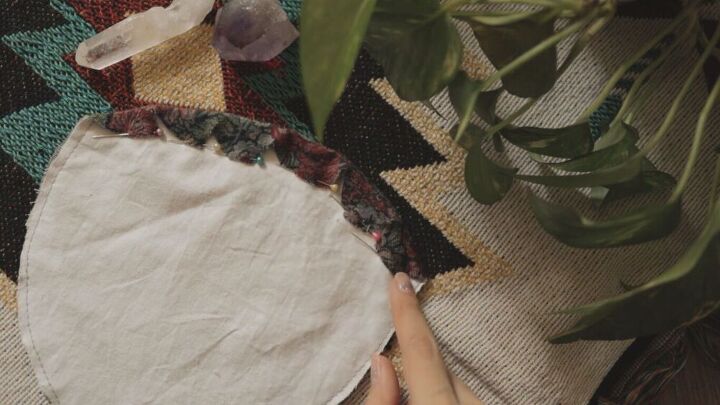
Fold the notches in and pin them down. Sew over where you pinned. This will create a tunnel through which we will feed the elastic for the bust.
5. Add elastic to the bust pieces
Measure two elastic pieces on your chest (one for each side), just above your bust where the top of the bustier will sit, then cut to size.
Pin a safety pin to the elastic to help weave it through the tunnel of notches. Pull the elastic out on the other side and pin it at the edge. Sew where you pinned.
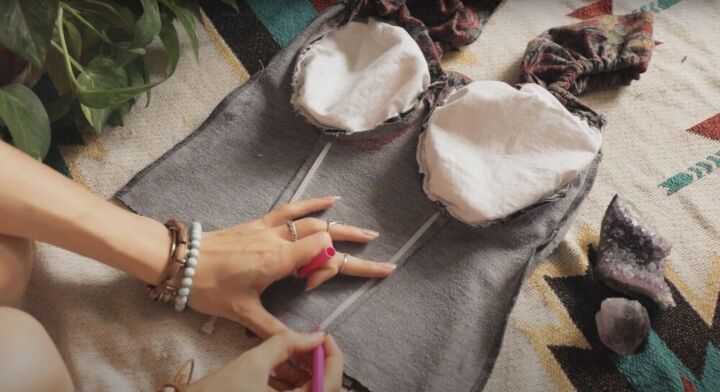
6. Insert the bra pads
Insert a bra pad through the peak of the chest piece, then hand sew the peak closed.
7. Sew the bust pieces to the body
Turn the body of the shirt inside out and lay it flat. Place the chest pieces into the chest cutouts, wrong sides up, and pin. Sew the chest pieces in place.
8. Measure the straps
Put the shirt on your body and grab your elastic. Measure the length of the straps by stretching the elastic over your shoulder. Cut to size.
9. Cut out the fabric for the sleeves
Next, take your remaining fabric and cut it open. Cut a square, fold it over, then cut along the fold to make two rectangles.
Use some tailor’s chalk to trace out four long rectangles (two thick and two thin, to make layered ruffle sleeves) with curved bottom edges, then cut them out.
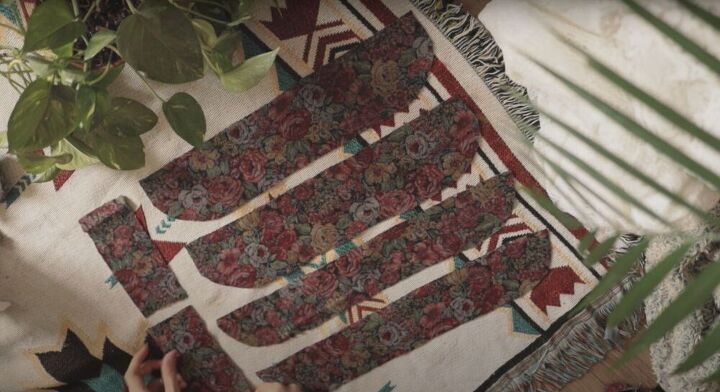
These are the shapes you should have.
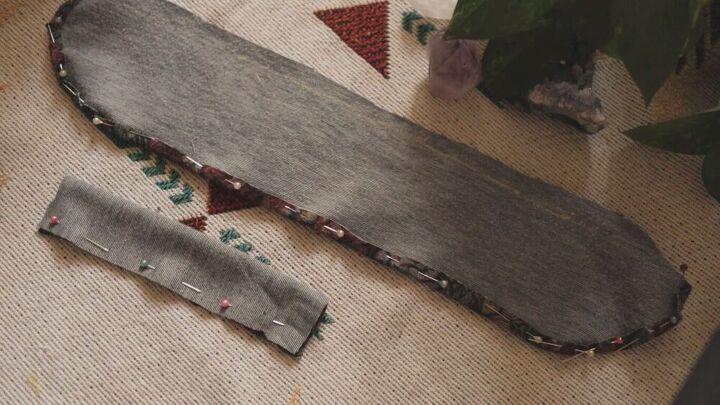
10. Pin and sew the ruffle sleeves
Cut small notches on the curved edge of the long strips and then pin inwards to hem. Fold the rectangle pieces in half longways, right sides touching, then pin along the longer side. Sew along all pinned areas.
Place two of the strips together, right sides down and one slightly on top of the other. Fold the bottom (thicker) strip over onto the top (thinner) one (that is slightly lower) and pin. Sew together.
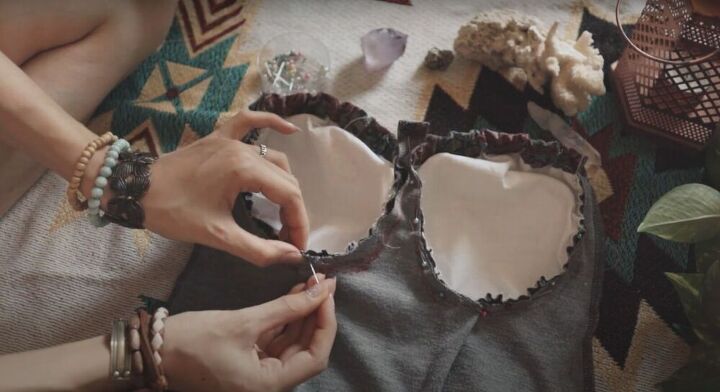
11. Attach the sleeves to the bustier top
Turn the rectangle we sewed right side out and hand sew it to the end of the strips. Next, pin the piece of elastic for your straps to the end of the tube and slip it in.
Weave the elastic through until it comes out the other end of the long strips. These will be your sleeves. Pin them to your top (front and back) and sew them in place.
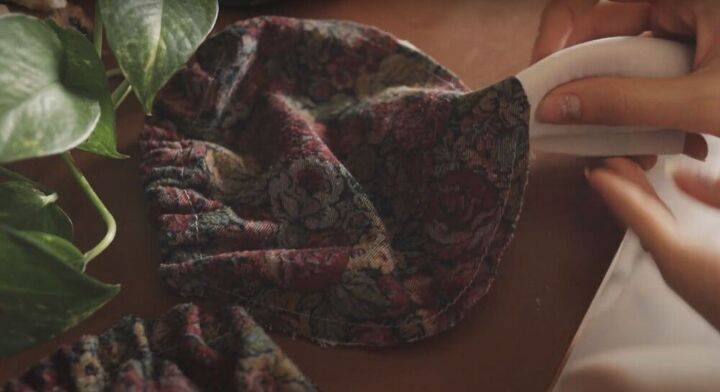
12. Add structure to the bustier top
To give the bustier top some structure, stick zip ties up the bottom of it. Place a zip tie on the darts and mark where it needs to be cut.
Cut the zip tie, then sand down the end with sandpaper until it’s smooth. Sew along the darts to form tunnels, then slip the zip ties inside. Hem the bottom edge.
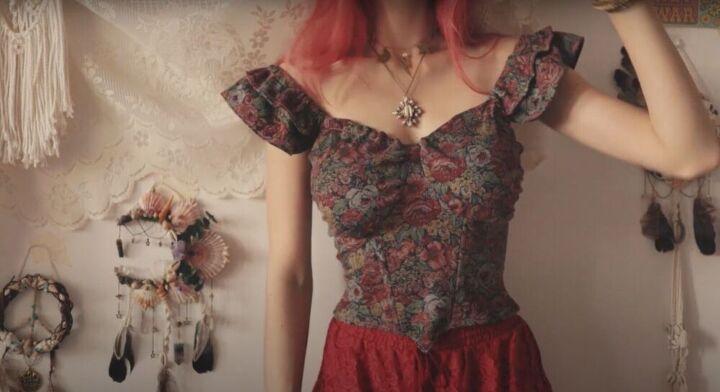
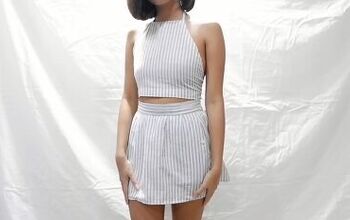
I love how this DIY bustier top turned out. It is super flattering and fits me perfectly. Busty girls know the pain of having to find clothes that fit your chest and waist, so this thift-flip top is a great solution!
The author may collect a small share of sales from the links on this page.


Comments
Join the conversation
Very feminine and pretty. The material is perfect for this style. Love it.
Beautiful!