DIY Button-Up Shirt Refashion: Turn a Shirt Into a Cute Ruffle Top

Would you like to learn how to turn an old button-up shirt into a cute V-neck ruffle top? Then follow along with this DIY button-up shirt refashion tutorial. You can use another peplum-style top as a pattern template, but if you don’t have one, I’ll help with the measurements.
Tools and materials:
- Old button-up shirt
- Coordinating fabric
- Scissors
- Measuring tape
- Sewing pins
- Thread
- Sewing machine
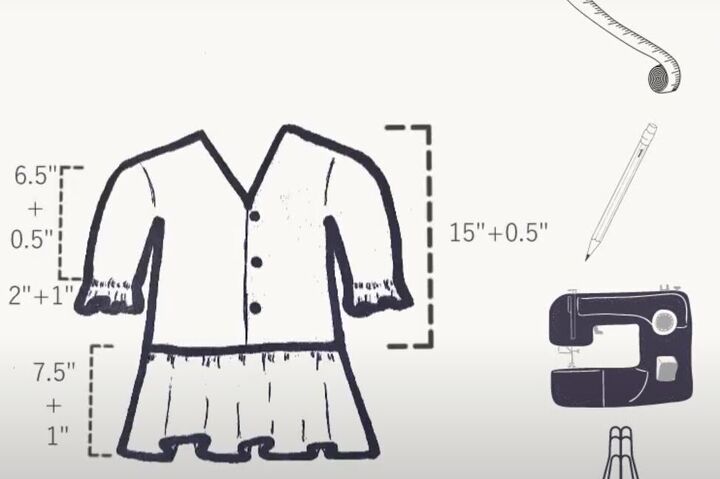
1. Take your measurements for your ruffle top
Above are the measurements for my completed V-neck ruffle top.
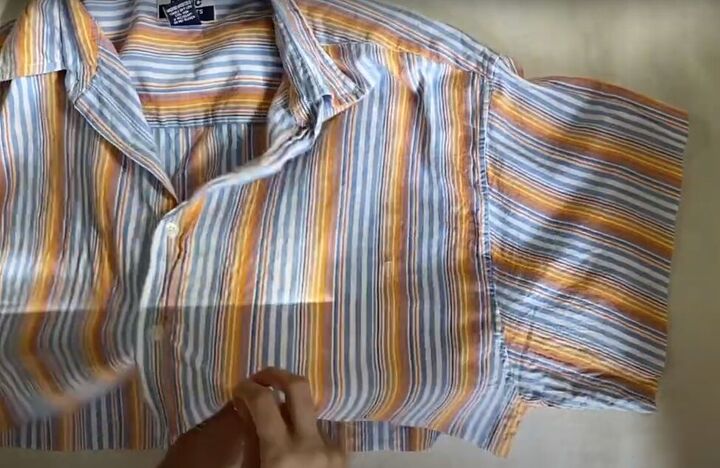
2. Make the top of the ruffle shirt
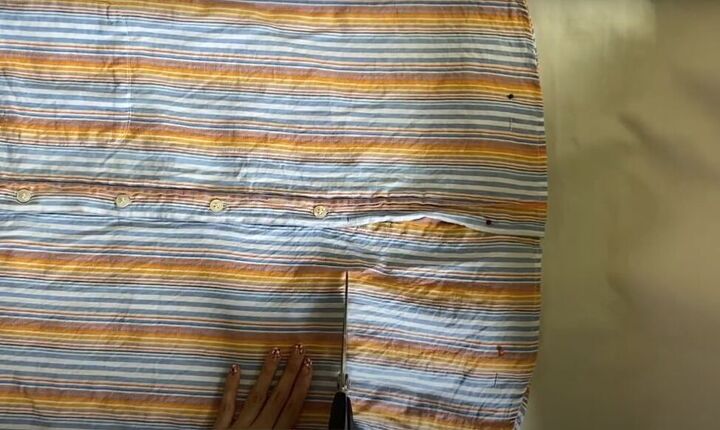
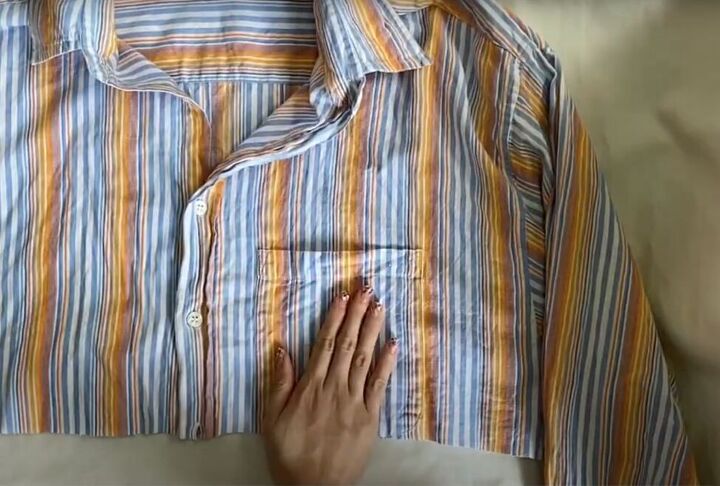
Begin by marking the final blouse length plus seam allowance on your old shirt. Cut off the excess fabric from the bottom of your shirt.
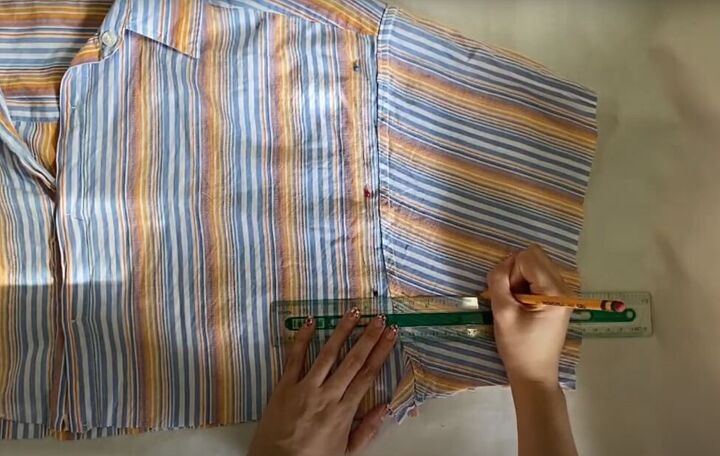
Mark the point on the shirt where the ruffle will start, and cut the shirt at that point, allowing for seam allowances on both the top and bottom parts of the shirt.
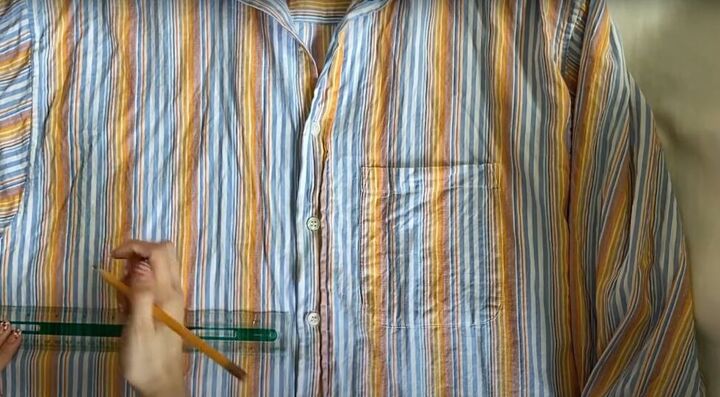
If your shirt has a front pocket, remove it with a seam ripper.
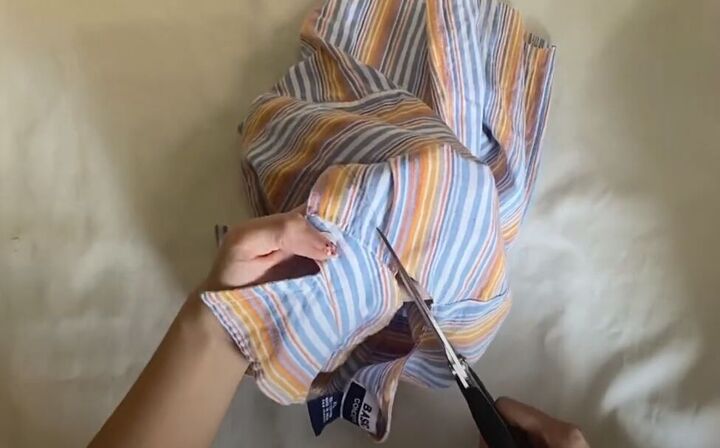
Cut the sleeves at the length you want before adding the ruffle sleeve edge.
Now turn the shirt inside out and measure and mark the correct armhole size.
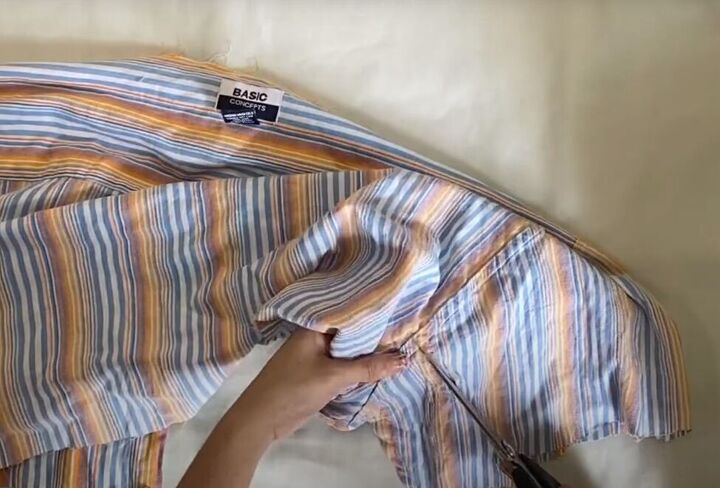
Sew in the new armhole and then cut away the excess fabric.
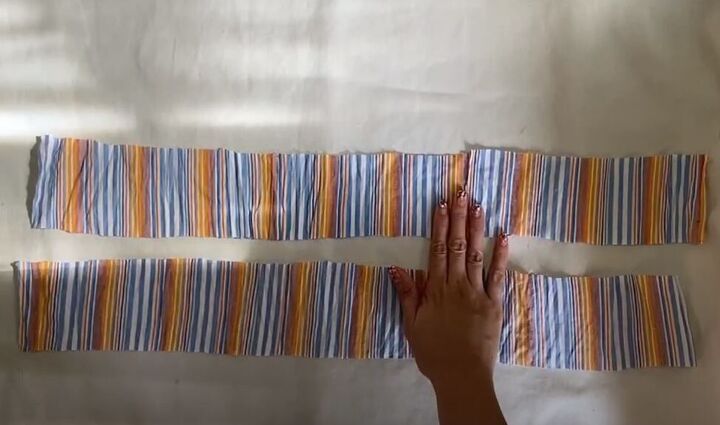
3. Make the sleeve ruffles
Take the excess fabric that you cut from the armholes and remove any stitches in it. Then measure, mark, and cut two long strips from that fabric, including seam allowances. You may need to piece together multiple strips to get the final lengths you need for the sleeve ruffles.
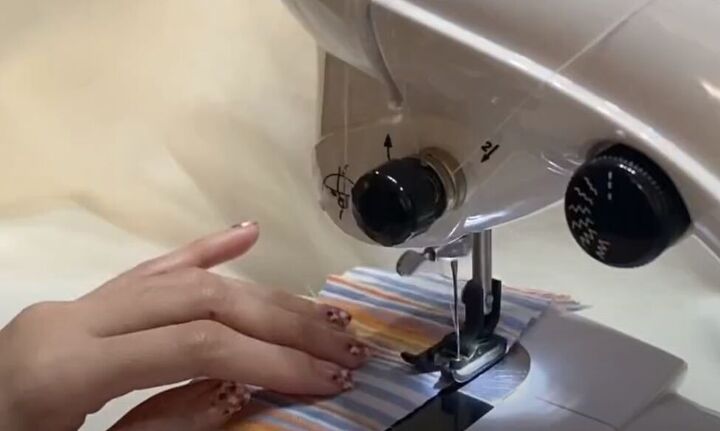
Sew a basting row of stitches along one long edge of each strip, leaving long loose threads at the end.
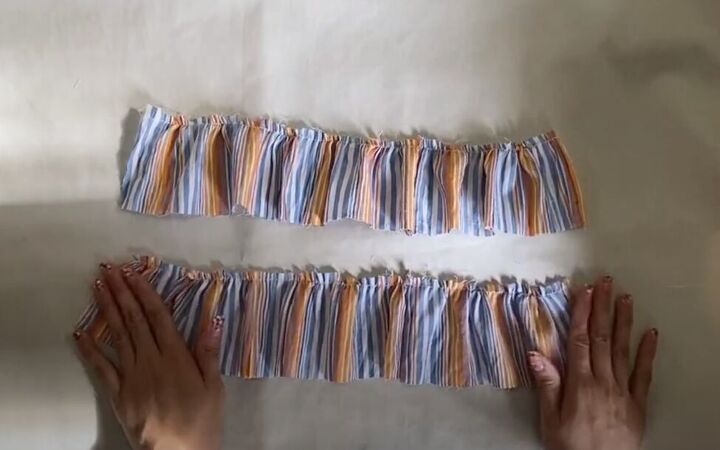
Pull on the loose thread to gather each strip into a ruffle.

With right sides facing, sew the short ends of the ruffle together. Repeat on the other ruffle.
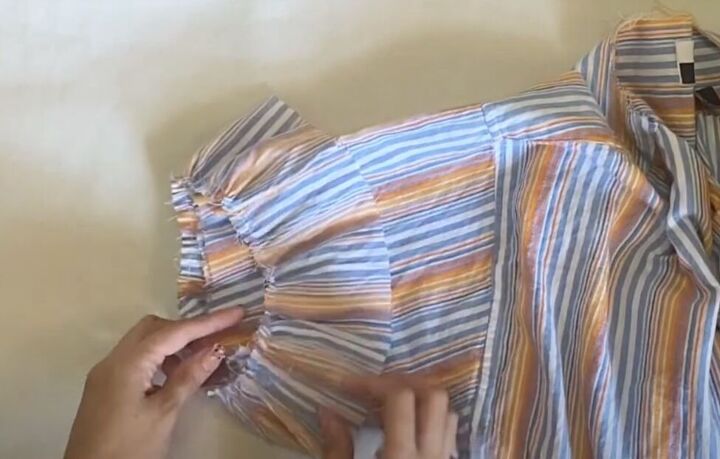
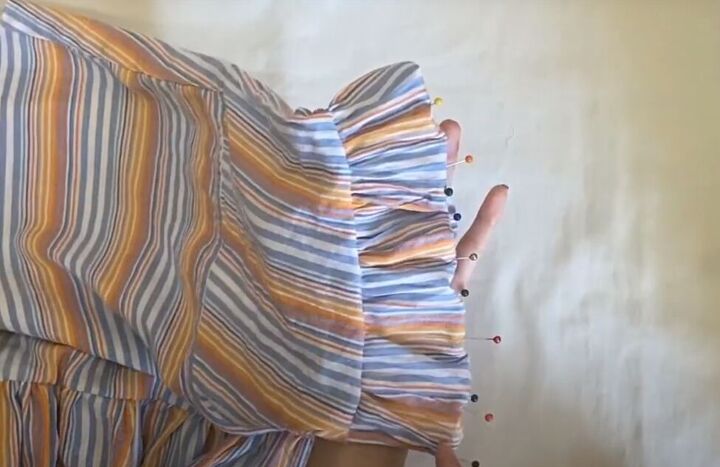
With right sides facing, pin and sew the ruffle to the bottom of the sleeve. Repeat for the other sleeve.
Double-fold, pin, and hem the sleeves.
4. Make the shirt ruffle
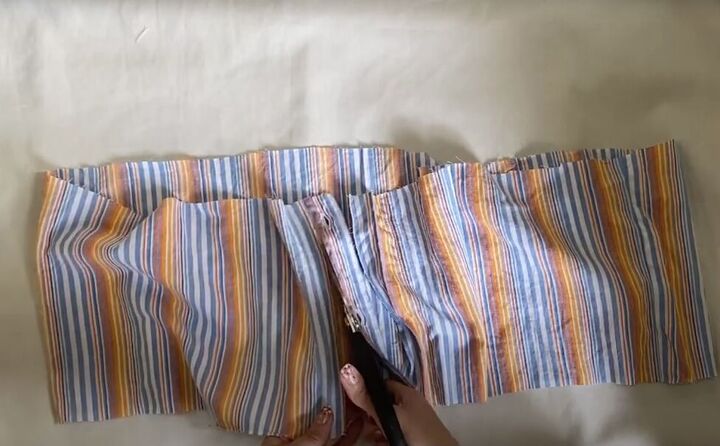
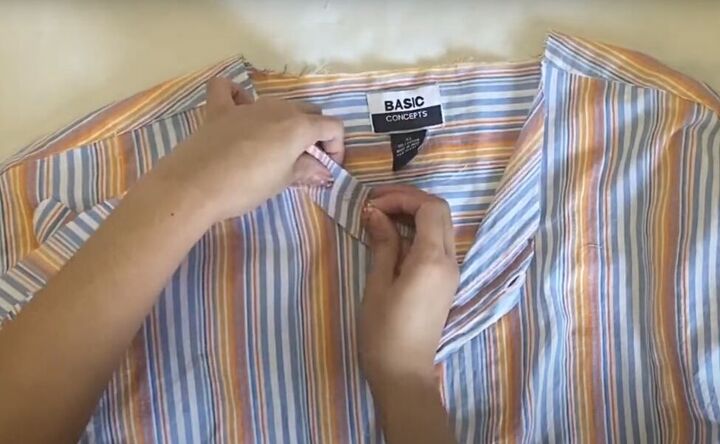
Remove the buttons from the bottom part of the shirt and cut off the buttonhole band.

You can add in some plain coordinating fabric to make the ruffle stand out more at the front of the shirt. Just cut a piece of fabric the same height as the ruffle and sew it onto the shirt fabric.

Sew a basting stitch along the top front of the ruffle, leaving long loose threads. Do the same for the back of the ruffle. Then pull on the loose threads to gather the ruffle.
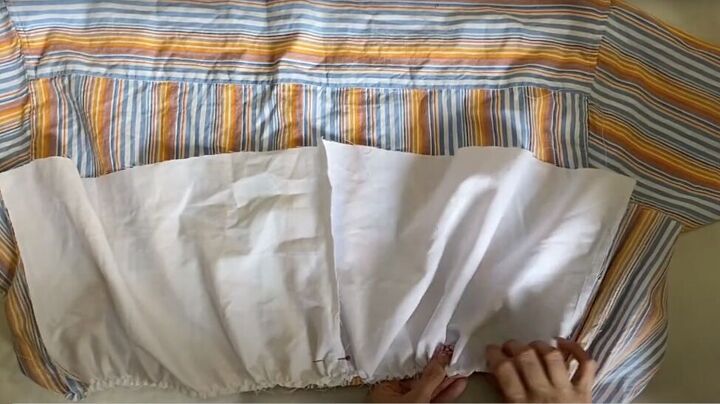
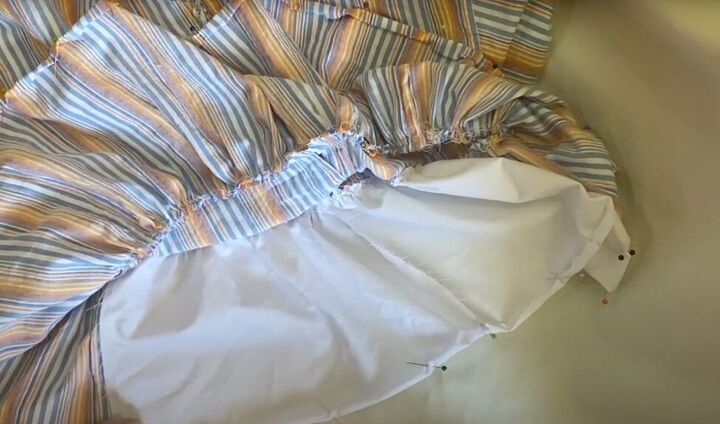
With right sides facing, pin and sew the ruffle to the bottom of the shirt, making sure that the plain fabric you added to the shirt fabric is centered at the back of your shirt.
Double-fold and sew the hem at the bottom of the ruffle.
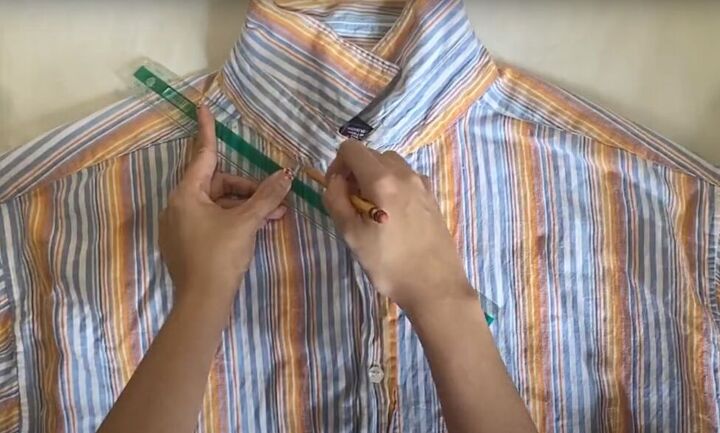
5. Make the V-neck
Measure and mark the V-neck on your shirt. Include the seam allowance in your measurement.
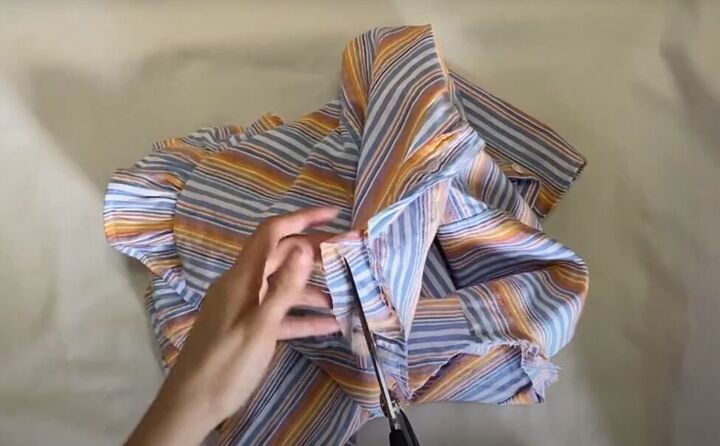
Cut out the V-neck and the collar of your shirt.

Watch the video from 7:30 to 8:09 to see how I made a neckline binding strip for the shirt.
With right sides facing, pin, then sew the neckline binding in place. Fold the shirt ends to hide the raw edges.
Trim the excess fabric from the neckline binding strip.
Now fold the strip twice to the inside and sew it in place.
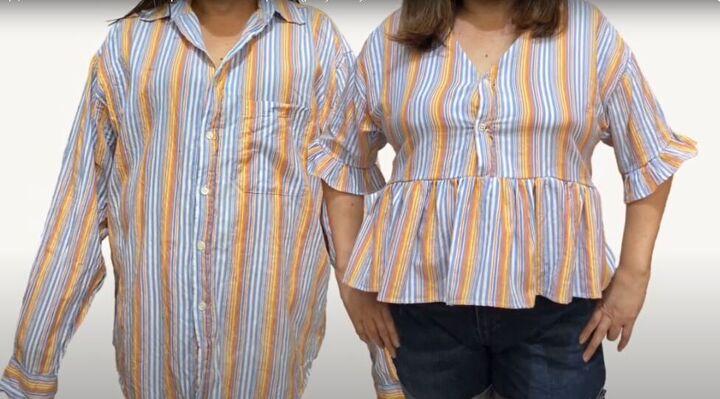
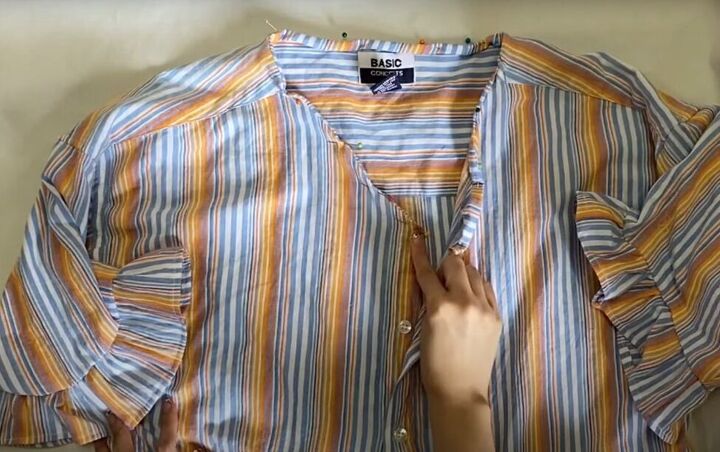
DIY button-up shirt refashion
That’s how you refashion an old shirt into a V-neck ruffle top. What a difference. This new top is so cute! I hope you give this DIY shirt refashion a try, and let me know, in the comments, how it worked for you.
The author may collect a small share of sales from the links on this page.


Comments
Join the conversation
Yes🥰
Great idea. Nice job!