Four Ways to Refashion a Thrifted Men’s Shirt

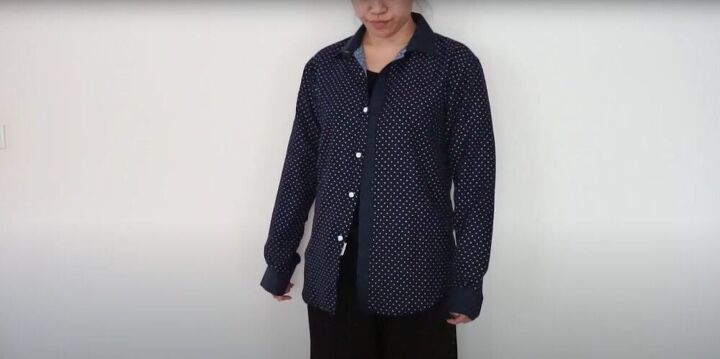
Menswear shirts are a dime a dozen at every local thrift shop, so they’re a good place to start if you’re looking to get into the thrift flip game! In this tutorial, I’ll show you four easy ways to upstyle basic menswear shirts into fun, stylish new pieces for your wardrobe. I happen to have a rather large collection of these shirts already that were either given to me or purchased at the thrift shop, so if you don’t already have a few lying around you can easily go out and grab some. So let’s dive in! Check out my tutorial below to get started!
Tools and Materials:
- Menswear shirt
- Chalk
- Fabric scissors
- Ruler
- Sewing machine
- Bias tape
- Elastic
- Pins
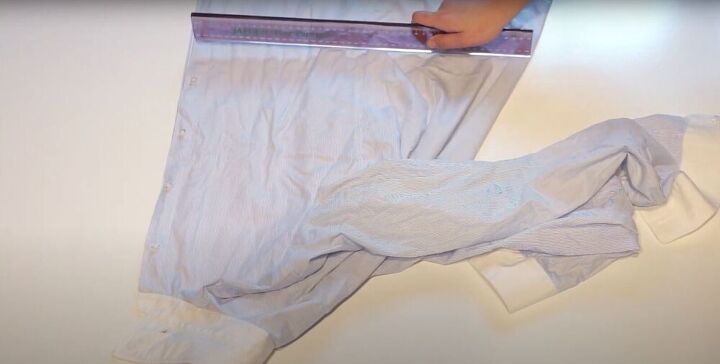
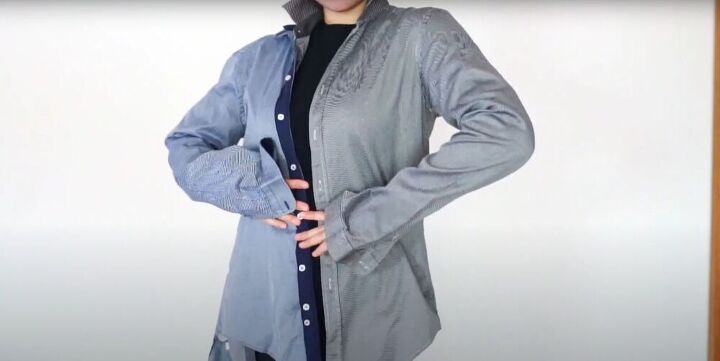
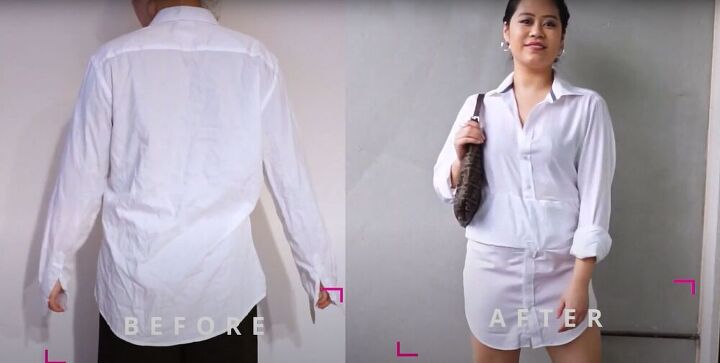
I started by turning the shirt inside out and putting it on back to front, as I wanted to avoid the button placket for this project.
I marked where I wanted the neckline to be and where I wanted to shorten the sleeves with chalk.
I removed the shirt and added a clearer outline for the new neckline that I wanted to create.
Then I cut along that line and also removed the collar from the front of the top.
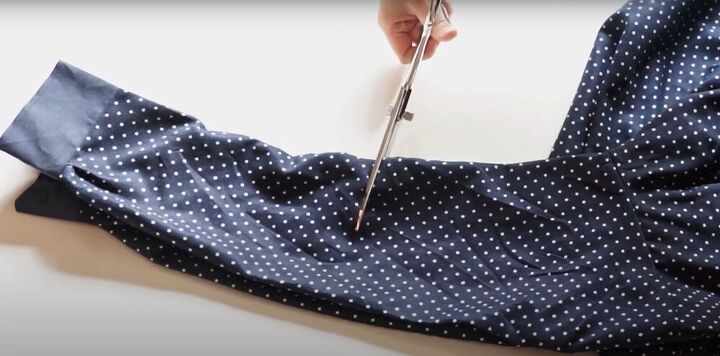
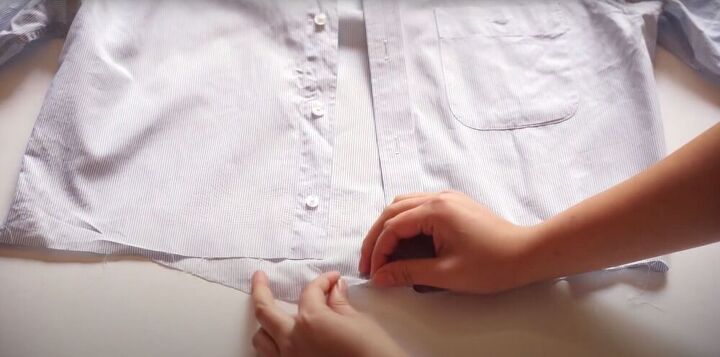
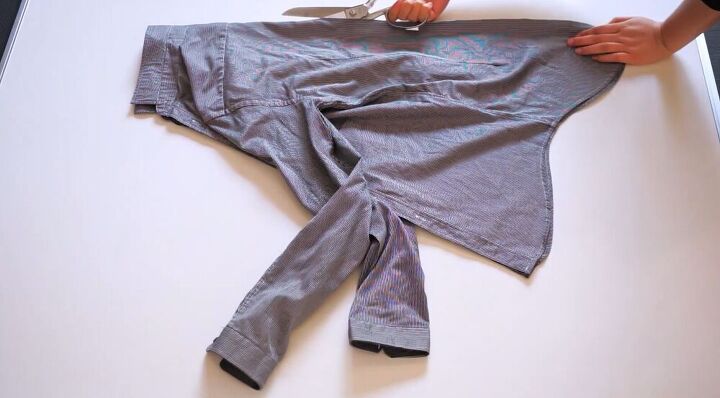
I folded the shirt in half so that the sleeves lay on top of each other and shortened the sleeves.
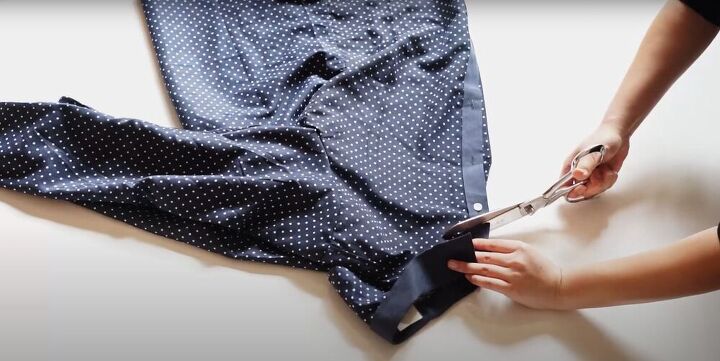
I also marked where I wanted the top to be shortened.

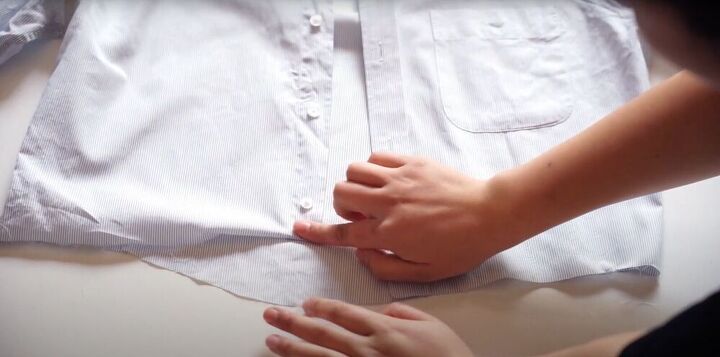
Then I cut off the excess fabric from the bottom of the top.
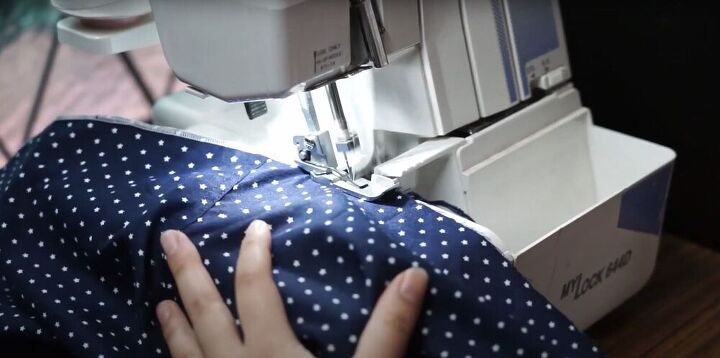
To protect the edges of the fabric, I overlocked all of the edges of the new hem.
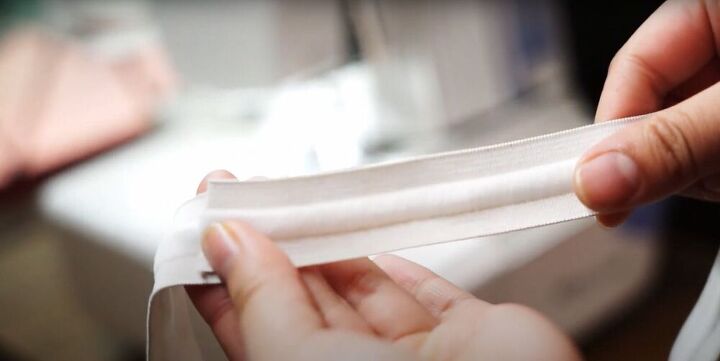
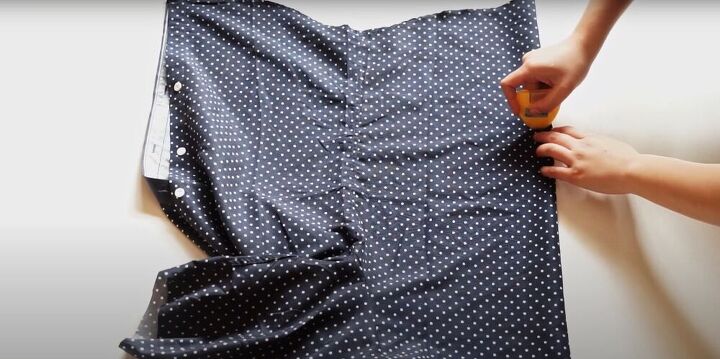
Next, I determined the size of my waist and measured and cut a piece of elastic accordingly. I sewed the two ends of the elastic together, forming a circle.
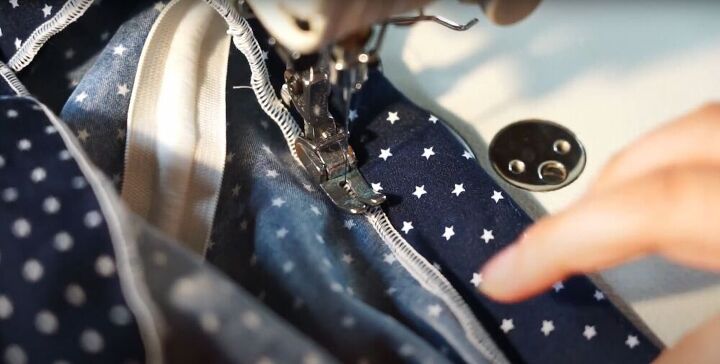
Then I folded the hem of the shirt over the elastic and sewed along the overlocked edge of the fabric. Make sure not to accidentally sew into the elastic itself.

I also overlocked the edges of the sleeves, folded them in, and sewed down the hem. Then I repeated the process with the other sleeve.
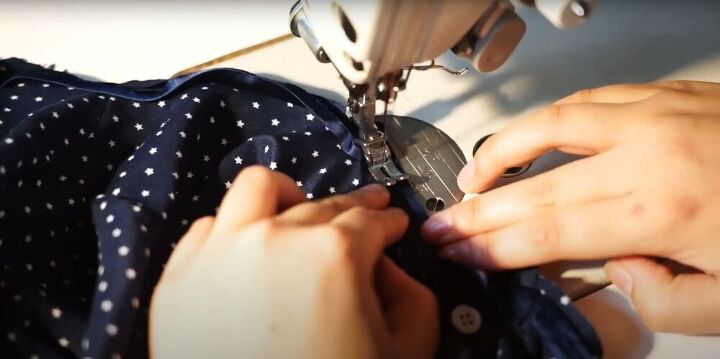
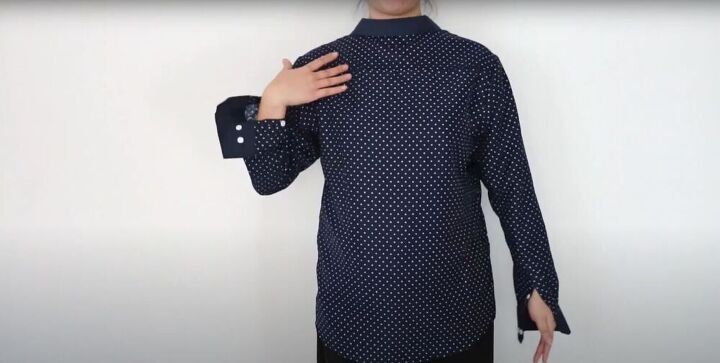
I added bias tape to the top edge of my new neckline.
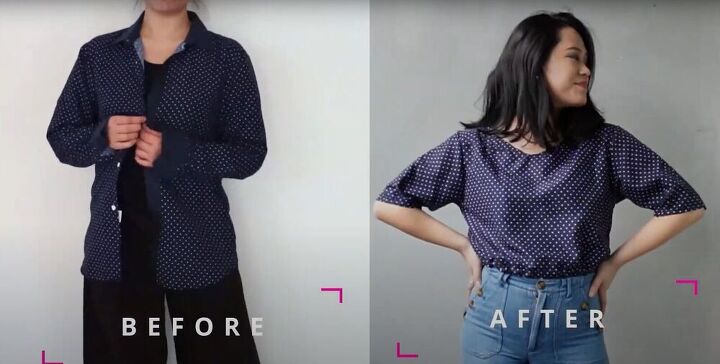
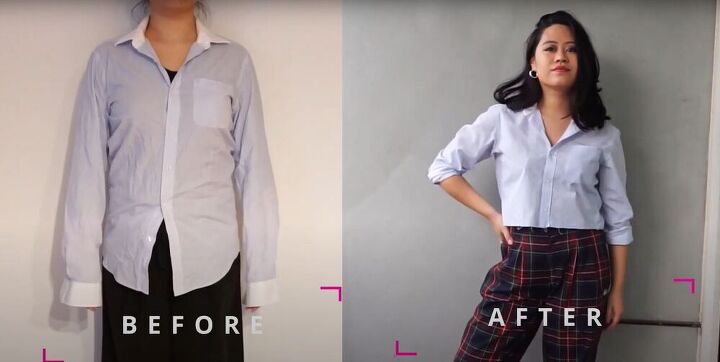
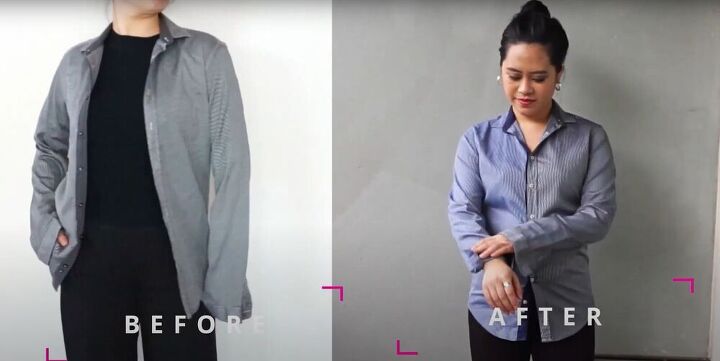
Check out that before and after shot! Now I have a chic new top perfect for a day out!
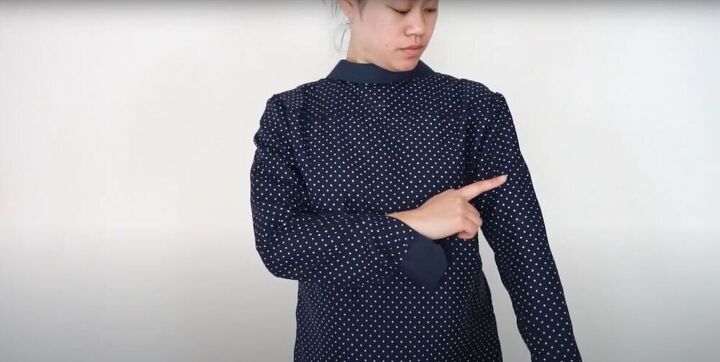
This project is super simple. The only real change that I made to the top was to crop it to my desired length.
Once I had removed the excess fabric, I distressed the new hem of the top a bit, just using my fingers to pull some of the threads out.
If you’re not a fan of raw edges, you can add a simple hem to the new bottom of the top.
I folded up the sleeves and I was done! What a quick transformation! This project was so easy and the finished effect is super stylish!
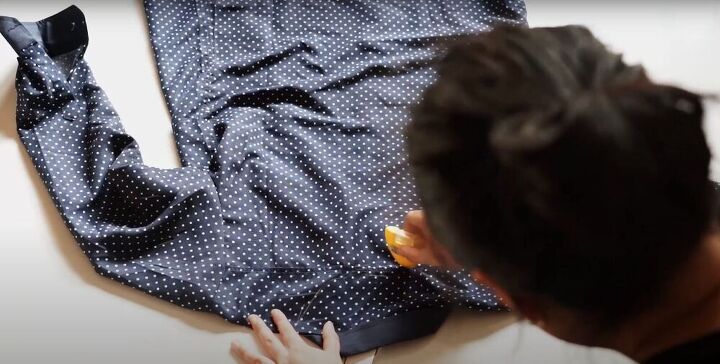
I happened to have two shirts that were the exact same style and from the exact same shop, so I decided to go for a half-and-half shirt!
I started by folding the shirts in half and cutting straight up the center of the back of the shirt. This is a great way to get a better fit, as we’ll be losing a bit of fabric in the back when we sew the pieces together. If you’re happy with the fit of the shirt, make sure to account for a seam allowance.

Then I pinned two halves together with the right sides facing each other. Make sure to pick the proper sides of the shirts.

Then I used a straight stitch to sew the two pieces together.
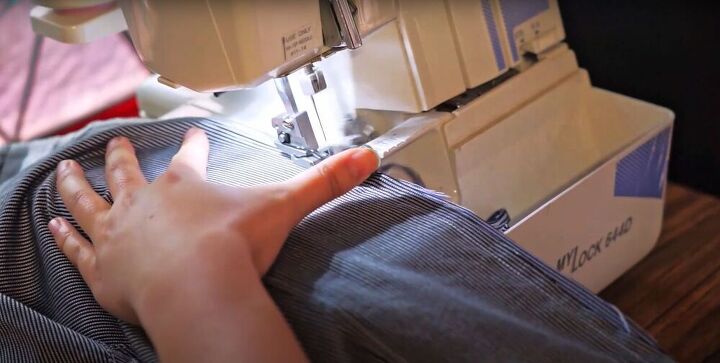
I overlocked the new raw edges of the fabric and I was done!
What a fun project! You can even use the remaining pieces to make another shirt to give to a friend!

I have one more fun project with a plain white menswear shirt, but for that one, you’ll have to check out my video above! This project starts about 8 minutes into the video.
Don’t overlook the humble menswear shirt when thrifting. The opportunities are truly endless when it comes to upcycling and upstyling these simple tops! Which of these projects was your favorite? Let me know in the comments below!
The author may collect a small share of sales from the links on this page.


Comments
Join the conversation
Remarkable what you see could be done to a man’s shirt…
.time and imagination✅
I LOVED the first one!!!! Great job on them all.