How to Add Cold Shoulders to a Flannel Shirt in 1 Hour
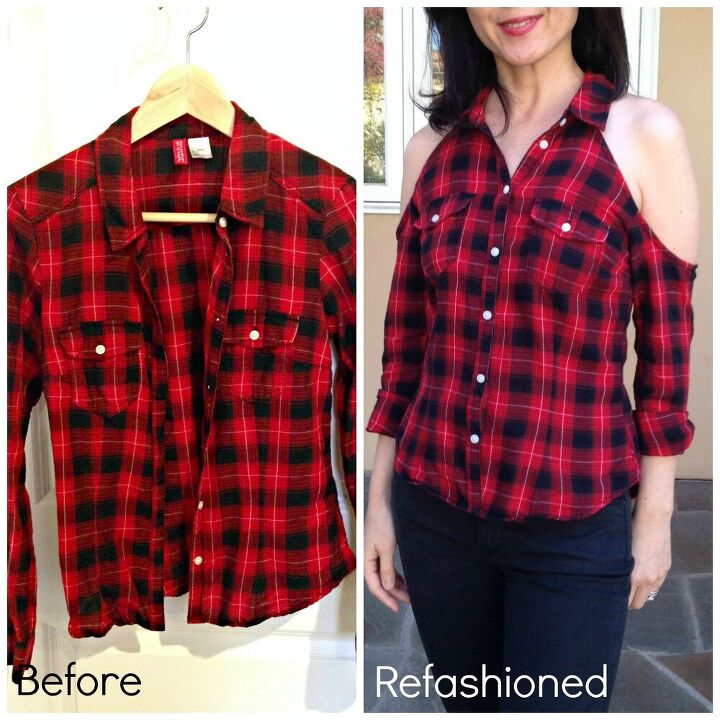
I love knocking off fast fashion trends with my thrift store refashions, especially when it’s just a quick alteration like adding cold shoulder cut-outs.

This is my inspiration piece I found on Nasty Gal for $48. My recycled version cost me a whopping $3.
Here’s a quick overview of the project, which only took me 1 hour to finish. Talk about instant gratification!
Overview
Step 1: Mark shoulder holes
Step 2: Detach collar and cut out cold shoulders
Step 3: Finish shoulder holes with bias binding
Step 4: Reattach collar
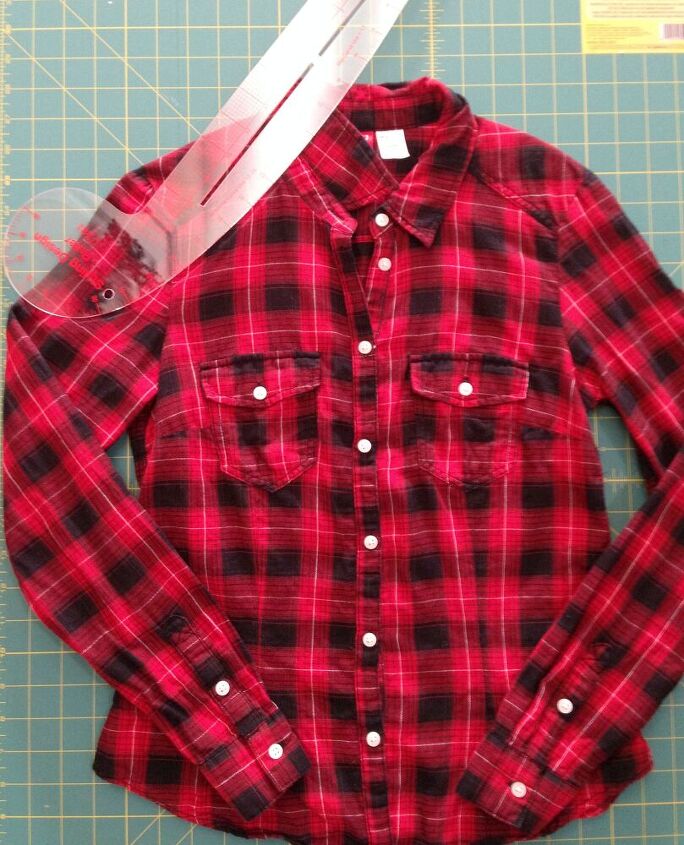
Step 1: Mark your shoulder cut-outs with a french curve.
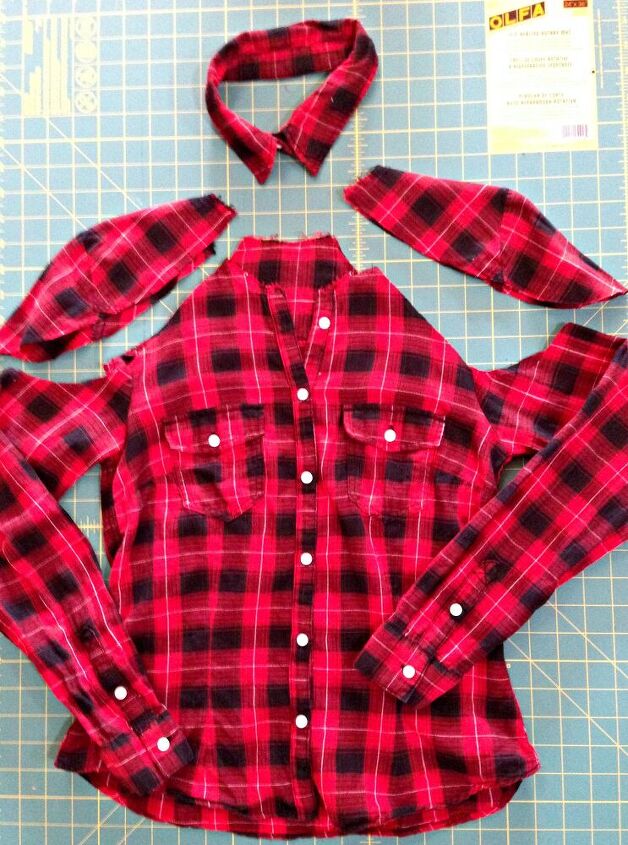
Step 2: Detach the collar and cut out the shoulders.
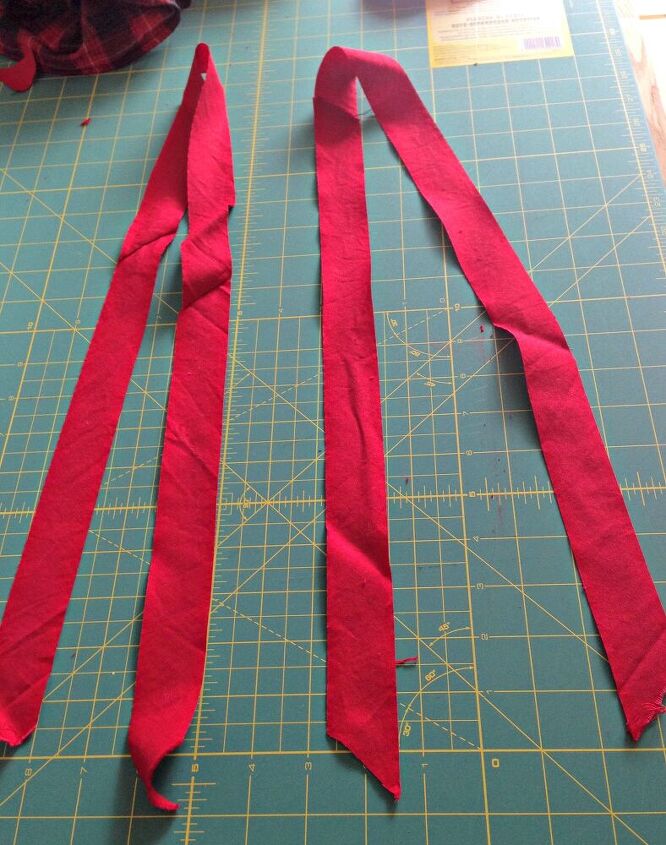
Step 3: Finish shoulder holes. Make about 4 feet of 1.5″ bias binding.
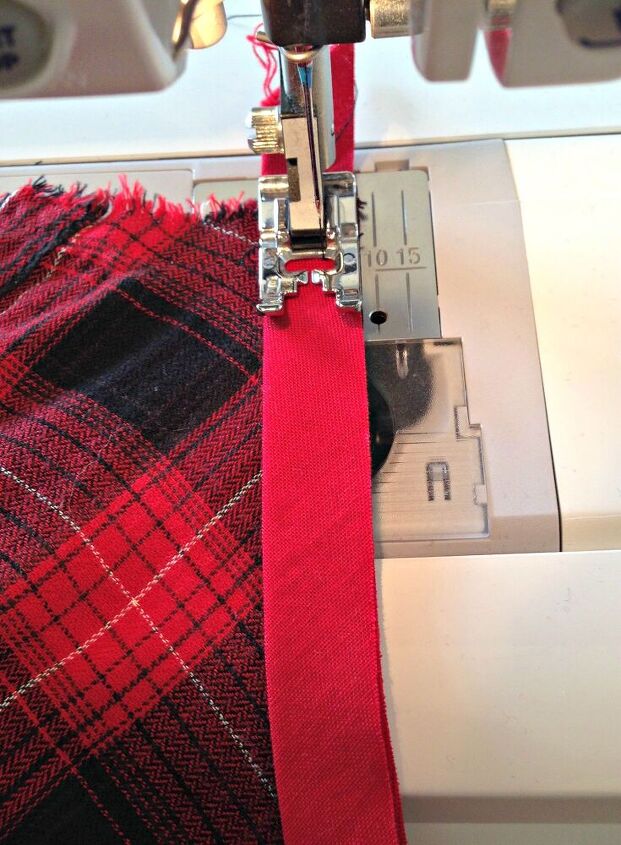
Fold bias binding in half, press and sew on the right side of the shoulder cut-outs with a 1/4″ seam.
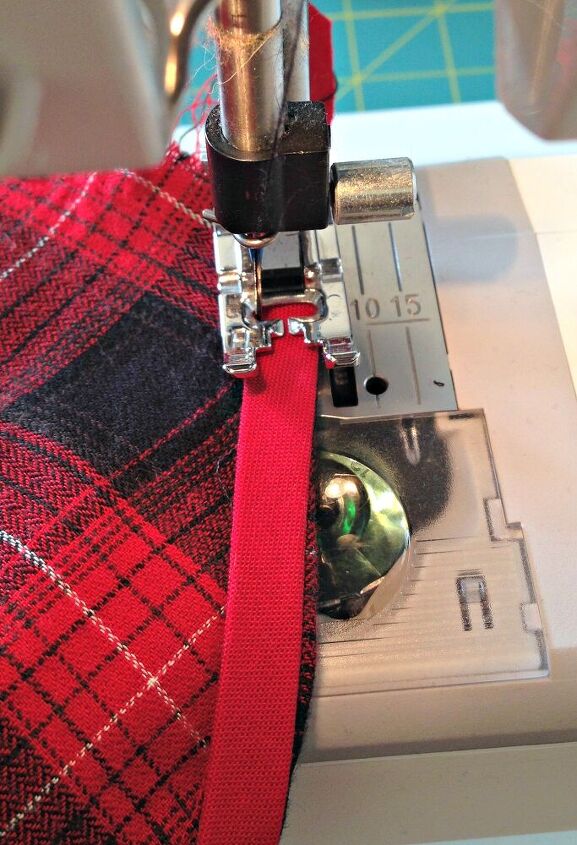
Flip the bias binding to the back and stitch down as close as you can to the edge.
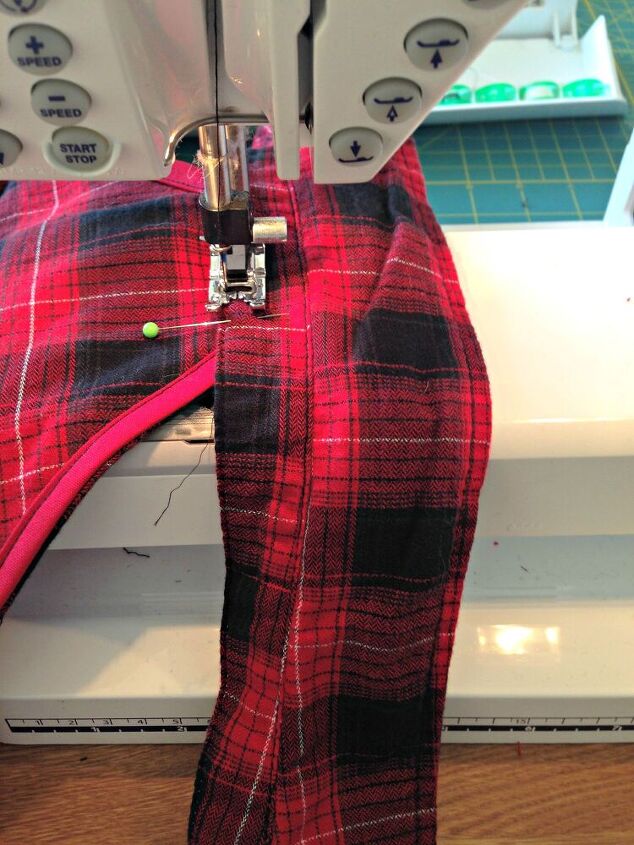
Step 4: Reattached the collar.

Ta da, finished shirt! Here’s the front . . .
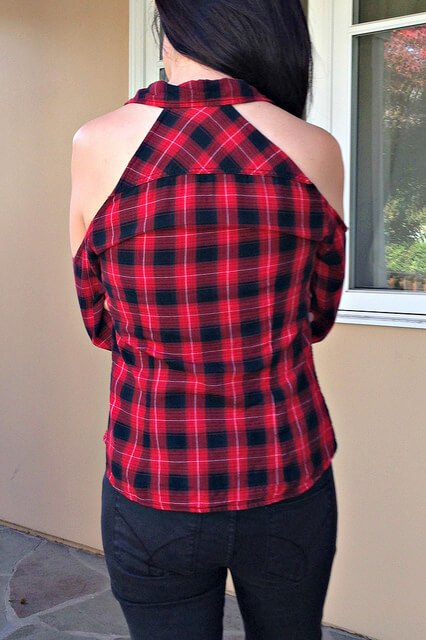
. . . and here’s the back. Who knew flannel could be so sassy? I think the cold shoulders add a feminine vibe to a traditionally masculine shirt. I highly recommend this project for beginning sewers who are interested in learning how to make and sew bias binding. It really is as easy as it looks.
Do you have any shirt in your closet that can use a cold shoulder update?
The author may collect a small share of sales from the links on this page.


Comments
Join the conversation