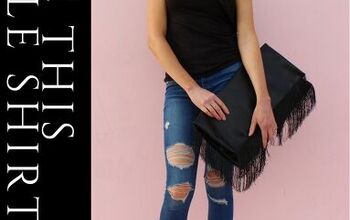
Linen Shirt Refashion

My oldest son will be leaving home soon so he’s been going through his closet and donating a lot of stuff. I really wanted to remake something of his into something for me. Just to keep him closer to me while he’s gone. I've had an idea in my head for a ruffled top for a while. I wanted to refashion a shirt to do it. Since I have a lot of boys in my house, there is no shortage of button up shirts. So when I saw a linen button up shirt in the donation pile, I snagged it real quick.

Because I was using a woven shirt, I wanted to use one of my favorite women's woven shirt pattern, The Harmony Blouse by Love Notions. It’s such a cute pattern and as you can see below, I have made it NUMEROUS times.
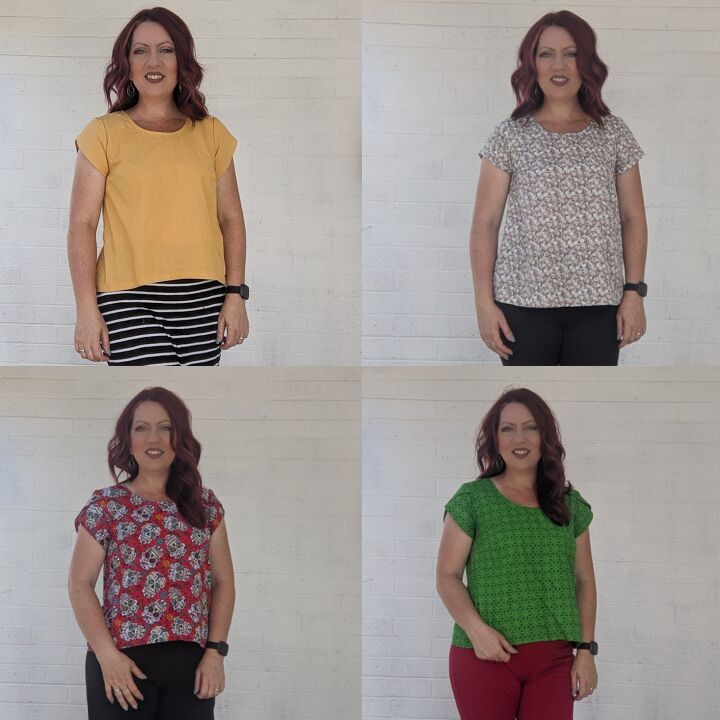
These are just a few of the Harmony Blouses I have made over the years. It's so simple to sew and hack that it is easily one of my favorite patterns for woven fabric.
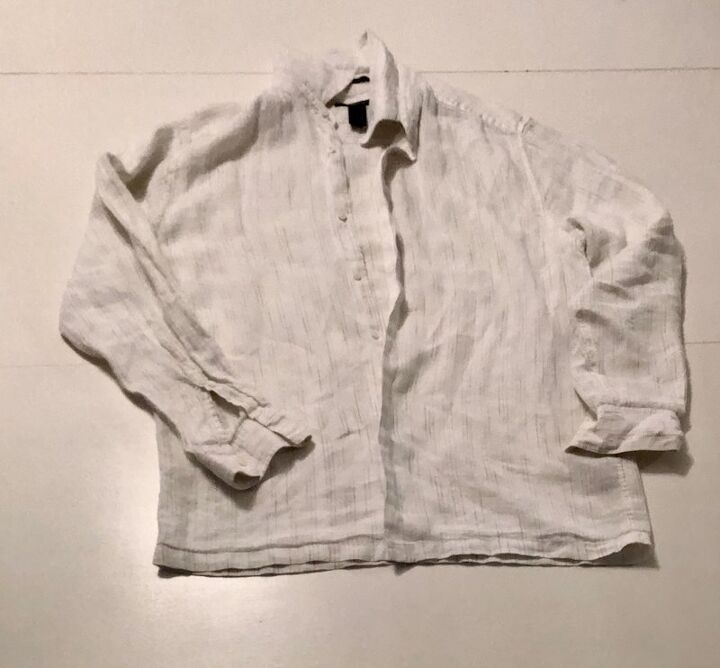
So here’s my son’s size large linen button up shirt before I gave it a complete makeover.
Most people have a favorite patterns that can mostlikely be used for a refashion like the one I do in this post. Just make sure you are using a pattern that you are familiar with. That way it will be easier to do the pattern changes that I show you.
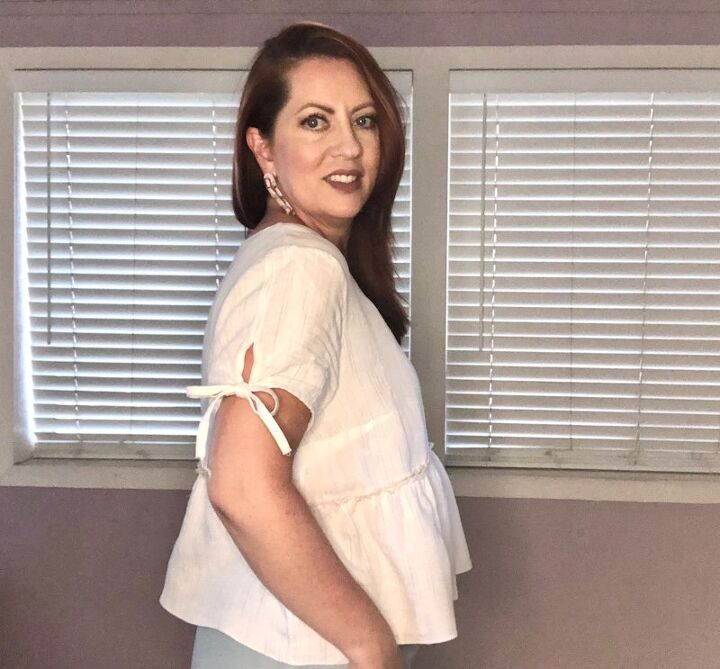
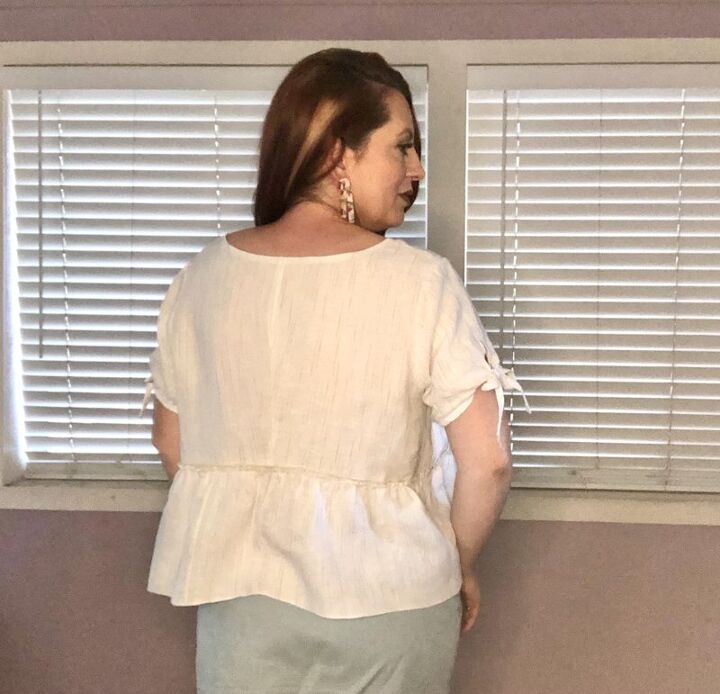
I normally make the cap sleeve or the petal sleeve option for this pattern. The petal sleeve is a free add-on you can find on the Love Notions blog. If you don't have a petal sleeve for your pattern this is a good one to have. It's free and you can probably adjust it to fit your favorite pattern. For this refashion I wanted to use the short sleeve, but make it a split sleeve with a tie. It's a super easy hack you can do to pretty much any sleeve. Here's what I did.
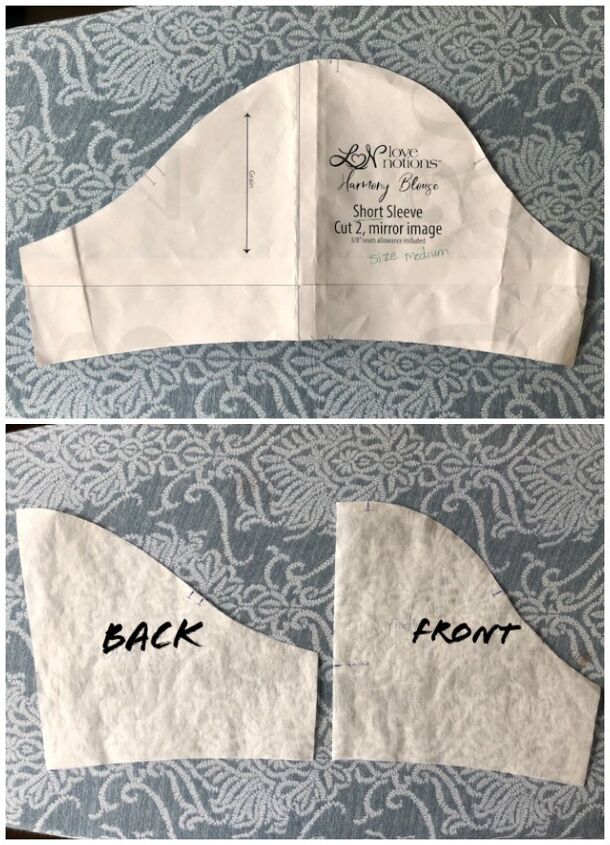
I had to fold the short sleeve pattern piece in half, trace it into two separate pieces (front and back) and add the seam allowance. Pictured above you can see my two sleeve pieces. I also made a mark for where I wanted the split to start.
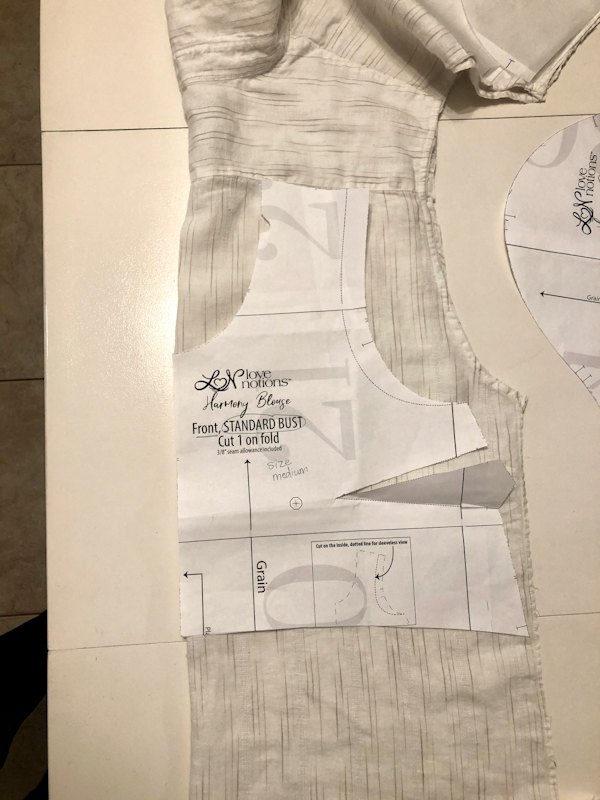
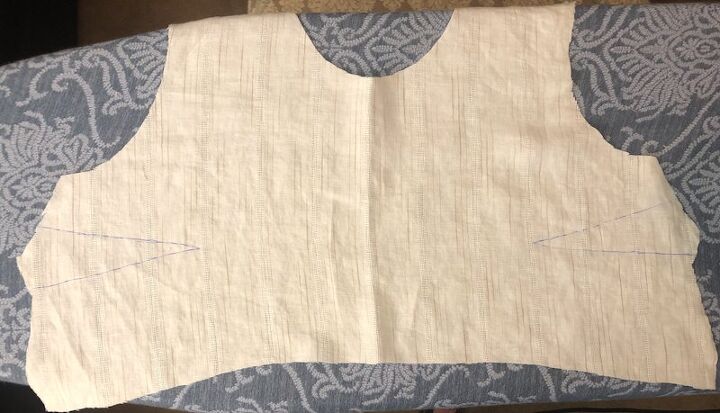
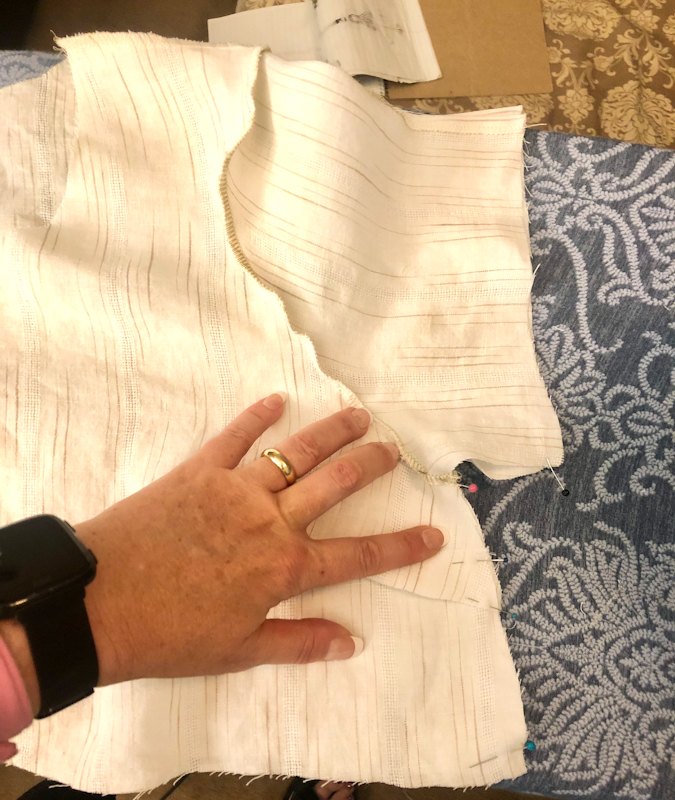
I wanted this top to be cropped with a ruffle attached to the outside. I measured the pattern next to me and decided the length I wanted to crop it to. I made the front pattern piece slightly curved but kept the back straight. Since I didn't want a seam down the front of my shirt, I used the back of my son’s shirt to cut the front of the shirt out.
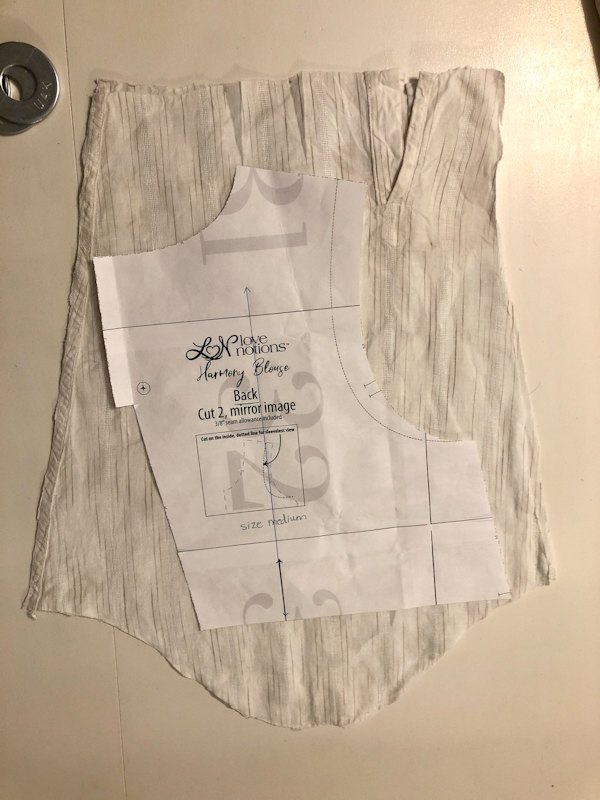
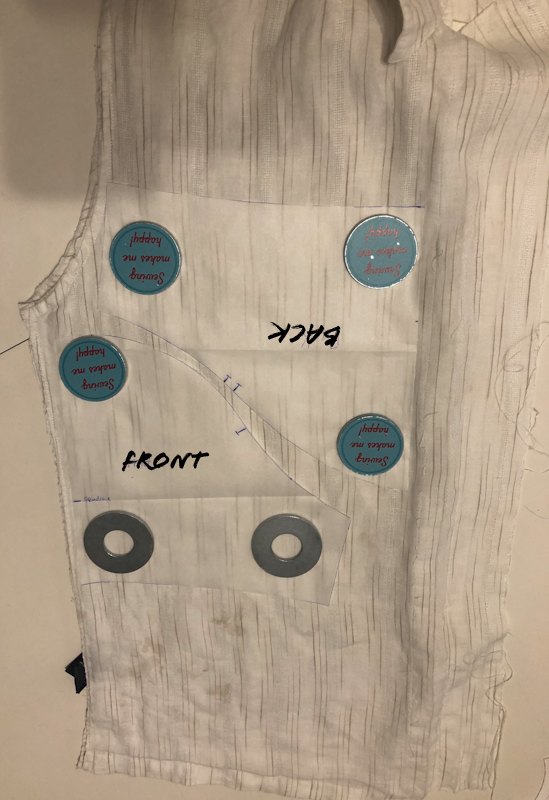
Then I used the sleeves to cut out the back of the shirt. The front of the shirt I used for the 4 sleeve pieces. Whatever fabric pieces I had left, I sewed together to make the ruffle to attach to the bottom of the shirt and to make the ties for the sleeves. Sewing all the little pieces of fabric together was the part that took the longest. I didn’t want any fabric to go to waste though. And not much did.
I have a serger so I was able to finish the edges of all the fabric. Below you can see what the sleeve construction looked like.
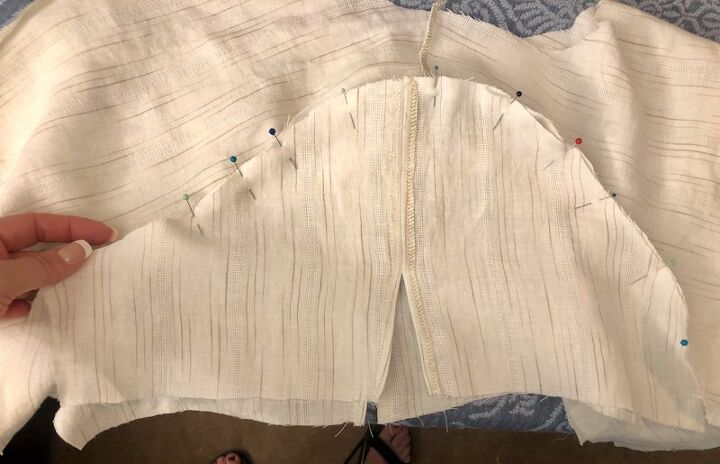
Once I had sewn the shoulders together I attached the sleeves. Rather than do a set-in sleeve, I attached the sleeve before I sewed the sides of the shirt shut. I just like doing the sleeves this way. It just seems way easier to me.
Once I had the sides sewn together I attached the sleeve ties and the bottom ruffle. Since the ruffle was made by sewing together all the fabric that was left there were quite a few seams. The gathering hid it pretty well and made it hardly noticeable.
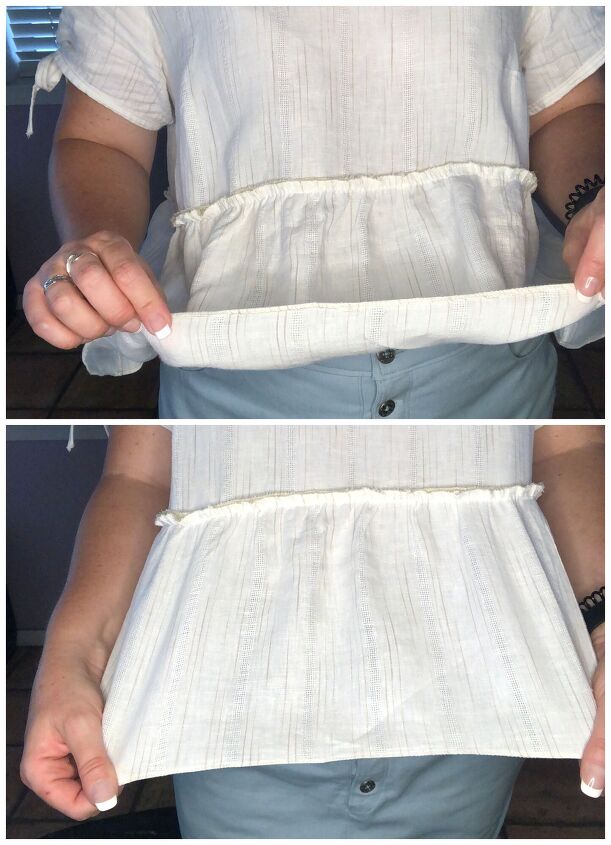
I finished the edges of the ruffle with my serger so that I could attach the ruffle to the outside of the shirt. I really like the look of the ruffle when it’s attached to the outside. For the bottom of the ruffle I just did a tiny rolled hem.
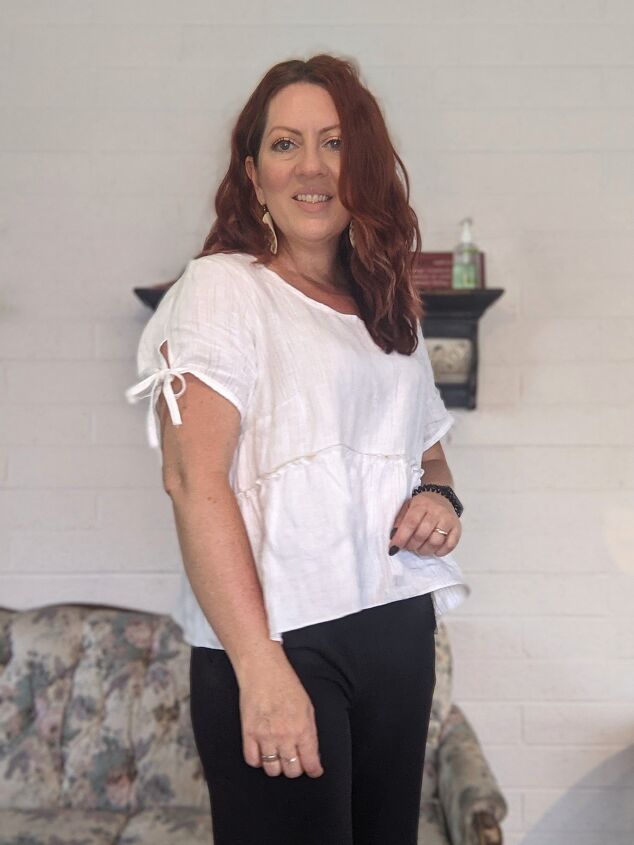
Because it's a linnen shirt I can wear it pretty much year round where I live.
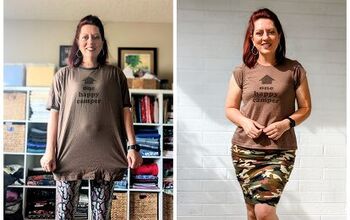
I have to say this was such a fun shirt for me to make. It took a little longer than I planned but it turned out just as I imagined. Now I have a cute little shirt to wear that will hopefully help me not miss my son so much while he's gone.
Thank you for reading!!
Happy sewing,
Koe
Below is some more information on the Harmony Blouse pattern that I used for this Refashion project. I am an affilaiate for Love Notions Patterns. I recieve a small comission when my links are used to purchase patterns. It doesn't cost extra to use my affiliate links.

- Meant for woven fabrics
- Scoop neckline with key-hole back
- Four sleeve options: sleeveless, short, cap and flutter
- High-low hem
- Fitted in the bust, flare at the waist and hips
- Bust darts & center back seam for shaping
- Full Bust option
Sizes: XS-5XL (See Size Charts here)
Skill Level: Confident Beginners
The author may collect a small share of sales from the links on this page.


Comments
Join the conversation
Such a sweet blouse and fond remembrance of your son! Good luck to him!