How to Make a Cute Patchwork Crop Top Out of Fabric Scraps

Today I'm going to be showing you how to make a trendy patchwork crop top. It's so easy and fun to do. If you're looking for a DIY that’s not so complicated, you’ve got to try this DIY patchwork top. I’ll also show you how to make the patchwork top sewing pattern and give you tips on how to sew it together. Let’s begin!
Tools and materials:
- Assorted fabric
- Vest pattern
- Scissors
- Paper
- Pins
- Sewing machine
- Matching thread
- Coloring pencils
1. Make the patchwork top sewing pattern
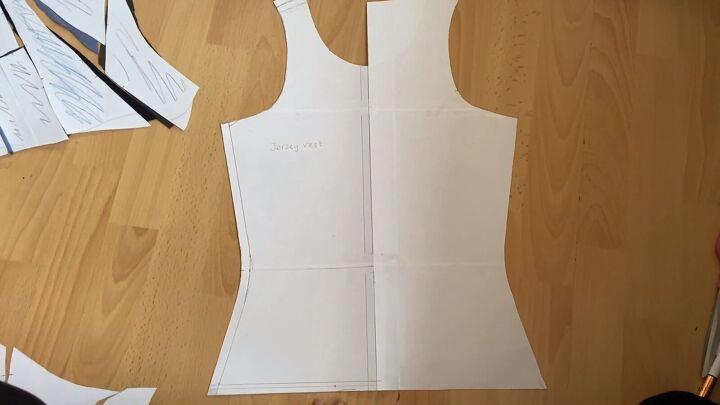
Trace around a close-fitting top. I chose a vest and copied the neckline. I've got a deeper neckline at the front and a higher one at the back.
Also, you can adjust it to your liking. I made another one that has a square neckline and a high neck back. You can play around with what you want the neckline to look like.
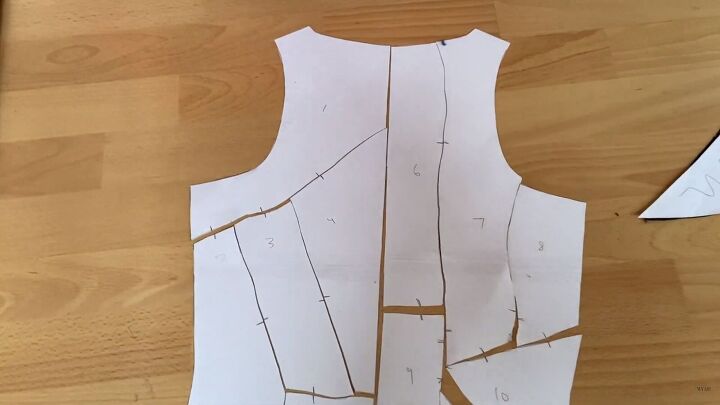
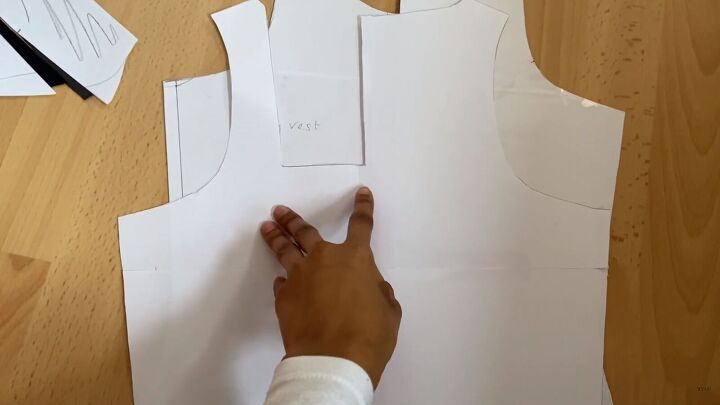
Now, trace out your pattern on the fold. This is the back, and it has a full neckline. Draw in your style lines where you want the seams. Then, cut along the lines, as pictured above.
Tip: Take a photo of how everything is going to be assembled, so you don't forget because the pieces can become pretty complicated, making them harder to piece together.
2. Cut the pieces
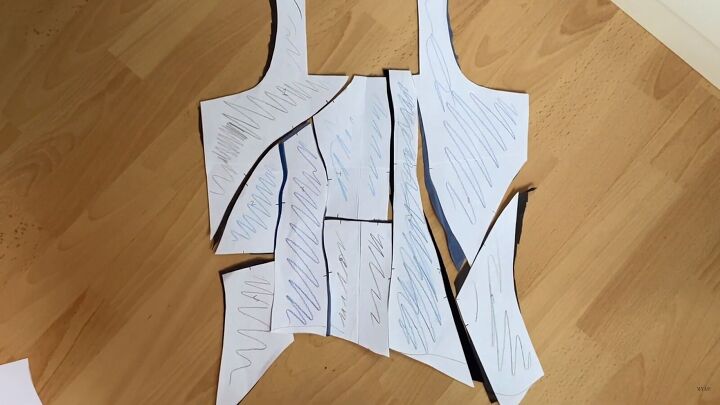
Now’s the time to decide what fabrics you want to use. I'm going with a blue scheme. I colored them in with my desired colors and then cut them out of the fabric.
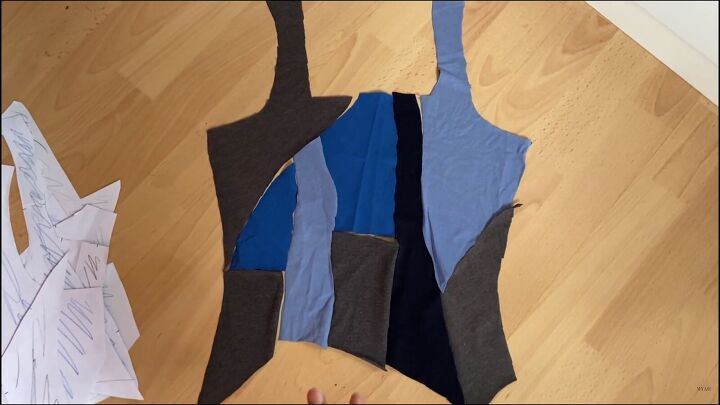
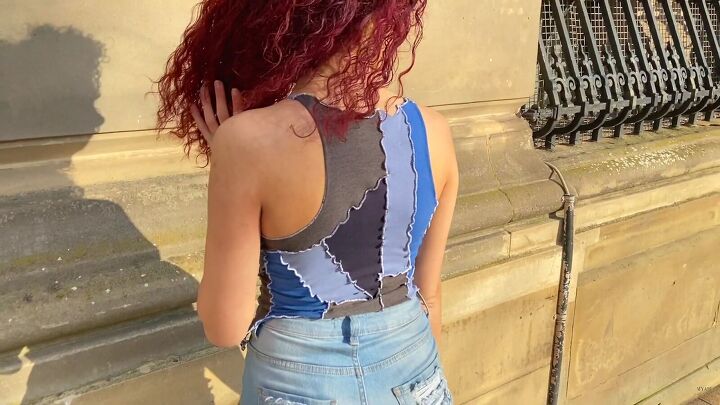
Here’s what the DIY patchwork top will look like once it’s all sewn. Remember, the patchwork top has the seams on the outside and you'll be able to see the stitching lines.
Do the same with the back pieces and color them in with the colors that you want to use.
I just want to note the bottom hem doesn't have to be even. As you
can see, one piece is actually longer than the other. This is fine because that's the design we're going for.
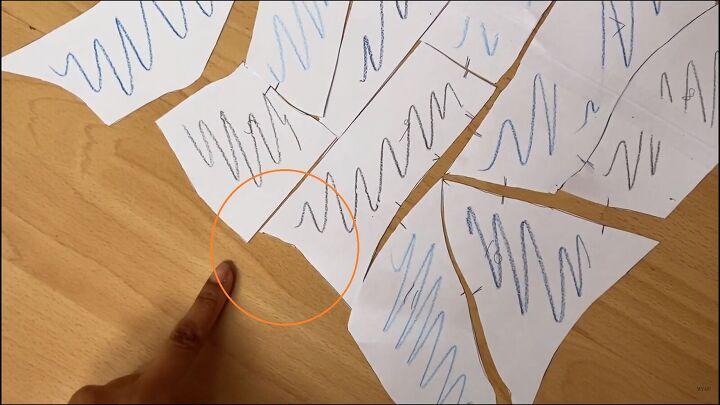
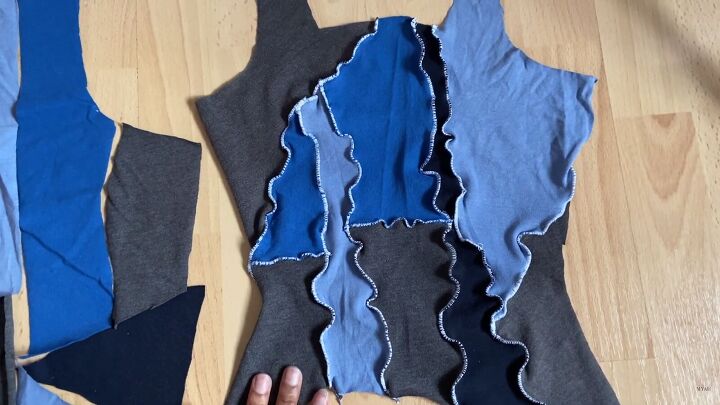
Here are all the pattern pieces ready to be assembled!
3. Deciding how to sew
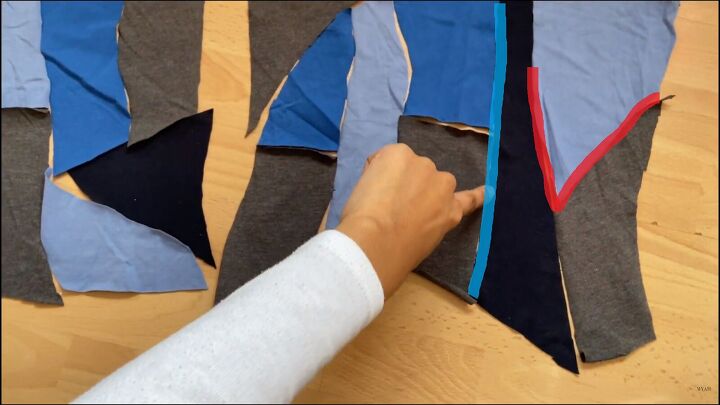
So, here’s a quick tip on how to piece things together. As you can see, there’s a straight line (highlighted in blue) and a triangle piece (highlighted in red).
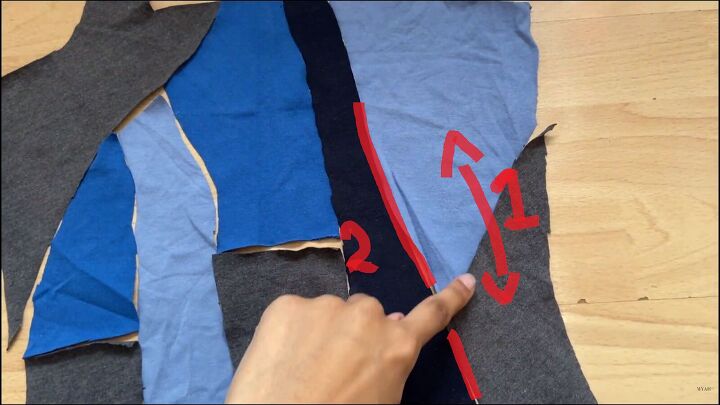
To sew this the easiest way, connect the triangular pieces first, and once you’ve got these as one straight line, you can sew those pieces to the long, straight piece.
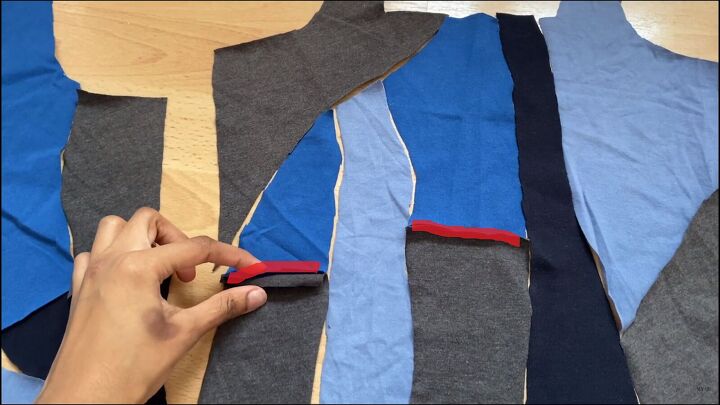
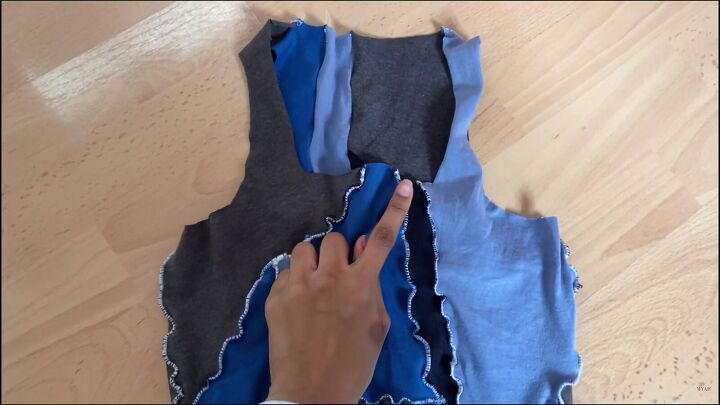
The same applies here. These smooth, straight lines (highlighted in red) would be the easiest to attach first.
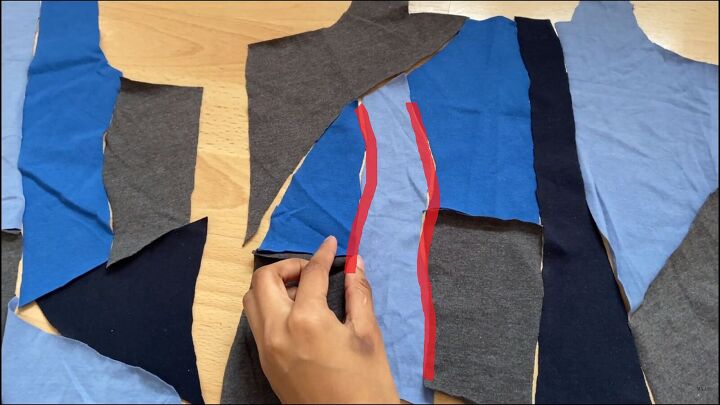
Sew the vertical lines after the horizontal lines, as shown in the previous step. Think about how you will sew the pieces together to make it easier.
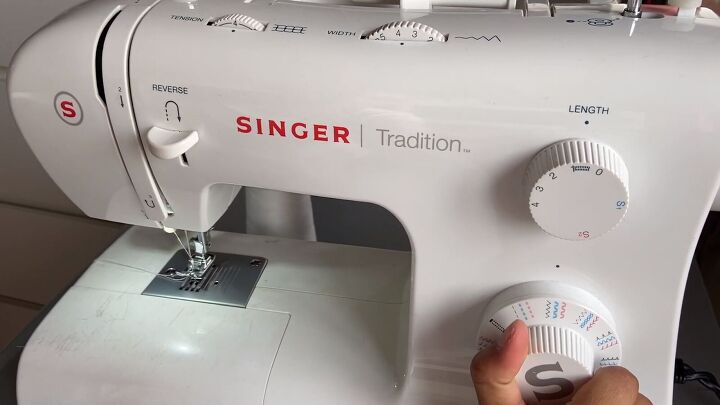
4. Set your machine
Here are the stitch settings you’ll need for this patchwork crop top.
Put your tension at about four. (You can play with this when we're sewing a test sample).
Set the width between three and four. The length is how close the stitches are going to be together; place it in between zero and one. Change your dial to the zigzag stitch.
5. Do a sample stitch
Put two pieces of fabric together and do a sample stitch to ensure you have the stitch you want.
This seems to be sewn pretty nicely, but I want my stitches closer together. In this case, put the length closer to zero and change your width to the widest setting.
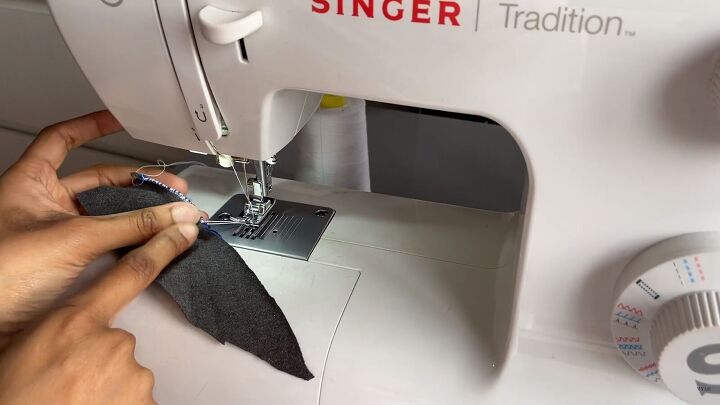
When sewing, you want one needle to go into the fabric and one needle to come off the fabric so that it's basically trapping the edge.
If you want a lettuce hem (as shown above), stretch the fabric as you are sewing.
6. Assemble the DIY patchwork top
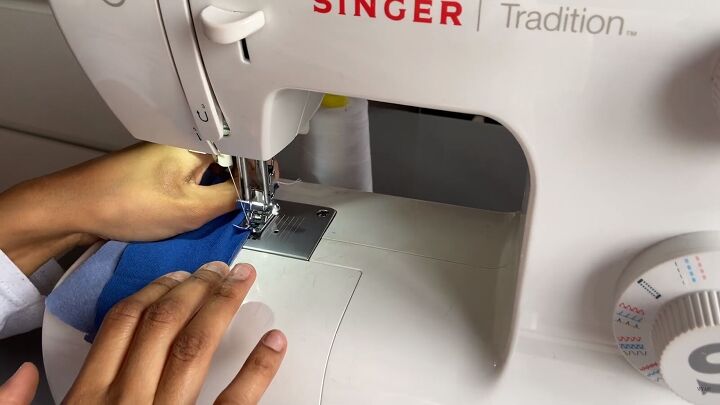
Once you’re happy with the test, you can start sewing the real deal. Place the fabric pieces together and stretch the fabric as you sew.
Here’s what the front looks like. Now, move on to the back piece.
Tip: I didn’t add seam allowance because the fabric is really stretchy. If your fabric is not stretchy, you should definitely add seam allowance.
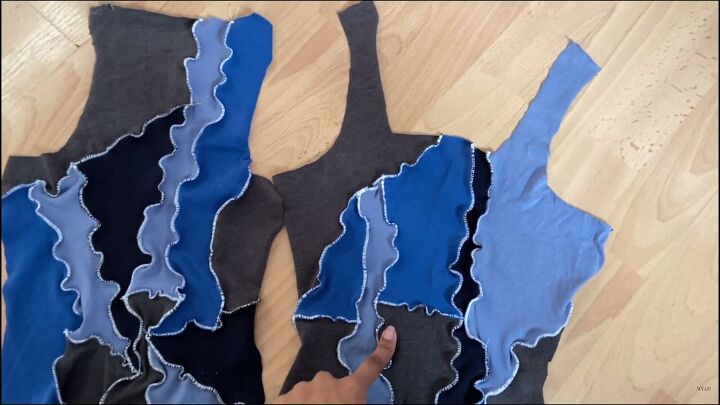
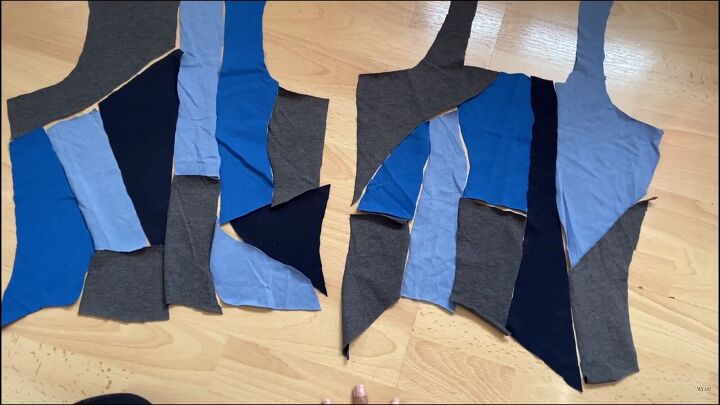
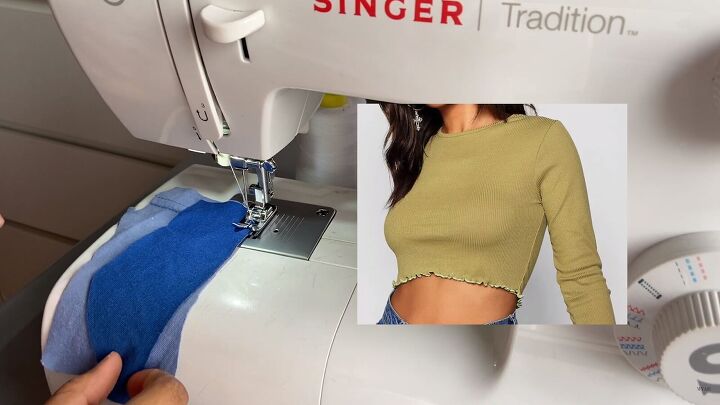
Here’s what the front and back pieces look like.
7. Complete the patchwork top
Connect both pieces at the shoulder and side seams. Pinch them together at the side seams and sew a zigzag stitch to secure.
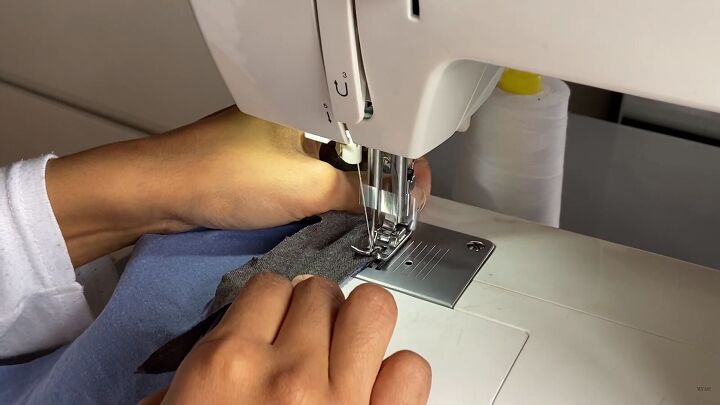
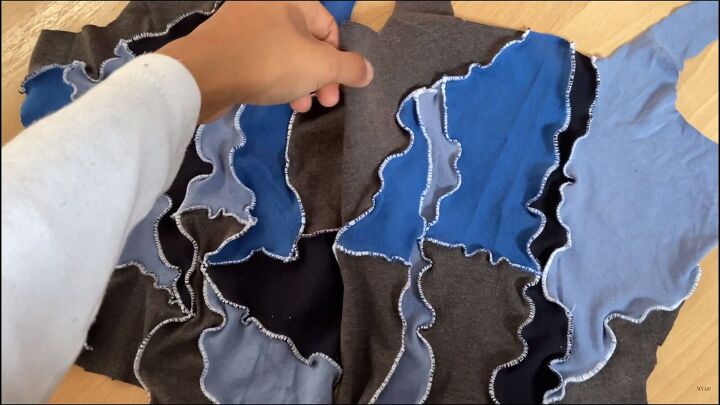
8. Finish off the raw edges
Now it’s time to finish off the raw edges of the patchwork top to give it a polished feel.
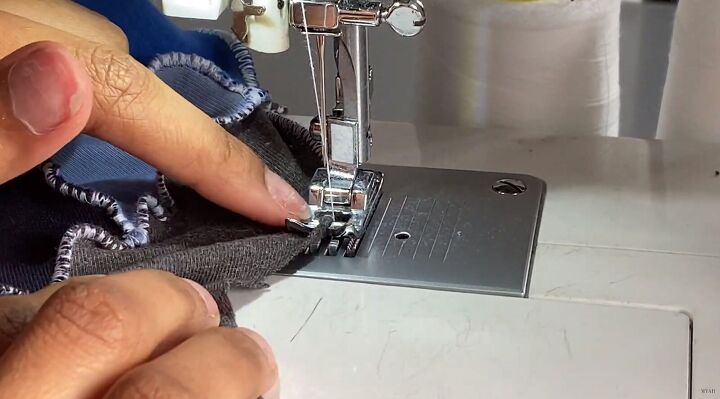
One little trick I have for getting the edging nice is to let your fabric go up and roll over a bit through the middle slit (where my finger is pointing).

Patchwork crop top tutorial
Thank you for joining me on this trendy patchwork crop top tutorial. I hope that you enjoyed it as much as I have. Sure, there are a lot of pieces to the patchwork top sewing pattern, but piecing everything together is totally fun and worth it.
The author may collect a small share of sales from the links on this page.


Comments
Join the conversation