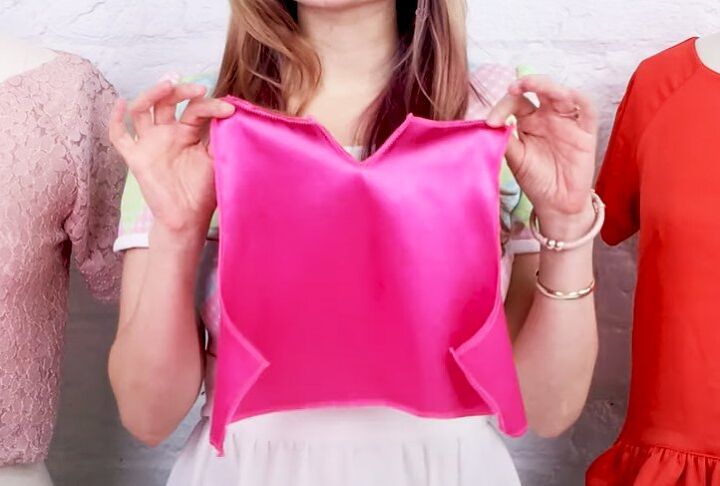
Use This Easy Blouse Sewing Pattern to Create a Cute Ruffle Top

If you're looking for a fun and easy blouse sewing pattern that's perfect for beginners, I have just the thing for you.
The blouse pattern covers sizes XS to 5X and I'm going to show you, step by step, exactly how to sew a blouse using it.
I used a beautiful fuschia pink satin for this project, but the pattern works well in almost any fabric.
Tools and materials:
- Raglan sleeve blouse pattern
- Paper for pattern
- Fabric of your choice
- Matching bias tape
- Tailor's chalk
- Pins
- Scissors
- Sewing machine
- Serger (optional)

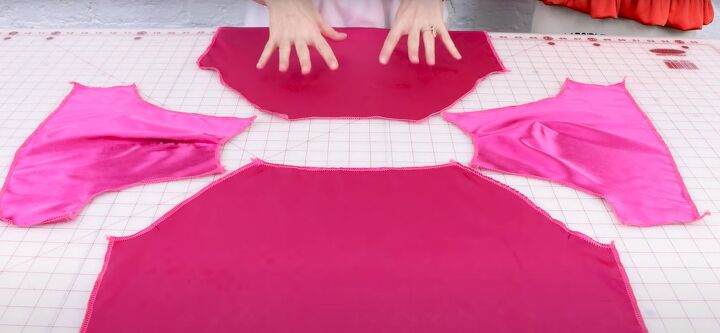
1. Cut out the fabric
Print out the pattern and tape the sheets together in the correct order.
Cut out the pieces for your size.
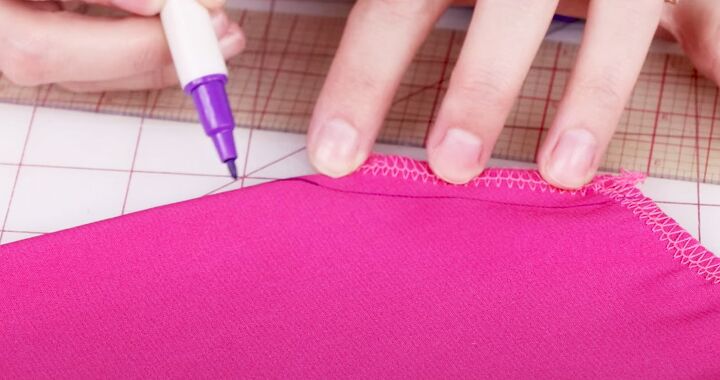
Place the pattern pieces on the fabric as shown and cut them out. Make sure to transfer the markings for the notches onto your fabric.
If you want to add a ruffle at the hem, cut a 5 inch strip of fabric to a total length of twice the lower edge of the blouse.
2. Finish the edges
Serge all the raw edges, or use a zigzag or overlock stitch on your sewing machine, to prevent the seams from fraying.
3. Shoulder darts
Fold the sleeve in half with the right sides together.
Mark the half inch seam allowance along the edge of the dart. Curve the pointed end of the dart into the top of the shoulder.

Sew the dart, backstitching at the beginning and end.
Repeat on the other sleeve.
4. Attach the sleeves
Lay out the back, front and sleeve pieces with the right sides uppermost.
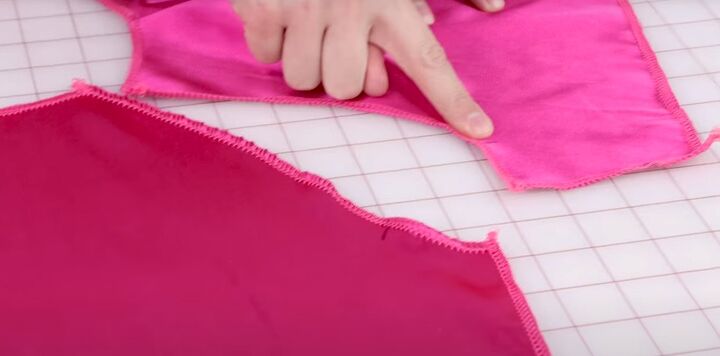
Make sure the single notch on each sleeve is lined up with the single notch on the front raglans.
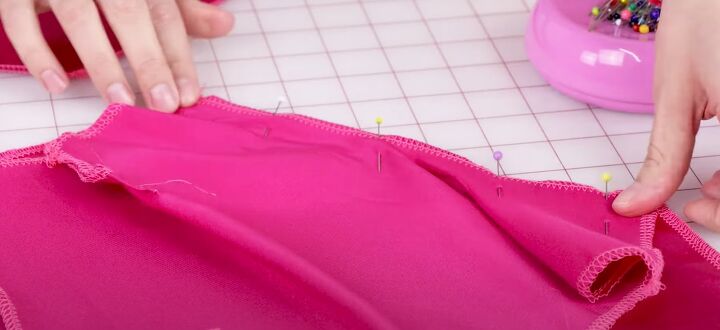
Pin one sleeve to the front along the raglan edge with the right sides together.
Pin the other side of the sleeve to the back.
Repeat for the other sleeve.
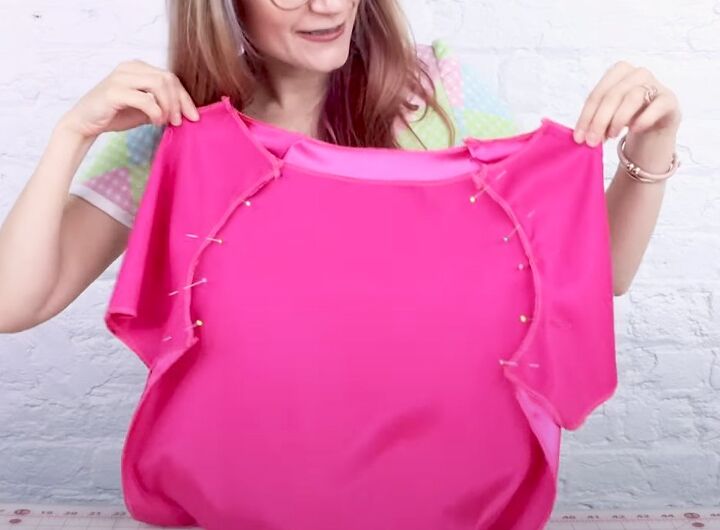
Sew all four seams with a half inch seam allowance.
Press the seams open.
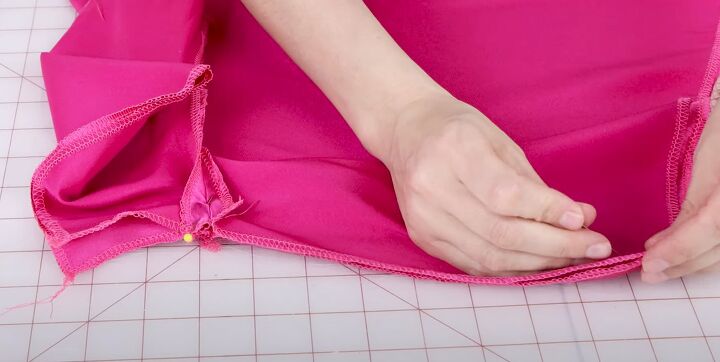
5. Sew side seams
Pin and sew the underarm and side seams together, matching the sleeve seams carefully.
6. Sleeve hem
Turn up the hem on the sleeve by 1 inch and press it.
Sew it down close to the edge.
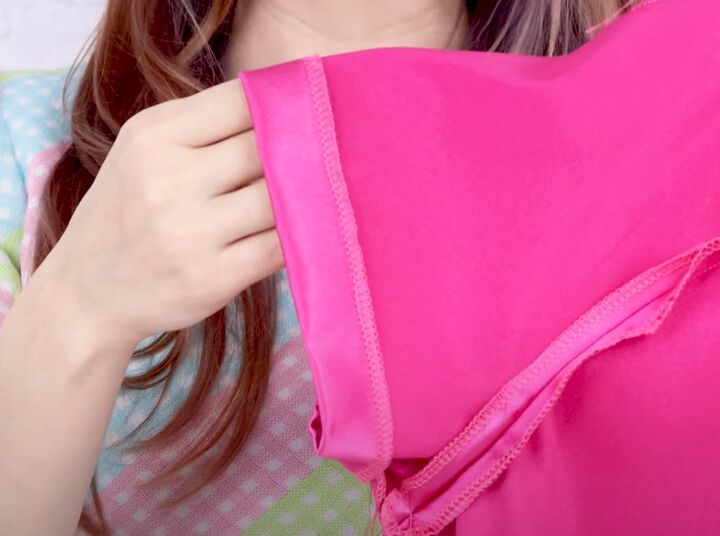
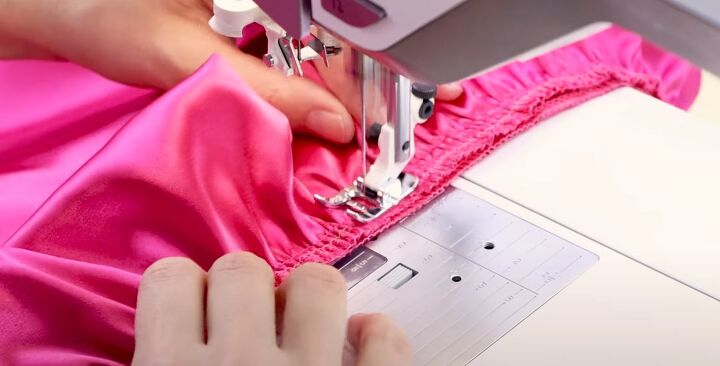
7. Neck edge - Bias facing
You can finish the neck edge in several ways.
The simplest option is to turn in a narrow hem and sew it down. Make sure you don't stretch the edge as you sew it.
Alternatively, you could create a bias facing around the neck with bias tape. This is the method I'm going to be using today.
You could also finish the neck with a bias binding. This is a slightly more advanced option.
If you choose this, I would recommend that you cut your bias tape from the blouse fabric.

To make a bias facing, open the bias tape and pin the right side of the tape to the right side of the neck. Turn in the raw edge of the tape and line it up with a seam.
Sew the tape to the neck edge by stitching in the fold line of the tape.

Flip the tape to the inside of the blouse.
Sew it down along the lower edge.
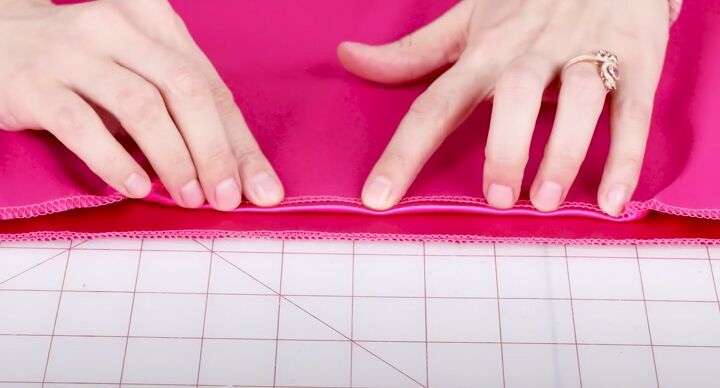
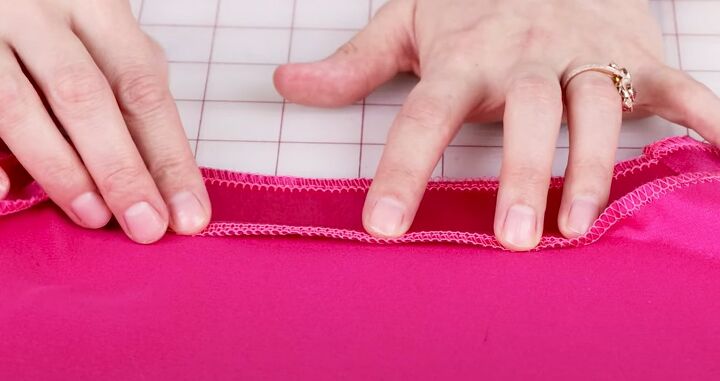
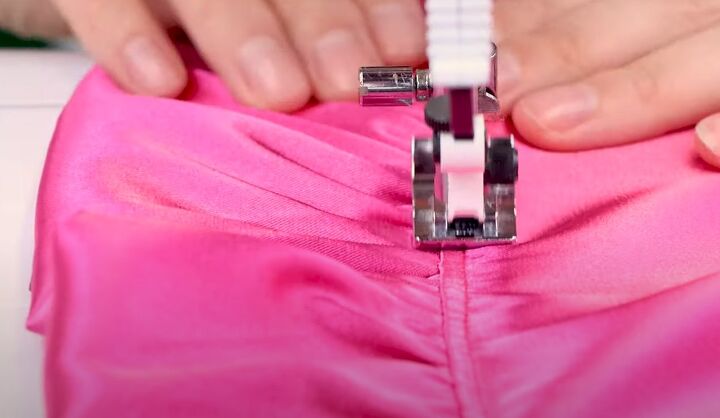
8. Lower edge ruffle
You can make a simple single, rolled or blind hem at the lower edge of the blouse, if you don't want to add a ruffle.
For the ruffle, fold your 5 inch strip in half lengthways with the wrong sides together and sew and finish the long edge.
If you want a "puffy" ruffle like mine, don't press the folded edge.
Run a row of basting stitches along the stitched edge.
Gather the edge until it fits the lower edge of the blouse.
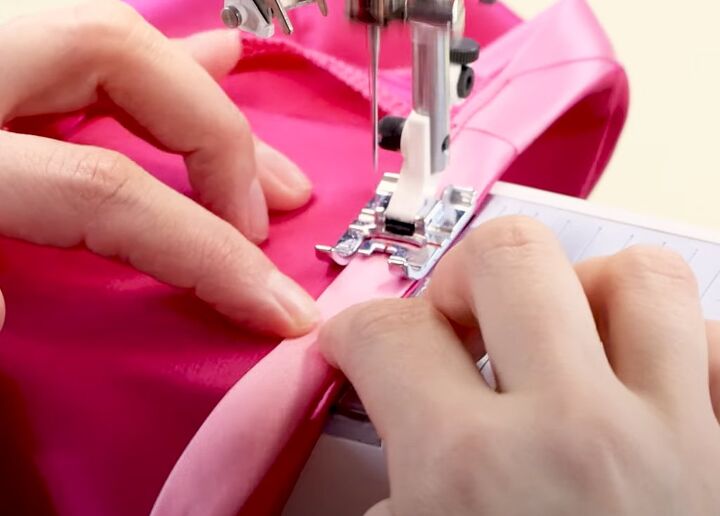
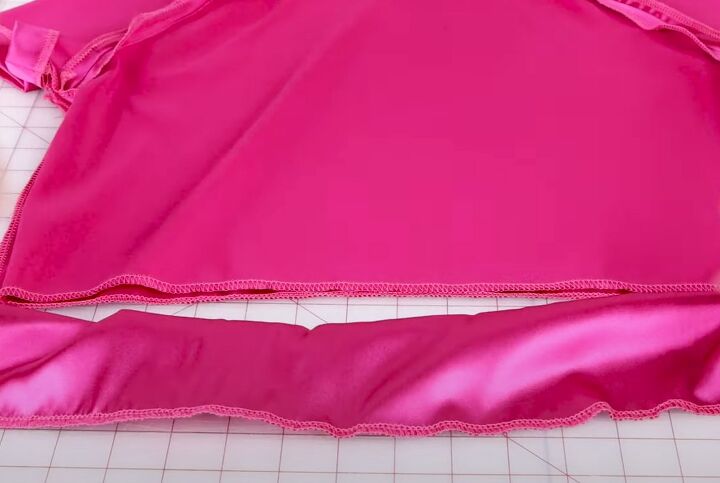
Sew the shorts ends of the ruffle together with the right sides facing.
Pin and sew the ruffle to the blouse with the right sides together, aligning the ruffle seam to a side seam.
Turn the ruffle down and top stitch it close to the edge.
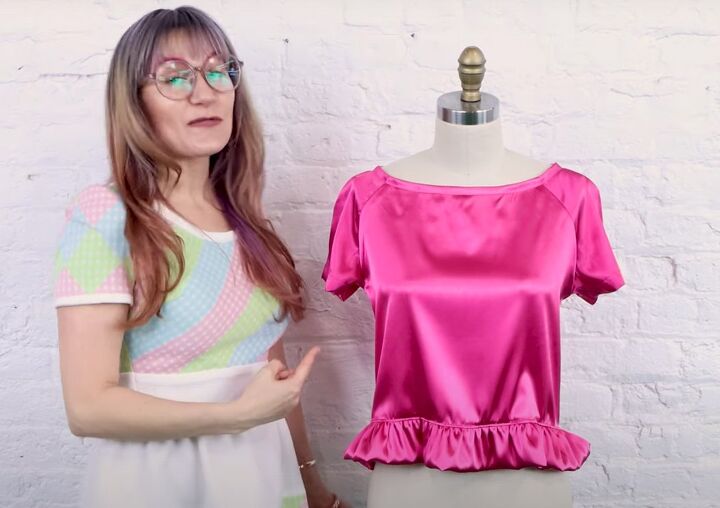
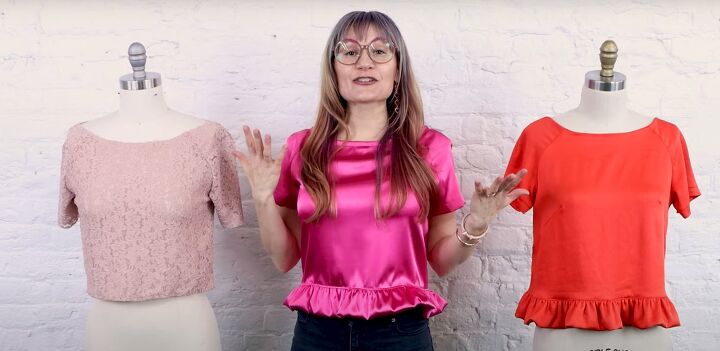
DIY blouse
There are so many ways to customize this DIY blouse. You could add a ruffle to the neck or sleeves or put an applique or rhinestones on the front, just as examples.
Of course, the fabric you choose - lace, cotton, satin, velvet - will make a big difference to the final look. Take the basic blouse pattern and make it your style.
I'd love to see your take on this blouse. Drop me a link in the comments!
Next, check out my post on How to DIY a Dupe Anthropologie One Piece Swimsuit for the summer.
The author may collect a small share of sales from the links on this page.


Comments
Join the conversation