How to Sew a Cute and Easy Blouse

Follow this tutorial as I show you how to make a trendy DIY tie-knot blouse using a relatively small piece of fabric that you probably have left over from a previous project.
This sewing project is simple to do, and there are no seams because there is only one piece to the blouse sewing pattern!
The measurements I provide in this tutorial are suitable for European size 36-38, which is American size 6-8.
Tools and materials:
- 31 x 38 – inch piece of fabric
- Sewing chalk
- Ruler
- Scissors
- Sewing pins
- Sewing machine with zigzag foot
1. Make your pattern piece
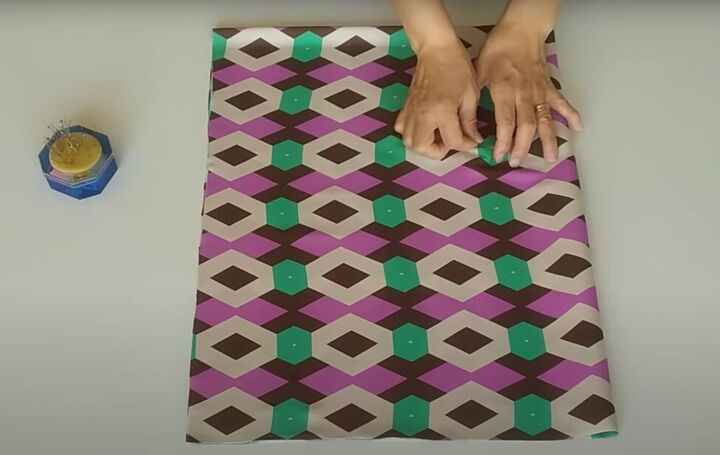
Fold fabric twice making a 16 x 19-inch rectangle and place a few sewing pins in the middle of the rectangle to keep it from shifting.
On the long, folded edge, measure and mark 2.7 inches down from the top.
On the short, folded edge, measure and mark 4.5 inches in from the folded long edge.
Join those two marks with a curved line.
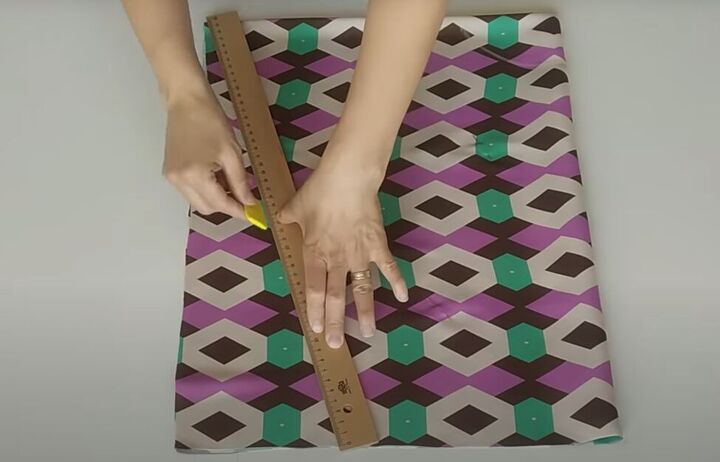
On the corner with the open edges, measure and mark 5 inches along the bottom edge and use a ruler to draw a diagonal line from that point to the upper open corner.
On that diagonal line, mark and measure 6 inches from the top and 6 inches from the bottom of the line. Extend the top mark towards the edge of the fabric and the bottom mark towards the center of the fabric.

Now, use those marks to draw a wavy line through the diagonal line, as shown above.
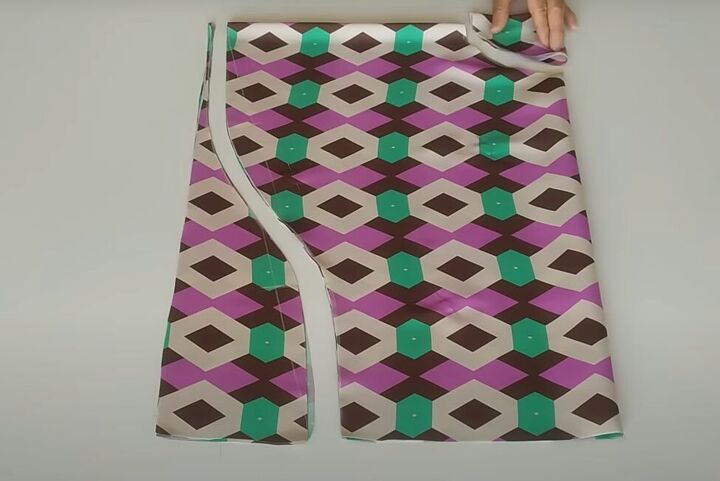
Cut the curved edge and top corner from the fabric.
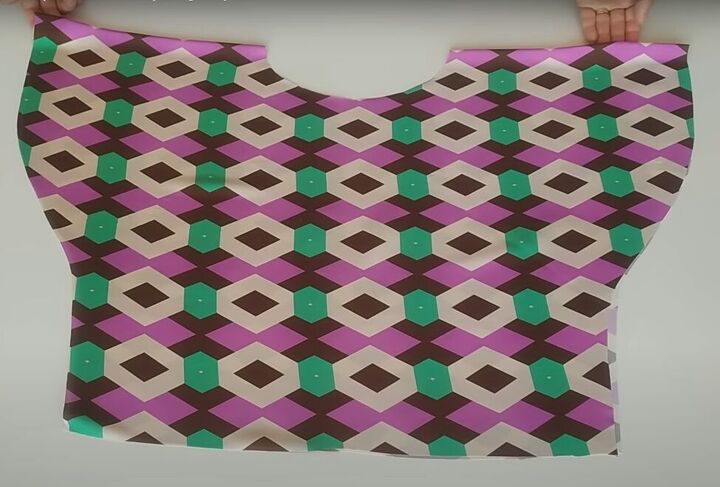
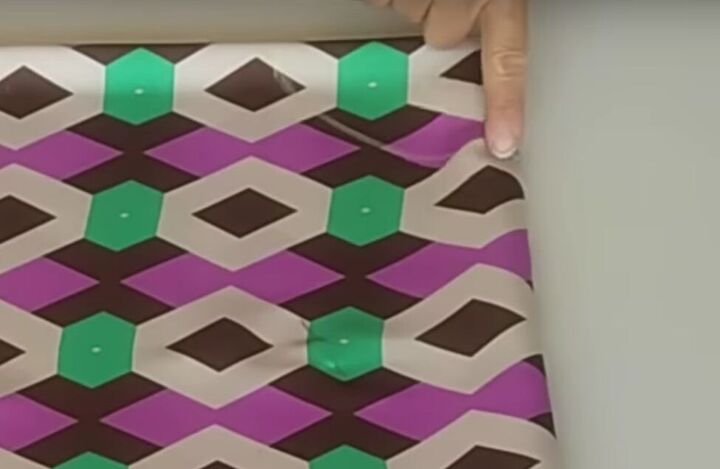
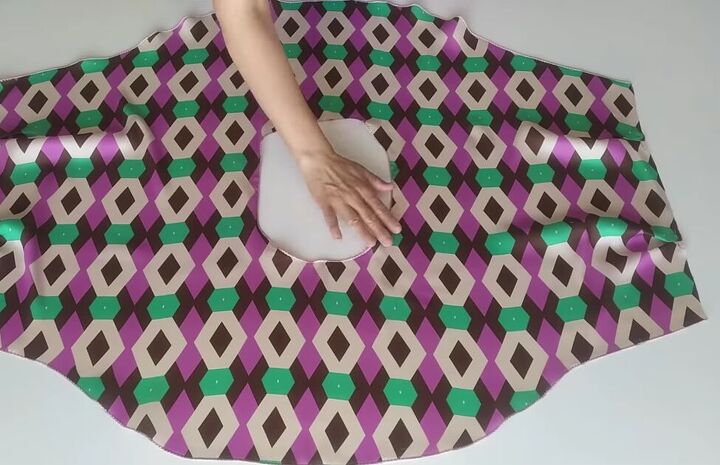
Remove the pins and unfold the fabric once to reveal the shape of your blouse.
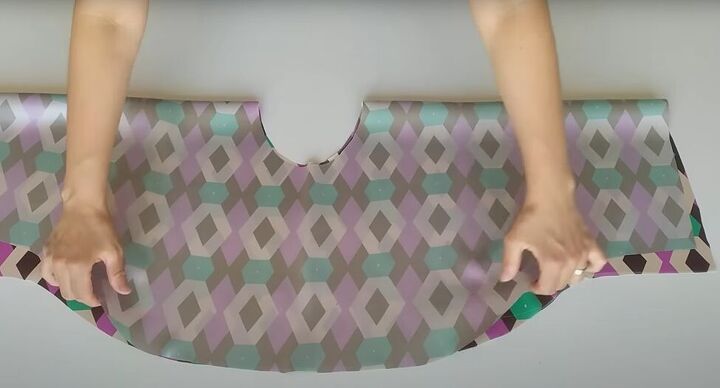
2. Extend the front neckline
Fully unfold the pattern piece and refold it in half the other way, with the right-side facing in.
Pin the neckline to keep it from shifting.
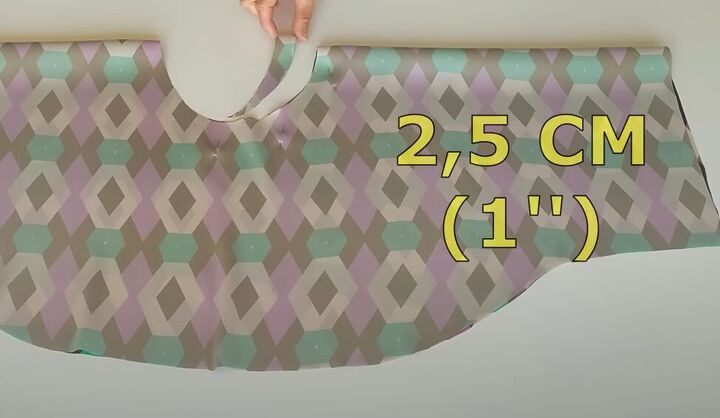
Then, mark 1 inch from the neckline along one shoulder, and cut a curved piece from the neckline, starting at the mark and ending near the bottom of the neckline.
That deeper neckline will be the front of your blouse.
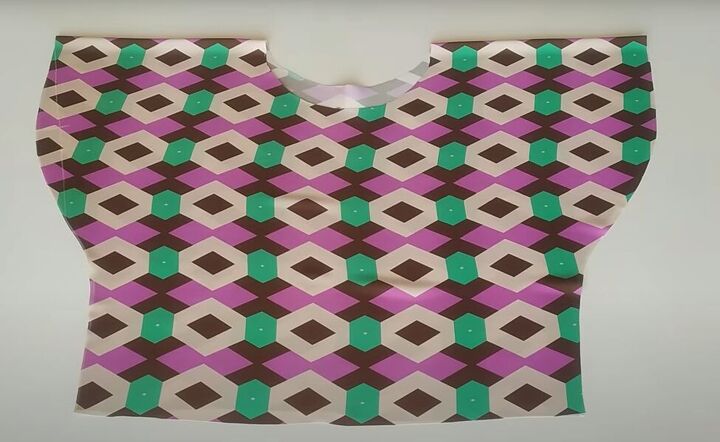
Refold your fabric to see how the neckline looks.
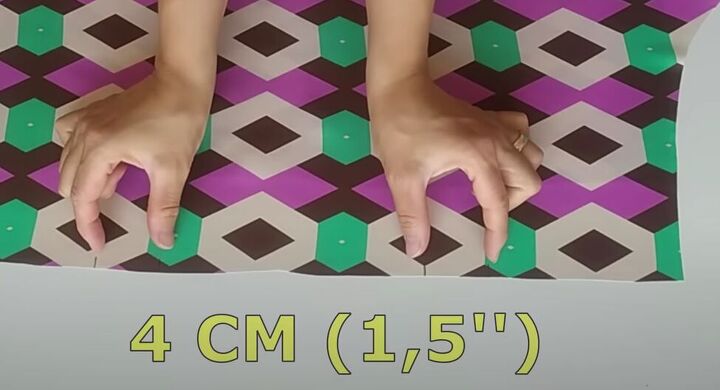
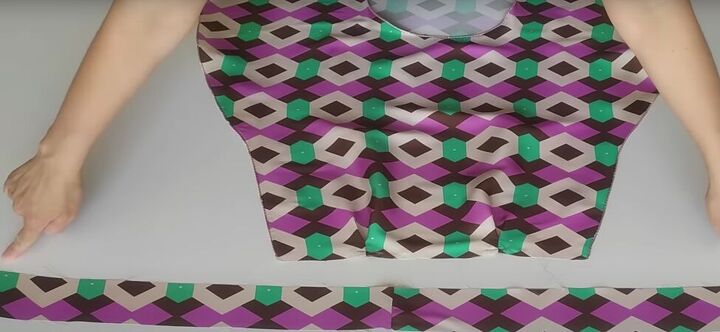
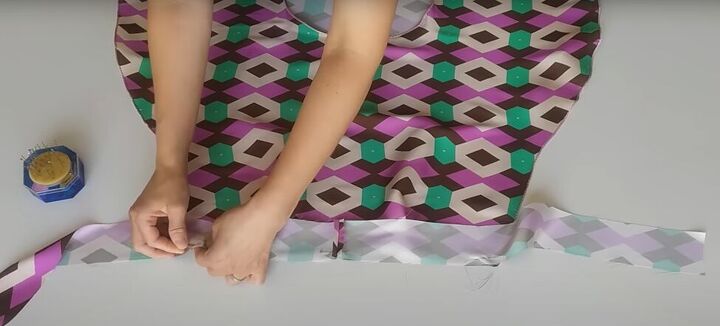
3. Make front and back pleats
With the fabric right-side out and the front of the blouse facing up, measure and mark 4.7 inches in from the edge on your right, and another 1½ inches beyond the first mark.
Repeat on the other side of the blouse front.
With right sides facing, fold and pin those two pleat markings.
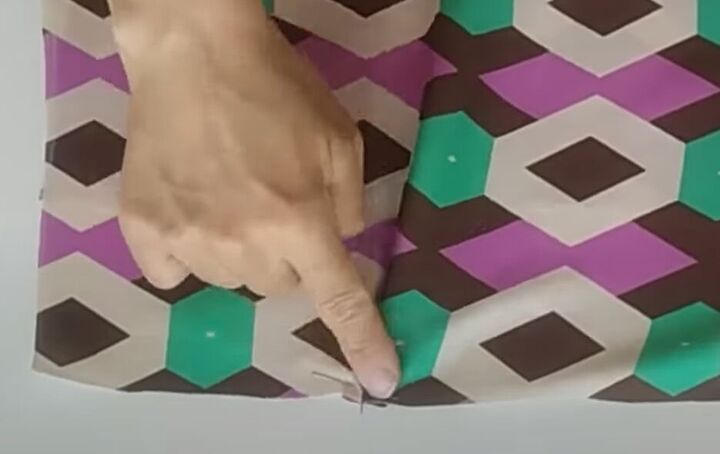
Then, flatten the pleat fabric on the inside and pin again on top to make it lie flat. Repeat for the other pleat.
Repeat this step at the bottom of the back of the blouse.
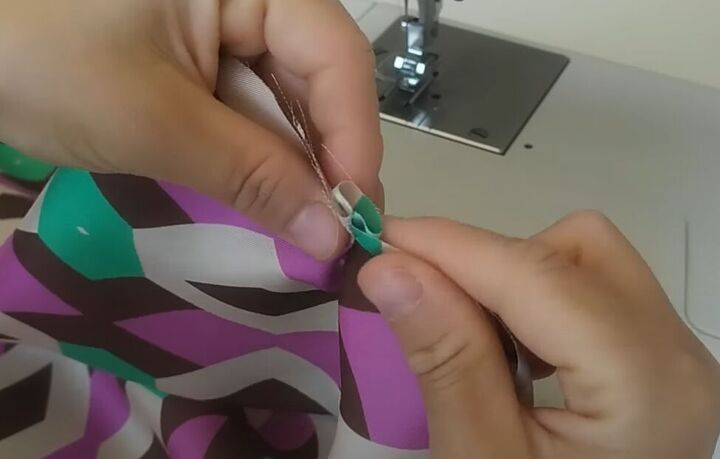
Sew the pleats first along the first diagonal and then horizontal when it’s pressed flat.
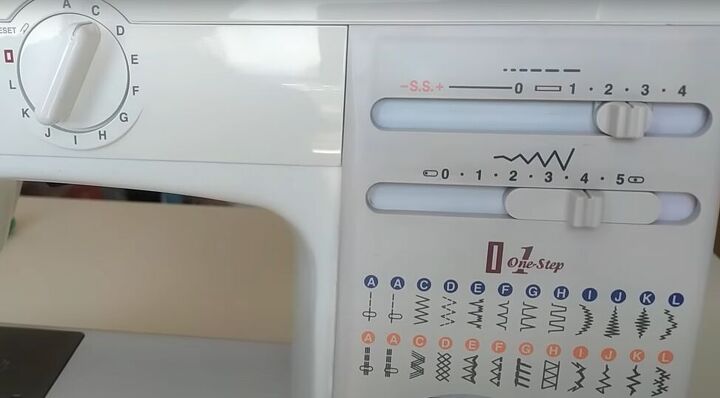
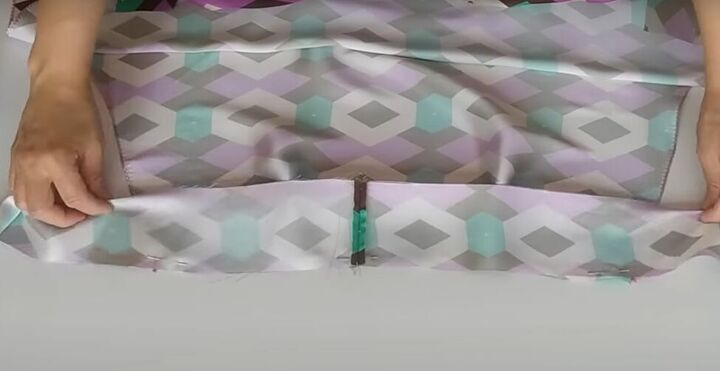
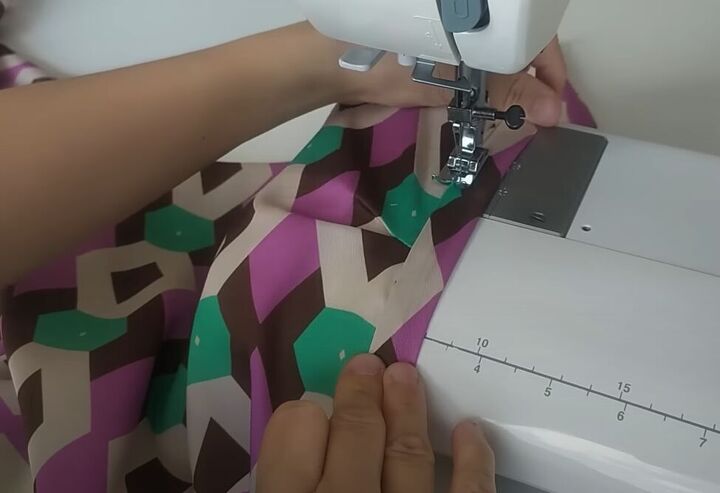
4. Hem side and neckline edges
Set your sewing machine to a zigzag stitch according to the above settings.
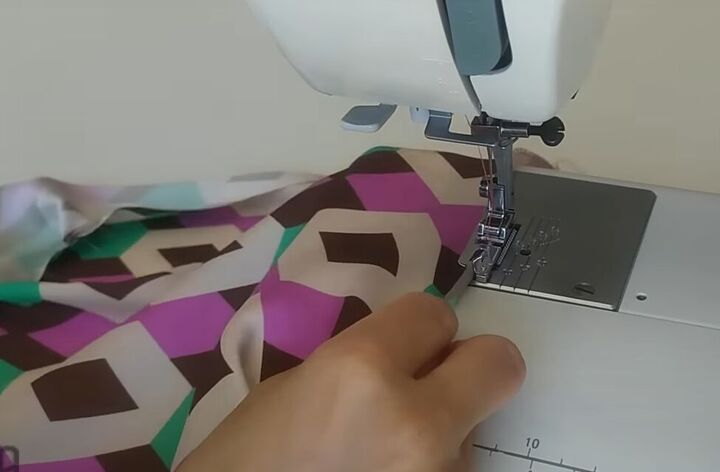
Create a rolled hem, from the outside-in, using a zigzag stitch, along both sides and the neckline of the blouse.
It will look like this.
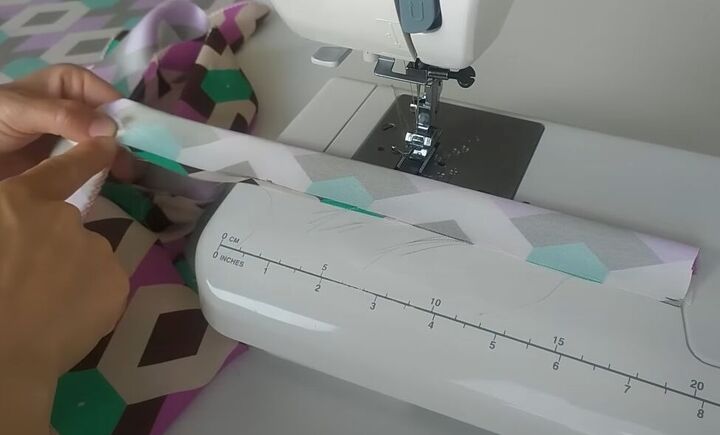
5. Make front and back tie bands
Cut a 2-inch wide, 35-inch-long piece of fabric for your front tie band.
With right sides facing, pin the tie to the bottom front of your blouse, centering the tie on the blouse.
Repeat on the back of your blouse with a 3 x 59-inch tie band, but this time pin the right side of the band to the wrong side of the blouse.
Sew both bands in place along the bottom edge of the blouse.
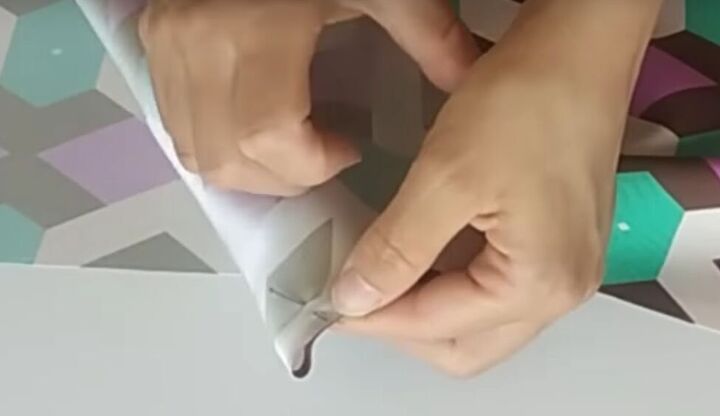
Fold the band in half lengthwise with right sides facing in and sew along the open edge from the end to where it meets the blouse.
Just before you reach the end of the band, sew a diagonal line across the opening, to make a sharp point.
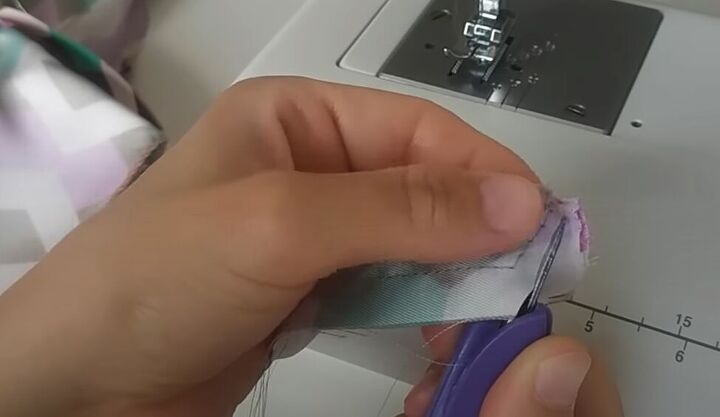
Trim the corner of the band.
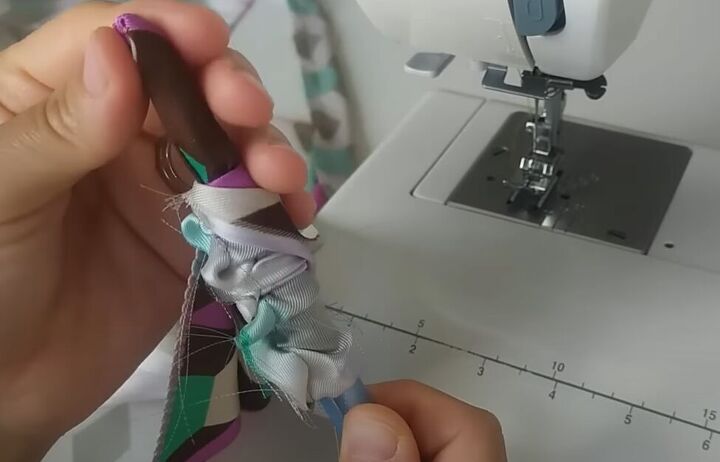
Now, use a tool to turn the band tie right-side-out.
Continue with the fold and sew the band across the blouse.
Repeat for both front and back bands.
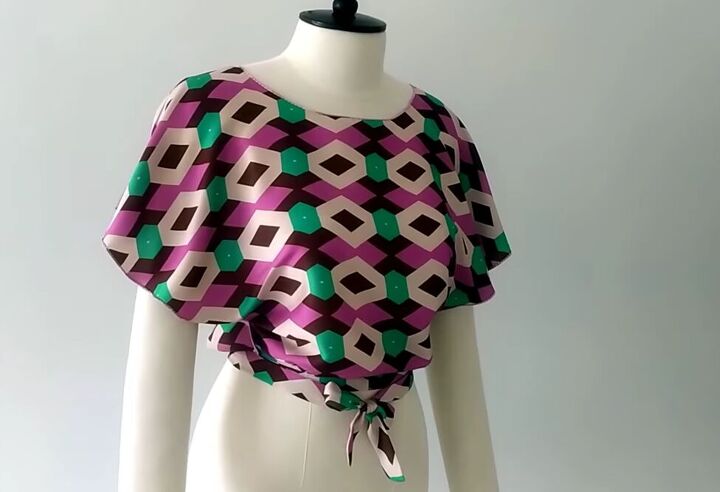
How to sew a blouse
Here is your completed tie-knot blouse!
It looks so elegant for something so easy to make. Try making your own DIY tie-knot blouse from some leftover fabric and leave a comment to let me know how it turned out.
If you enjoyed this tutorial, check out my TikTok: https://www.tiktok.com/@tugbaisler
The author may collect a small share of sales from the links on this page.


Comments
Join the conversation