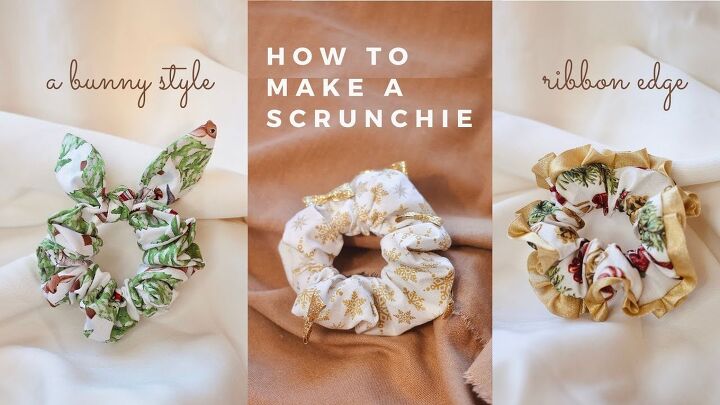
DIY Stocking Stuffer Ideas: 3 Cute Christmas Scrunchies

Hi everyone. Today, I will show you how to make 3 different styles of Christmas scrunchies for this holiday season. Follow along for these cute, DIY stocking stuffer ideas.
Tools and materials:
Small glitter bow scrunchie:
- 4.5” x 22” fabric
- Fabric scissors
- Straight pins
- Glitter ribbon (cut 3”)
- Sewing machine, thread, needle
- Thin elastic (cut 6”)
- 1 safety pin
Bunny ear scrunchie:
- 22” x 3.5” piece and 9” x 4.5” piece of fabric
- Safety pin
- Sewing machine, thread, needle
- Fabric scissors
- Thin elastic (cut 6”)
- 2 straight pins
Ribbon edge scrunchie:
- 22” x 3.5” piece of fabric
- 44” ribbon
- Lighter
- Sewing machine, thread, needle
- Straight pins
- Thin elastic (cut 6”)

Small glitter bow
1. Prepare fabric
Cut your fabric into a large strip: 4.5” x 22”.
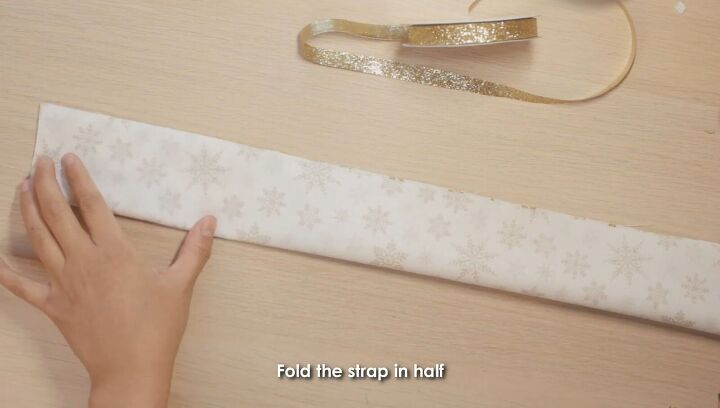
Then fold it in half, lengthwise.
2. Pin and sew
Using two pins, mark a 2”-3” gap.
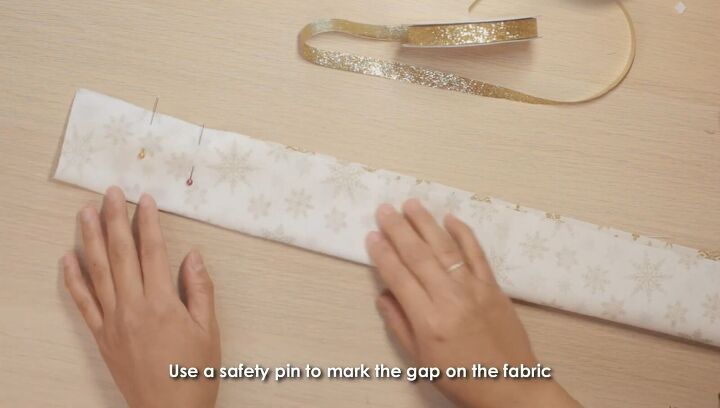
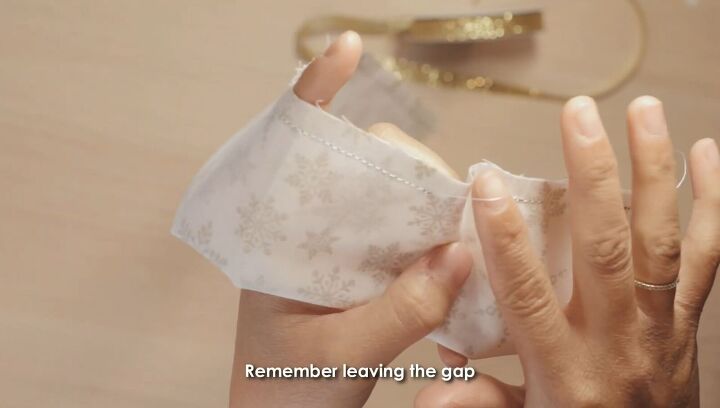
Then sew across the edge, leaving the gap open.
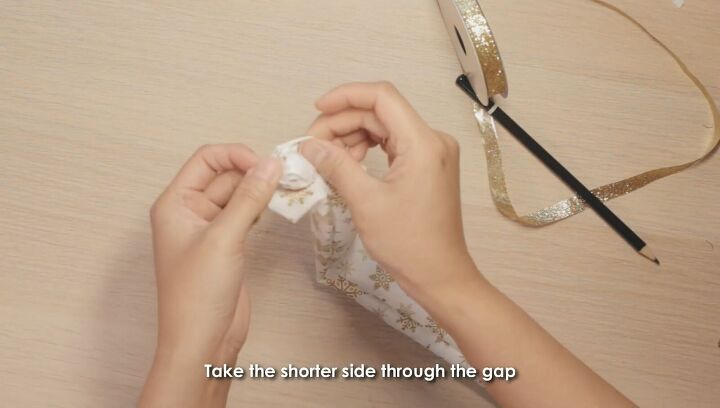
3. Reverse the tube and insert the ends through the gap
(See video 0:50 - 1:08). Using a pen to assist you, turn the fabric right side out.
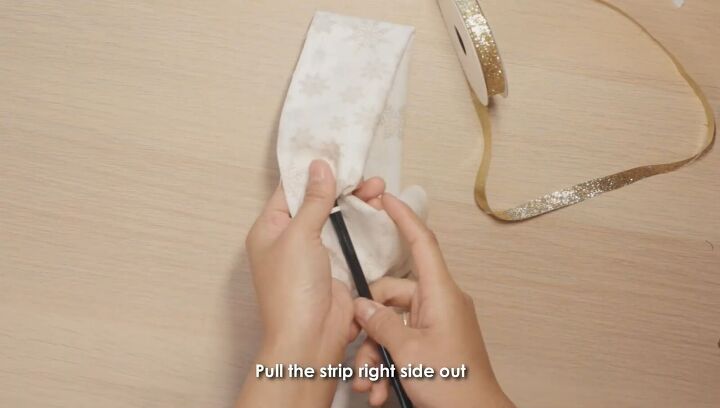
Straighten out the seam, then pull the shorter end through the gap.
It should look like this:
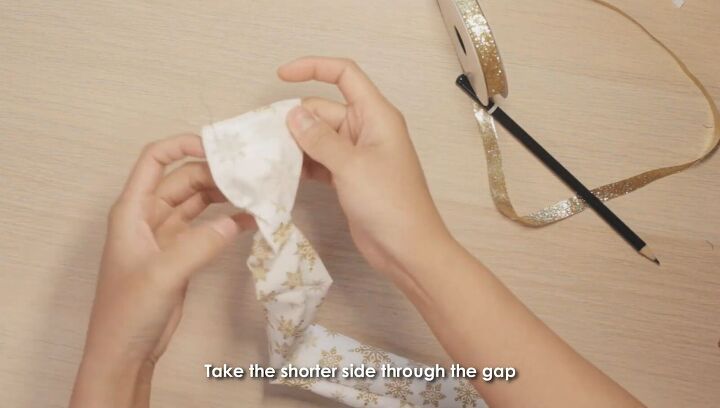
Now, tuck the other end through this gap as well.
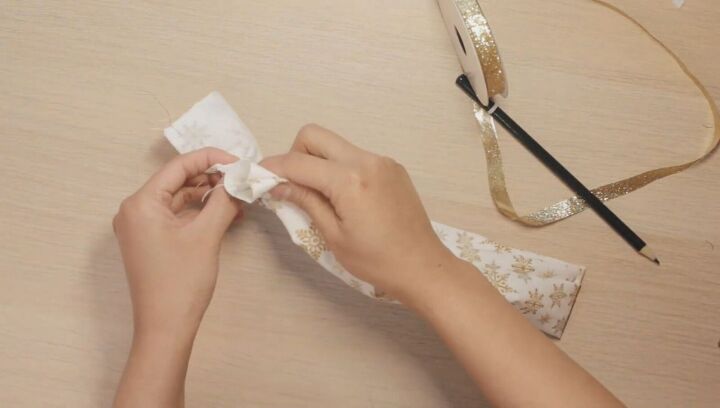
4. Sew
Next, sew that raw end closed.
Tuck in the ends.
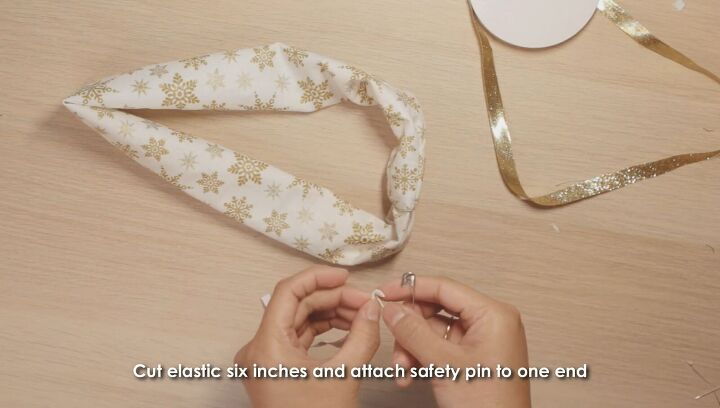
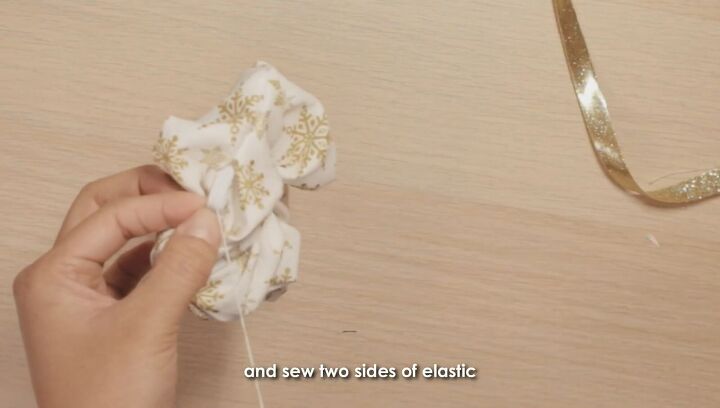
5. Insert an elastic band
Cut 6” of thin elastic and attach a safety pin to one end.
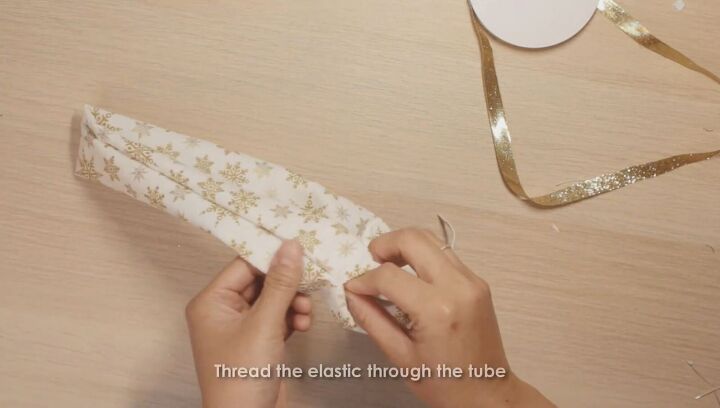
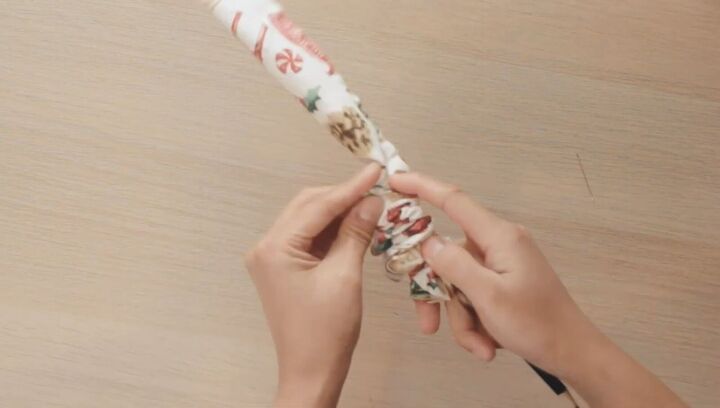
With the pin side first, thread the elastic through the fabric tube.
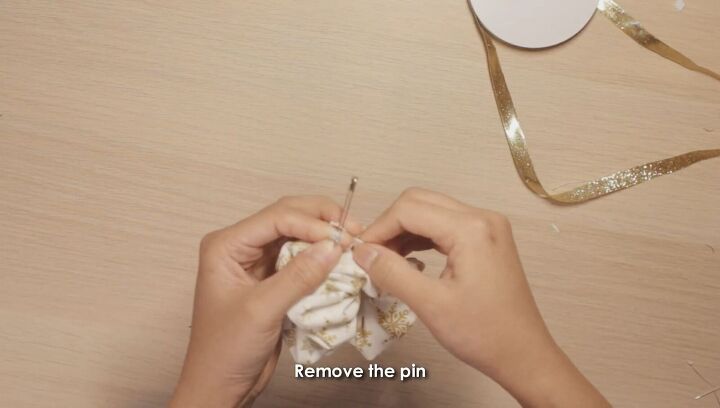
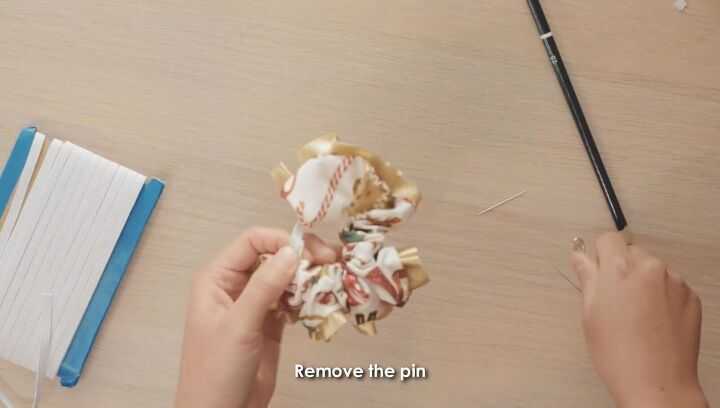
Once you can push the safety pin out the other end, remove the pin.
Hand sew the two ends of the elastic with a few stitches.
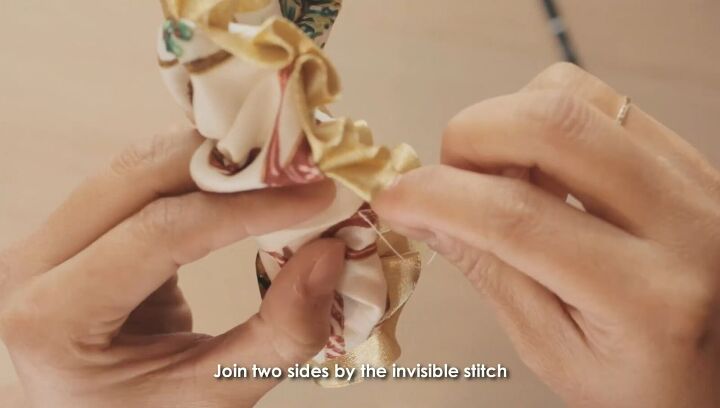
Finally, close the gap in the scrunchie fabric with an invisible stitch.
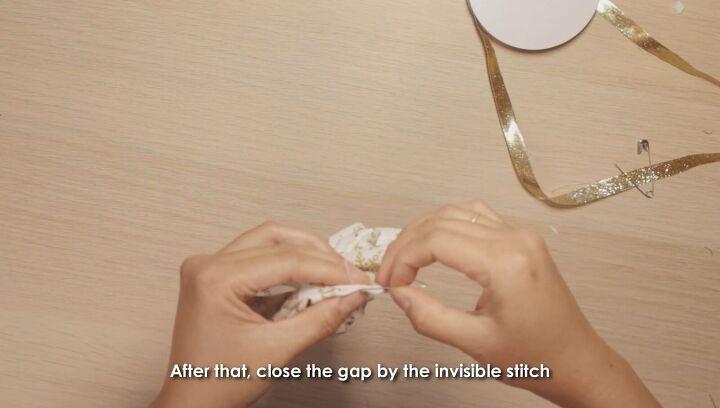
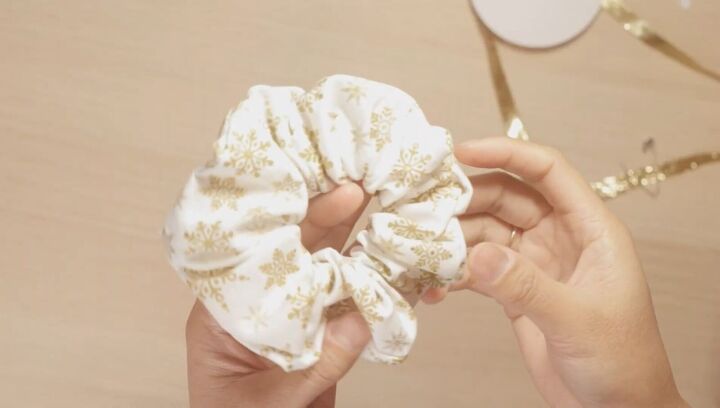
At this point, your Christmas scrunchie should look like this:
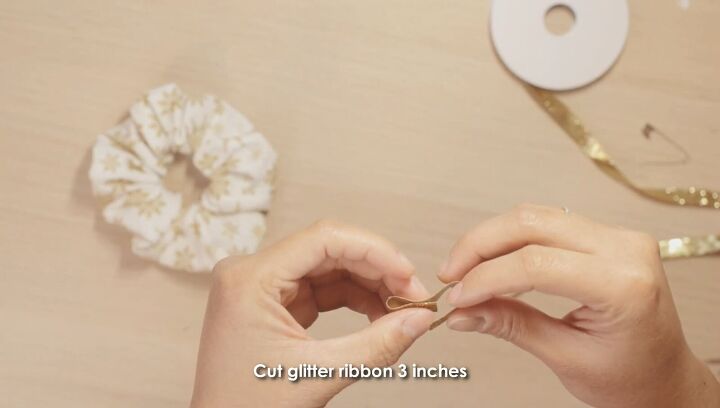
6. Create and attach glitter bows, repeat
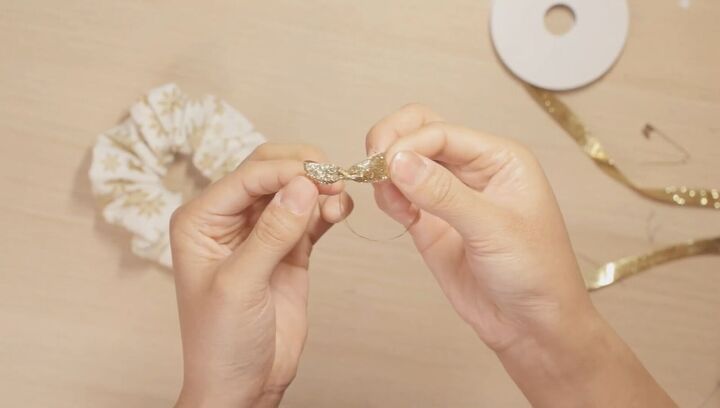
Cut 3” of your glitter ribbon. Then fold each end to meet in the middle.
Now, sew them together where they meet, twisting once to create a bow shape.
With the needle still attached, sew the bow onto the scrunchie.
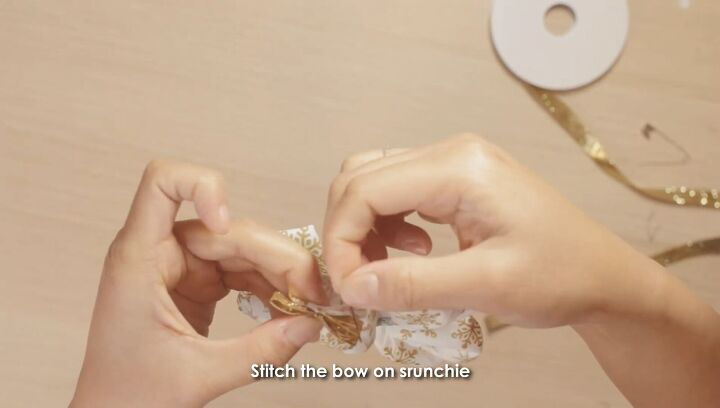
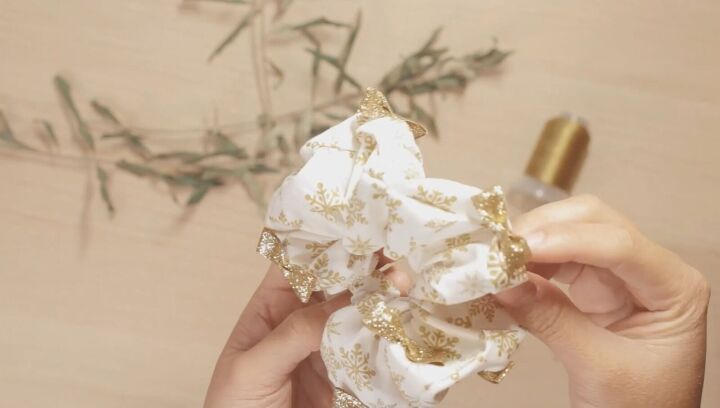
Repeat this process to cover the scrunchie with as many bows as you’d like.
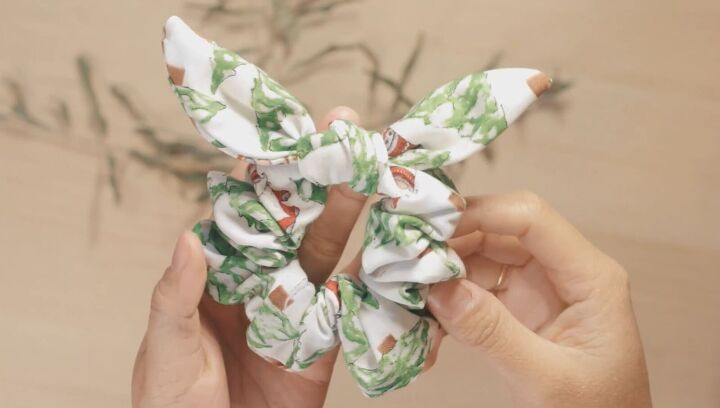
Bunny ear scrunchie
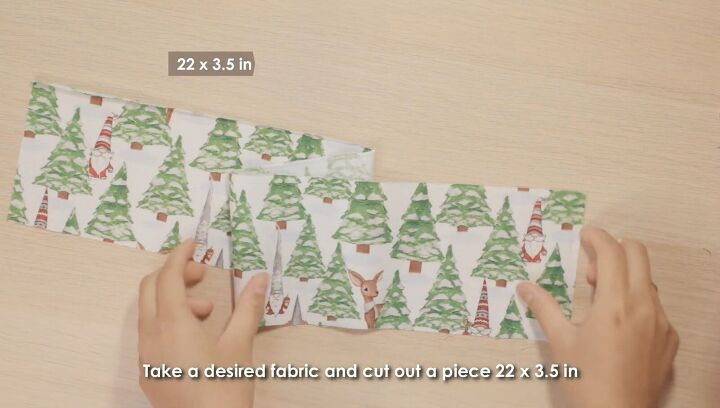
1. Prepare your fabric
Cut a 22” x 3.5” piece of holiday fabric.
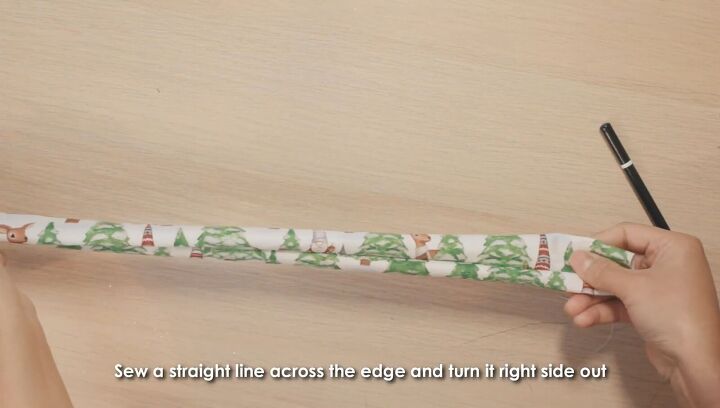
2. Sew
Fold the piece in half, right sides together and sew a straight line across the edge. Then turn it inside out.
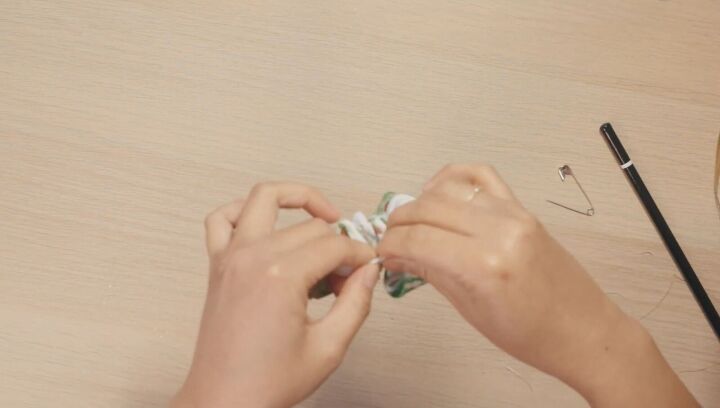
3. Insert an elastic band and close
Cut a 6” elastic band, attach a safety pin to one end and thread the elastic through the fabric tube, as with the first scrunchie style.
Once all the way through, remove the safety pin.
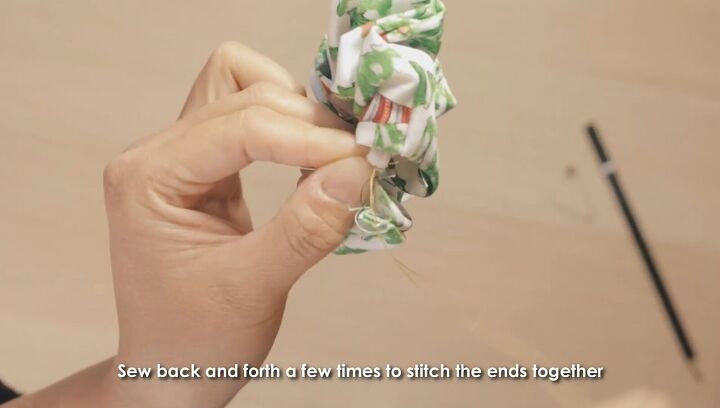
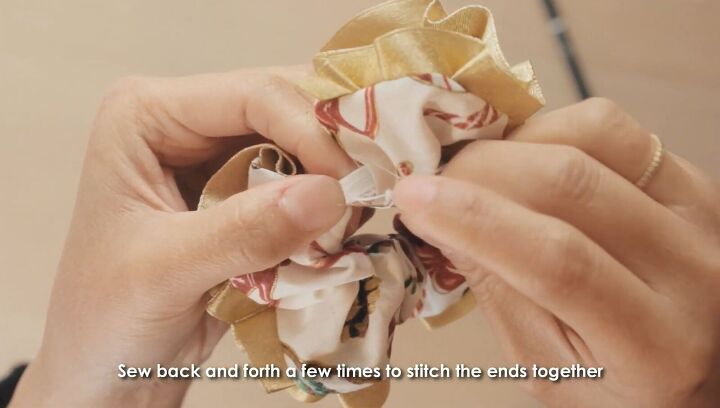
Then sew the ends together by hand with a few stitches.
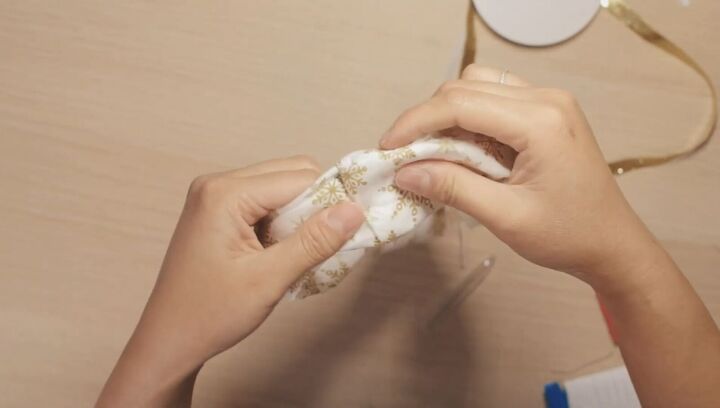
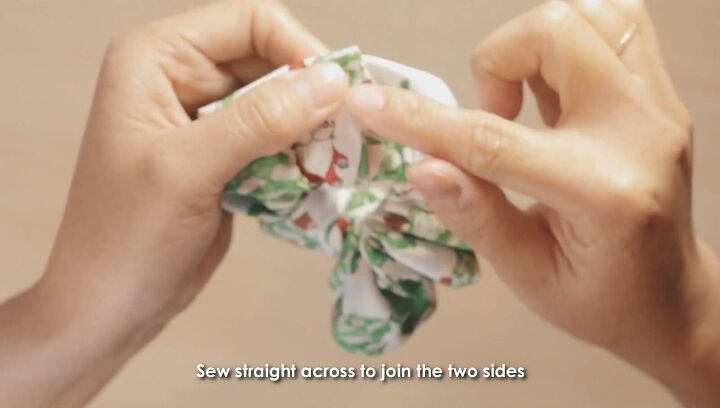
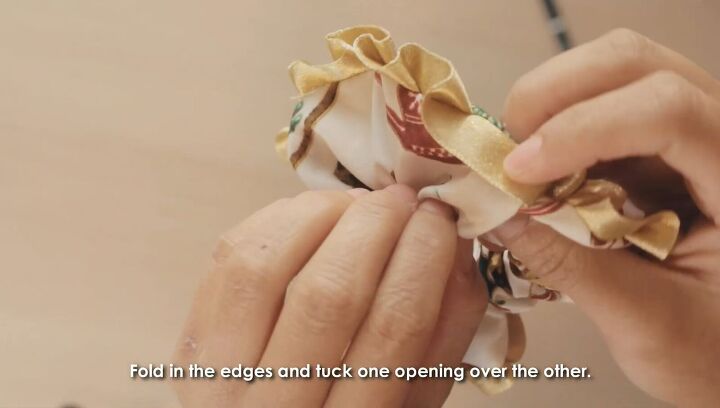
Fold in the edges and tuck one opening over the other. Then, sew straight across the overlap.
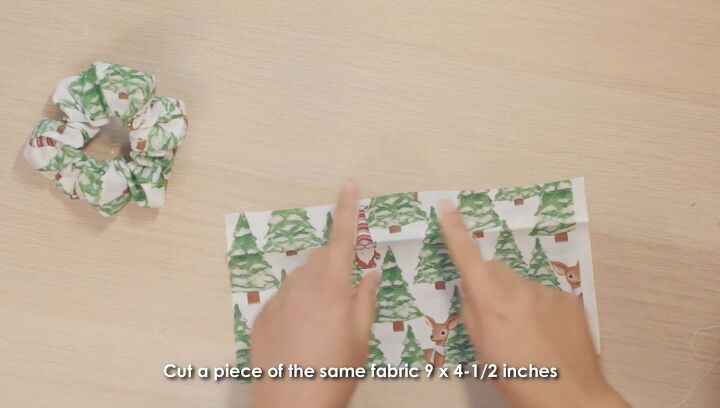
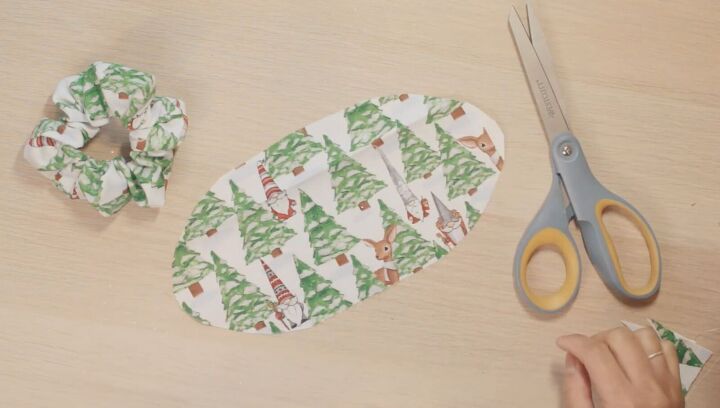
4. Prepare fabric piece for bunny ears
Cut a 9” x 4.5” piece from the same fabric.
Fold in half vertically.
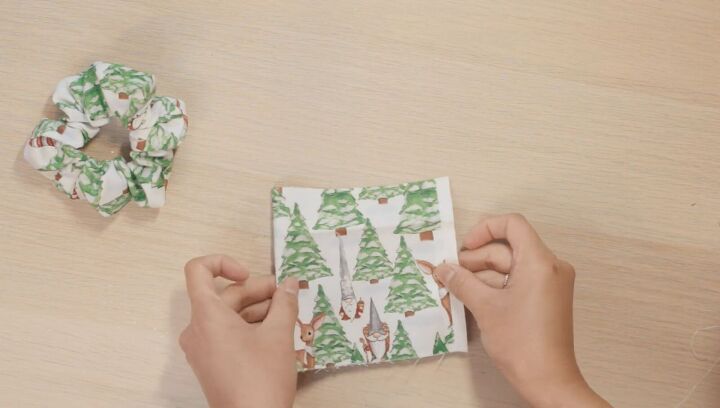
Then fold in half horizontally.
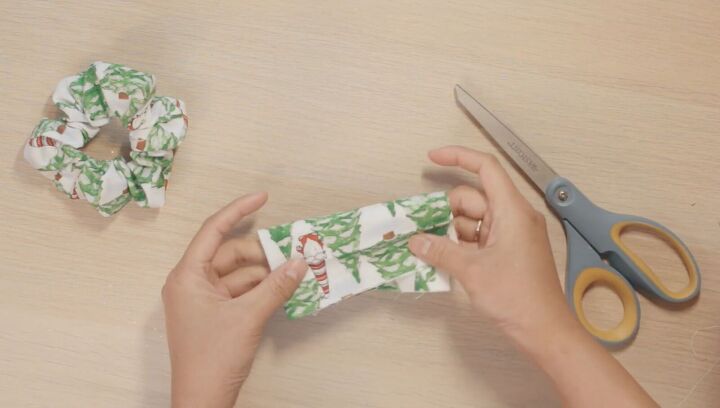
5. Create an oval
Round the raw corner (not on the fold), like this:
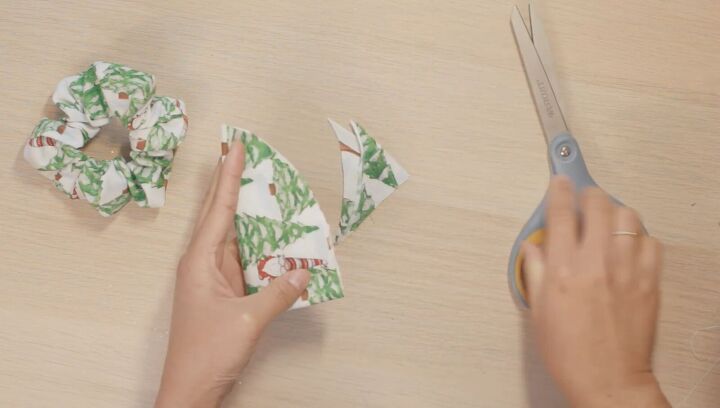
Open up the fabric and you should have an oval.
6. Fold and sew
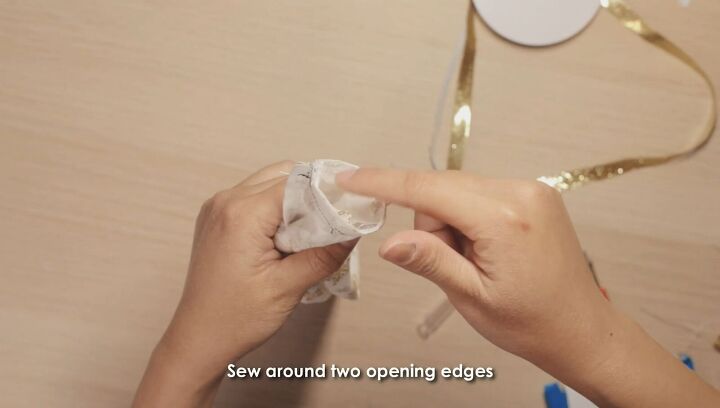
Fold it in half horizontally, with right sides inward. Mark a gap in the middle with two pins.
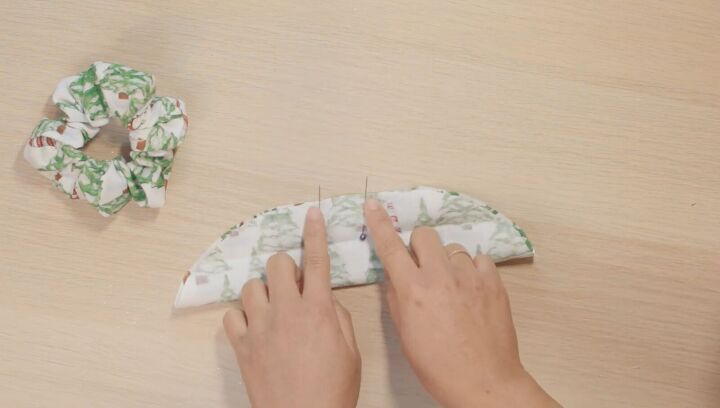
Then sew along the edge, except for the gap.
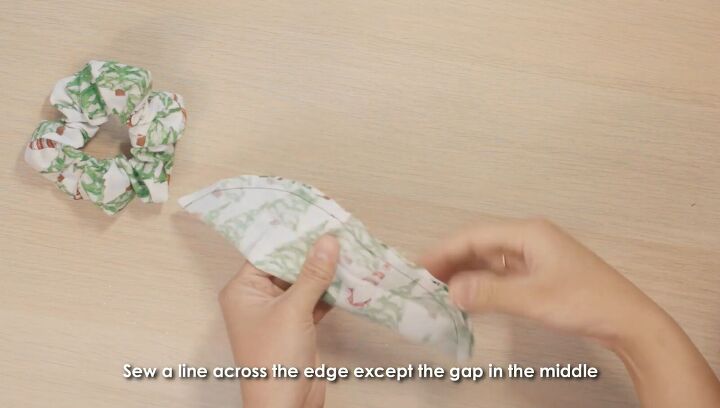
Turn the piece right side out using a pen through the gap to help you. Poke out the corners, then sew the gap closed with an invisible stitch.
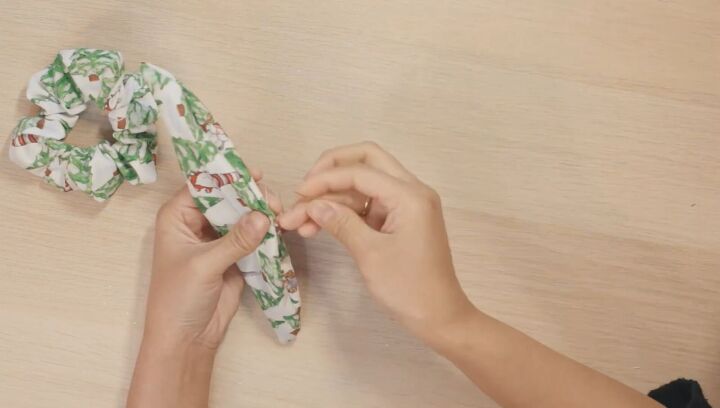
7. Tie on the bunny ears
Tie a knot around the scrunchie to create the bunny ears.
Ribbon edge scrunchie
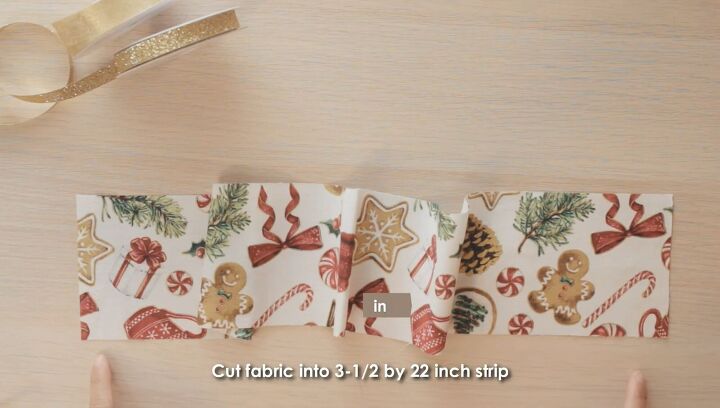
1. Prepare fabric and ribbon
Cut a 3.5” x 22” strip of fabric.
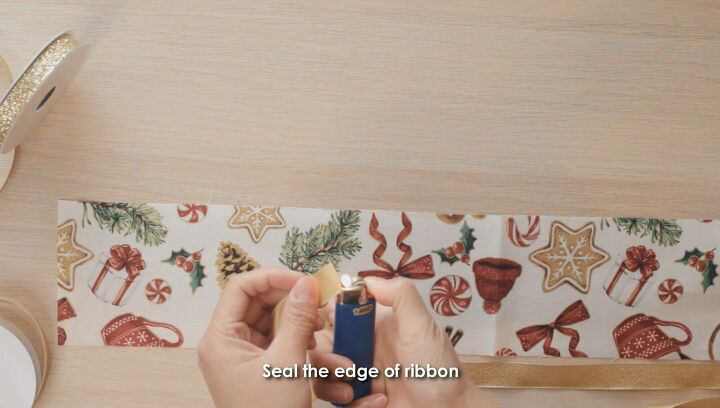
Now cut 44” of ribbon and seal the ends with a lighter to prevent fraying.
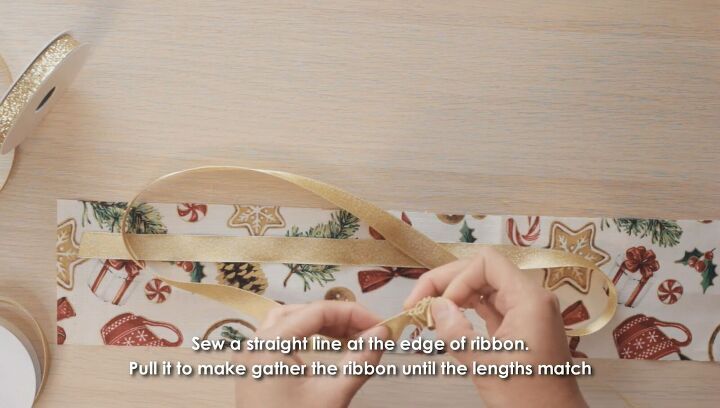
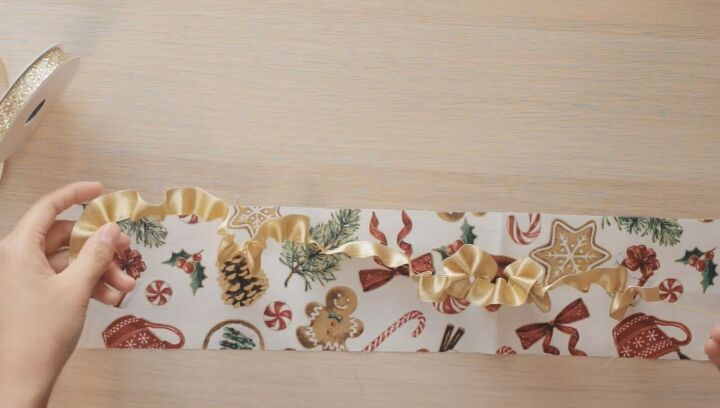
2. Ruffle the ribbon
Sew along the edge of the ribbon and pull the ribbon as you go to create a ruffle, until the length of the ribbon matches the fabric length.
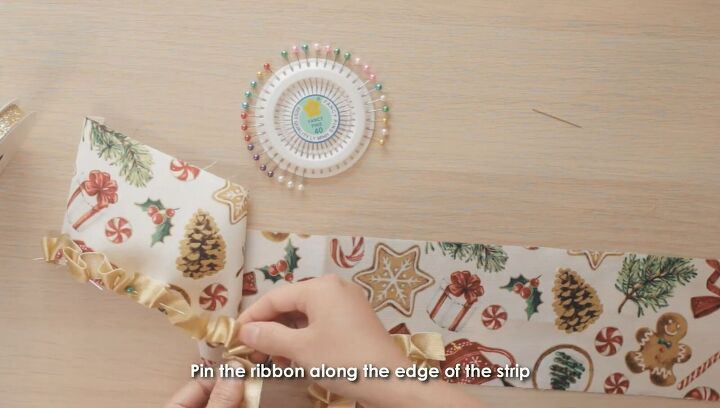
3. Affix the ruffle and sew
Pin the ruffle along one long edge of the fabric.
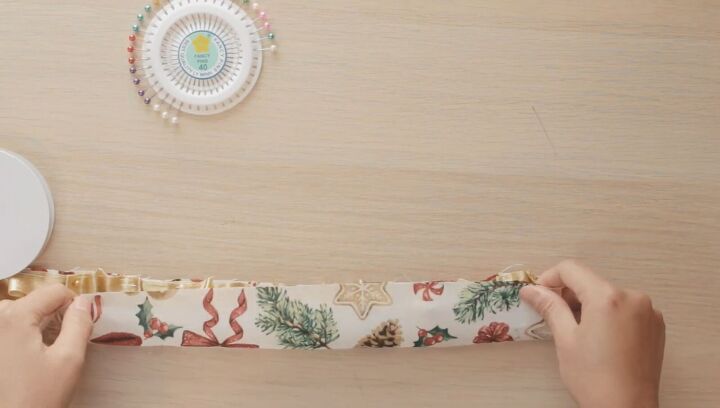
Fold the fabric in half horizontally, closing the ruffle inside.
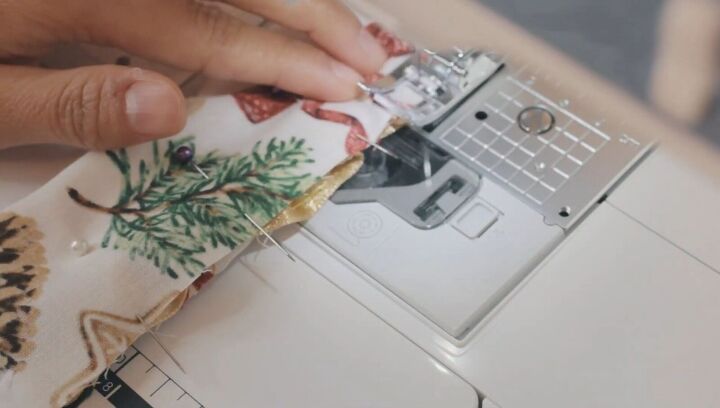
Then sew.
4. Reverse and insert elastic band
Reverse the fabric tube with the help of a pen.
Cut a 6” elastic band, attach a safety pin to the end and thread it through the fabric tube. Then remove the pin.
Then sew the ends of the elastic together.
Now, fold in a tuck the open edges of the fabric.
Finally, join the two sides with an invisible stitch.
DIY Christmas scrunchies
Now you’ve learned how to make 3 different Christmas hair scrunchies. Tell us which style is your favorite in the comments below.
Will you be gifting them this Christmas, or keeping them for yourself?
The author may collect a small share of sales from the links on this page.


Comments
Join the conversation