Easy and Classy Fall Pedicure Tutorial

There is so much more to a pedicure than just painting your nails with this polish.
In this tutorial, we’re going to do a classy fall pedicure, and I’ll show you all the steps you need for gorgeous feet. Let’s get straight to it!
Tools and materials:
- Nail polish remover
- Cotton pads
- Nail clippers
- Nail file
- Cuticle stick
- Nail buffer
- Cuticle trimmer
- Foot files
- Moisturizer
- Nail strengthener
- Nail polish
- Thin brush
- Top coat
- Cuticle oil
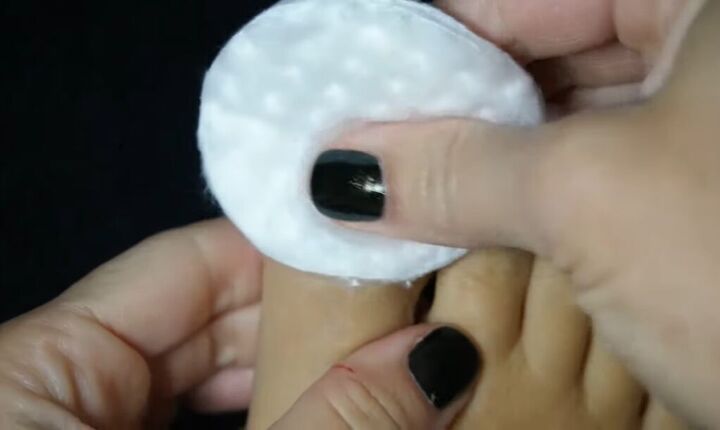
1. Remove nail polish
Start by removing any nail polish you already have on by dabbing some nail polish remover onto a cotton pad and then rubbing that over your toenails.
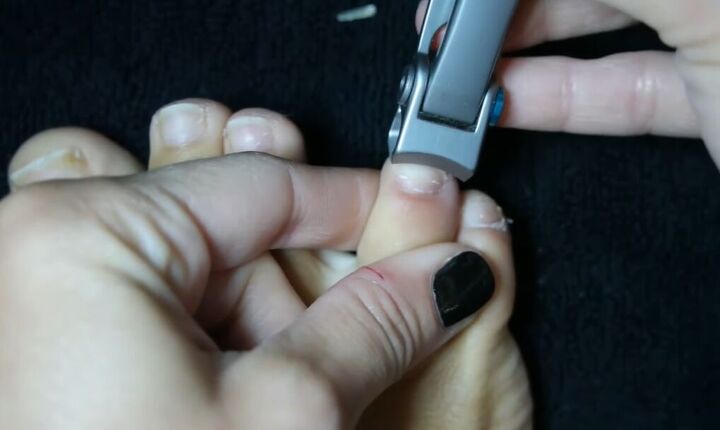
2. Cut toenails
Proceed to cut your toenails with some nail clippers.
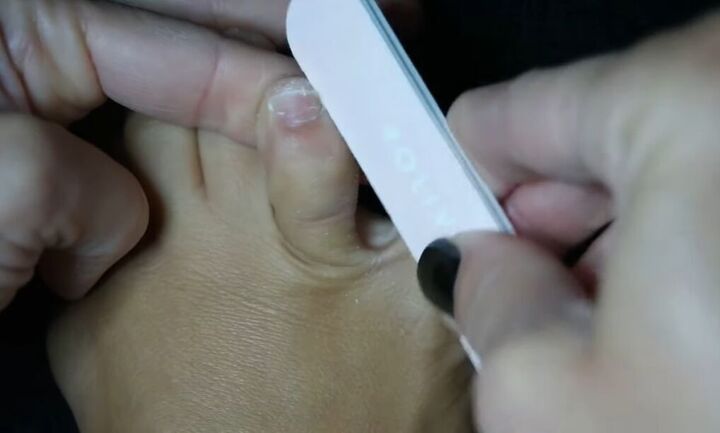
3. File toenails
Now, file your toenails to smooth them down. Be sure to file the edges as well as the top.
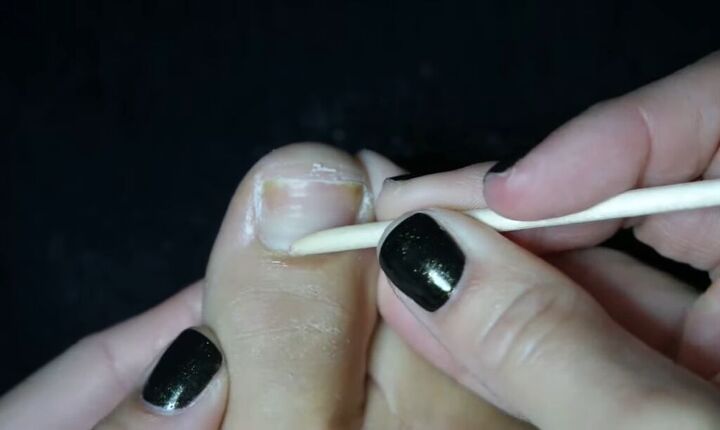
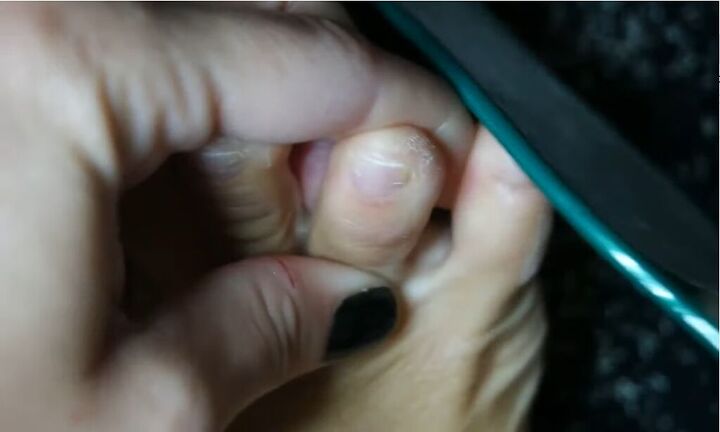
4. Push back cuticles
Use a cuticle stick to gently push back your cuticles.
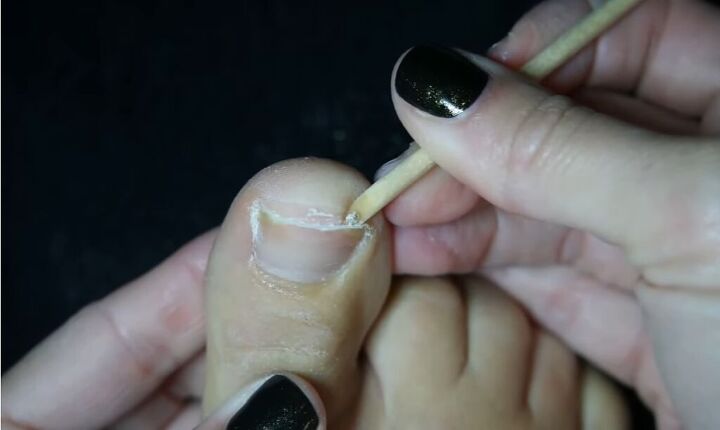
5. Remove toenail debris
Also, use the cuticle stick to remove any toenail debris.
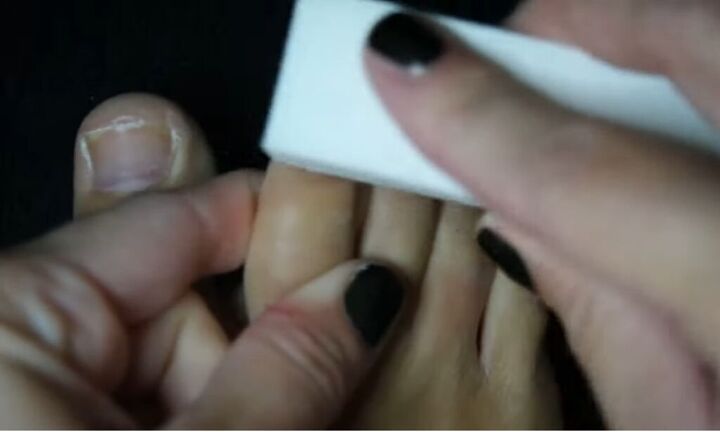
6. Buff nails
Next, buff your nails to smooth the surface of them.
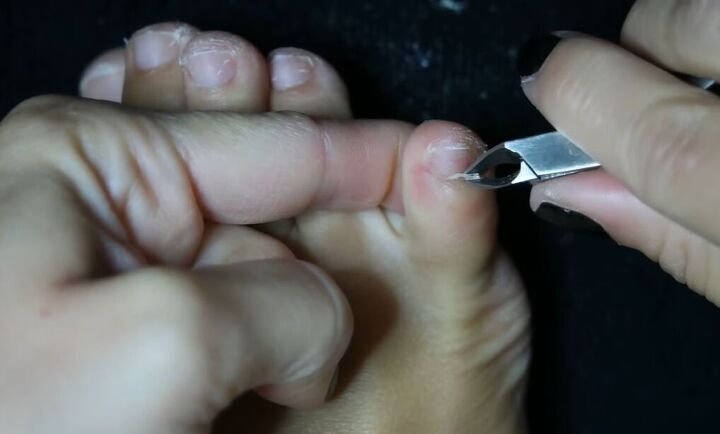
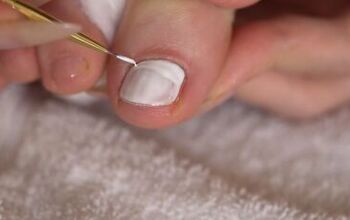
7. Cut off excess skin
Next, use a cuticle trimmer to cut off the excess skin at the bottom of the nails.
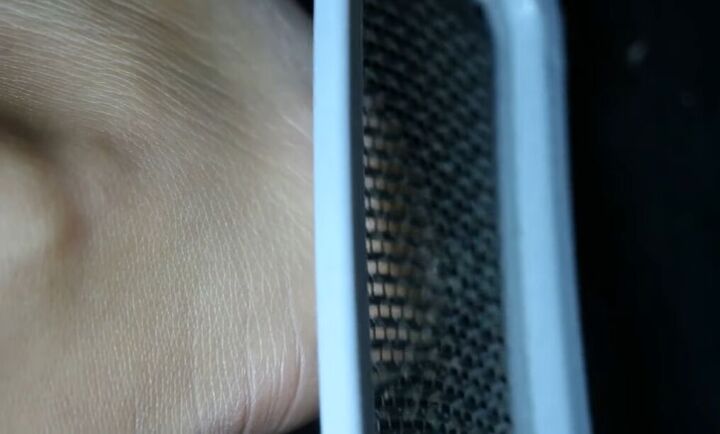
8. File the heels
File the heels with a foot file to remove to exfoliate dead skin.
Also, go in and smooth the skin around the toes and the heels with a less abrasive type of file.
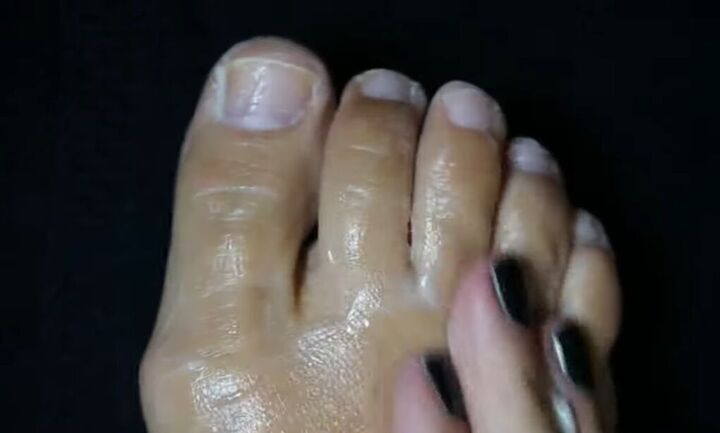
9. Moisturize feet
Now it’s time to moisturize. Squirt a generous amount of moisturizer onto your foot and rub it in all over and on your toenails as well.

10. Push cuticles back
Go in with the cuticle stick once more to push your cuticles back.
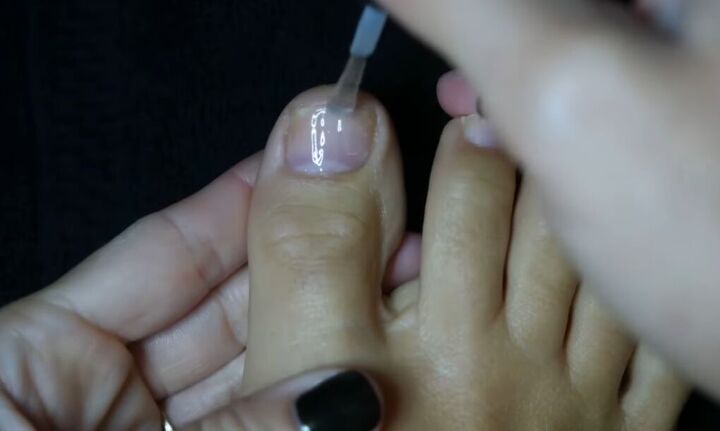
11. Apply nail strengthener
Now, apply a coat of a clear nail strengthener before we begin with the nail polish.
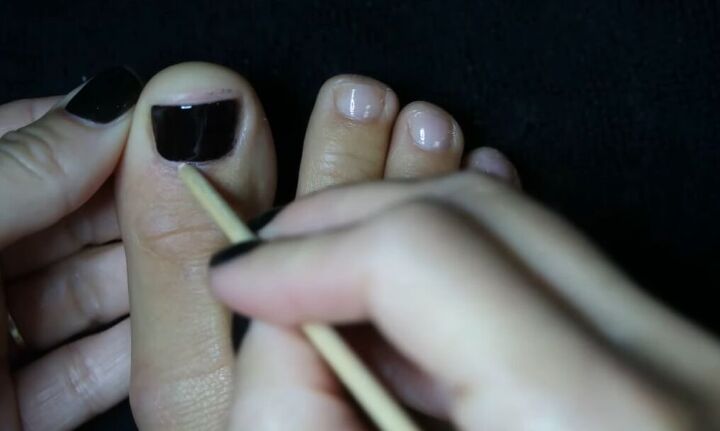
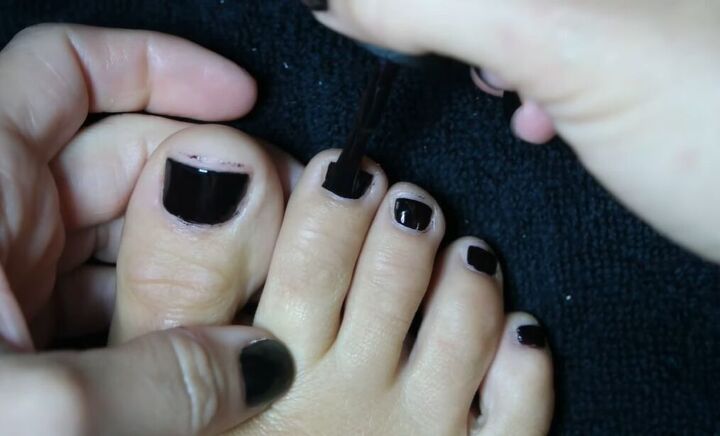
12. Apply nail polish
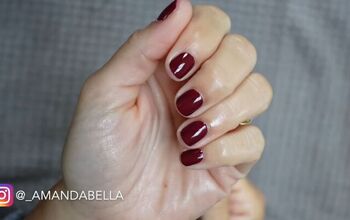
We’re now ready to paint the nails. I’m using a rich chocolate brown colored polish, which is perfect for the fall.
Scrape off any polish that went on the cuticles or around the nails with a cuticle stick.
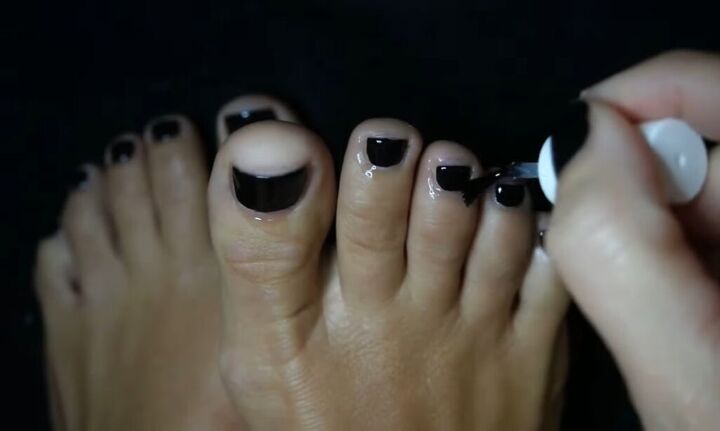
13. Apply second coat
You can then go in with a second coat, once again scraping off any polish that goes around your nails.
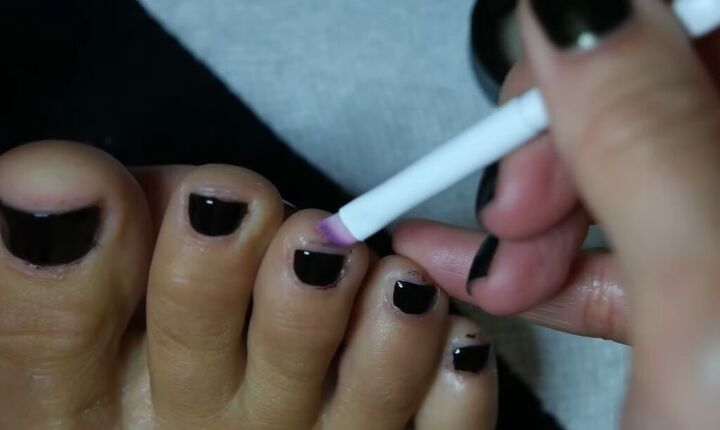
14. Remove excess polish
As there will likely still be some excess polish around your nails, dip a thin brush into some nail polish remover and use that to remove it.
A small brush like this will allow you to have ultimate precision.
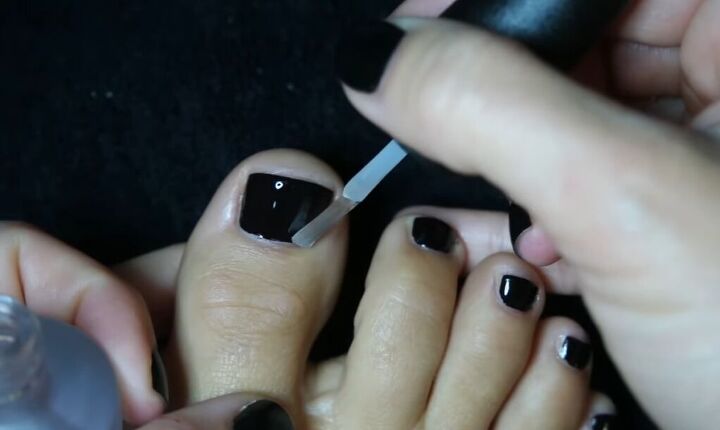
14. Apply top coat
Now apply a clear top coat.
15. Apply cuticle oil
Finish off by applying cuticle oil, as this will help your cuticles to stay moisturized. Rub it in with your thumb.
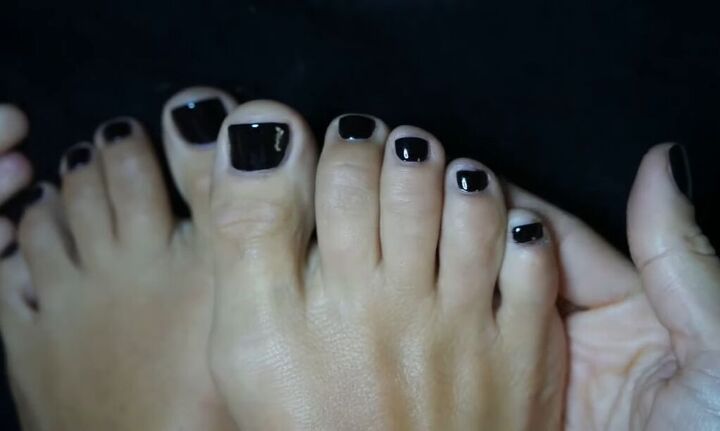
Classy fall pedicure
And here is the finished look! All of the steps that this pedicure required are so worth it.
The end result is so much better than it would have been had you just gone straight in with the polish.
These nails look like they could have been done in a salon and I couldn’t be happier!
Next, check out these 10 Easy Tips on How to Make Your Nails Grow Faster Overnight.
The author may collect a small share of sales from the links on this page.


Comments
Join the conversation