How to Sew a Front Pocket on Pants

I was recently sewing myself a pair of shorts from my own pattern and wanted to share how to make a front pocket. This will walk you through how to do a basic pocket and pocket bag.
- Fabric for pocket bag
- Small amount of main garment fabric
- Pins
- Rotary cutter and mat OR ruler and fabric scissors
- Tailor’s chalk
- Sewing machine
First we will prep the pocket bag. I made mine 14″ long, and to get the width, measure the width of the pocket opening and add 1/2″ seam allowance.
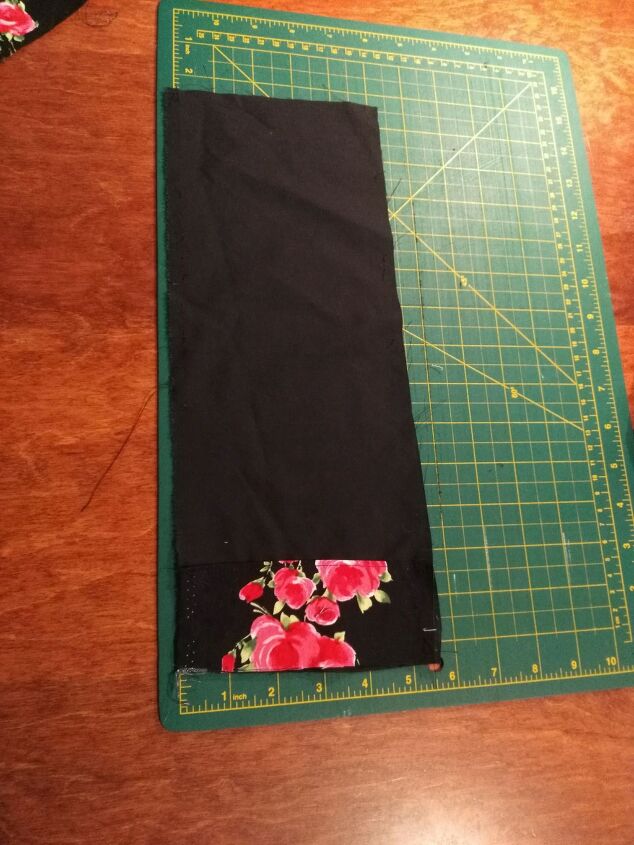
Cut your matching fabric at least 3″ long (longer if your pocket opening is deeper ).
Place the matching fabric on top of your pocket bag fabric, and tuck the bottom edge in 1/4″. Pin, and topstitch this edge only to the pocket bag fabric.
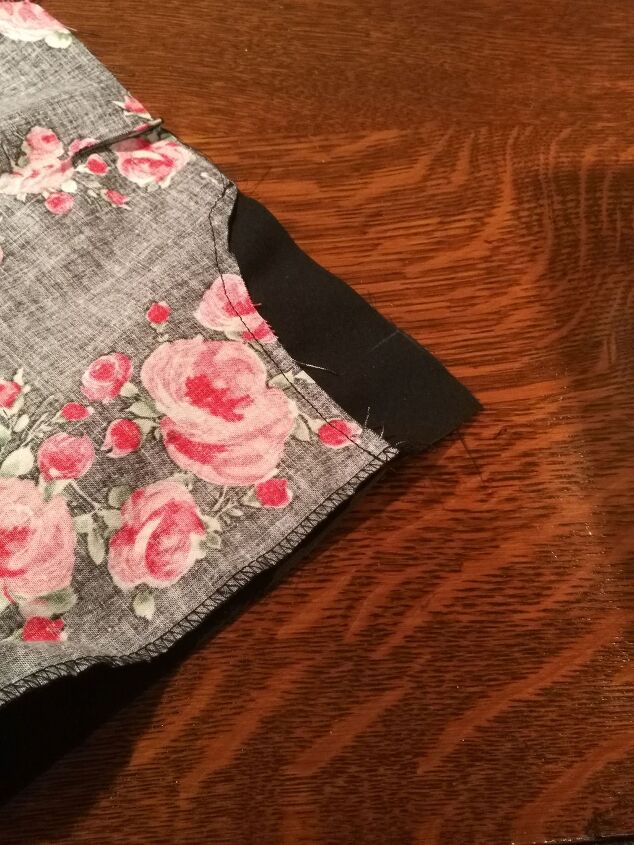
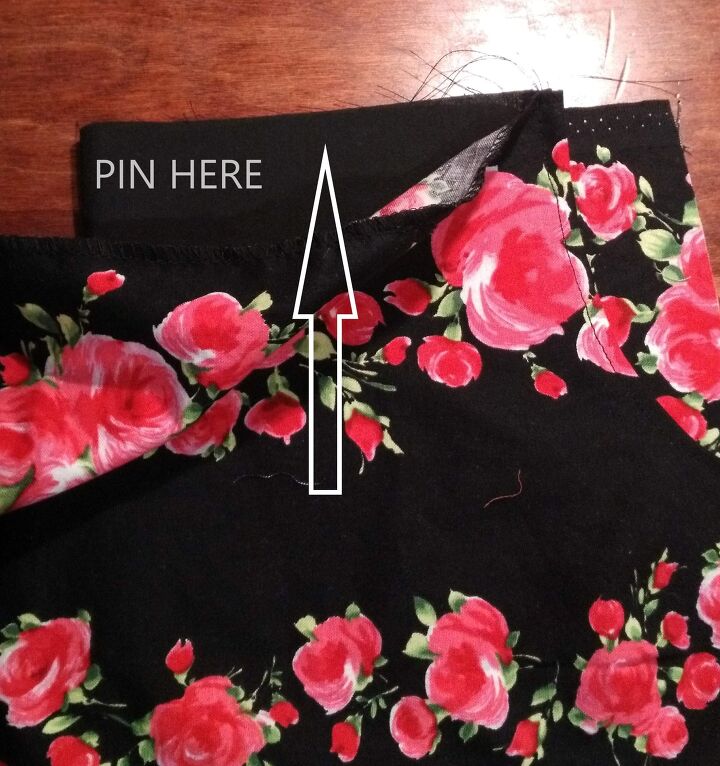
Now flip the pocket bag fabric over so that the side with the sewn on piece is facing down . Align the edge without the sewn on piece with the pocket opening and pin in place. It should be even with the waistline of the garment.
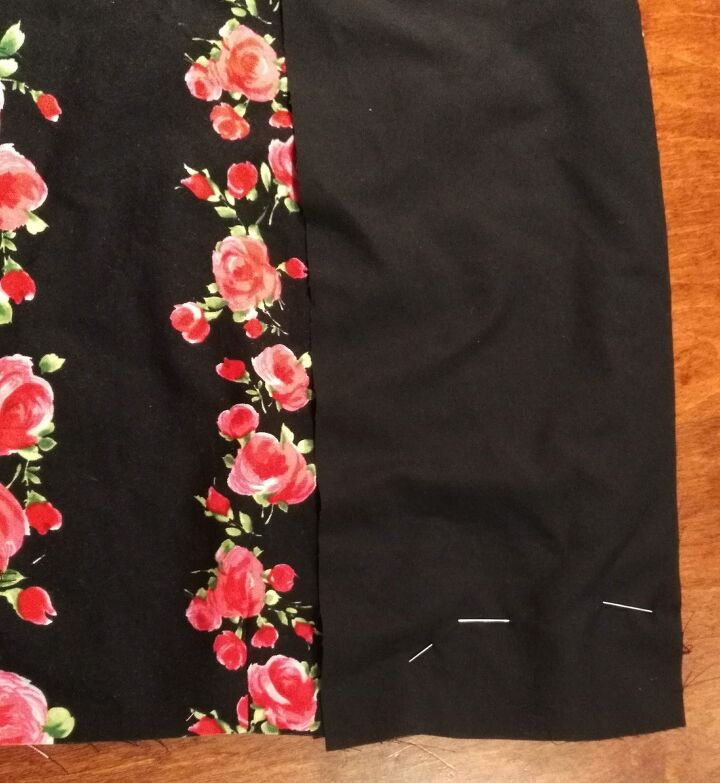
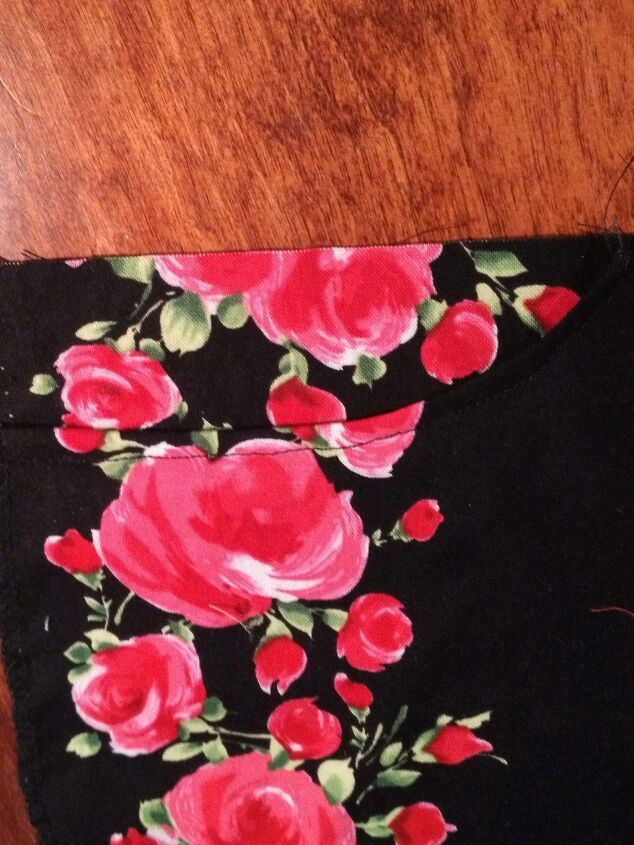
With the wrong side of the fabric up (second image above), stitch along the pocket line with 1/4″ seam allowance.
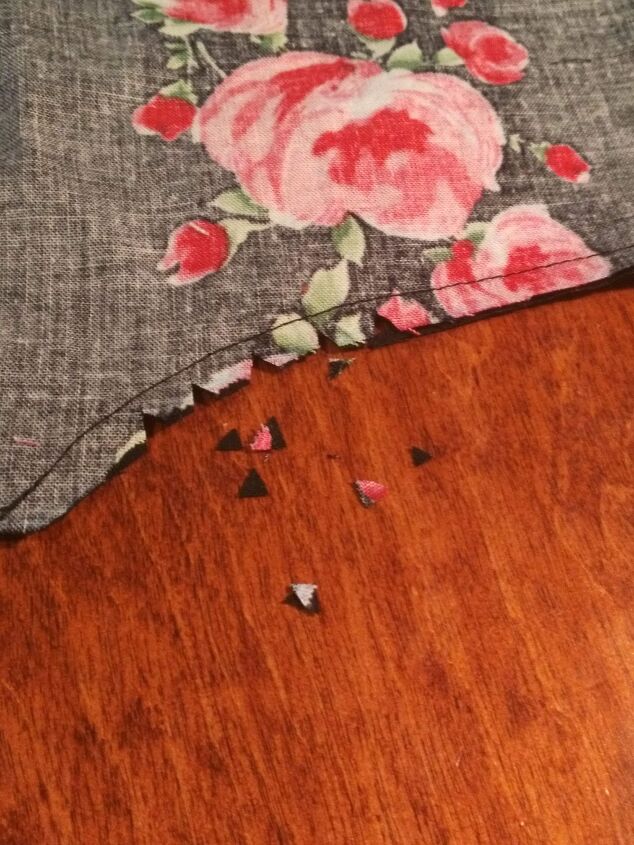
Next, trim the excess pocket bag by cutting along the edge of the pocket opening. You will need to notch along the curve in order for it to sit nicely when it gets flipped to the inside. Notching is cutting out little V’s along the curve in the seam allowance (careful not to damage your seam) which allow it to lay flat when the fabric is opened in the next step.
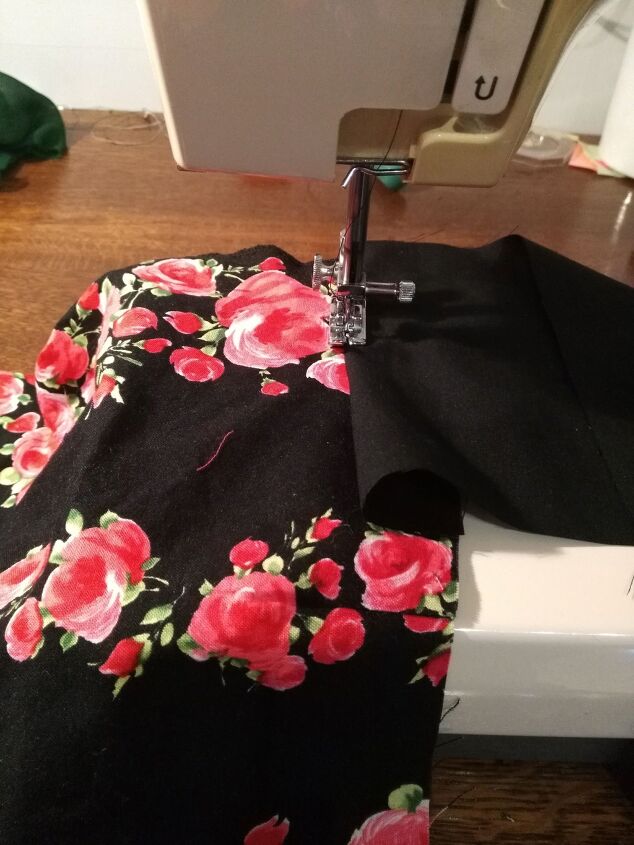
Next, open the pocket bag fabric and edge stitch it. Edge stitching is a line of topstitching close to a seam line which pulls your lining to the inside of the garment and gives it a smooth finish. It prevents the lining from sliding up and being seen while worn. You should be stitching through the pocket bag lining and the seam allowances, about 1/8″ away from the seam. As you stitch around a curve (assuming your pocket opening is curved), you will need to keep moving the top fabric (lining) away from the pressure foot.
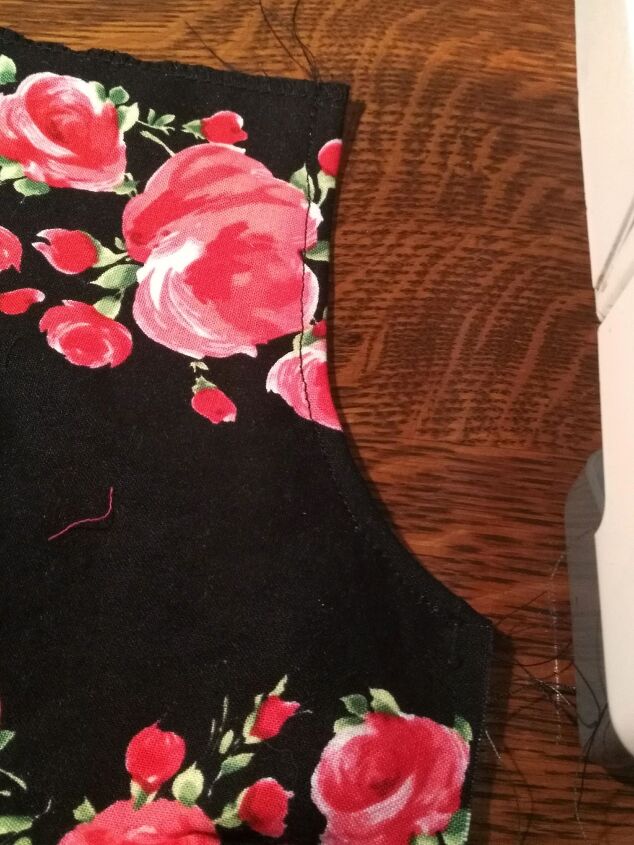
Now topstitch your your pocket opening 1/4 from the edge, going through all layers of fabric. It should look something like this. Give it a press. We’re almost there!
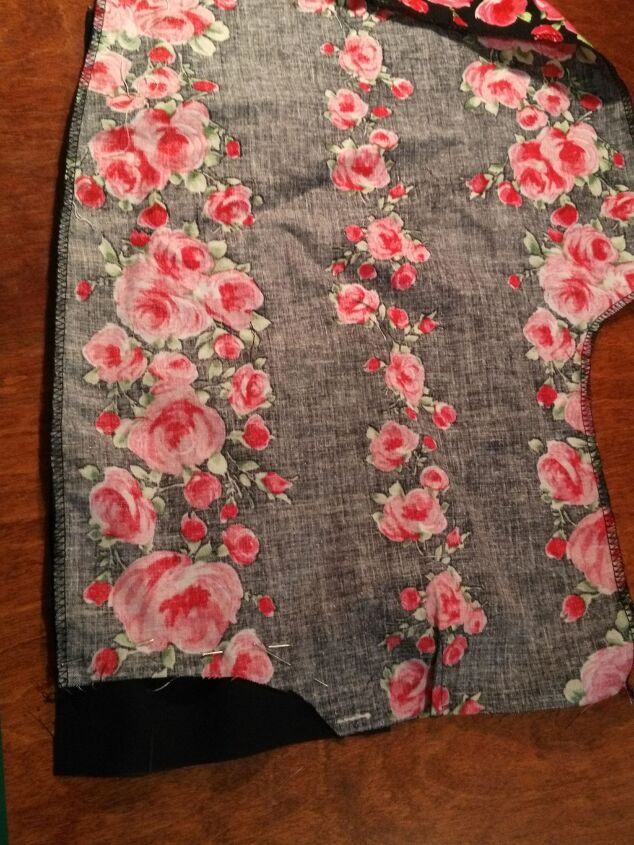
Now bring the top of the pocket bag (where you sewed the strip of main fabric to the pocket bag at the beginning) to the wastline of your garment. Pin the pocket bag on the sides and sew down each edge. I then serged these seams, but if you do not have a serger you can bias bind or zig zag the edges.
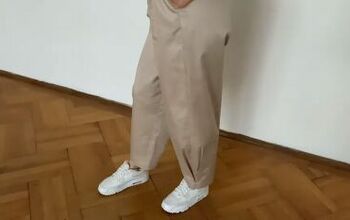
Your hip pocket is complete and you are now ready to move to the next step in your garment.
YOU MIGHT ALSO LIKE: Sew a Cuffed Hem on Sleeves or Pants
Want to learn more about altering clothes you already have, to fit your unique body and style? Receive my free guide full of tips to get you started doing your own clothing adjustments by signing up to my newsletter here.
The author may collect a small share of sales from the links on this page.


Comments
Join the conversation