How to Sew Hidden Pockets Into Absolutely Anything - Sneaky Tutorial

In this tutorial, I'll show you how to sew hidden pockets in absolutely anything. If you love pockets as much as I do, you’ll love this simple DIY technique. Learn how easy it is to pop in a pocket yourself into everything you own, even premade items. Let's get started!
Tools and materials
- Paper
- Marker
- Tailor’s chalk or fabric pen
- Scissors
- Fabric
- Sewing machine
- Seam ripper
- Clear ruler
- Pins
- Iron
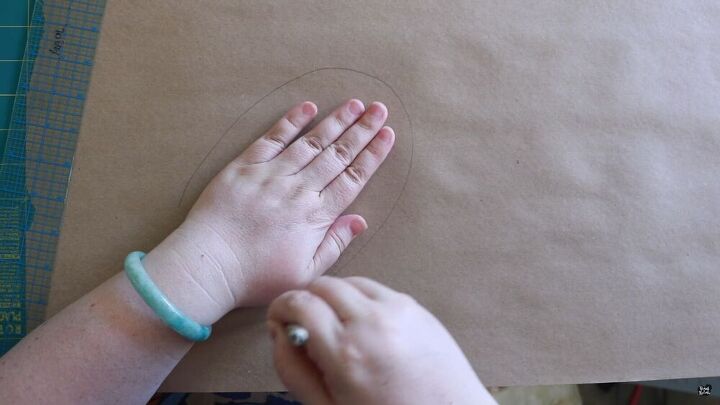
1. Create a pattern
Lay paper on a flat surface and trace your hand with the pen. Be generous and leave some extra room.
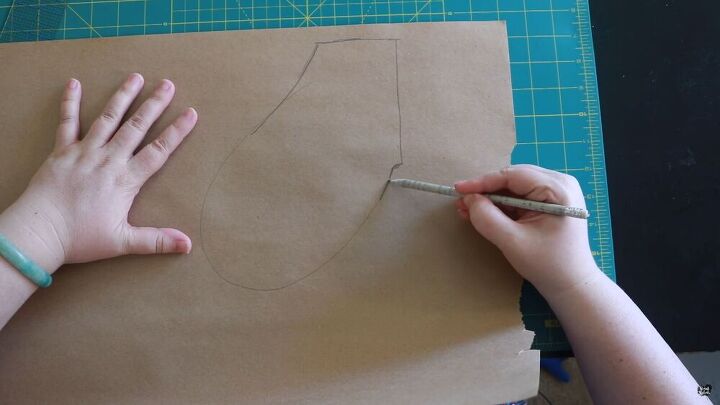
Now extend the pattern a bit for seam allowance.
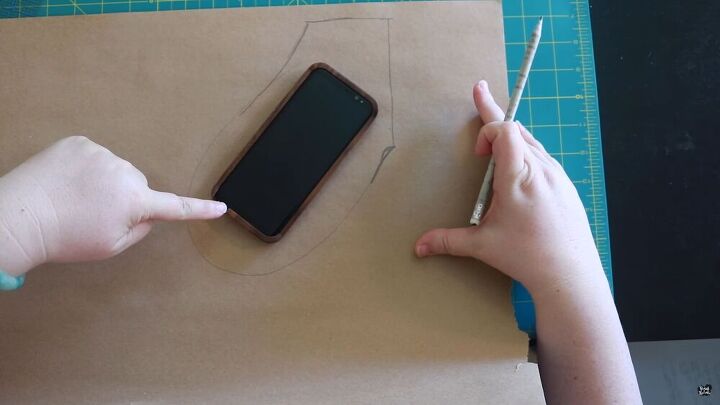
Tip: I like to test the size with my phone to make sure it fits my pocket.
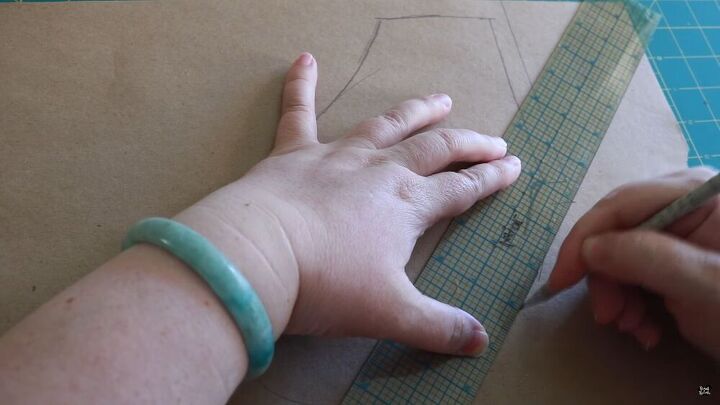
Now, use your ruler to add the seam allowance. Most commercial patterns use ⅝ inch.
My ruler has ½ inch or 1.3cm markings, so I like to use that. After you’ve drawn the seam allowance on the whole pocket pattern, cut the pattern out.
2. Cut the fabric
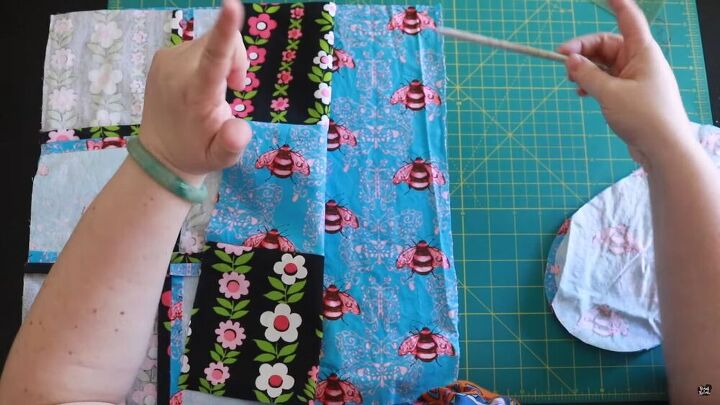
Take the fabric you’re using for the pocket and fold it in half, Place your pattern on top to cut out the 2 pocket pieces. You can use whatever fabric you like for pockets (except for very bulky fabrics), so this is a great way to use up any extra pieces you have lying around.
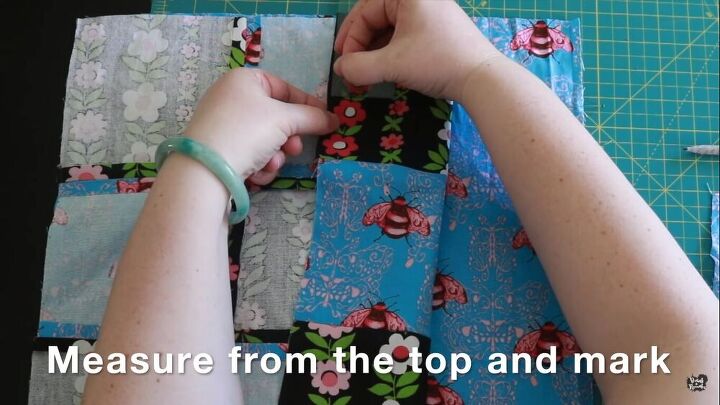
3. Prep pocket placement
If you’re adding pockets to an existing garment, use a seam ripper to open the seam where you want to put the pocket. You may want to put the item on and stand in front of a mirror to see exactly where the pocket should go.
Mark the areas with a pin so you don’t make a mistake. Make sure your pocket placement is even on both sides. I’ve used a pin to mark the place, but you can use a fabric pen or chalk.
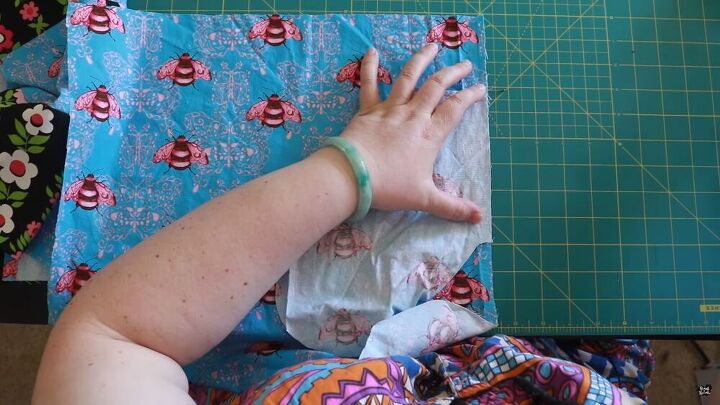
Lay the pocket face down on your facing fabric. Pin it in place and sew each side of the pocket with a ½ inch or 1.6cm seam allowance to its corresponding side.
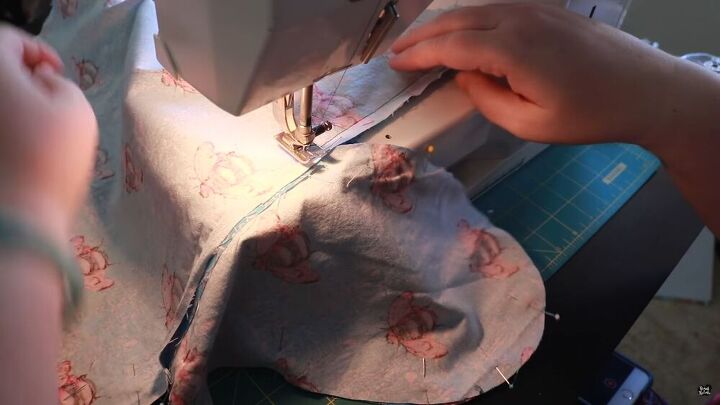
4. Sew the pocket
Pin the side seams together and sew them following the curve of the pocket. When you get the curved part, keep the sewing needle in the fabric, stop the pedal, and gently turn the fabric so you follow the curve. Remove the pins as you go along.
5. Press and turn the fabric
Turn out the pocket and press it with an iron so it lays flat. Then, turn the pocket into your garment and turn your garment right side out. Your pocket should lay neatly inside!
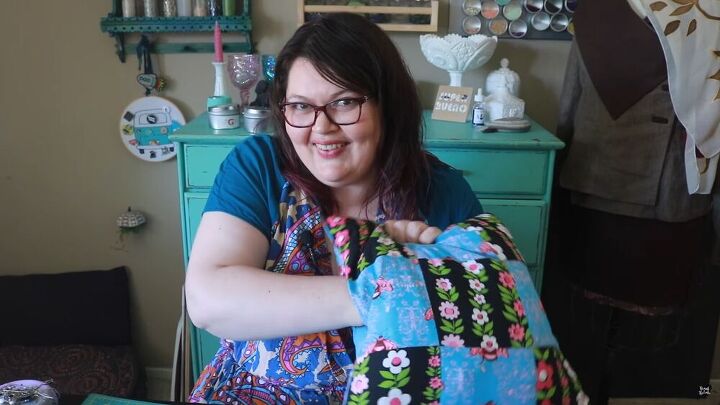
How to sew hidden pockets tutorial
I’ve put a pocket into a decorative pillow to hold and hide the remote control. Who is the boss of pockets? Let me know what you think of this tutorial on how to sew hidden pockets and tell me what do you want to sew a hidden pocket into!
The author may collect a small share of sales from the links on this page.


Comments
Join the conversation
Really great job of presentation skills! Love the idea too! I have always wanted pockets where there were no pockets but was intimidated as afraid it would ruin the garment due to weight of bulkiness and bulge factor. Something loose fitting will be my first attempt and I see great results in my future thanks to you.
Great idea and presentation. Your smile?---That's the best of all!