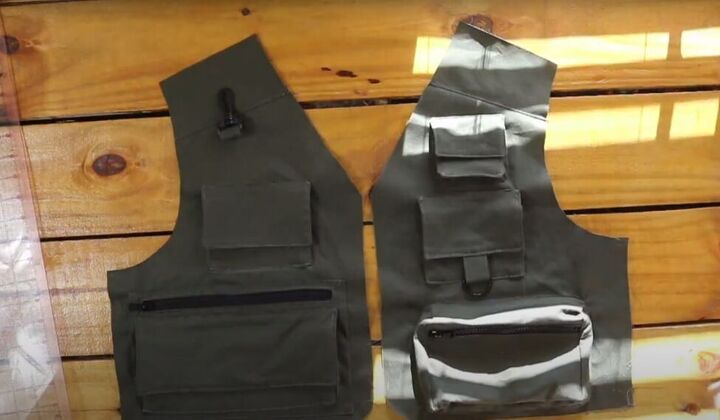
How to Make a Utility Vest With Multiple Pockets

How much stuff are you carrying around with you when you’re running errands, doing household chores, or working outside?
If you need all your tools readily at hand, then this tutorial on how to make a utility vest will be very useful for you! Let's get started.
Tools and materials:
- Tracing paper
- Heavy fabric
- Lining fabric
- Thread
- 3 zippers
- 3 D-rings
- 1 keychain clip
- Velcro
- Iron
- Sewing pins
- Fabric marker
- Ruler
- Scissors
- Sewing machine

1. Make your utility vest pattern
Trace a hoodie to make the pattern. Watch the video from 1:17 to 2:37 to see how to do this in detail.
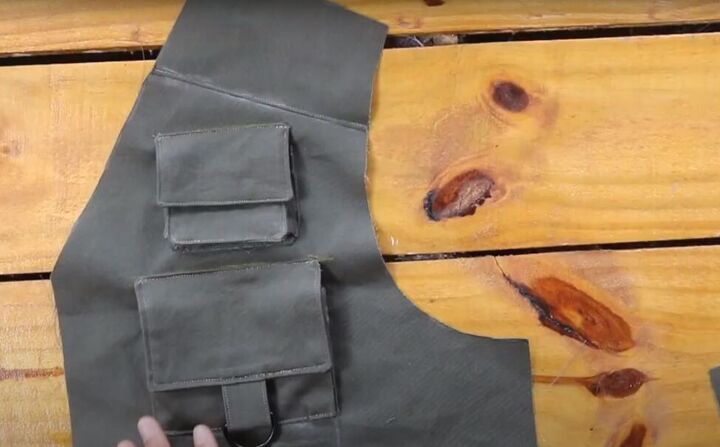
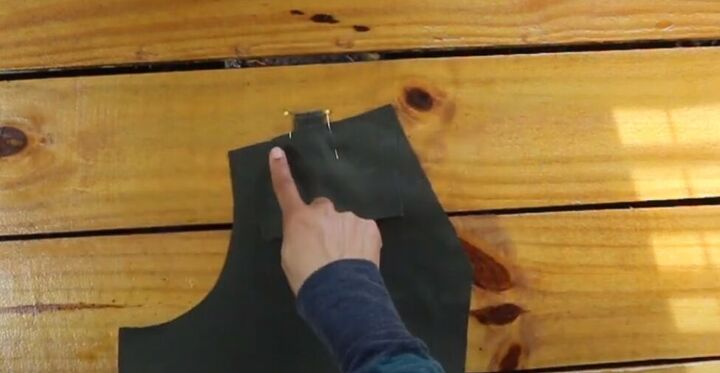
2. Sew the front
With right sides facing, lay the front yoke pieces on the front bodice pieces and sew them together, then topstitch.
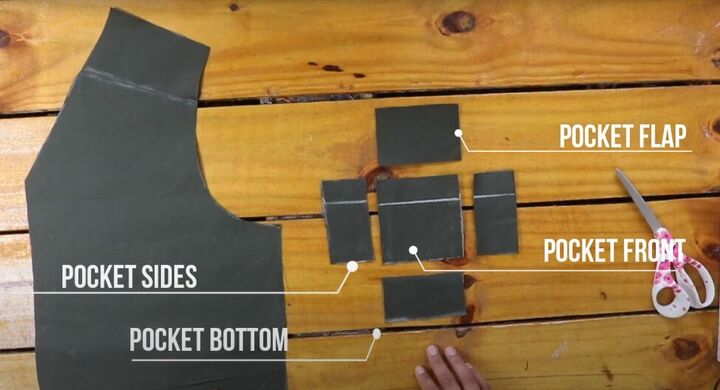
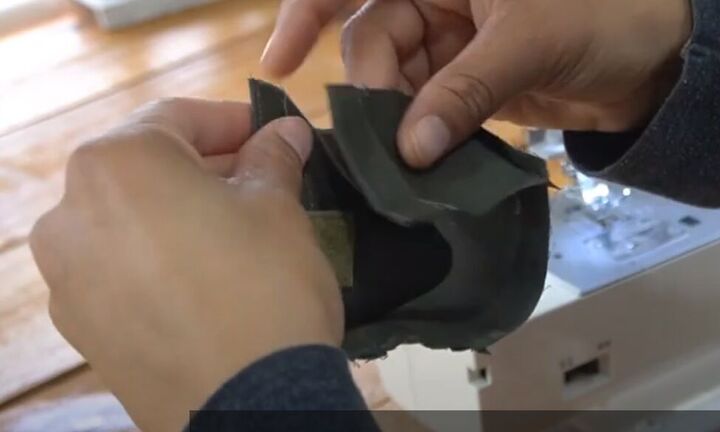
3. Make the small front pocket and pocket flap
With right sides together, sew one pocket side to each side of the pocket bottom, lining up the short edges.
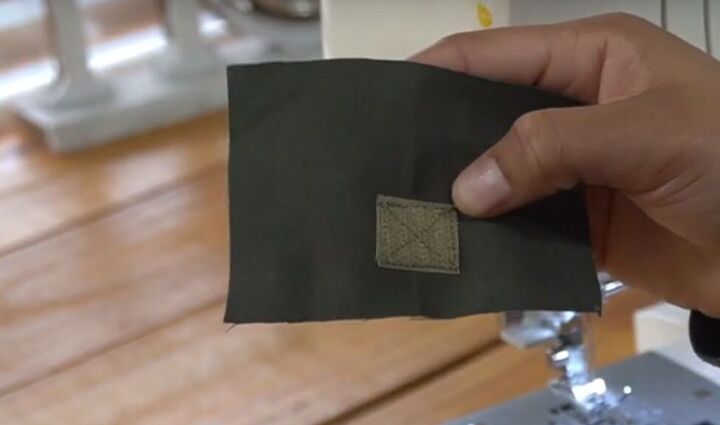
Sew one half of a Velcro square at the bottom center of one front pocket flap.
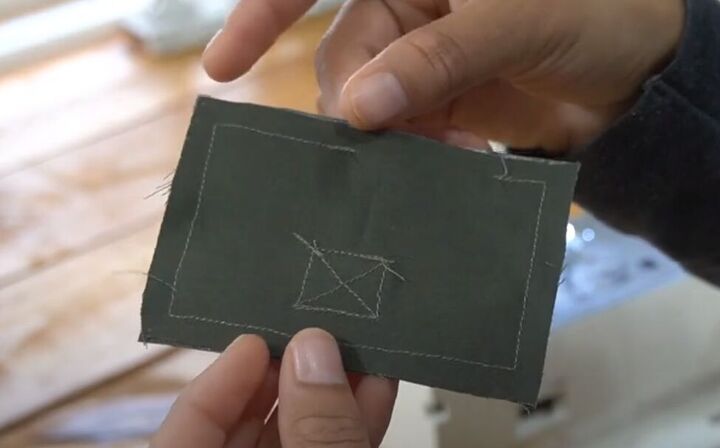
Sew the 2 pocket front pieces together with the Velcro on the inside. Leave a gap at the top so you can turn the pocket right-side out.
Trim the corners of the flap piece and turn it right side out.

Press the pocket flap. Double-fold and press the top allowance piece down on the front pocket piece, and press the seams open on the sides and bottom piece.
Double-fold and press in the allowance at each end of the sides/bottom piece and press in one long edge on the seam allowance.
Sew the pocket flap and side folds in place. On the sides, sew at both the edge of the side and the raw edge of the fold.
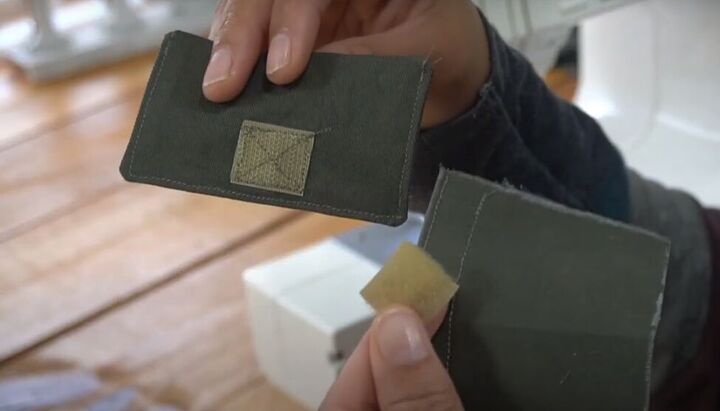
Topstitch the sides and bottom of the pocket flap and then sew the matching piece of Velcro to the front of the pocket.
Now, with right sides facing in, pin and sew the edge of the side piece that was not folded in to the edge of the pocket front.
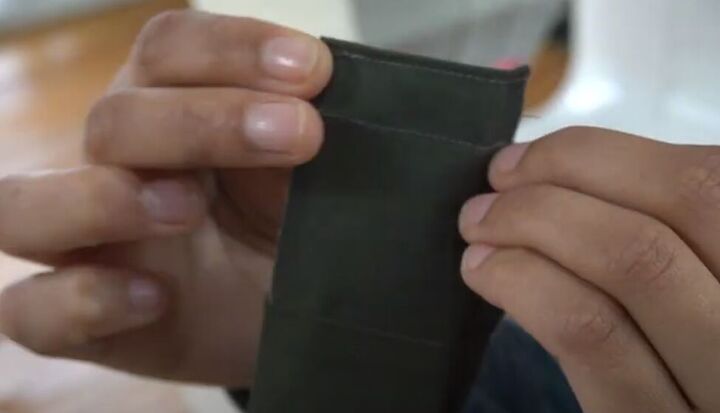
After sewing the pocket sides to the pocket front, pin back the sides and topstitch along the edges where the pocket front and sides meet.

4. Attach the small front pocket
Fold in the sides of the front pocket and trace the front pocket shape onto the front piece of the vest.
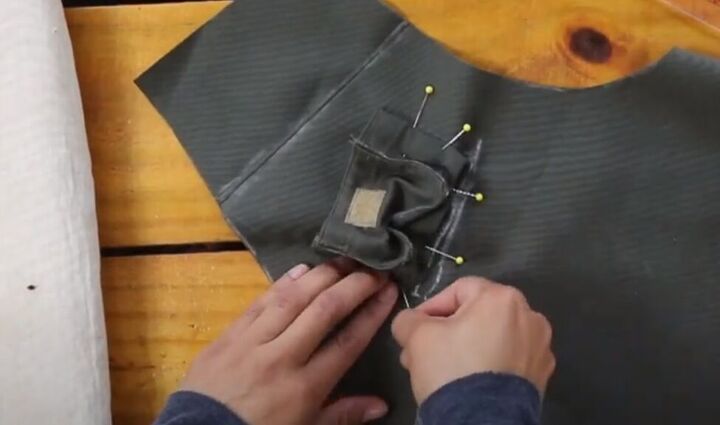
Fold under the pressed edges of the pocket sides and pin those to the front of the vest. Sew the pocket on to the vest along those pressed flaps and press.
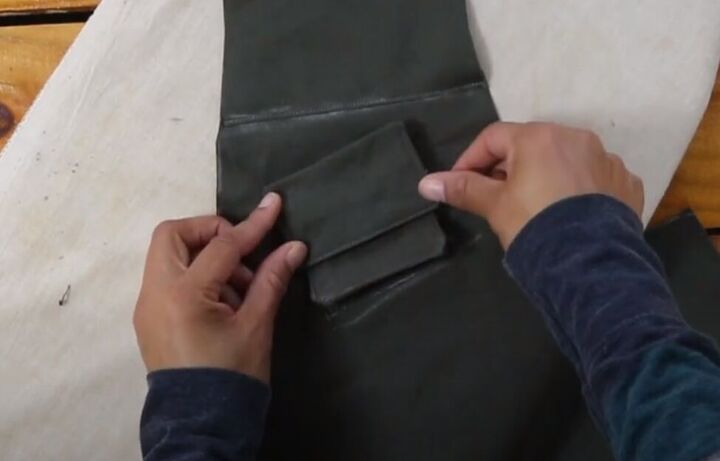
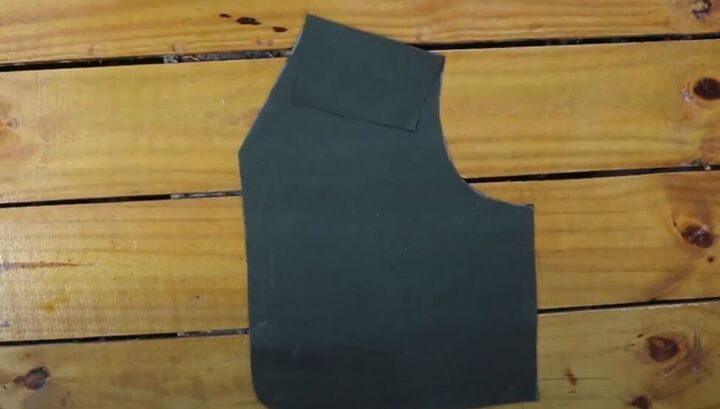
Position the pocket flap on the vest front so that the Velcro on the pocket flap meets the Velcro on the pocket front and sew down the top of the pocket flap.
5. Make the large front pocket
This pocket is made the same way as the small pocket with the addition of a D-ring.
You can see how the large front pocket is made in the video from 5:22 to 6:55.
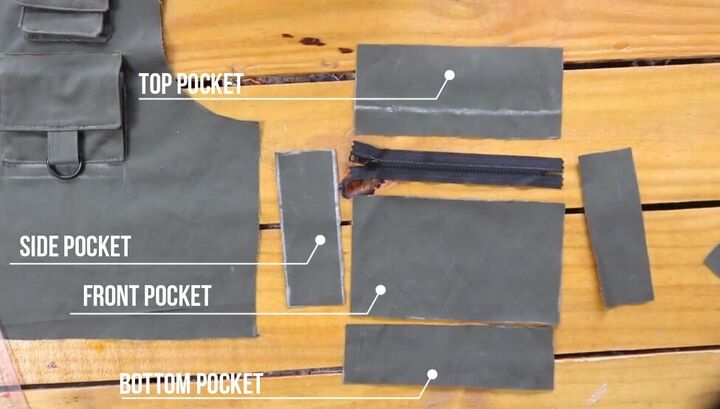
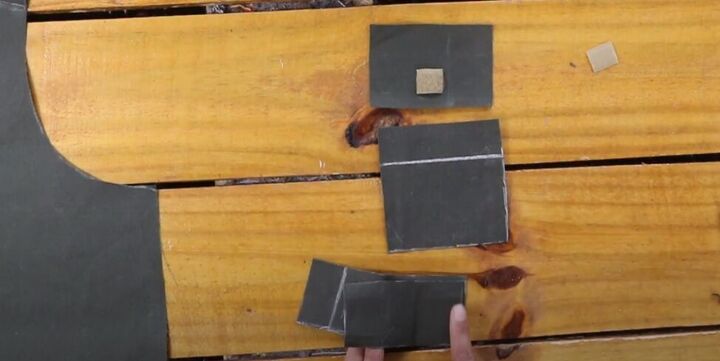
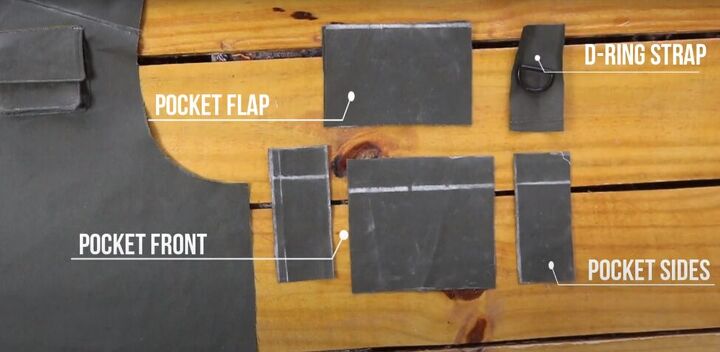
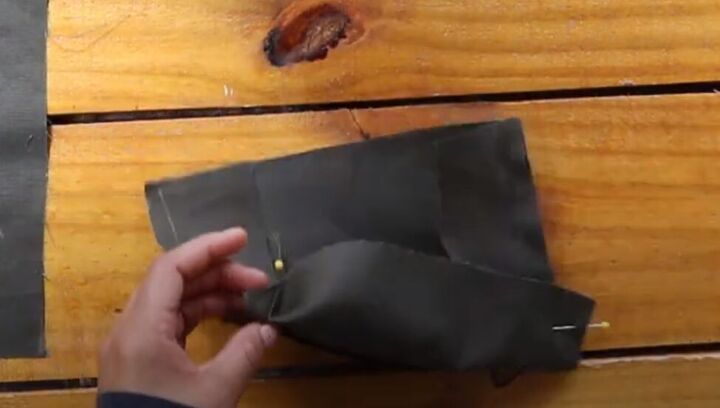
6. Make the fanny-pack pocket
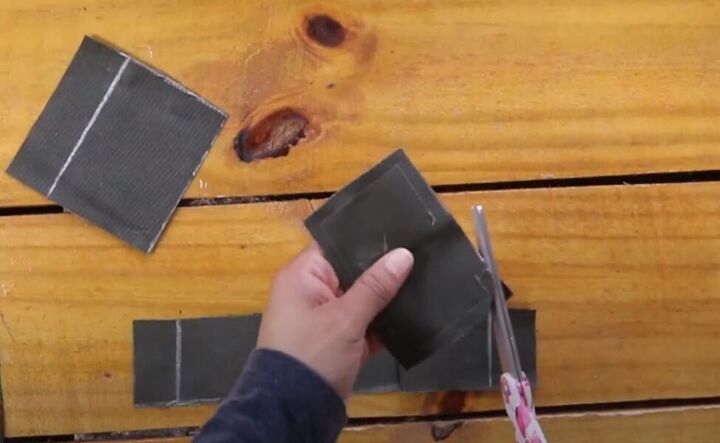
Cut all of the fanny-pack pocket pieces as shown above.
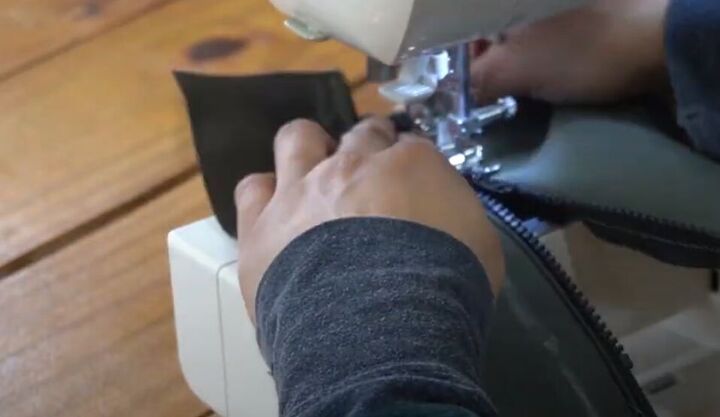
Use the zipper foot on your sewing machine to attach the zipper to the inside of the top and front pocket pieces, sewing on the double-allowance edge of the top pocket piece. Then, topstitch.
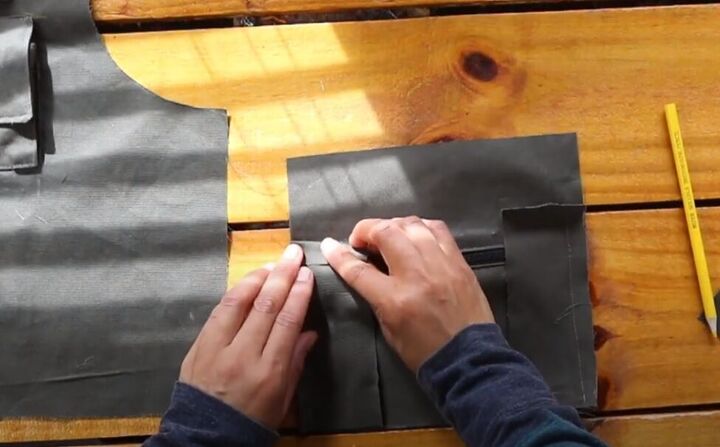
With right sides facing in, sew the pocket sides to the front and top pocket. Stop sewing at the top allowance line of the sides.
Now line up the top edge of the side pieces with the top of the top pocket and pin in place. Sew that long edge.
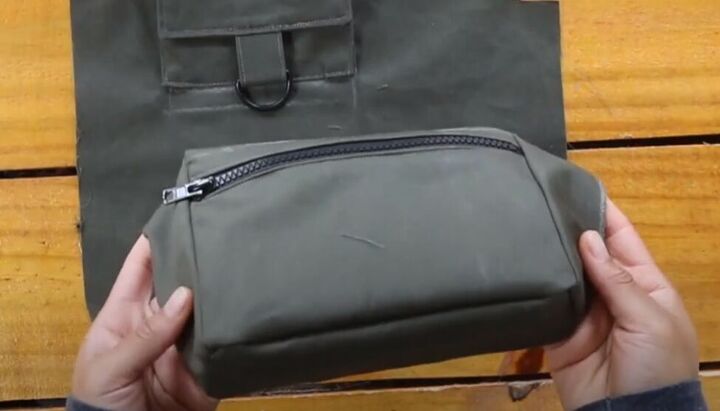
Sew the bottom pocket piece to the bottom of the front and side pocket pieces. Attach the pocket to the front of the vest as you did the previous two pockets.
7. Attach the keychain clip
Make a second D-ring strap as you did before and attach the keychain clip to it. Sandwich it between the other front yoke and bodice pieces, with right sides facing in, and sew the shoulder seam.
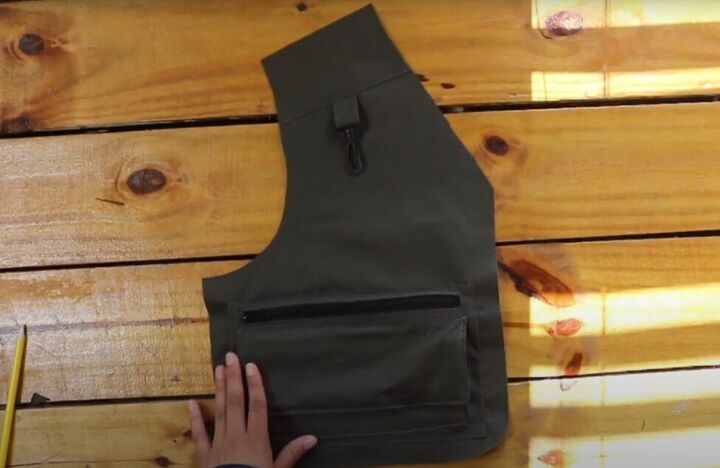
8. Create a second front zipper pocket
This zipper pocket is similar to the previous ones, with an extra flap and the zipper being positioned a bit differently. Follow the video from 8:50 to 10:06 to see how this pocket is created.
9. Last front pocket
Make and attach another pocket just like the D-ring pocket, but without the D-ring. Now, both front pieces are done.
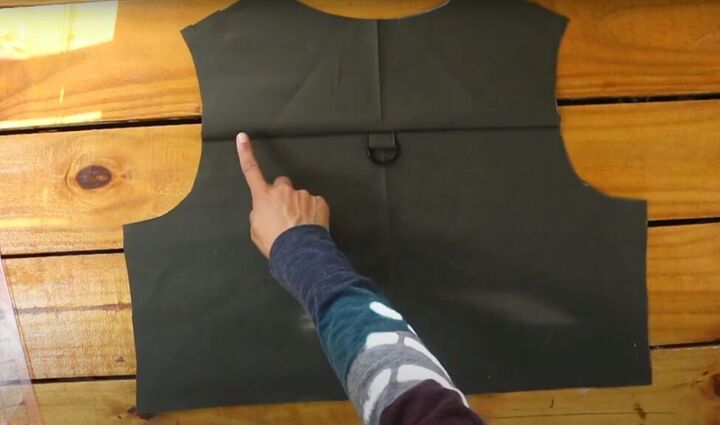
10. Sew the vest back
With right sides facing and another D-ring sandwiched in the middle, sew the back yoke to the back bodice. Trim the excess D-ring strap and then topstitch that seam.
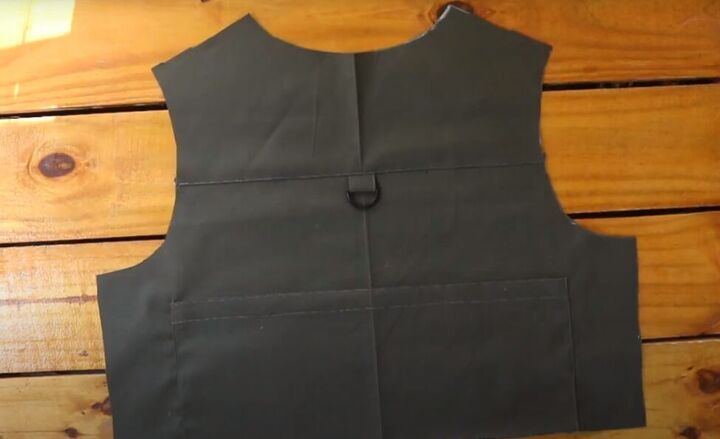
11. Add a back pocket
Sew and attach a simple back pocket as shown in the video from 10:20 to 10:29.
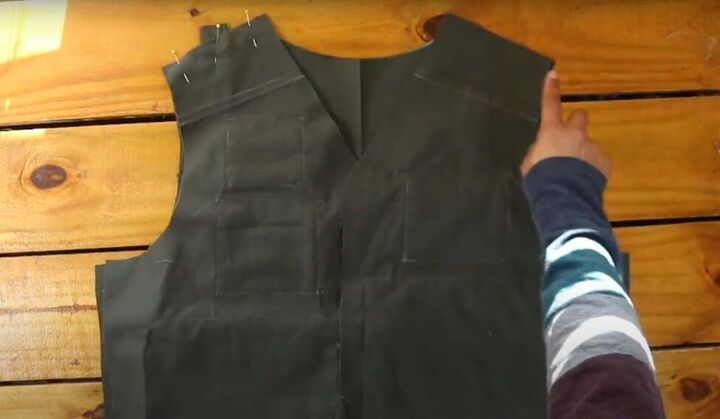
12. Sew the front and back together
With right sides facing in, attach the front pieces to the back by sewing the shoulder seams. Insert one more D-ring at the center of the shoulder on the side with 3 pockets.
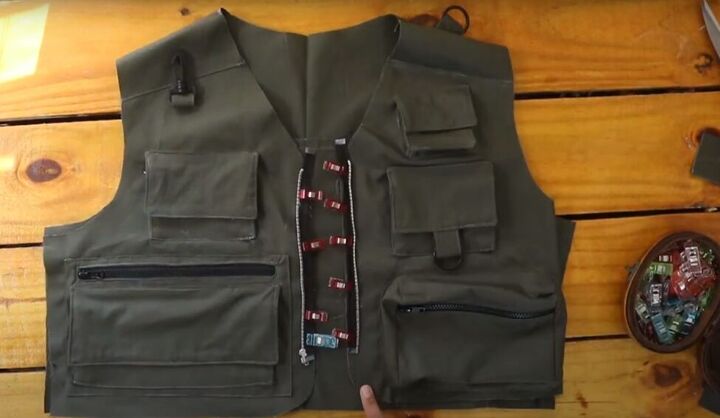
13. Attach the front closings
Pin the zipper in place on both sides of the front and sew it with the zipper foot of your sewing machine.
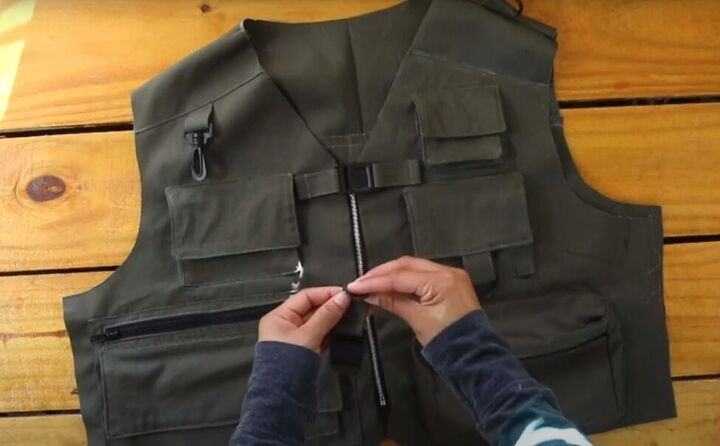
Make both sides of the front clasp closing the same way you did the D-rings and sew to the top front of the vest.
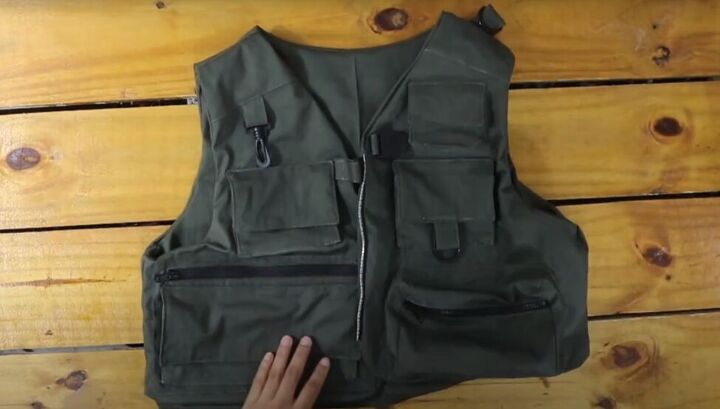
14. Line your vest and sew the side seams
The lining also has a couple of pockets, but it’s made the same way as the outer vest. Follow the video from 11:08 to 12:28 to see the lining made and attached.
Turn the vest right side out and sew the two side seams closed. Then topstitch all around the edges of the vest.
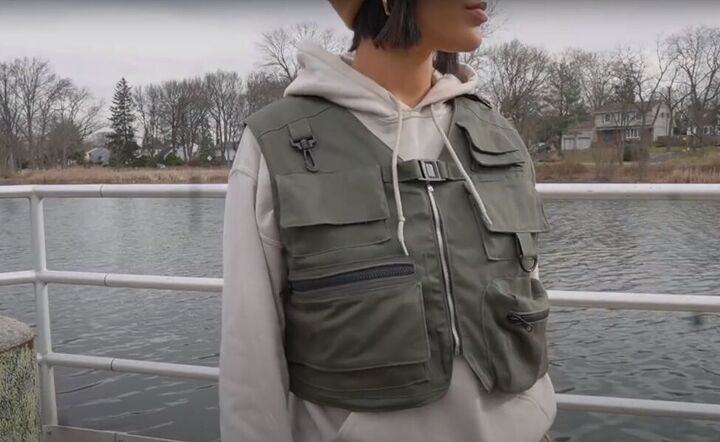
How to make a utility vest
You’re all done and now you can start organizing tools and get to those projects with new efficiency!
Leave me a comment to let me know if you made your own DIY utility vest and how you are using it.
The author may collect a small share of sales from the links on this page.


Comments
Join the conversation
I Love It n u look so cute in it!!!!!👍️🤩