The "Bog Jacket" Pattern Review

Hello Readers. I saw the minimal waste "Bog" pattern online and thought it would be great for some quilted fabric I had. It was a nice heavy weight quilted fabric. I thought it would be perfect for a jacket.

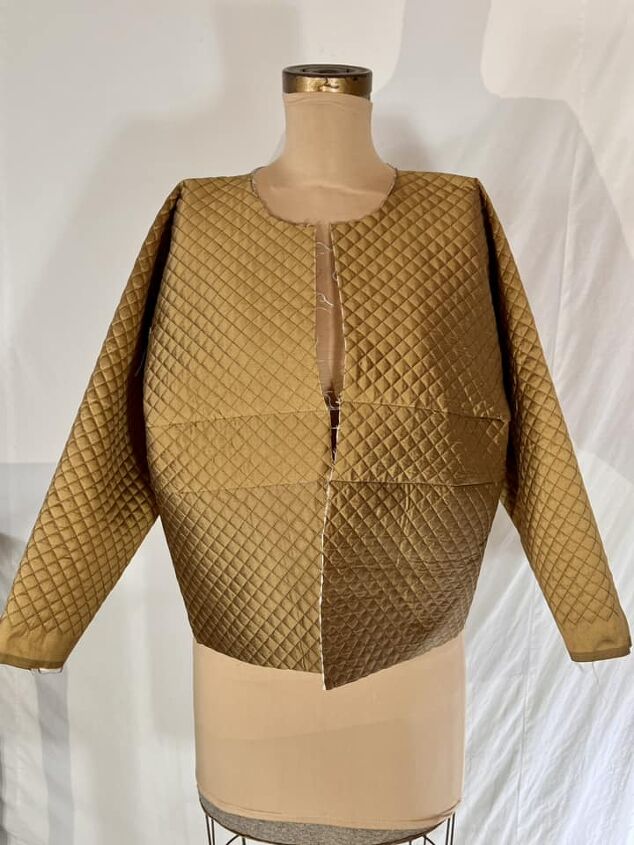
I made the shorter length Bog Jacket and it was a great pattern for beginner sewist.
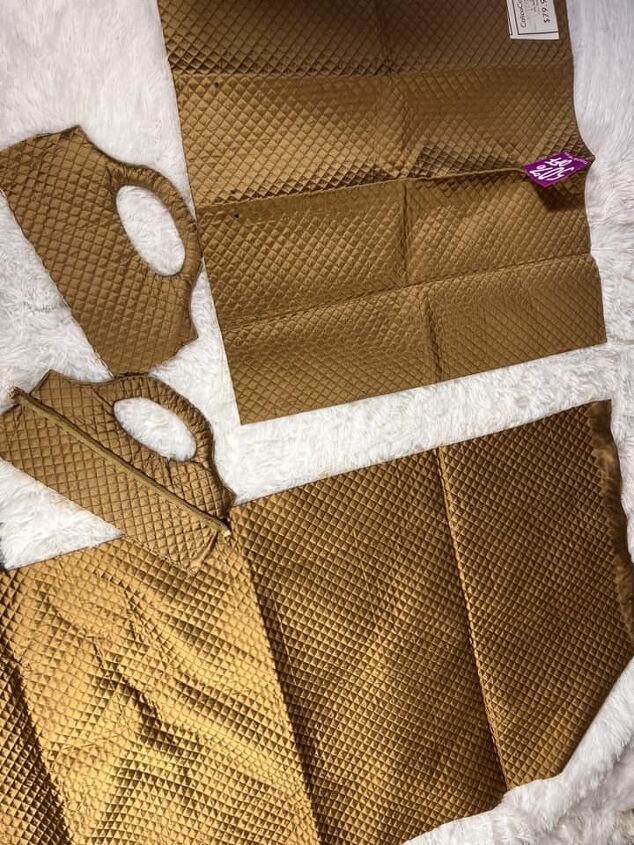
When I really looked at all the fabric I had I realized it was 2 pieces of fabric and 2 handles. The Bog pattern is for a jacket made from 1 large piece of fabric so I was going to have to put my 2 pieces together.
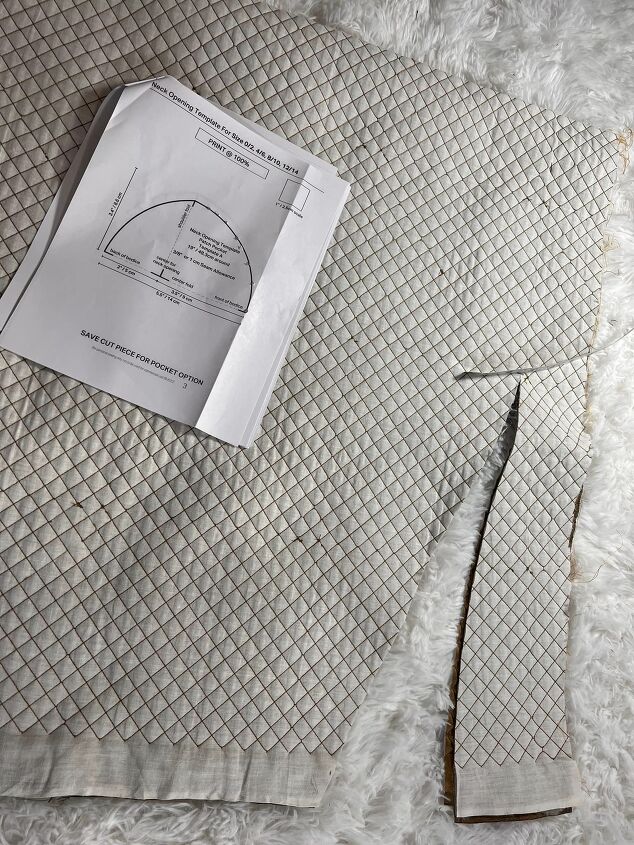
This is a look at the reverse side of my fabric. I went to ETSY.com and found The_Sew_Sew to buy the "Bog" pattern. It is a pdf pattern that you print out at home. Sometimes these can be difficult but this one was easy. I started measuring and figured out a way to make the top of the jacket from one of my pieces.
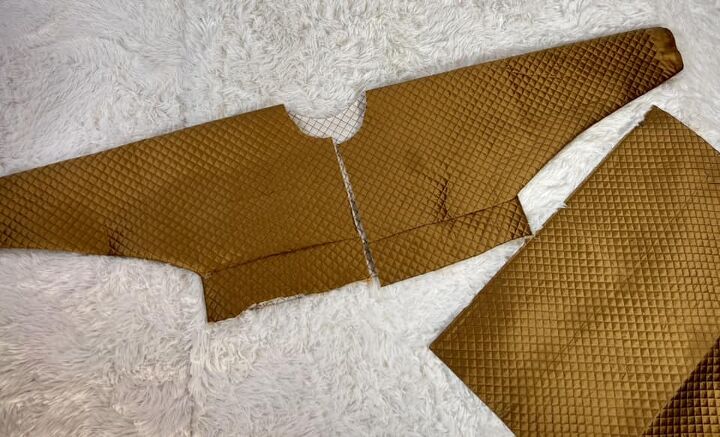
The jacket is loose cut and boxy. There is going to be a extra seam around the middle of my jacket that wouldn't be there if you used one big piece of fabric as directed. That is OK. I don't mind an extra seam. There is enough material in the second piece to add length to the jacket and make a couple pockets.
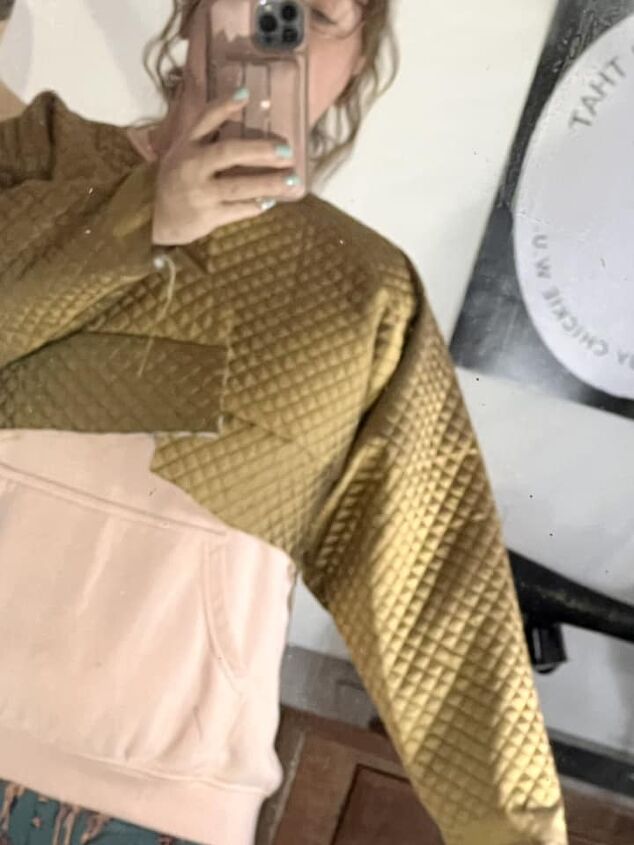
I always try things on in the middle of sewing to make sure I am on the right track. I recommend you do this as well. The top of the jacket fir well so it was time to make it longer.
I added a rectangular piece to the jacket to add length. I added all the length I could with the material I had available and hoped it would be a good length on me when it was done. If you follow the pattern exactly, you won't have this issue.
The pattern calls for bias tape to finish the cut edges. I wasn't going to find any that match this color and I couldn't make enough for the whole jacket because I was running very low on fabric. I thought for a while and decided I would try to skip bias tape if I could. I made this little piece to finish the neck line.
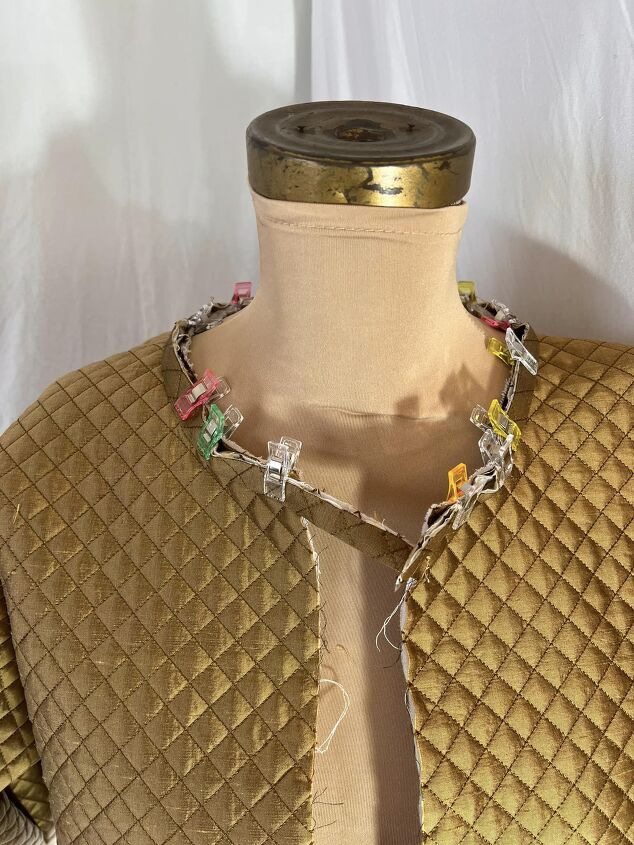
I pinned the piece around the neck with the right sides together and sewed it in place.
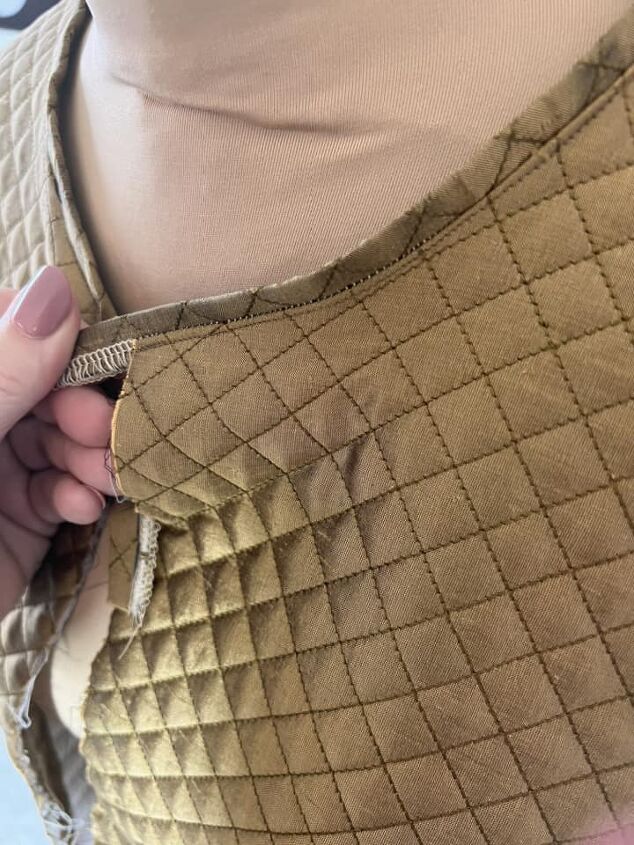
I ironed it flat and there was just enough to get the neckline done. Using bias tape would have been easier and a contrasting color would be really cute.
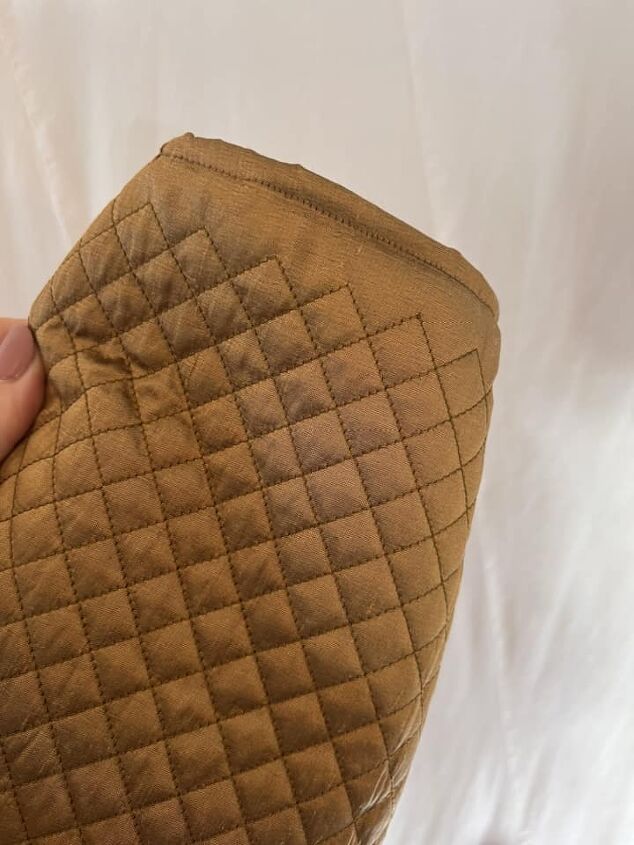
I was able to turn the sleeves under and stitch them down so I didn't need bias tape here either. At this point I was waiting for the zipper to be delivered and I had to take a break for a week or so.
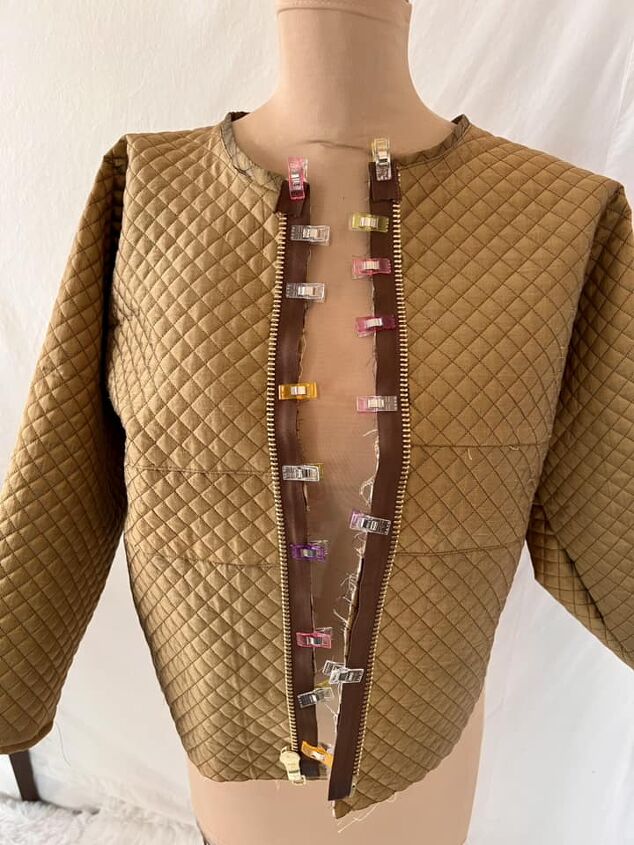
My zipper came in the mail. I waited because I really wanted this brass zipper. I thought the brass was great with the gold color of the jacket. The zipper would finish the jacket front and keep it closed too. I turned the bottom edge of the jacket under and stitched it down. Then I attached the zipper. (The pattern showed a button or waist tie, so buying a zipper isn't required.)

I used a serger to control fraying and attach the zipper. I stitched with the teeth of the zipper turned out and then turned the teeth in when I was done.
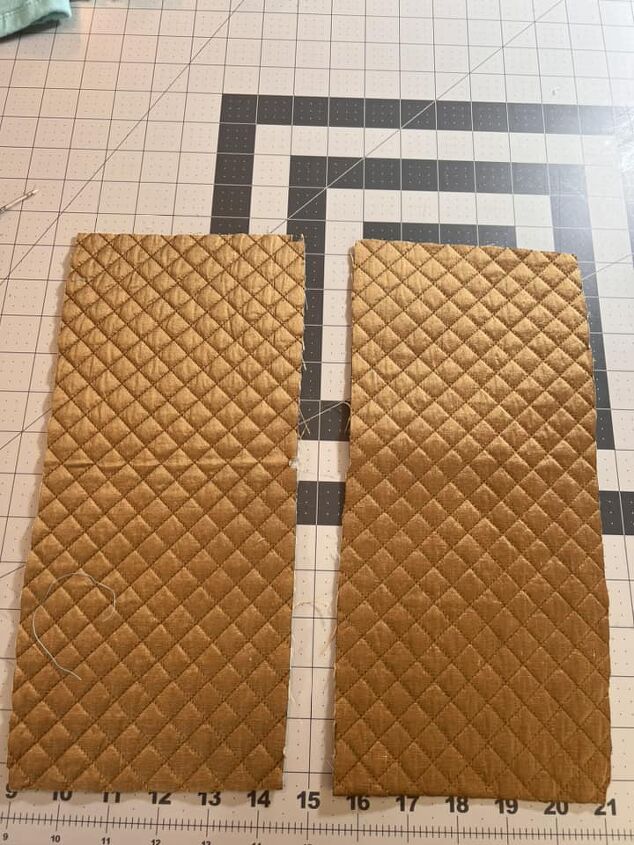
The pattern called for the head hole to be cut out in one oval piece. I was supposed to use bias tape to finish it around the edges and then attach it as a pocket. (It was really cute and minimal waste all at the same time.) I wanted to do something else, and I had 2 small pieces of fabric to use. I really wanted a pocket that could fit my phone. I made these 2 rectangles into 2 pockets for the front of my jacket.
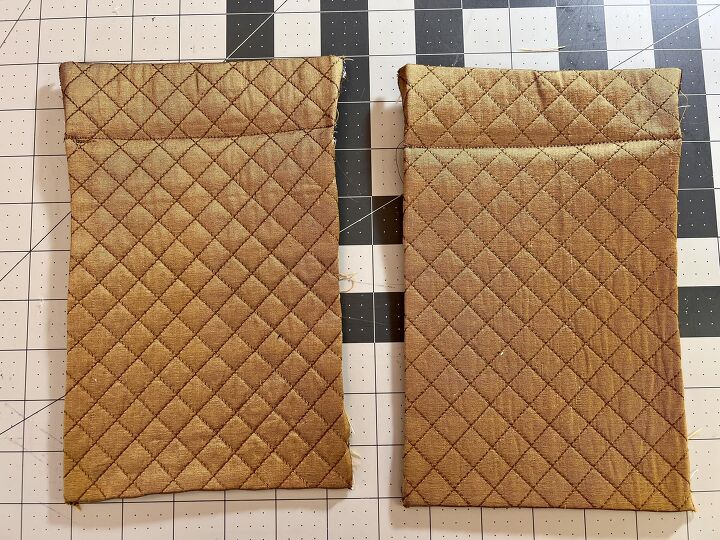
I folded the top of the pocket under and stitched it down. I ironed the edges on the sides and bottom under. Once the jacket was hemmed and finished I could figure out where to put the pockets.
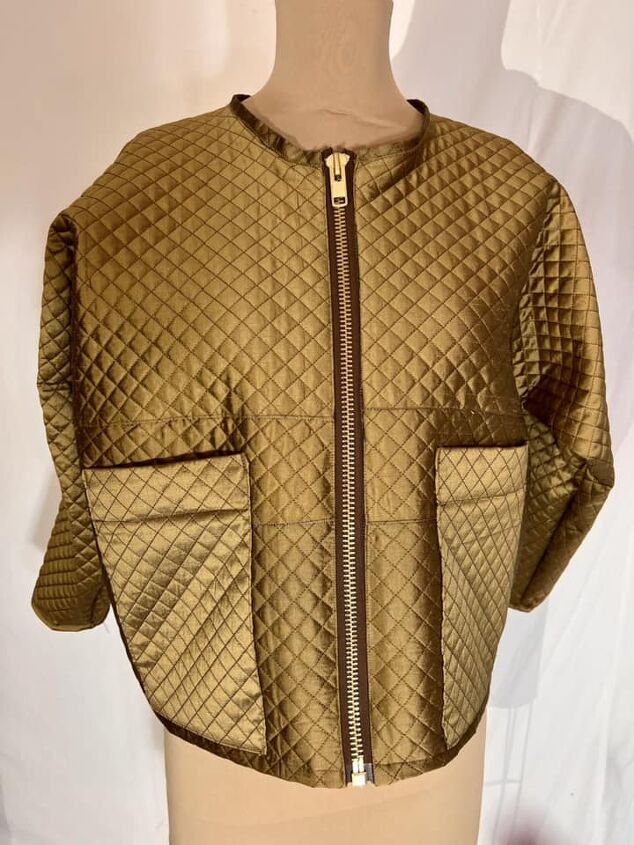
I used a straight stitch to attach the pockets to the jacket. My jacket was done and I loved it.
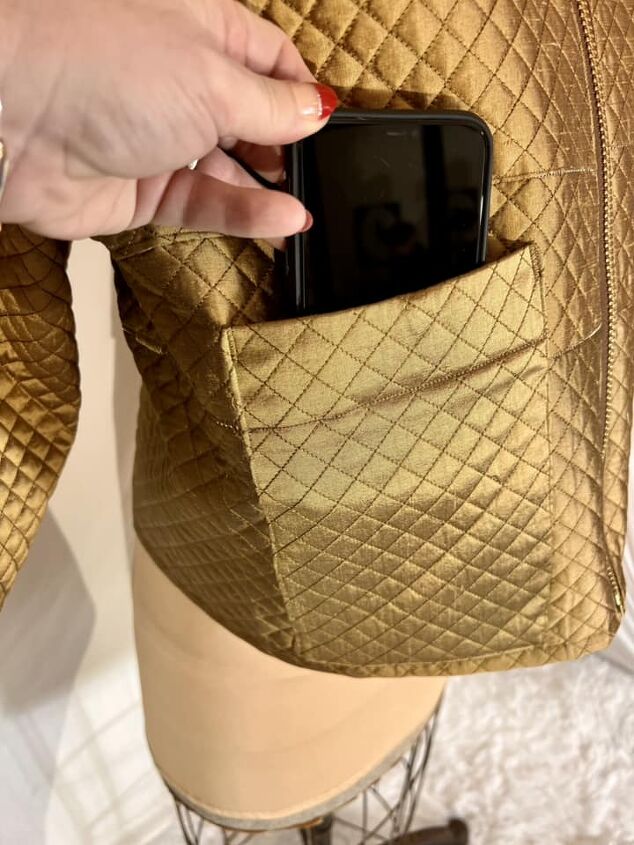
I did a phone test. The size was perfect. I usually have my phone with me so I thought this would be helpful.

If you want to make a simple jacket, this is a great pattern to consider. Thanks for reading along, now go make something fun for yourself.
The author may collect a small share of sales from the links on this page.


Comments
Join the conversation