Polymer Clay Tutorial: How to DIY Colorful Statement Earrings

In this tutorial, I’m going to show you how to make polymer clay earrings. We’ll be making colorful statement earrings with very vibrant colors and abstract shapes. Let's start!
Tools and materials:
- Polymer clay
- Wavy blade
- Cookie cutters
- Pasta machine
- Roller
- Small blade
- Dotting tool
- Needle tool
- Nail sander (or sandpaper)
- Hole drill
- Varnish
- Earring backs
- Jump Rings
- Superglue
You’ll need geometric-shaped cookie cutters and a fun blade like this.
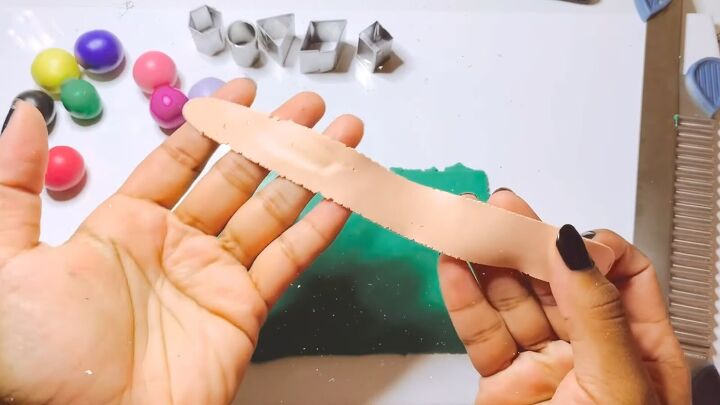
1. Thin out your clay
Run each of the balls of clay you’re going to use through your pasta machine on the thinnest setting.
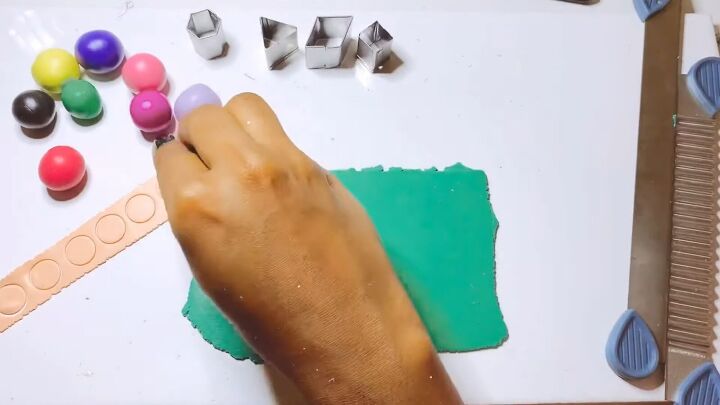
2. Cut out small circles
Use your cookie cutters to cut out a bunch of small circles.
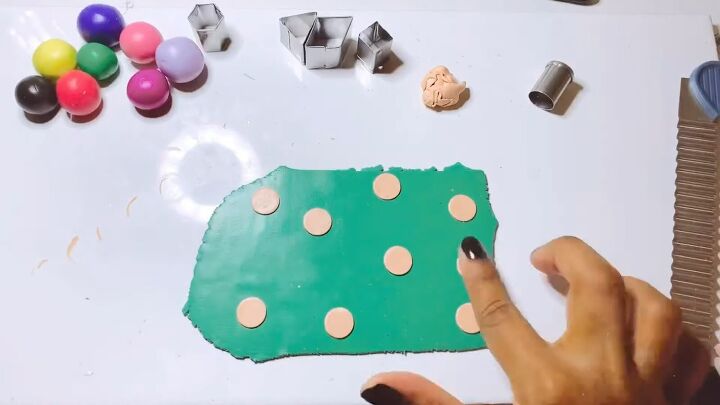
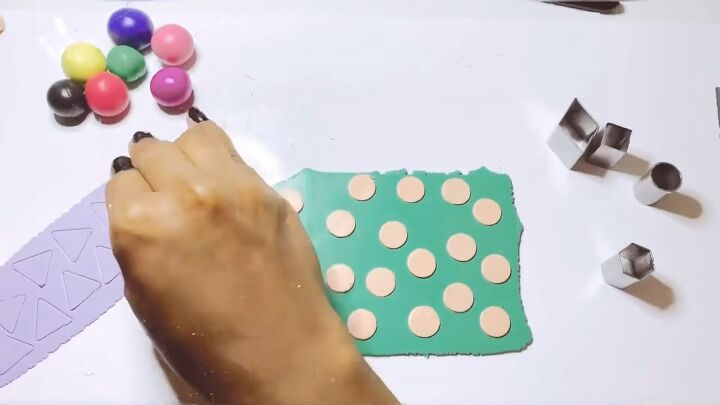
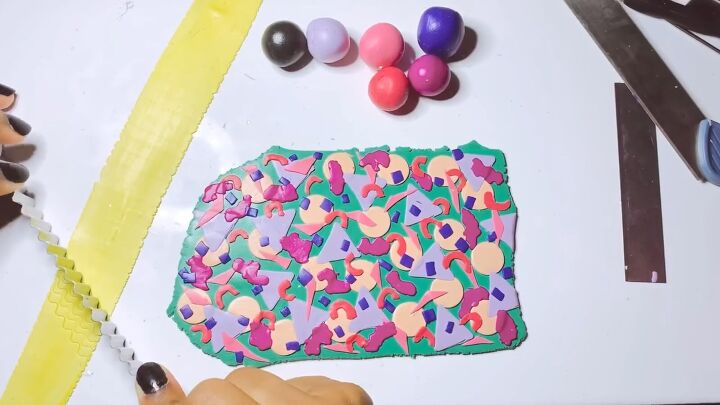
3. Place the circles randomly
Place the circles throughout a background sheet of clay. Try to be as random as possible in this process.
4. Cut out small triangles
Use your cookie cutters to cut out a bunch of small triangles in a second color that’s also been thinned in the pasta machine.
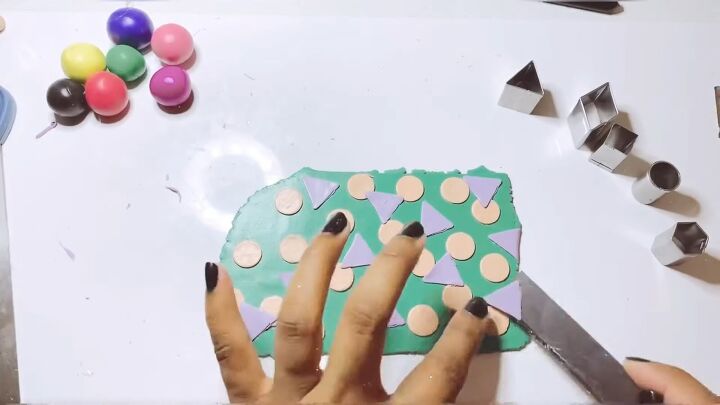
5. Place the triangles randomly
Place the triangles just as you placed the circles, but this time overlap some of them onto the circles.
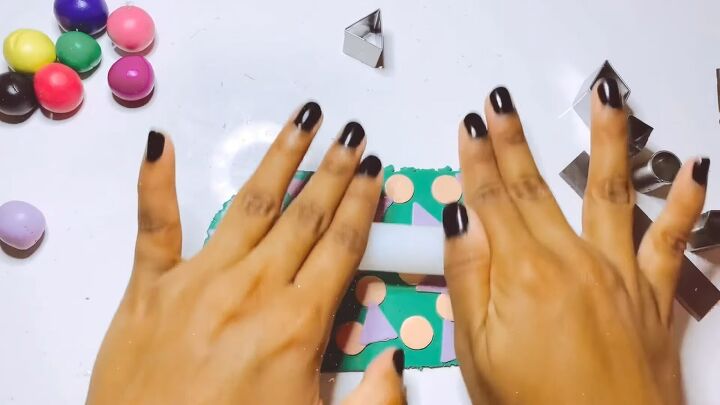
6. Roll
Use a roller to slightly flatten the slab without distorting it.
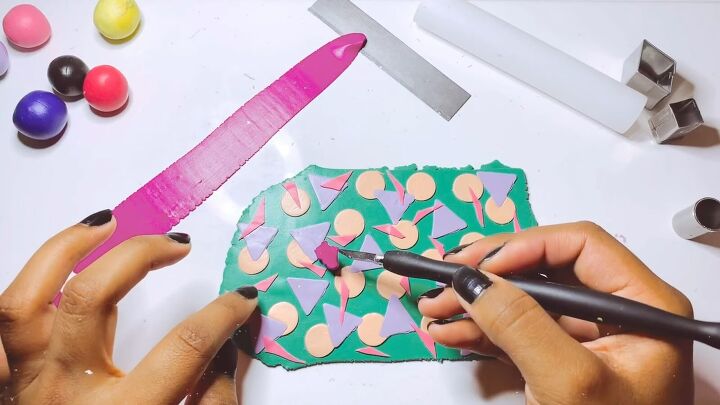
7. Continue adding basic shapes
You can also use a thin blade or a kitchen knife to cut out shapes if you don’t have a cookie cutter, or you want to mix it up with smaller and irregular shapes.
Some elements I added are acute triangles, asymmetrical blobs, and rainbow shapes.
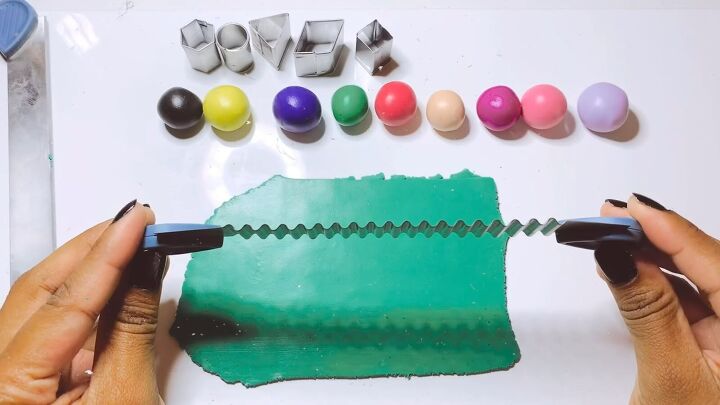
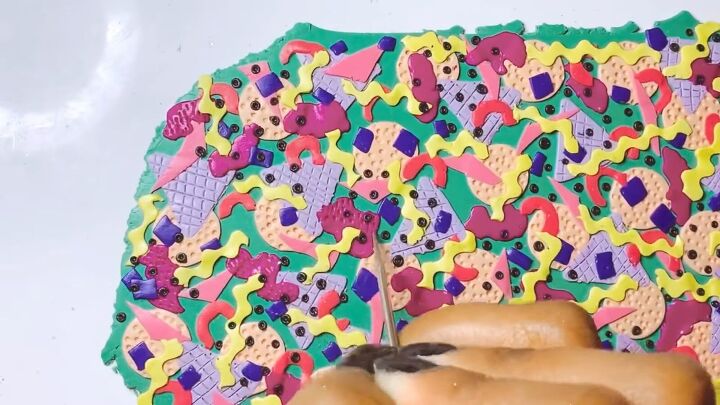
8. Use fun cutting tools
A fun tool to use is this funky blade. This blade helps cut pieces that are wavy. When cutting each row, I offset the blade slightly.
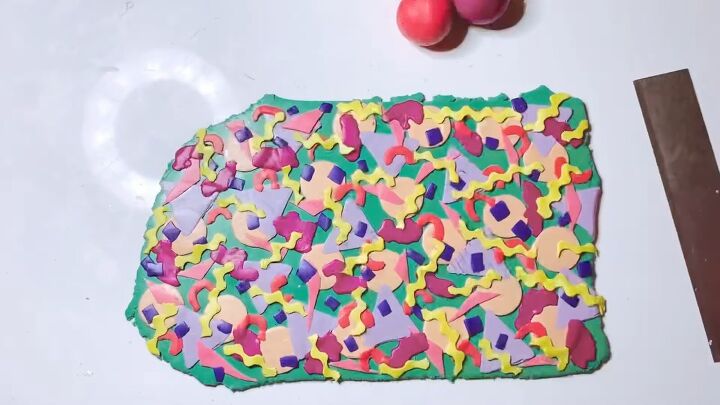
Then, I cut them into various lengths before placing them on the slab. Adding these really took the slab to the next level.
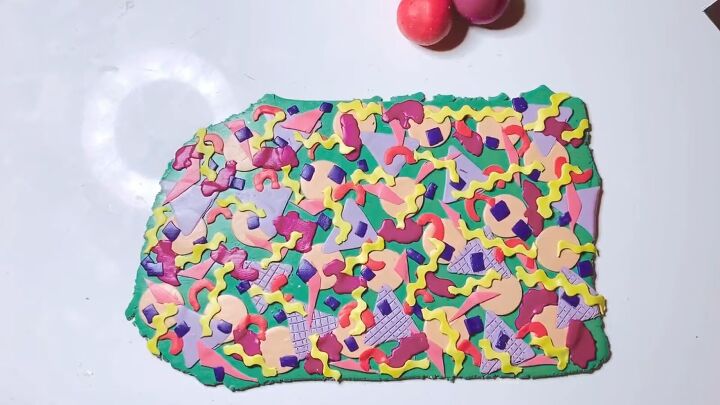
9. Add texture to the triangles by scoring
Score some lines horizontally and vertically on the triangles.
10. Add texture to the circles by dotting
Use a dotting tool to add some holes.

11. Add small balls
Use black clay to create shiny balls and scatter these throughout the slab in clusters.
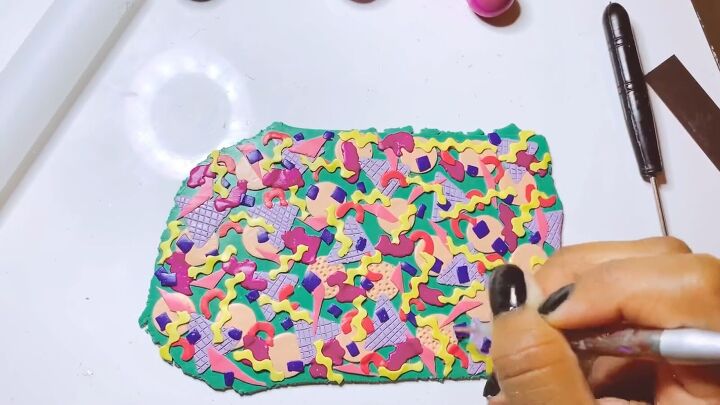
12. Add texture to the blobs by hatching
Using a needle tool, add hatching to the blobs.
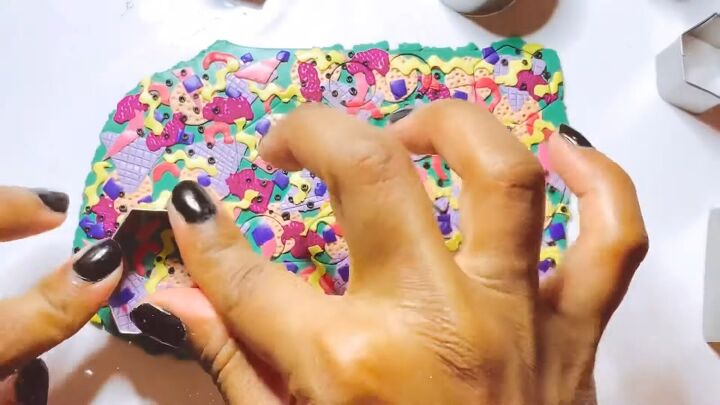
13. Cut out the earring shapes
Use simple cookie cutters to cut out the shapes for the earrings.
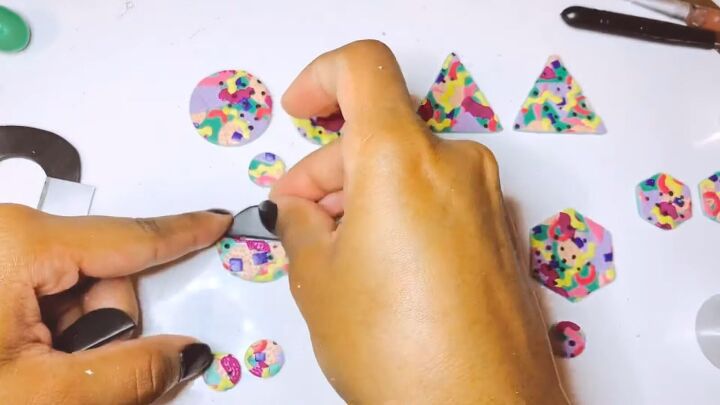
14. Cut out additional shapes to add to the earrings
You can also use contrasting clay to create some parts of the earrings.
15. Bake
Bake your earrings for about 1 hour at 225F. I recommend baking samples to find out the ideal temperature and time.
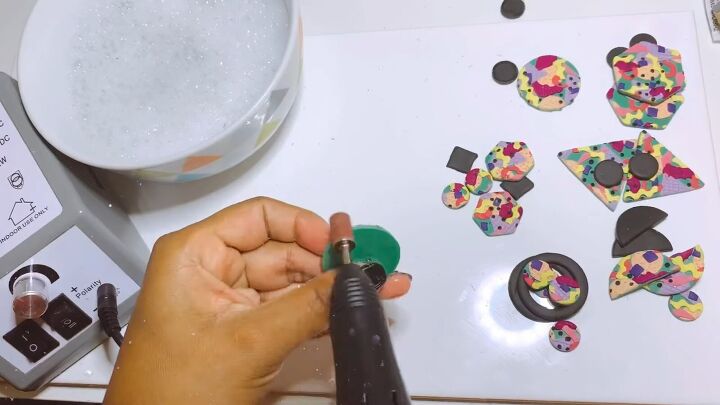
16. Sand
I’m using a nail sander and the wet sanding method to sand my pieces.
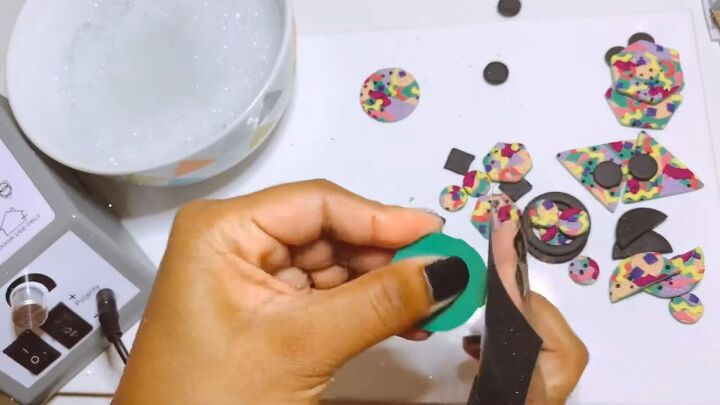
If you don’t have a sander, you can also use 600-grit sandpaper.
If you have any bubbles, sand them by wetting the piece first and then using circular motions to sand it out and make it smooth.
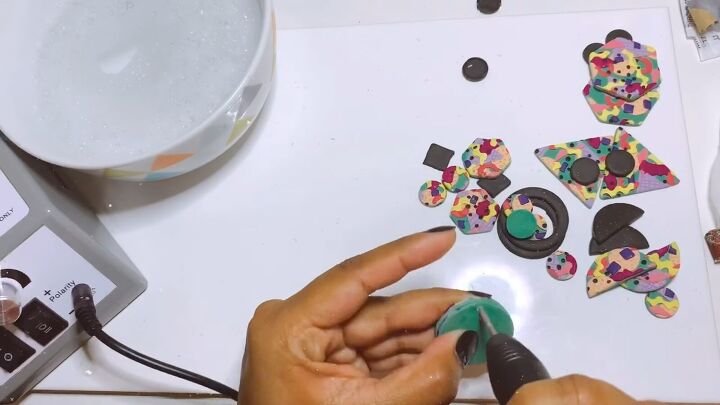
17. Drill holes
Drill holes into the earrings. I prefer to drill after baking because it makes the holes more precise and clean.
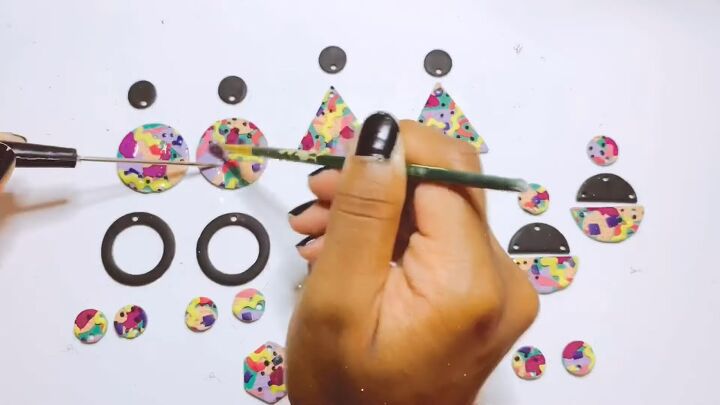
18. Apply a varnish
Brush on a matte varnish. Let the varnish dry for 2-3 hours.
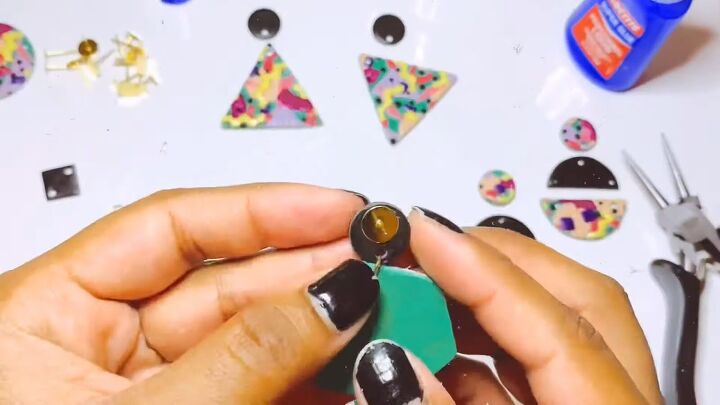
19. Put the earrings together
Apply jump rings and earring backs to the clay pieces to attach everything together.
Apply the backs with super glue and let them dry for at least 24 hours before handling.
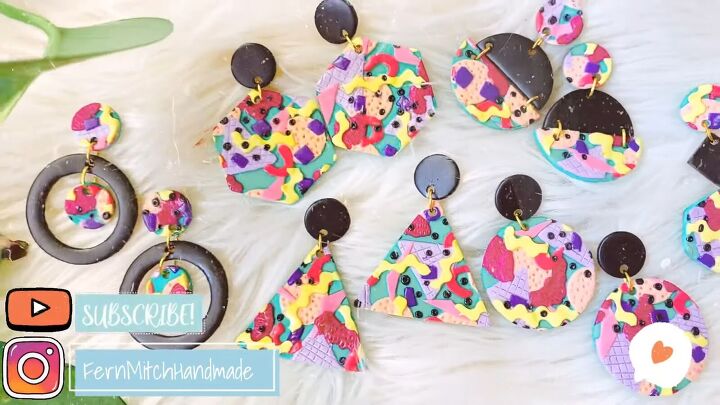
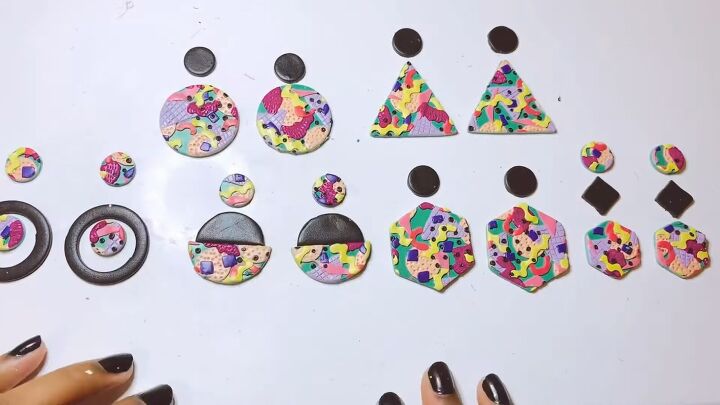
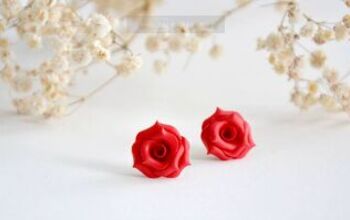
Polymer clay earrings DIY
Here’s how this polymer clay earrings DIY turned out! Let me know if you plan on trying out this technique down below.
Next up, check out this post on How to DIY Cute and Fun Watermelon Earrings.
The author may collect a small share of sales from the links on this page.


Comments
Join the conversation