Sweater Weather Hairdos: 5 Cute and Easy Fall Hairstyles

Today, I want to share with you a few cute fall hairstyles that are perfect for sweater weather.
To me, sweater weather hairstyles should be casual and cozy, just like the season. Let’s jump into these 5 autumn hairstyles.
Tools and materials:
- Claw clip
- Hair tie
- Bobby pins
- 2 statement hair clips
- Comb
- Hair elastics

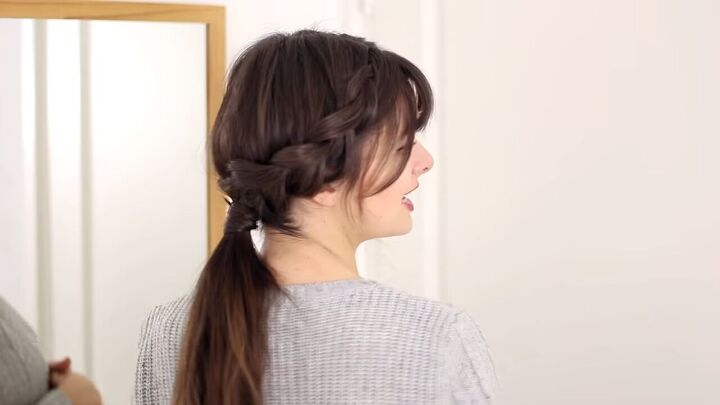
Style 1: Dutch braids to ponytail
1. Make a face-framing Dutch braid on each side
Start with a center part. Grab a small section of hair in the front, between your bangs (if you have them) and the beginning of the part.
Divide this hair into 3 sections and start a Dutch braid. This means you’ll add a little more hair to each section when you cross it into the braid.
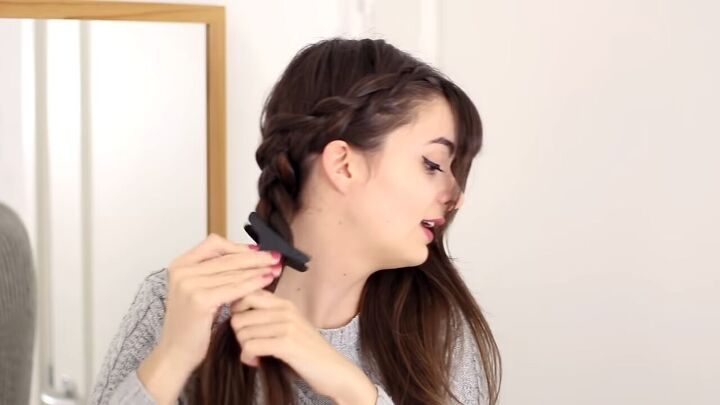
Follow down your hairline so that the braid frames your face, as opposed to it going straight backward.
When your braid reaches the back at the nape of your neck, do a few more crosses of the brain and then add a clip to hold it temporarily.
Then repeat on the other side.
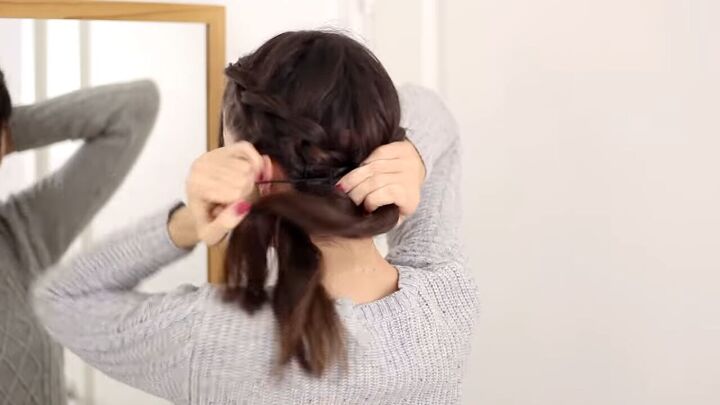
2. Join the braids
When you’ve reached the back, join the braids together with a hair elastic in the center of the nape of your neck.
3. Finishing touches
Tug at the sections of the braids to add volume.
Pull out some hair in the front to make it more playful.
Hide the hair elastic by wrapping a strand around it, securing the end with a bobby pin.
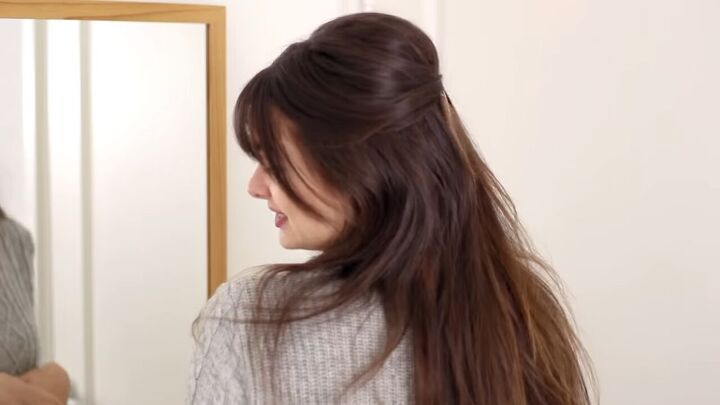
Here’s the final look:
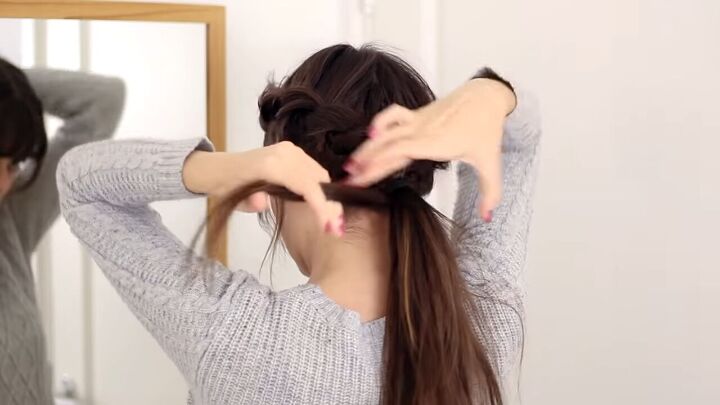
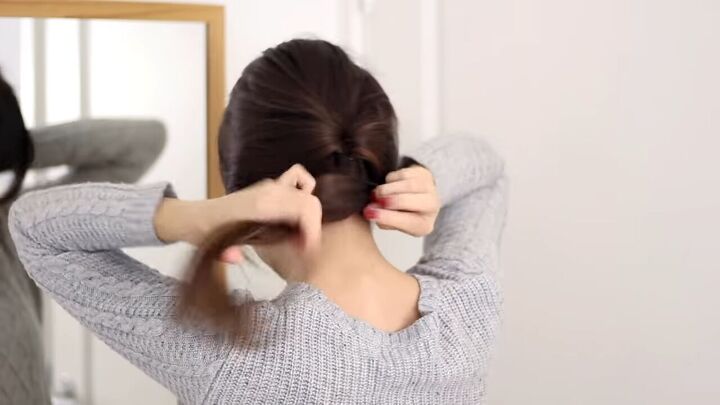
Style 2: The casual, low bun
1. Make a low, loop bun with a tail
Gather your hair into a low ponytail, but for the last loop of the hair tie, don’t pull the tail all the way through.
The result is a small, loop bun with a tail.
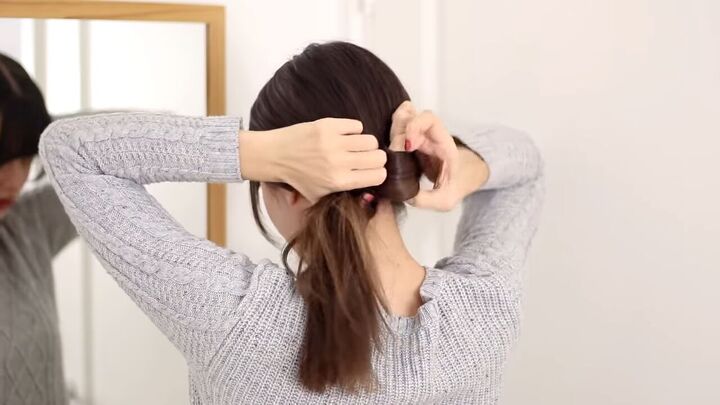
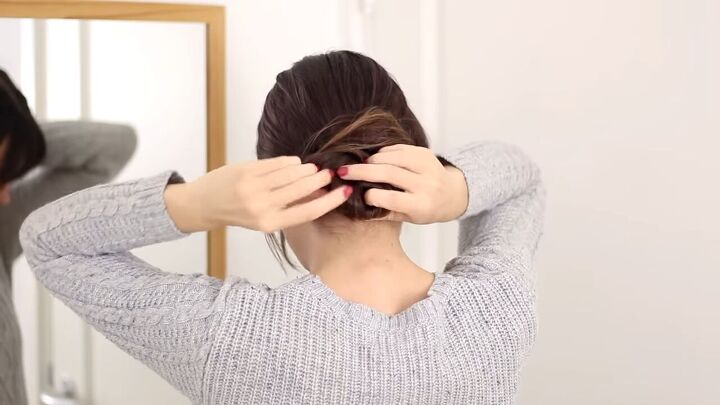
2. Twist the tail around the bun
Twist the rest of the hair around the base of the bun.
Then pin the end with some bobby pins.
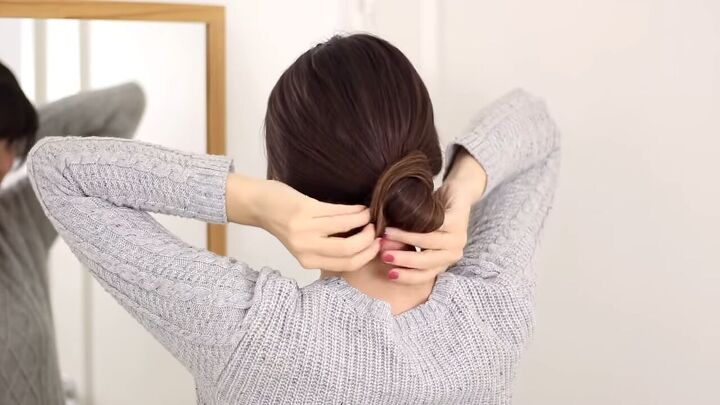
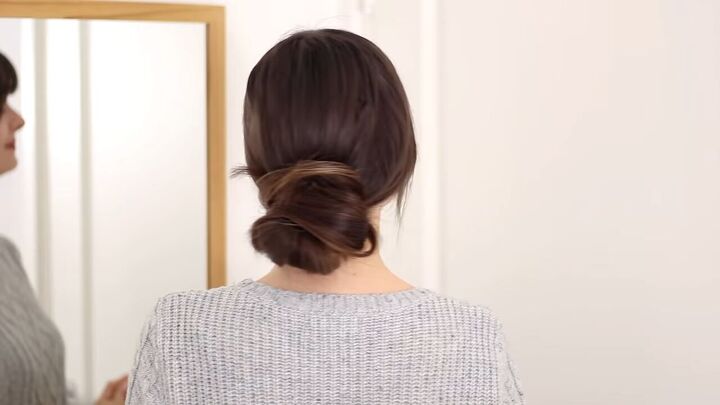
3. Make it casual
Pull gently at individual strands to make the bun a bit more “lived in”.
Pull out some face framing strands from the front as well.
Here’s the final result:
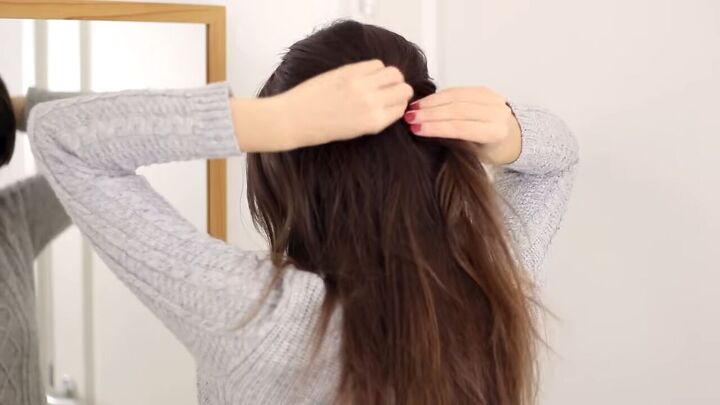
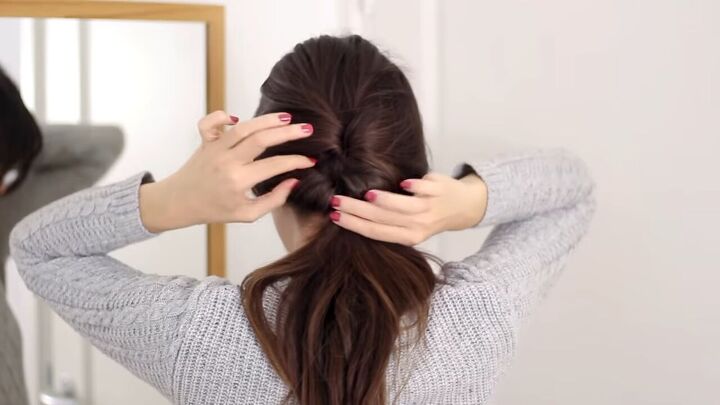
Style 3: Poof with statement clips
1. Backcomb the back section of hair
Grab the top, back section of your hair and backcomb it slightly for a bit of volume.
Take another small layer in front of this and backcomb it too.
Backcomb a layer underneath the original section.

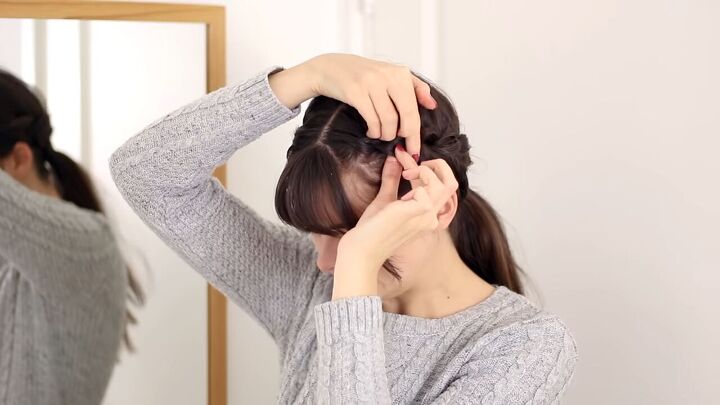
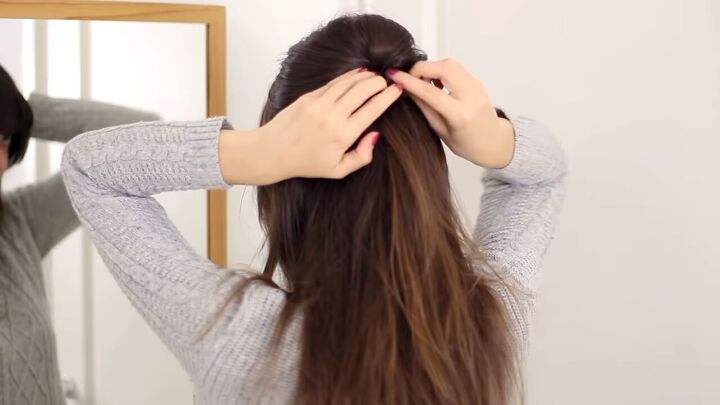
2. Make a poof and cross your clips
Pull the hair together, over the backcombed section.
Be careful not to take too much hair that your pins won’t be able to hold.
Push this hair upward to create a bump.
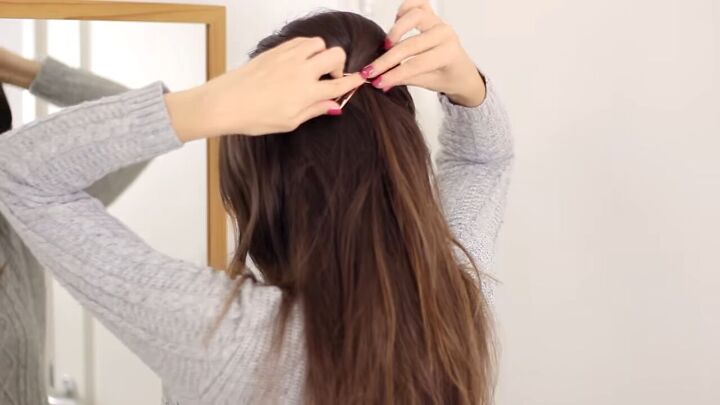
Then insert your 2 clips to hold the bump from below it, creating a cross shape.
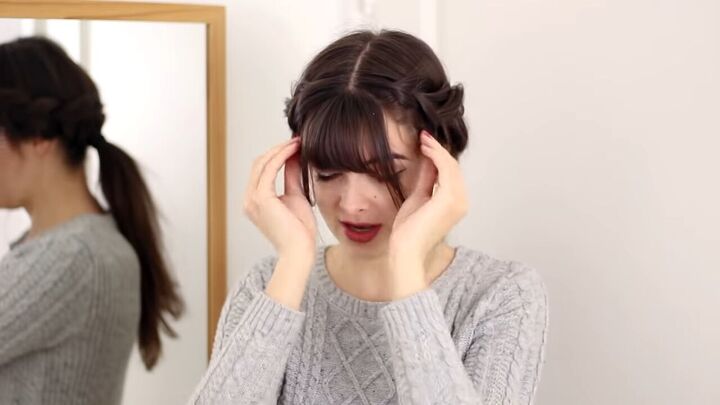
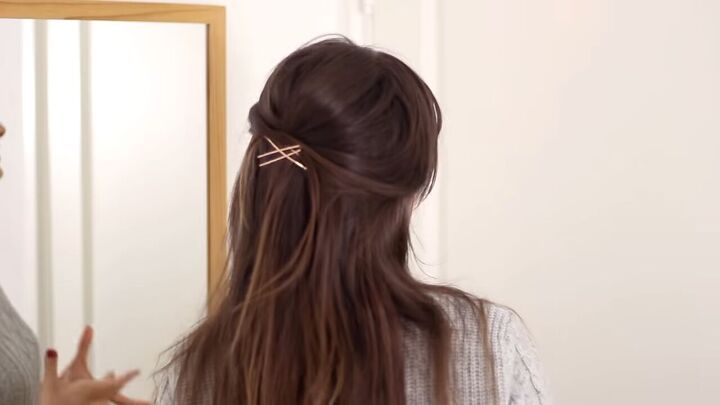
Here’s the final look:
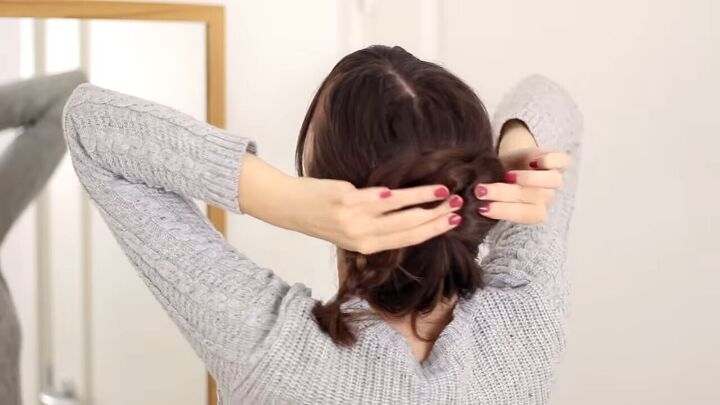
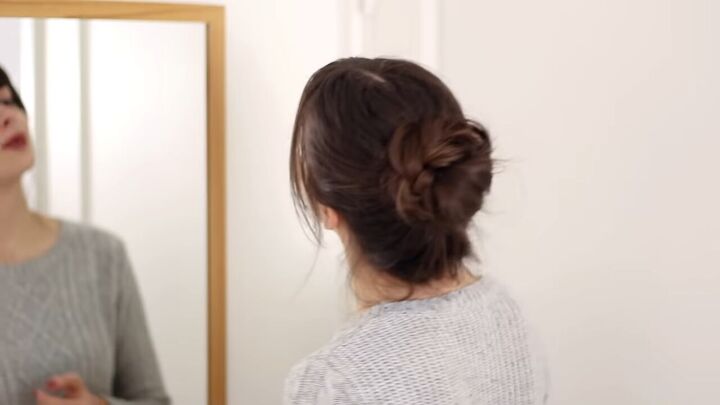
Style 4: The braided bun
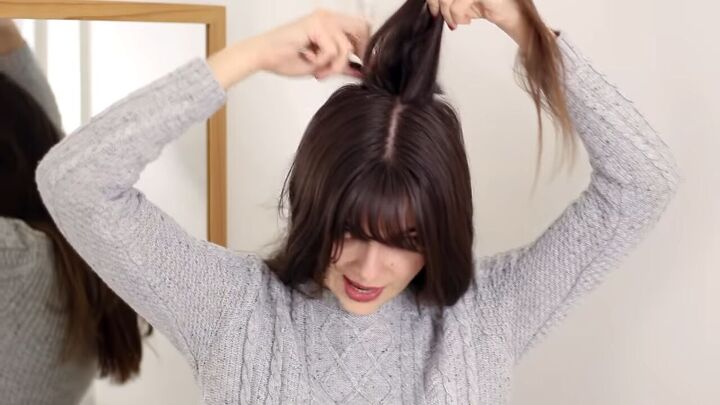
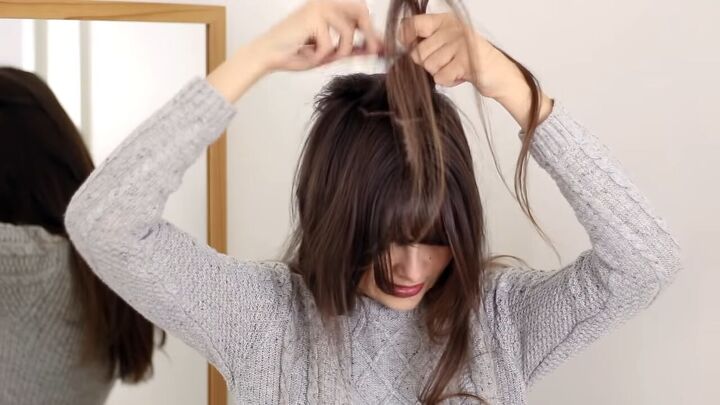
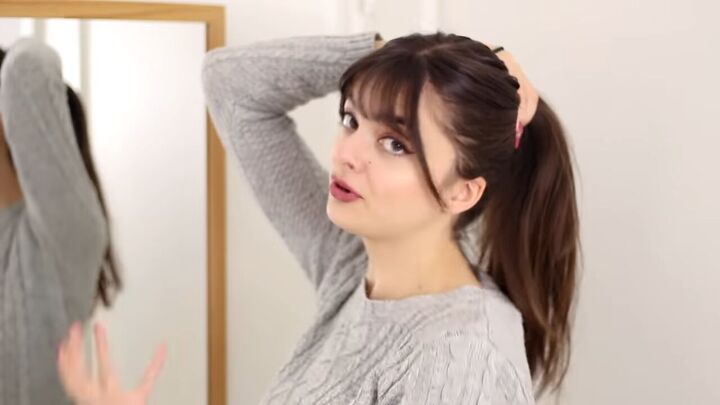
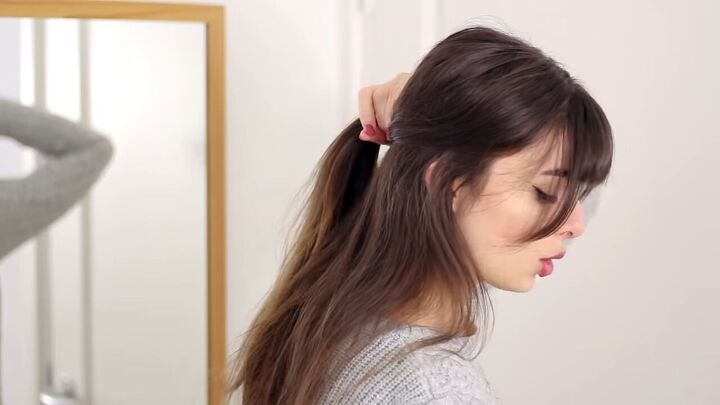
1. Make a high ponytail
Pull all of the hair into a high ponytail at the crown crown of your head.
2. Make a 3-strand braid
Split the ponytail into 3 and make a braid. Tie off the end with a hair elastic.
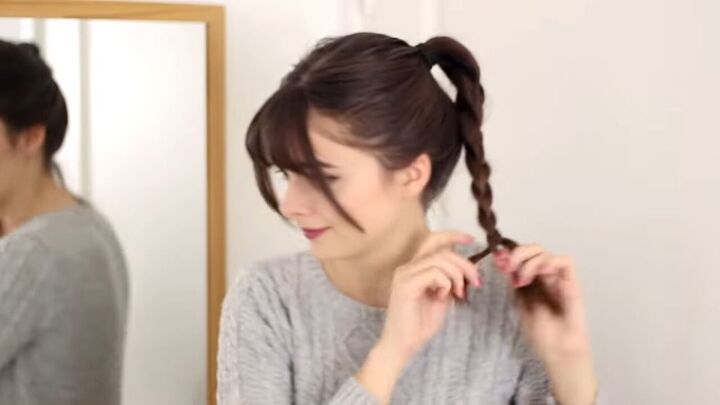
3. Add volume to the braid
Tug at the sections of the braid to make it loose and full of volume.
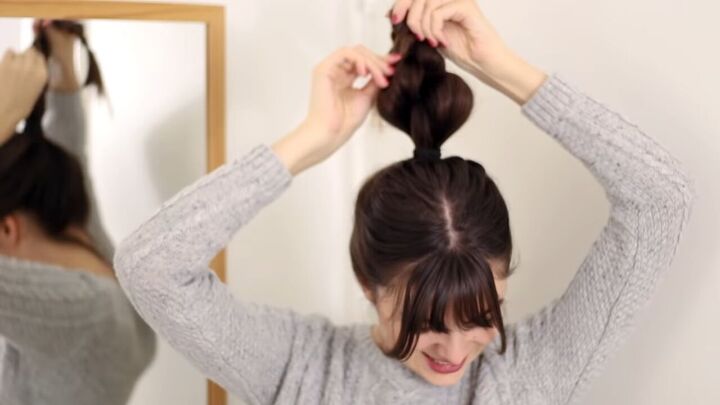
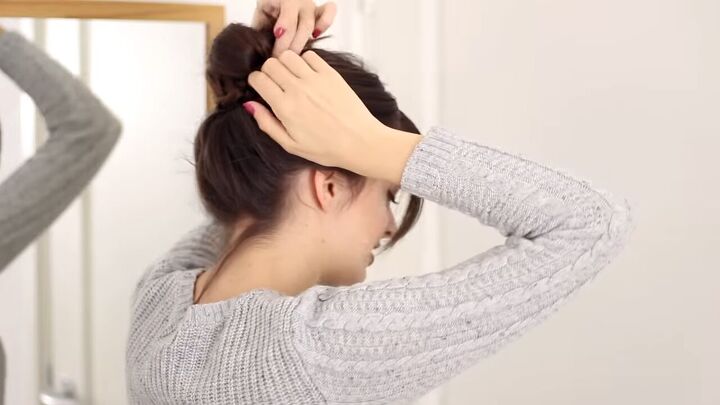
4. Form a braided bun
Wrap the braid around the base, pinning as you go to make sure it holds.
When you reach the end of the braid, tuck it in and pin it.
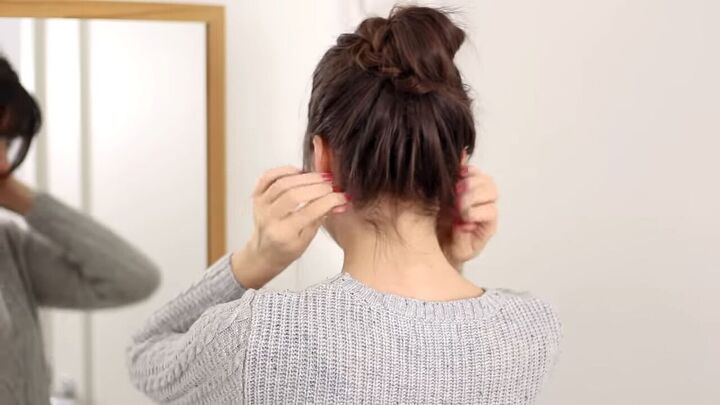
5. Make it casual
Pull out some hair in the front and back for that casual touch.
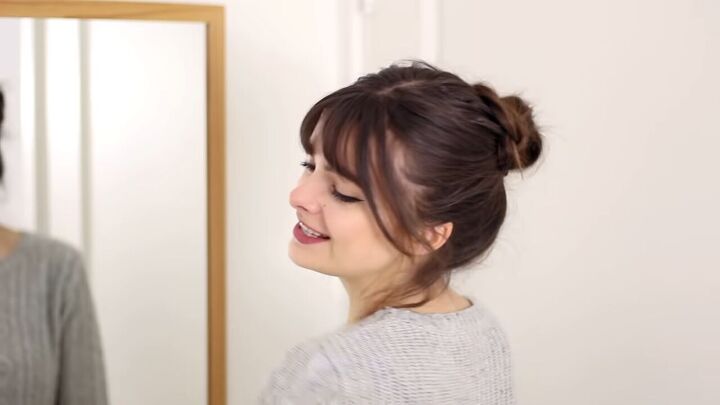
Here’s the final look:
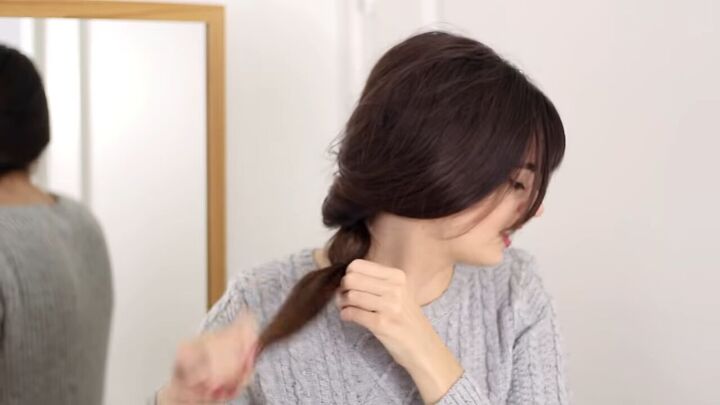
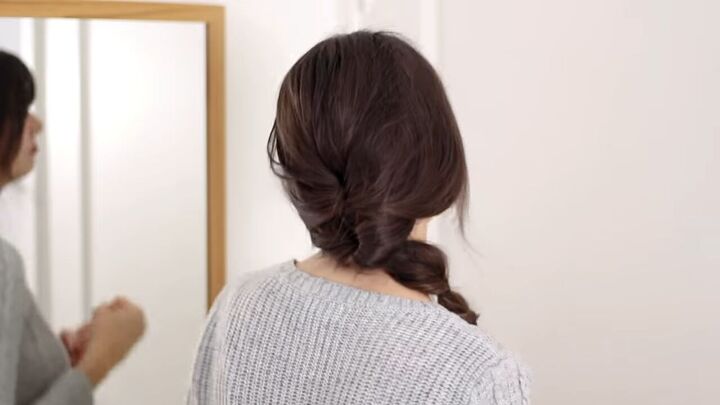
Style 5: Topsy tail braid
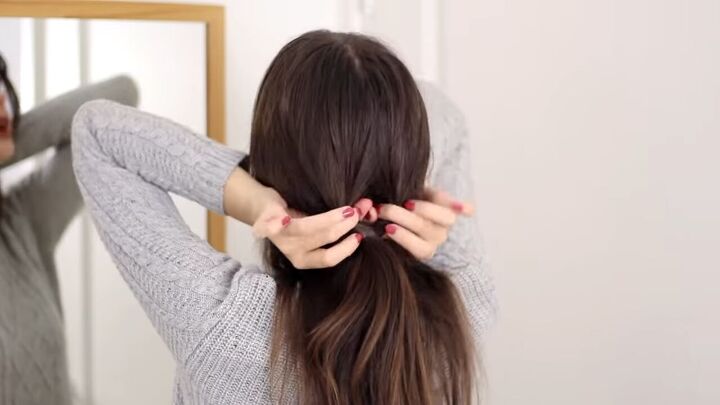
1. Make a half-ponytail
Collect the top section of hair into a half ponytail, securing it with an elastic.
If you hate the elastics, you can use a hair tie, but I prefer this because it’s inconspicuous.
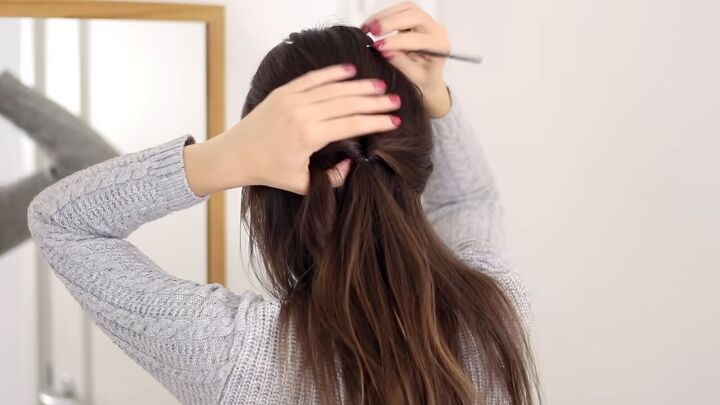
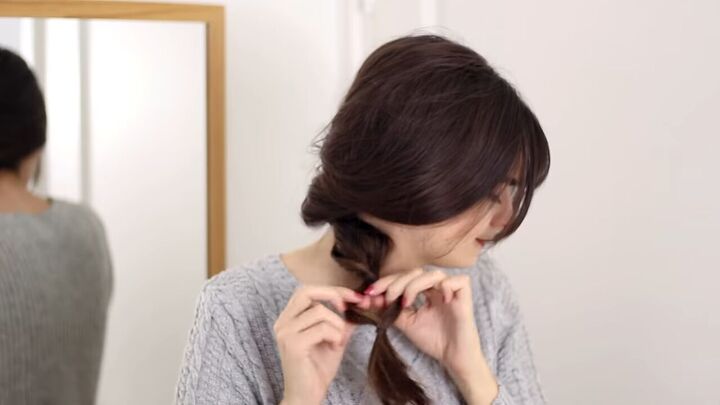
2. Turn it into a topsy tail
Make a gap above the ponytail base and push the tail up through it.
3. Add volume
Use the tail of a comb at the back of your head to create volume.
4. Make a low, topsy tail
Tie all the ends into a low ponytail.
Then turn this into a topsy tail, starting with a gap and pushing the ends through it.
5. Make more topsy tails
Add another elastic a few inches below the last and create another topsy tail. Pull the sections of the topsy tails to widen them.
Depending on the length of your hair, add 1-2 more topsy tail sections.
As always, pull out some face-framing hair for a playful touch. Here’s the final look:
Cute fall hairstyles
These 5 hairstyles are simple to create and look stunning.
Let me know in the comments which of these cute, fall hairstyles is going to become your sweater-weather staple.
Next, check out how to make an easy DIY hair oil for growth.
The author may collect a small share of sales from the links on this page.


Comments
Join the conversation