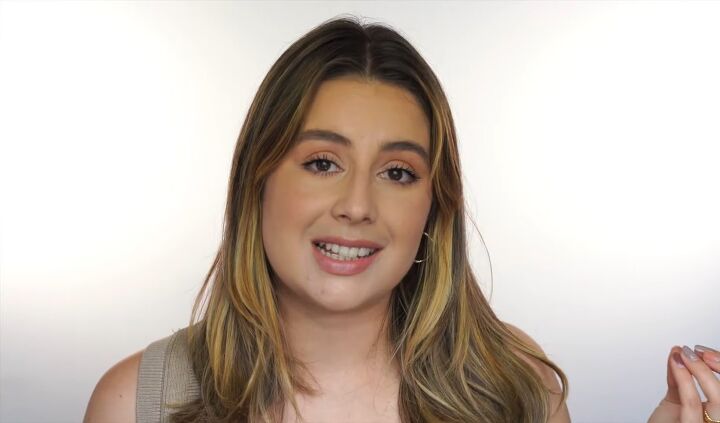
Wash Day Hairdo + 3 Cute Hairstyles for Oily Hair

Today, I’m going to show you some cute hairstyles for oily hair. I’m going to start by showing you how you can style your hair on wash day.
Then, we’ll proceed to style it for three days after that until it becomes very oily and you need to wash it again.
Tools and materials:
- Hairbrush
- Straighteners
- Dry shampoo
- Clips
- Texturizing spray
- Hairdryer with a brush
- Hair oil
- Hair tie
- Hairspray
Day 1
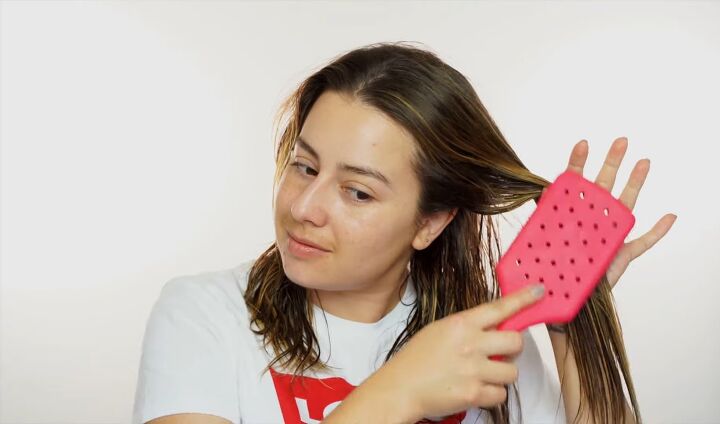
1. Wash and brush the hair
Start by washing your hair and applying shampoo and conditioner.
I like to apply these before brushing my hair because they will help untangle everything easily without too much damage and breaking to the hair.
Also, brushing the hair afterward helps me to distribute the products through the hair evenly. I always like to untangle my hair from the ends upwards so that all the knots come out easily.
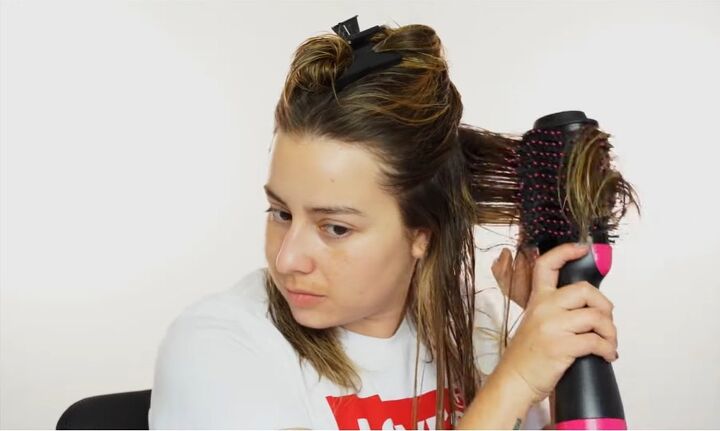
2. Blow dry
Now blow dry the hair with a blow dryer brush.
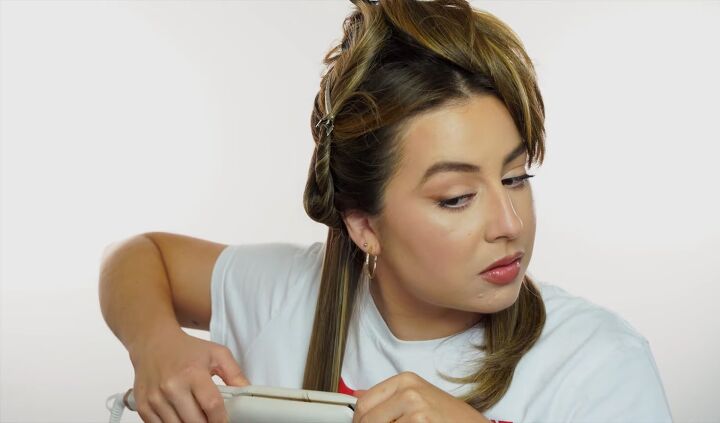
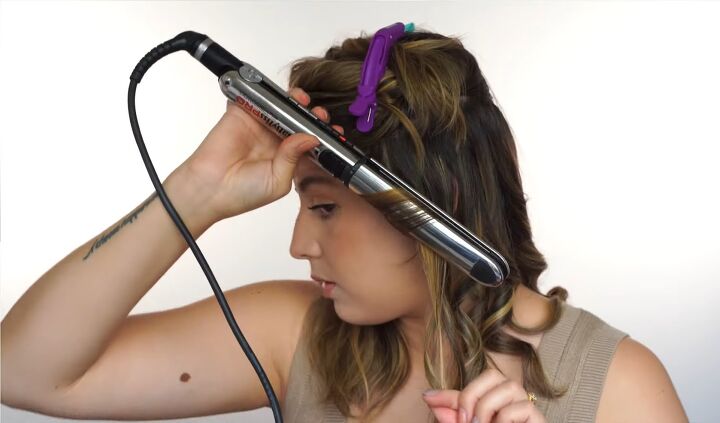
3. Straighten the hair
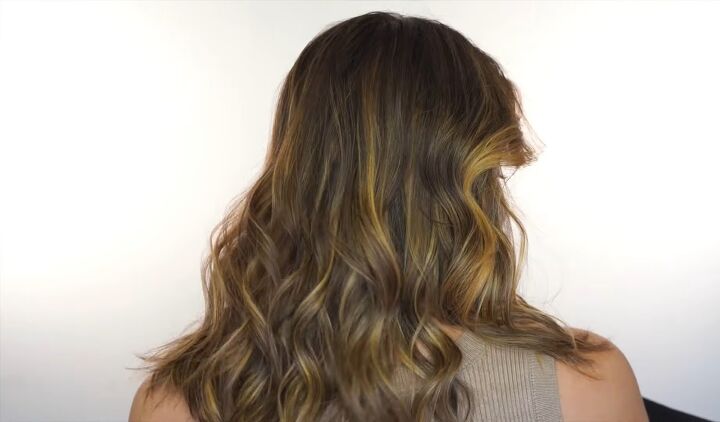
For this first hairstyle, we’re going to straighten the hair and give it a little curve at the bottom.
I chose this for the first hairstyle because I feel that when you have freshly clean hair, you can't do much with it.
It's too silky and soft, and any waves tend to drop out very quickly.
Day 2
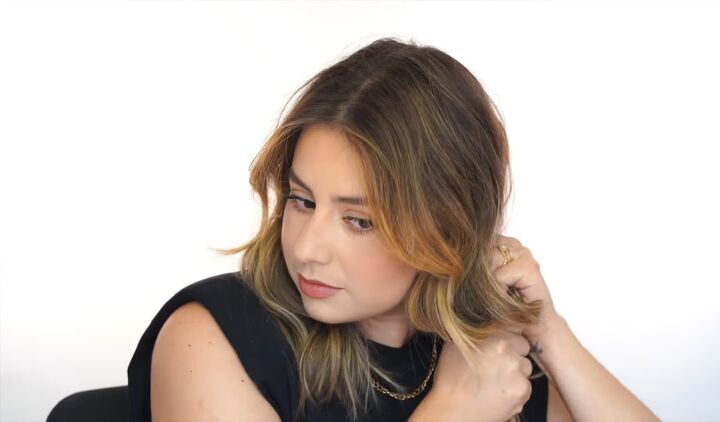
As you can see, my hair is still clean, but it's not as fresh as yesterday. And it’s no longer the way we styled it yesterday.
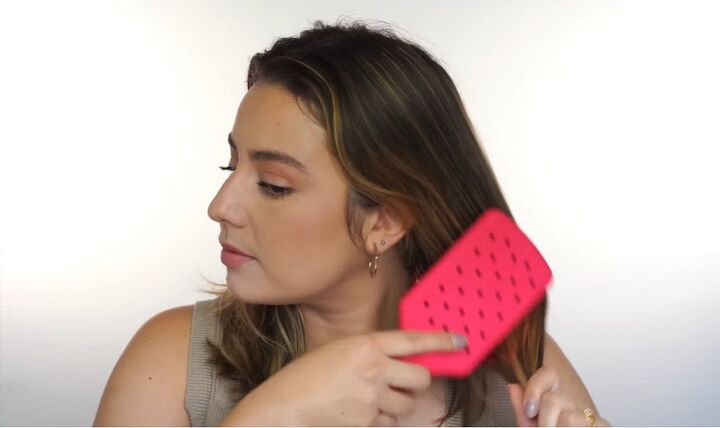
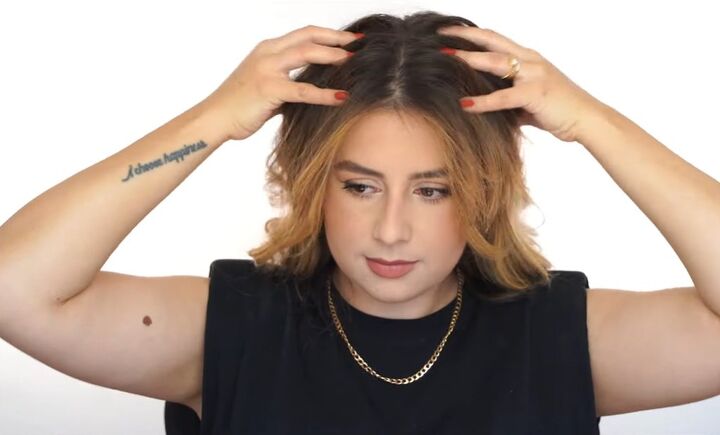
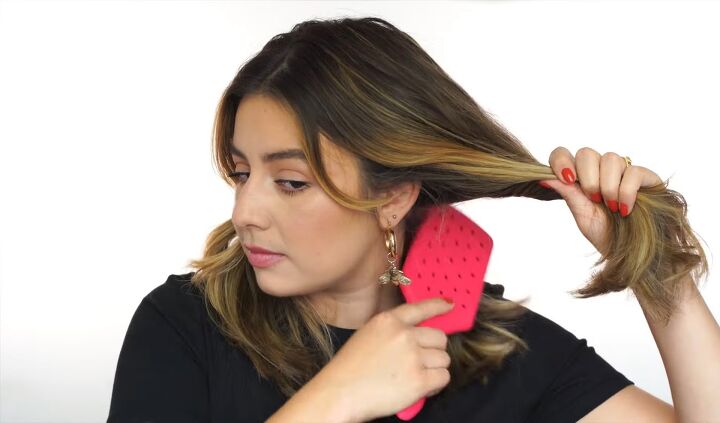
1. Brush hair
Untangle your hair so that you can see what you’re working with.
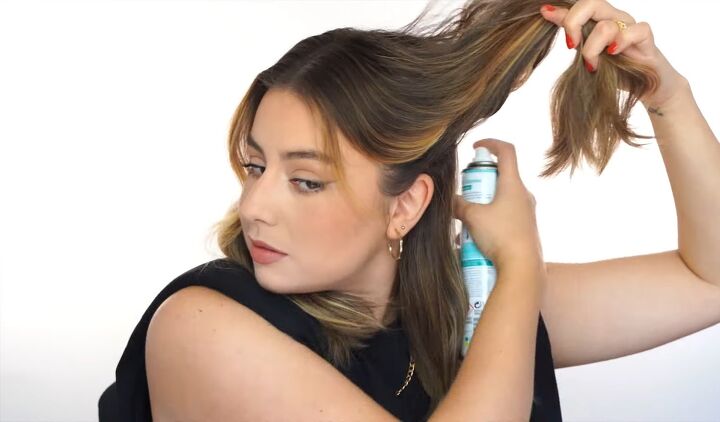
2. Apply dry shampoo
Apply some dry shampoo. Concentrate it only on the front part of your hair, as you won't yet need it all over your head.
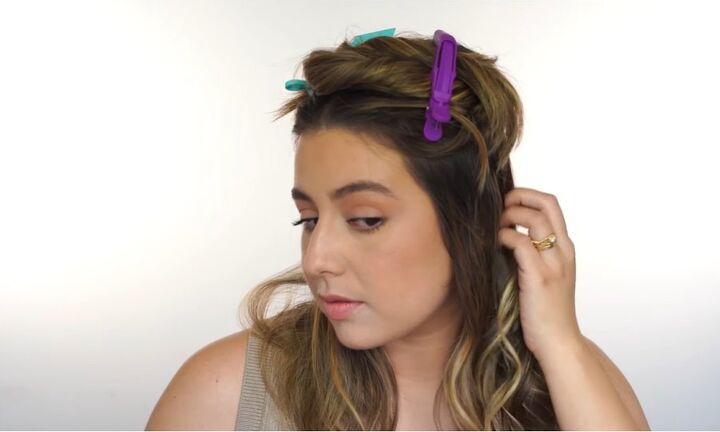
3. Curl hair
We're going to do soft, messy waves, which will add more movement to the hair.
Because the hair isn’t as clean as yesterday, it has more texture and volume, and the curls will last longer.
Divide your hair in the middle and start working from the back to the front. I like to keep the ends straight and alternate the direction of the waves.
Make sure the curls at the front go away from your face.
4. Comb the curls
Comb the curls with your fingers to break them up and soften the look.
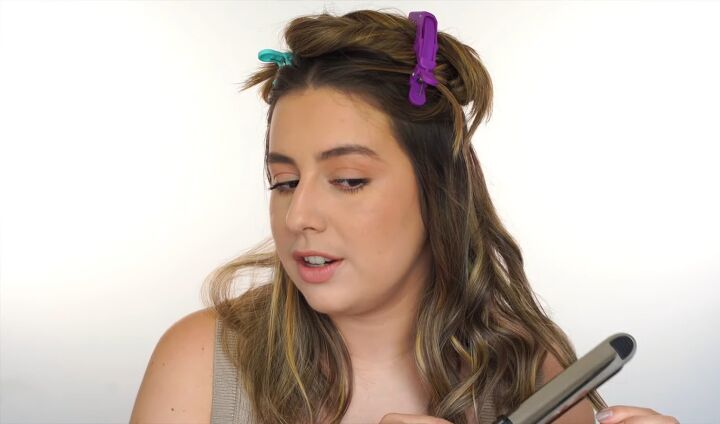
5. Straighten the ends
If the ends get curled, straighten them out.
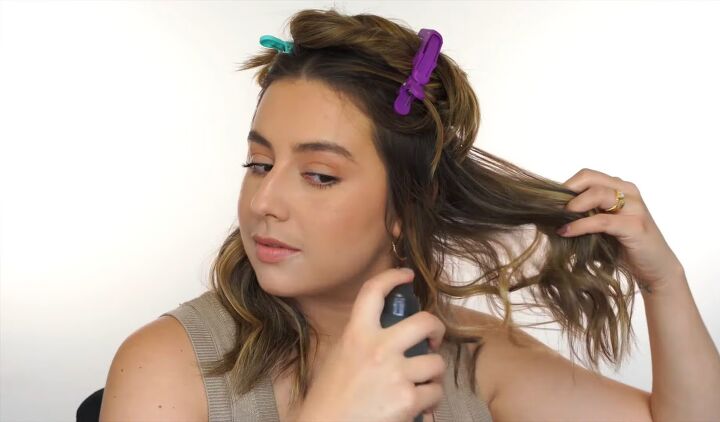
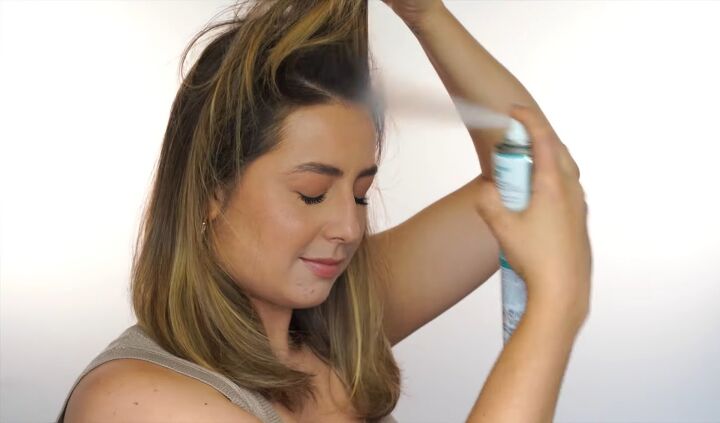
6. Apply spray
Before you let the top layer down, apply a texturizing spray on the ends of the hair.
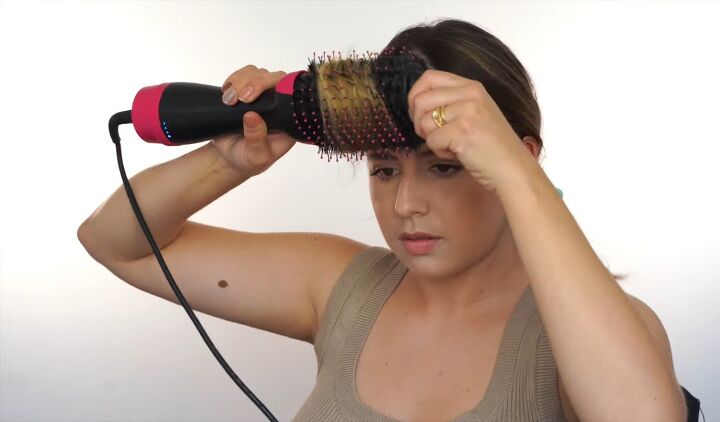
7. Blow dry the front part
Curl the front pieces of hair with a hair dryer brush.
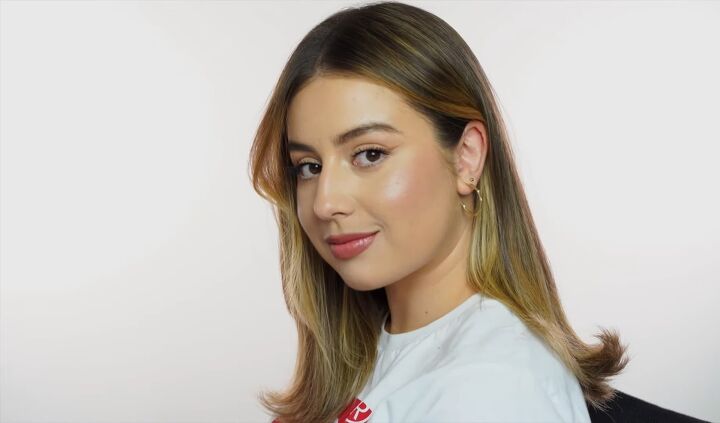
Here is the finished look.
Day 3
We're going to work with the curls you have left from yesterday instead of adding more heat to the hair.
1. Apply dry shampoo
Brush your hair to freshen it up. Then apply dry shampoo everywhere. Don’t massage it in but leave it to absorb the oils.
2. Massage it in
After waiting a while, massage your hair with your fingertips. It's very important that your hands are clean for this so as not to add any more oil to your hair.
3. Apply hair oil
Put a tiny bit of hair oil on your hands, rub them together and then press them into the ends of the hair.
On day three, you do not want to touch your roots with any kind of oil.
4. Tie hair up
Tie your hair in a low ponytail close to your nape, don't do it too tight or brush your hair too much.
With your fingertips, pull some volume in the top to make it look messier and pull some hairs out at the front.
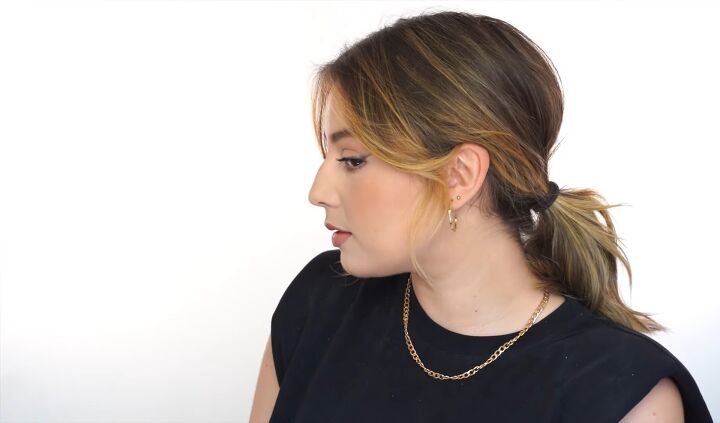
This hairstyle is perfect for when you still have some texture from the day before, but your hair doesn't look right if you leave it down.
Day 4
1. Brush hair
Brush your hair to untangle it.
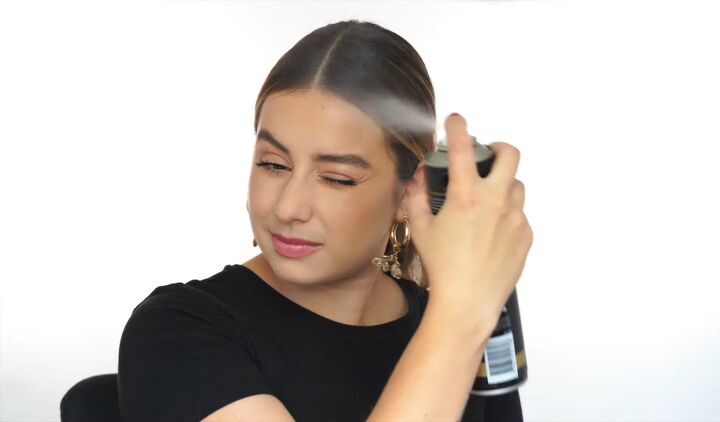
2. Apply hairspray
Part your hair in the middle, and make sure it’s straight and even.
Take some hairspray and spray the top of your hair to make it look very sleek.
If your hair is very oily, applying hairspray will make it look more intentional.
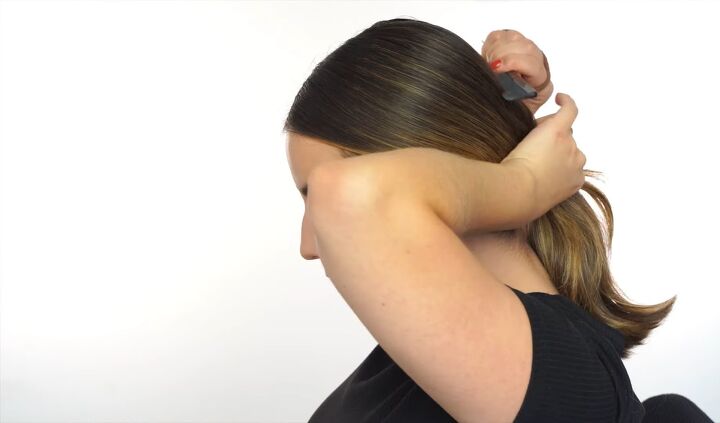
3. Brush your hair
If you have bumps in your hair, take the elastic out and brush it through. Then tie your hair into a bun.
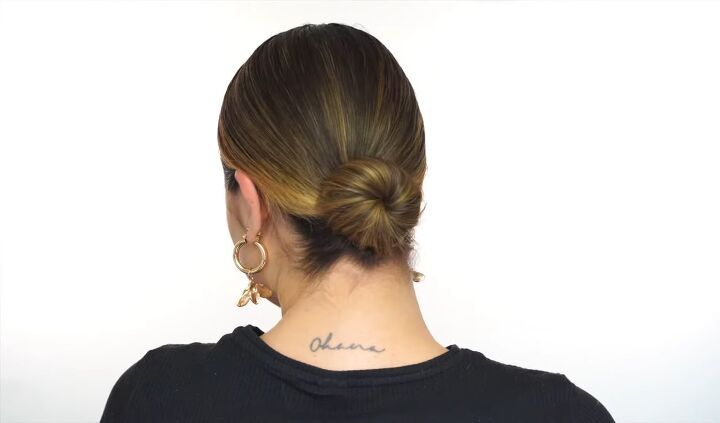
Cute hairstyles for oily hair
Here is the finished look. You can spray more hairspray on the bun to keep the hold.
There we have four ways you can style your hair - from wash day and three days after that until it needs to be washed again.
I hope you found this tutorial helpful! If so, leave a comment and check out my post on 3 Cute and Simple Hairstyles for a Party.
The author may collect a small share of sales from the links on this page.


Comments
Join the conversation
Brilliant! Thank you!