Save Money With This Easy DIY Curtain Bangs Tutorial

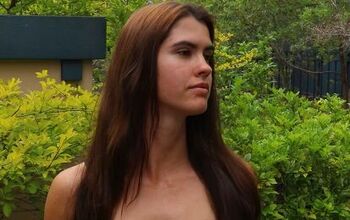
Do you want to save money by cutting your bangs yourself and not having to go to the hairdresser?
Today, I’m going to show you how to cut curtain bangs, and after that, I’ll show you how to style them.
Follow along as I walk you through this DIY curtain bangs tutorial step by step.
Tools and materials:
- Comb
- Clips
- Hair cutting scissors
- Hairdryer
- Round brush
- Hair straightener
- Hairbrush
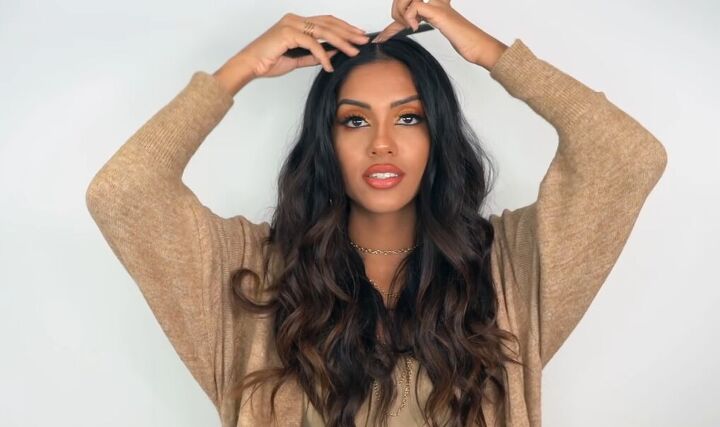
1. Part hair
Start by parting your hair down the center. Then measure back about 2-3 inches from the front of your hair.
Lower your comb on top, and that’s where you will start your bangs.
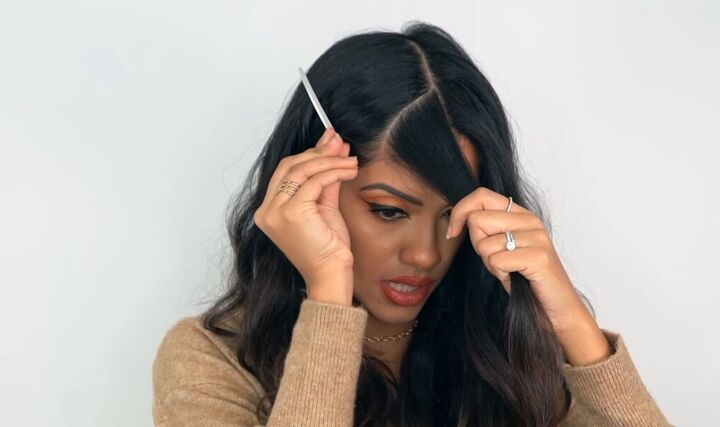
2. Separate front sections
From your center point, take a comb and separate your hair so that it is in line with the arch of your eyebrows.
Clip off the rest of your hair from the front section. Then repeat on the other side.

3. Wet bangs
To make sure that your bangs are cut nice and clean, you want to first wet them.
You can use a spray bottle for this or wet your hair straight from the tap. Comb your hair out so that it's nice and flat.
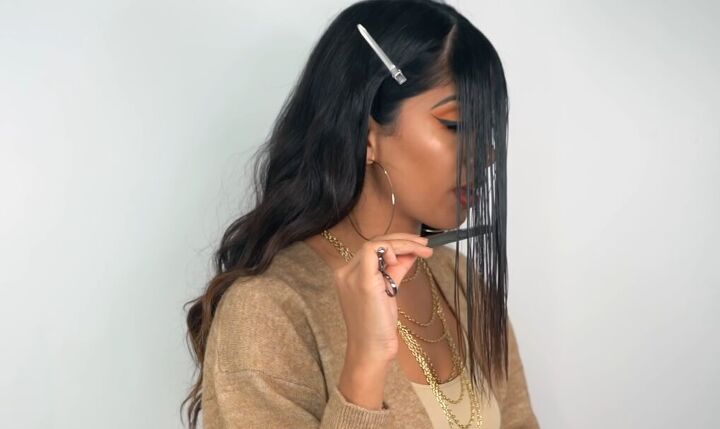
4. Find length to cut
Use your chin as a guide, as you want to keep the length of your bangs around where your chin is.
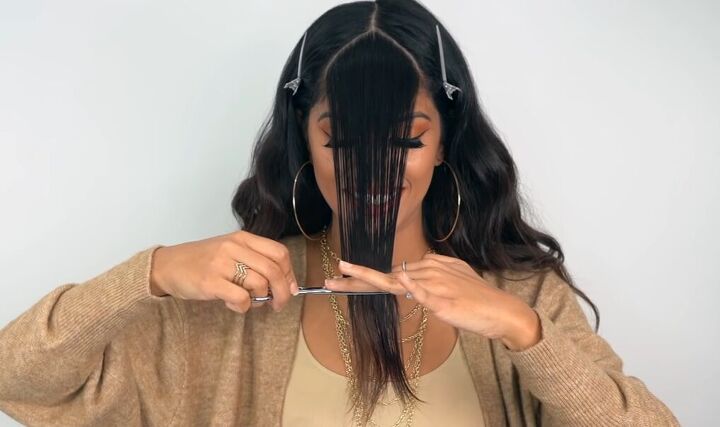
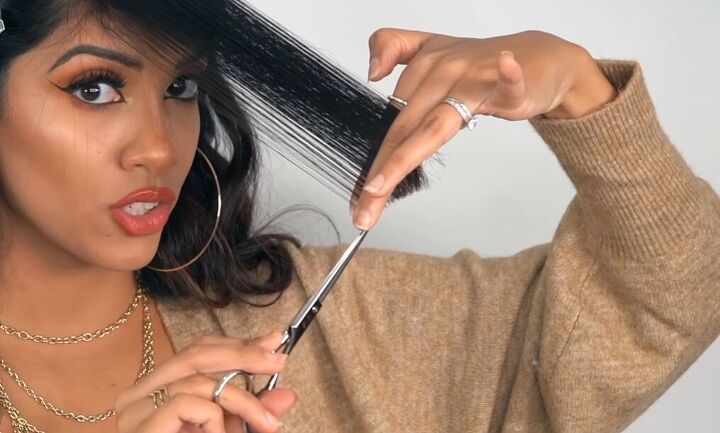
5. Trim bangs
Comb your hair from underneath, then take two fingers, slide them down either side of your bangs, and bring it right down to your chin.
Proceed to cut your hair.
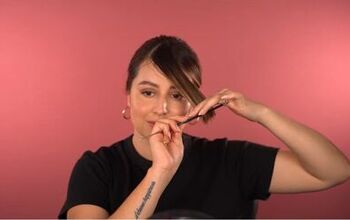
6. Angle each side
Now that your hair is cut go ahead and part the bangs back in the center.
Next, we’re going to angle each section. Tuck one of the sections away. Take the section of hair you’re working with and hold it diagonally across your face.
Then, take your comb right up to the parting and drag it down at the same angle.
Once you get to the end, you’ll see that where your finger meets the edge is going to be your guide on where to cut.
Cut everything below where your finger is.
7. Repeat
Repeat on the other side.
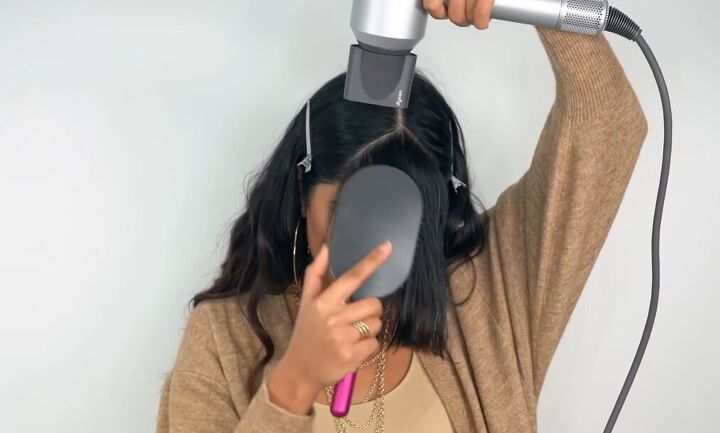
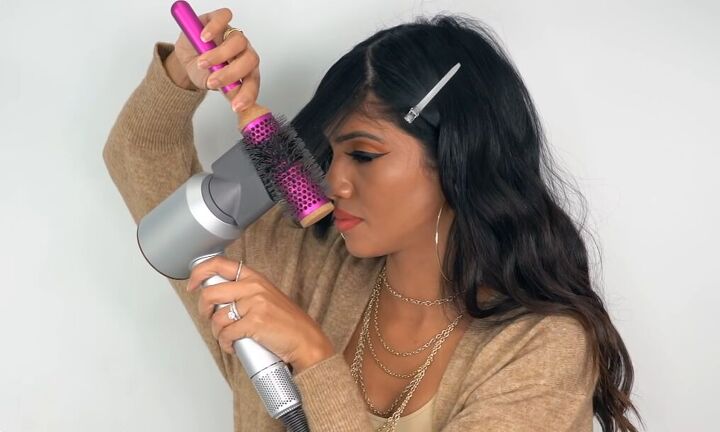
8. Blow dry bangs
Place a thick nozzle on your hairdryer, and then go in with high heat and low air.
Bow dry your bangs straight down and brush your hair as you’re doing so. Focus the heat on your roots so that they dry flat.
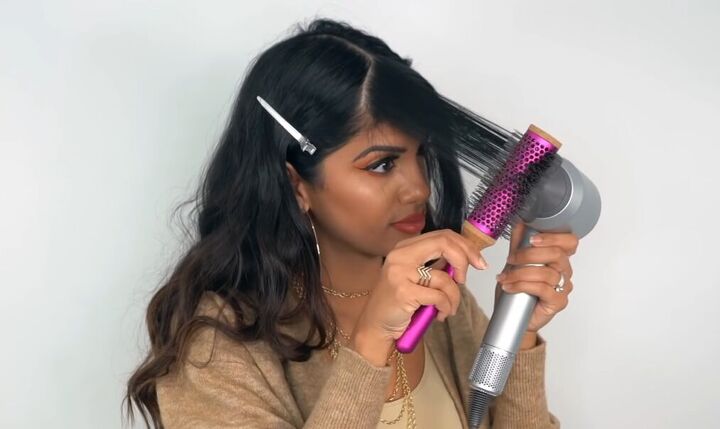
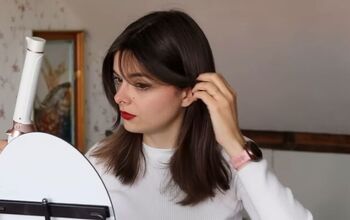
9. Style bangs
Now, part your bangs back down the center. Pop on a more concentrated nozzle on your hairdryer for a more precise airflow.
Hold one section diagonally across as you did before.
Then, take a small round brush, take it right to the end of your hair, flip it over, and then start styling with the hairdryer.
Once it's set, go ahead and release your curtain bang.
10. Repeat
Repeat on the other side.
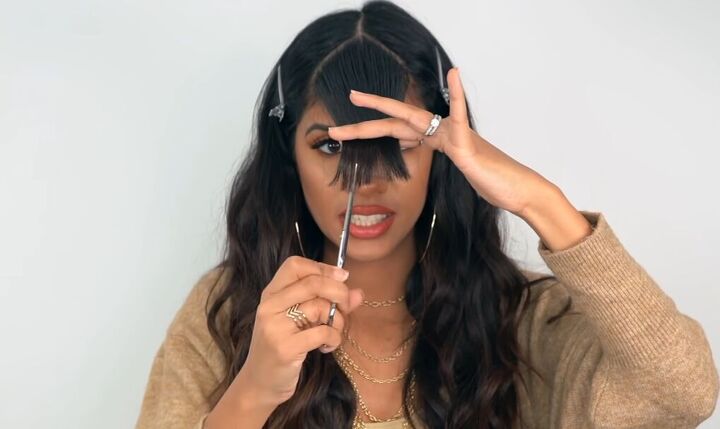
11. Add texture
Now that the bangs are dry and styled, we’re going to add some texture to them.
Grab the bangs together and comb them straight down.
Then, take your scissors and cut straight into them, and this will give you a really soft, feathered finish.
Do this in small strokes. Don't go too heavy-handed.
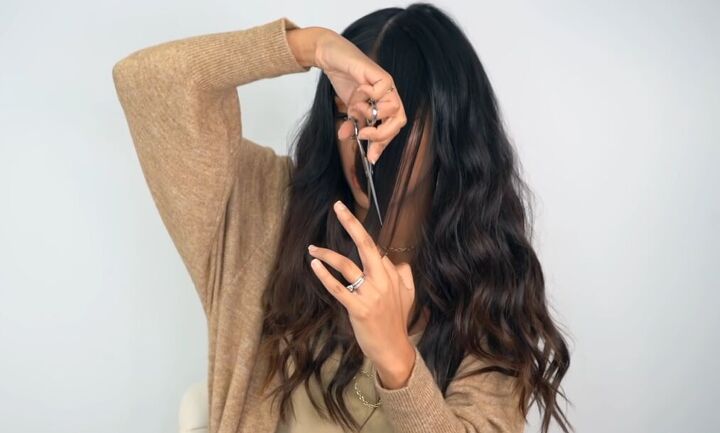
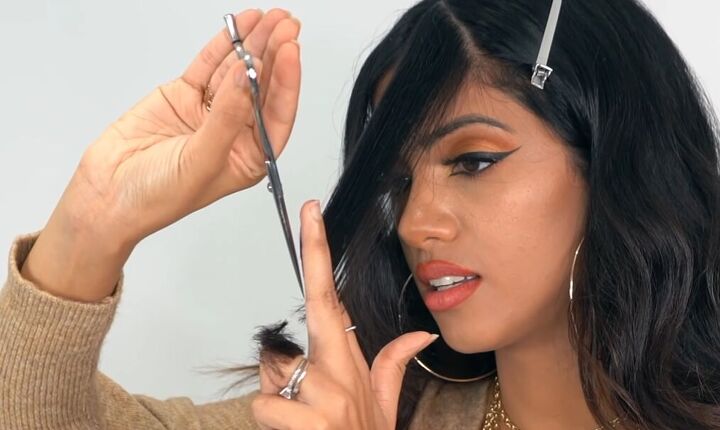
12. Blend bangs
This is optional, but if you want to blend in your face-framing bangs, take some of the hair near your face.
Then, hold your scissors upside down and drag them down to cut the hair and make the bangs blend a little bit smoother.
Then repeat on the other side.
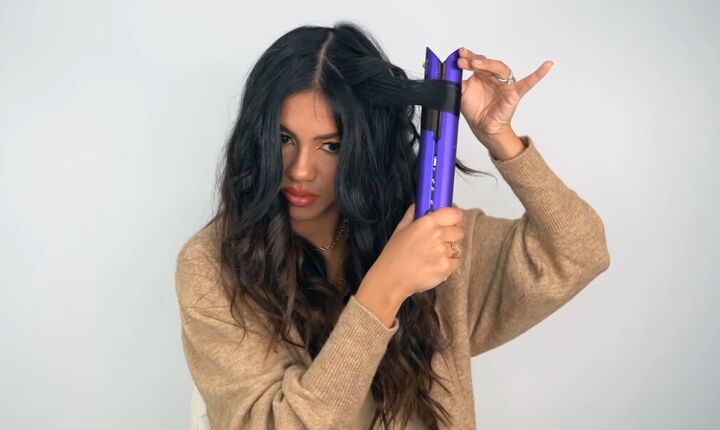
13. Touch up curls
Finish off by touching up your curls. Using a hair straightener, take a few pieces of hair and twist them away from your face to give you some beach waves.
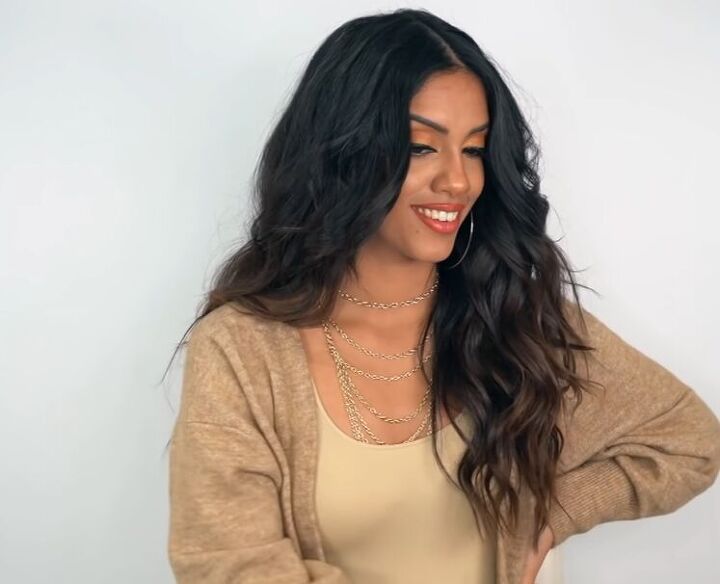
DIY curtain bangs
Here are the finished curtain bags - cut and styled to perfection! I am so happy with how it turned out.
I hope you found this tutorial helpful and you’ll give it a go for yourself. Take it slow and steady, and you’ll end up with the results you want.
The author may collect a small share of sales from the links on this page.


Comments
Join the conversation
Thank you for this.. I needed this more than you know!