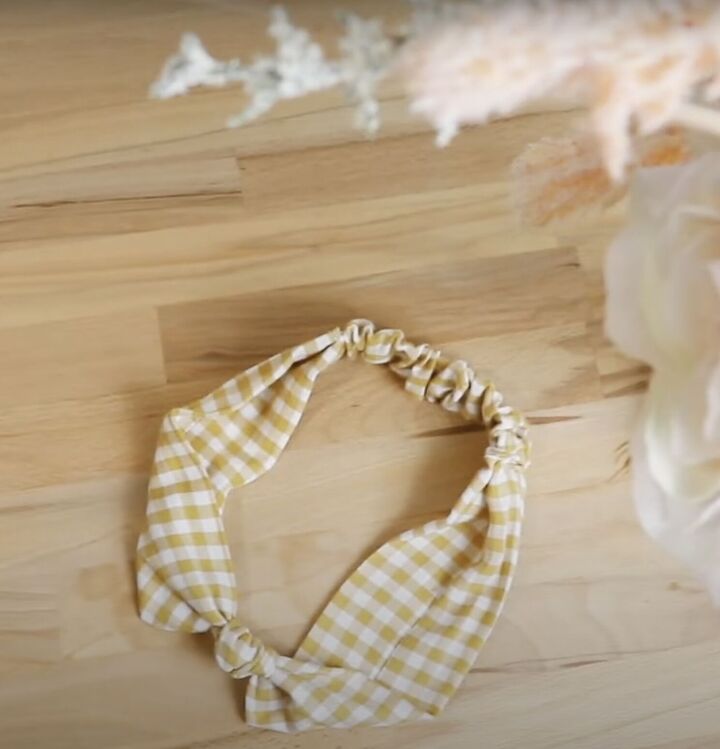
DIY Knotted Fabric Headband With Elastic: A Fun and Easy Project!

Are you tired of your plain old headbands and want to add a touch of personal flair to your accessory collection? Look no further! In this DIY tutorial, I'll show you how to sew your very own knotted fabric headband with an elastic band. It's a simple and enjoyable project that allows you to unleash your creativity. Let's get started!
Materials You'll Need:
- Fabric of your choice (cotton, linen, or even a funky print!)
- Elastic band (approximately 1/2 inch wide)
- Sewing machine or needle and thread
- Scissors
- Measuring tape
- Pins
- Iron and ironing board
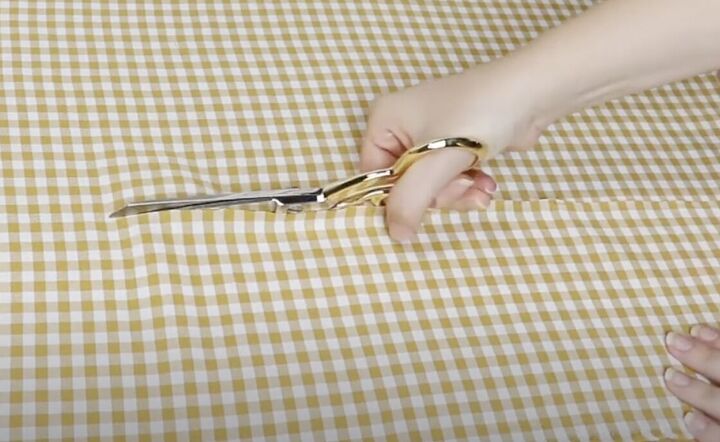
Step 1: Measure and Cut
Begin by measuring the circumference of your head where you'd like the headband to sit comfortably. Add an extra inch to this measurement for seam allowances. Then- subtract 5 inches from this total measurement. Cut a strip of fabric to this length, making sure it's about 4-5 inches wide. This width will allow for a stylish knot. This strip will be the knotted main portion of your headband
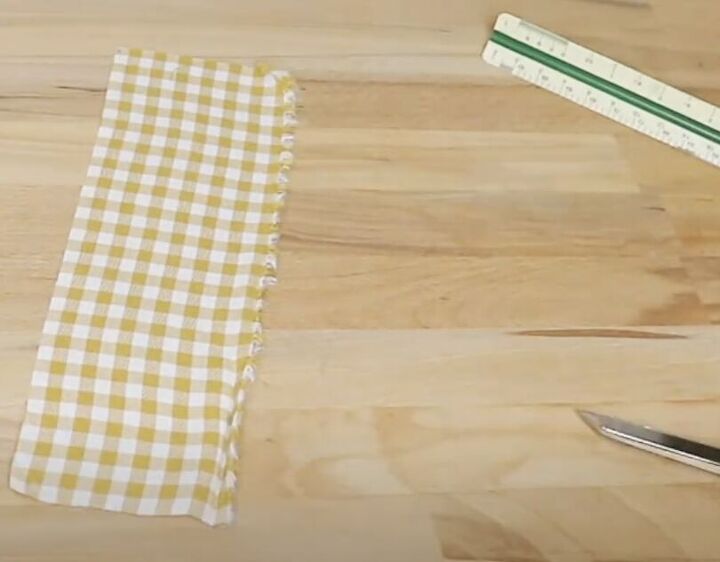
Cut a second strip of fabric measuring 10 inches long by 4-5 inches wide. This strip will make the elastic casing on the underside of your headband.
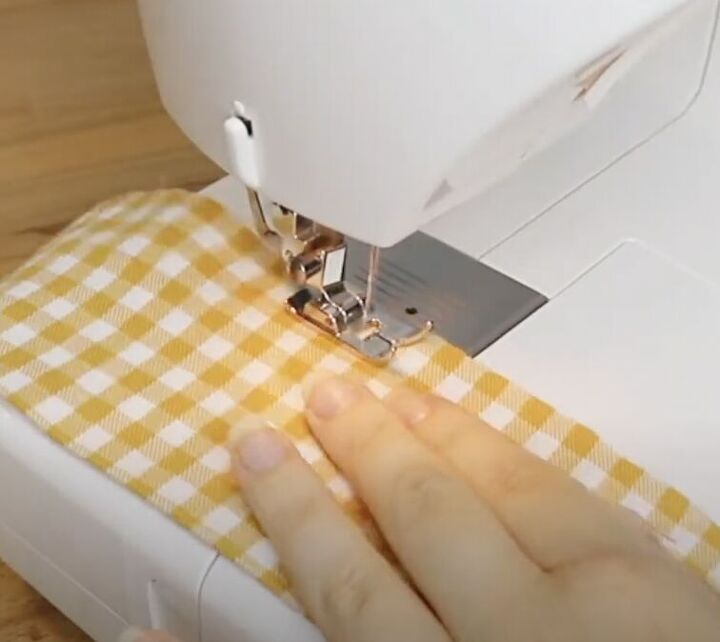
Step 2: Fold and Sew
Fold the fabric strip in half lengthwise, right sides facing each other. Pin along the long edge, leaving both ends open. Sew a straight stitch along the pinned edge, leaving a 1/4 inch seam allowance. Repeat for the smaller strip of fabric.
Step 3: Turn Inside Out
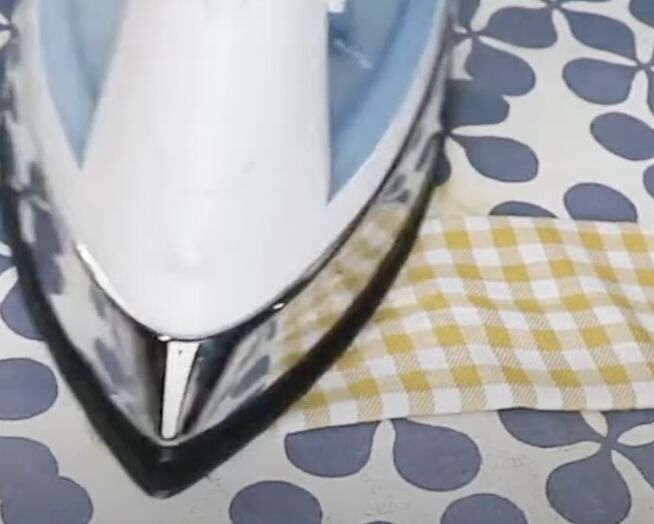
Turn the fabric tubes inside out so the right side is facing out. Use a pencil or a chopstick to push out the corners for a clean finish. Iron the fabric strip flat.
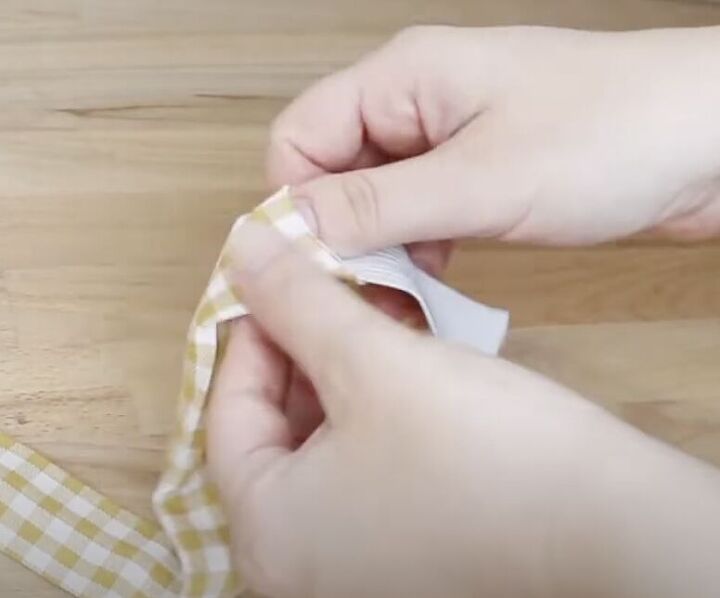
Step 4: Insert the Elastic
Cut the elastic band to 5 inches. Attach a safety pin to one end of the elastic and thread it through the smaller fabric tube, scrunching the fabric as you go. I found it's easiest to pin one end of the elastic to one end of the fabric tube in order to keep it in place.
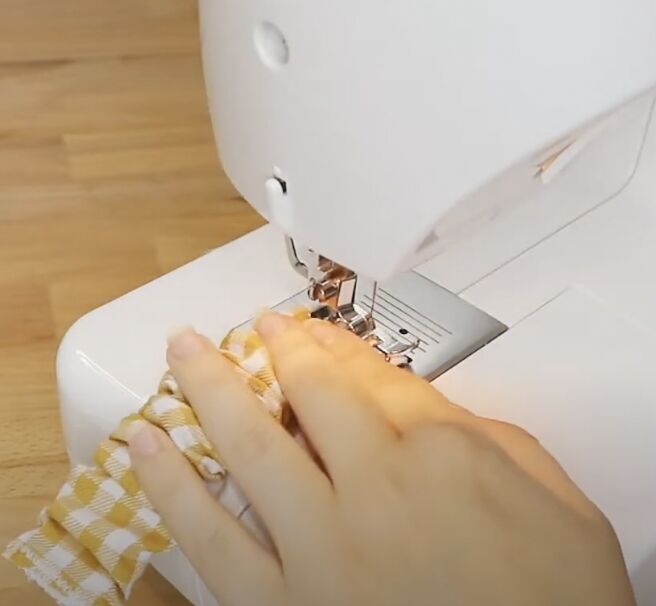
Step 5: Secure the Ends
Stitch both ends of the fabric strip closed using a tight zig-zag stitch, making sure to enclose the elastic within each edge.
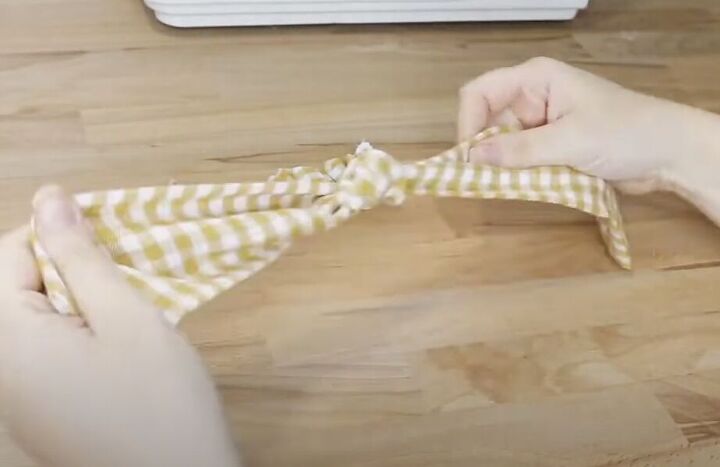
Step 6: Create the Knot
Now comes the fun part! To create the knot, take the fabric strip and make a simple loop by folding it in half. Twist the loop once and then fold it in half again, creating two loops. Tuck one loop through the other, just like tying your shoelaces.
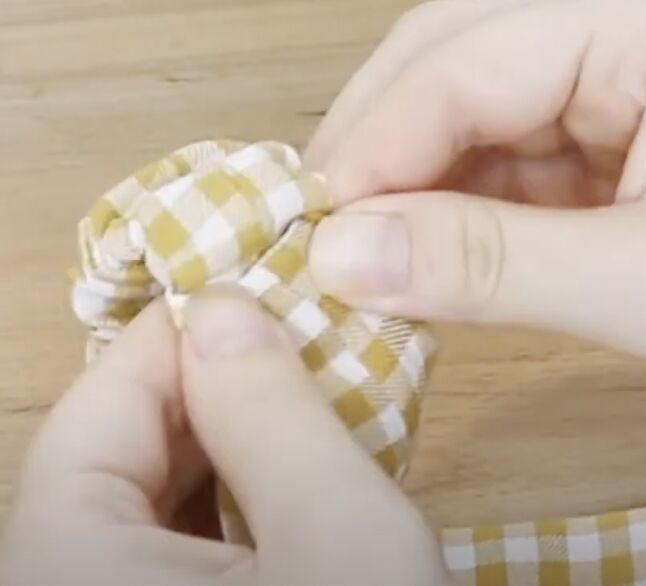
Step 7: Attach The Fabric Strips
Turn the ends of the knotted fabric strip in 1/4" and press. Then, insert the ends of the smaller strip of fabric, forming the headband. Pin in place, making sure neither strip of fabric is twisted.
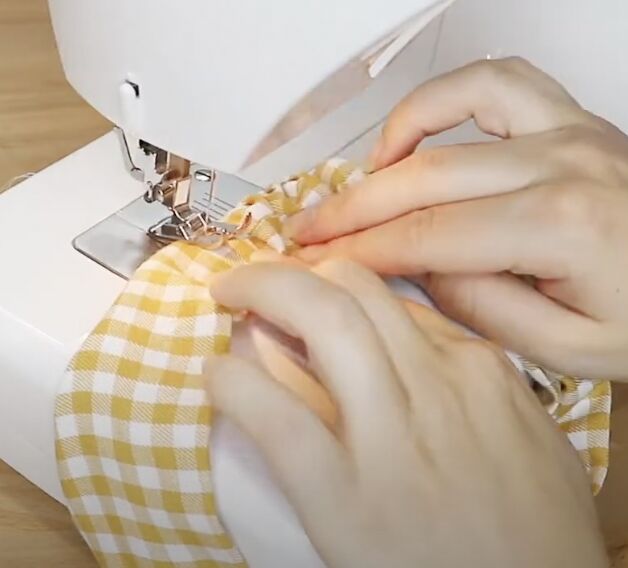
Step 8: Sew The Sides
Sew both sides of the headband, making sure to backstitch at the beginning and end.

Congratulations, you've just created your very own knotted fabric headband with an elastic band! Not only is it stylish and customizable, but it's also a great way to use up fabric scraps you may have lying around.
Feel free to experiment with different fabrics, patterns, and colors to match your outfits and moods. These headbands make fantastic gifts, too!
So, why wait? Grab your fabric and sewing supplies, and let your creativity shine through in this delightful DIY project. Have fun, and enjoy your fabulous new accessory!
Happy making!
The author may collect a small share of sales from the links on this page.


Comments
Join the conversation