Cute and Easy Doll Eye Makeup Tutorial

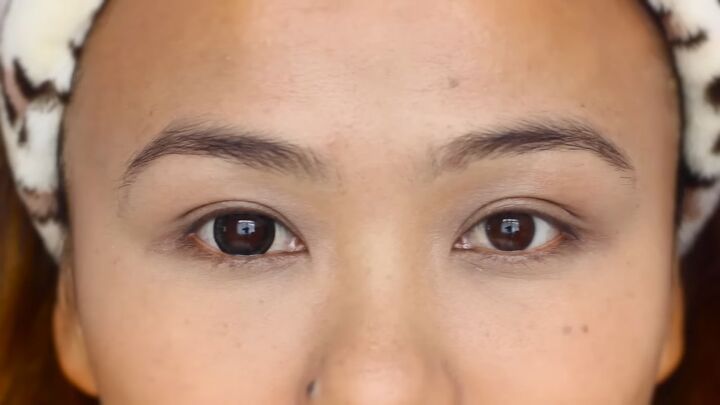
Hi everyone. In this tutorial, I’m going to show you how to create a big doll eye makeup.
Let's get started!
Tools and materials:
- Makeup brushes
- Circle lenses
- Eye primer
- Brow pencil
- Contour
- Gold eyeshadow
- Light gold shimmer eyeshadow
- Brown eyeshadow
- Black eyeshadow
- Liquid liner
- Black kohl pencil
- False criss-cross lashes
- Mascara
1. Put in circle lenses
The first step to this cute doll makeup is to add circle lenses.
Circle lenses are popular in Asia. They make your eyes look very big and doll-like.
However, you can skip this step if you don't like the feel of circles lenses!
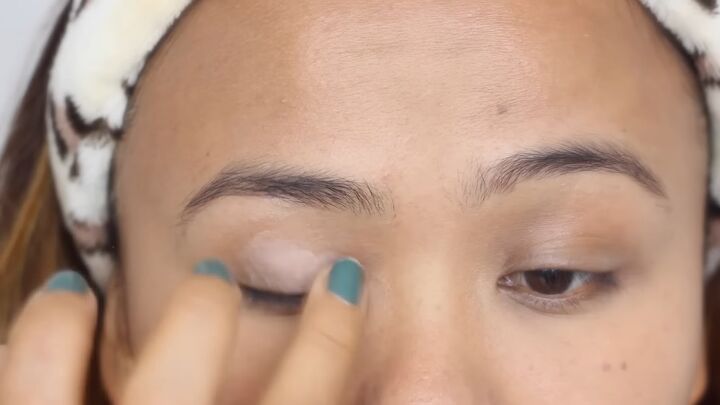
2. Prime your eyelids
Apply primer to your eyelids. Blend the primer into the skin beneath your brow as well.
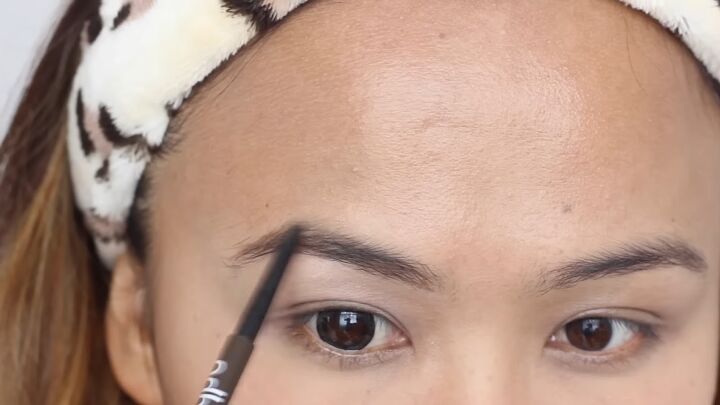
3. Shape your brow
Add shape to your brows with an eyebrow pencil.
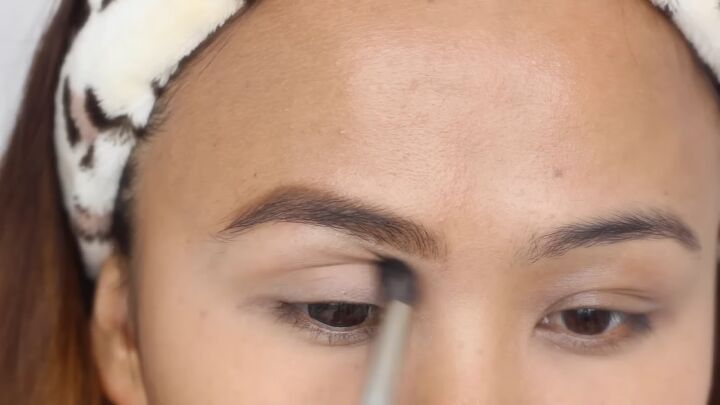
4. Contour your eyes
Contour your eyes by applying contour to their natural hollows.
Extend it all the way to the inner corners where your eyebrows start to add much more depth to that area.
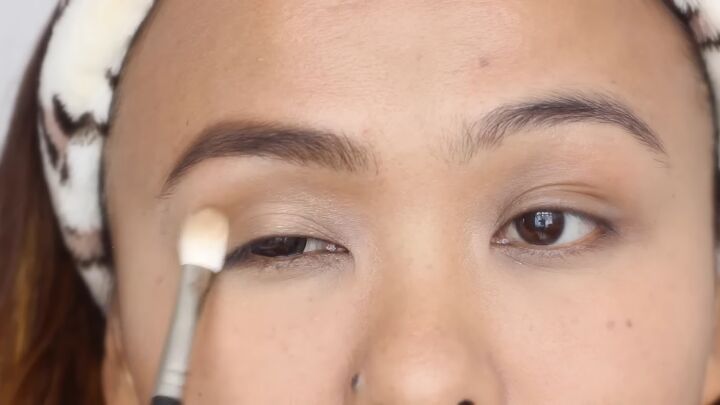
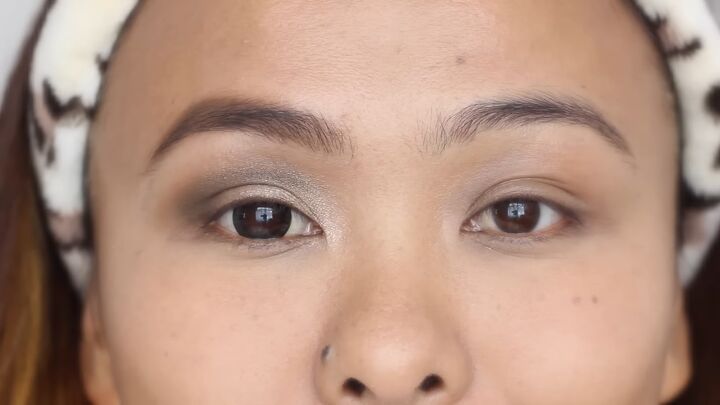
5. Apply gold eyeshadow to your eyelids
Use a golden shade of eyeshadow to warm up the eyelids.
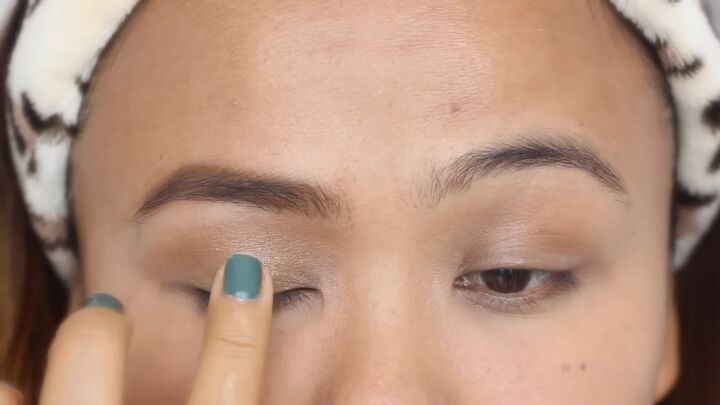
6. Apply light gold eyeshadow to your eyelids
Use your finger to take a light, golden shimmery shade and tap it in on top of your eyeball.
Take it all the way inside because you want the inner corners of your eyes to be bright and highlighted.
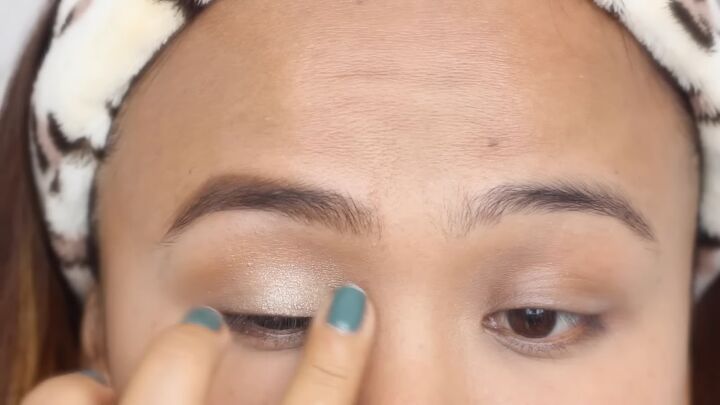
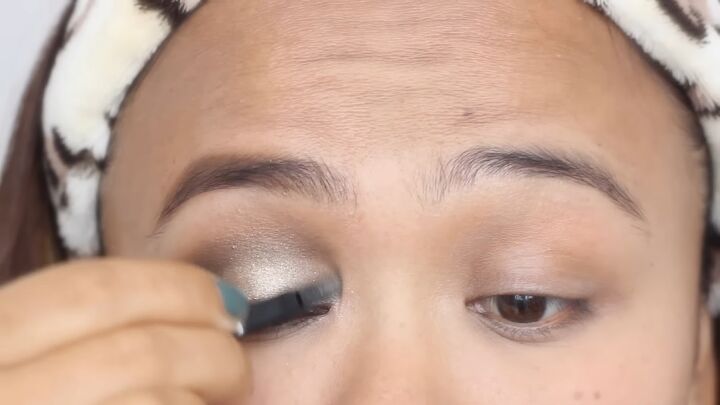
7. Apply a brown shade to your crease
Apply a taupe, brown shade with a pointed brush and concentrate the color to your crease area.
If you’ve got hooded eyelids as I do, keep looking straight and make sure the line is still visible when opening your eyes.
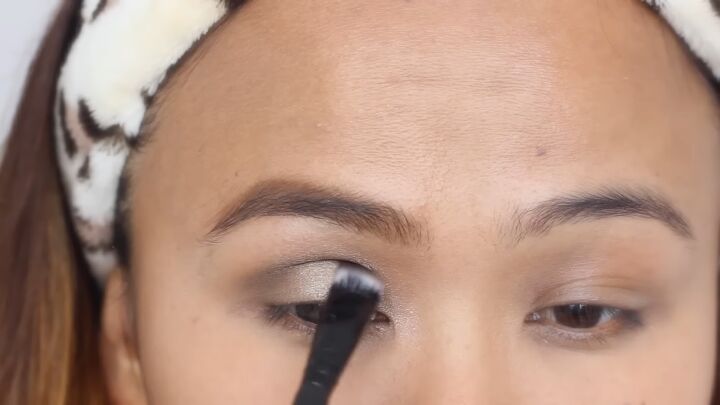
8. Extend the crease line with black eyeshadow
With a flat shader brush, sharpen out the crease line with black eyeshadow to darken it out a bit.
As you can see, I extended the line inward.
Instead of going down with the brush, I went straight because I wanted the inner corners of my eyes to look as wide as possible.
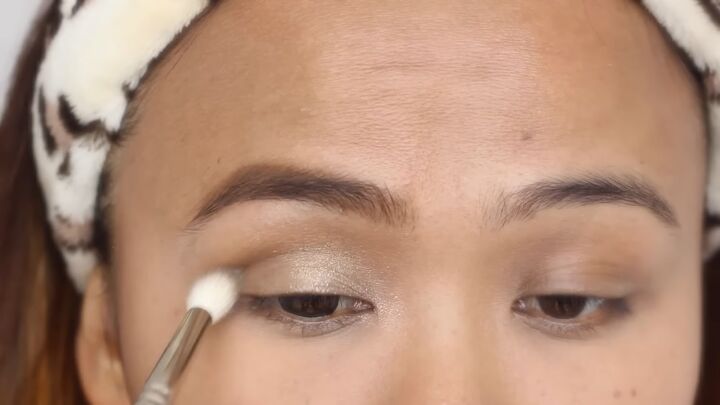
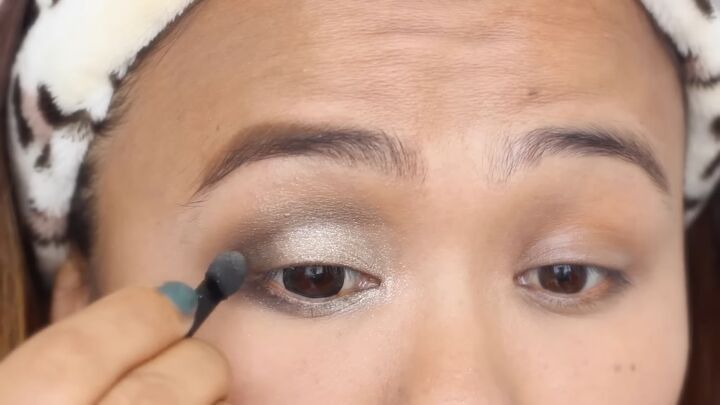
9. Intensify the light golden eyeshadow
Use a sponge applicator to intensify the previous light golden color.
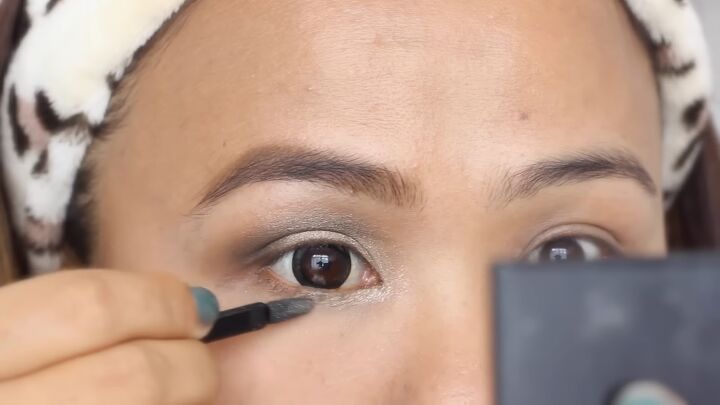
10. Apply light gold eyeshadow
Apply the light gold color to your tear duct area as well as half of the inner corners of your lower lash line.
11. Apply black eyeshadow
Apply black eyeshadow to the outer corners of your lower lash line.
Take the shade much lower than you normally would to give the eye a more rounded effect.
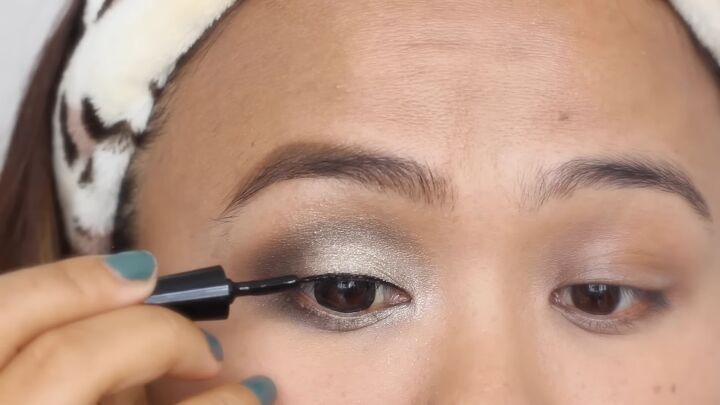
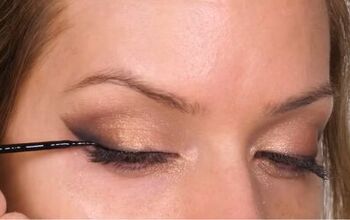
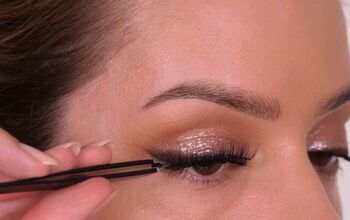
12. Line your upper lash line
Use a liquid liner to draw a thin line on your upper lash line, following the natural curve of your eyes.

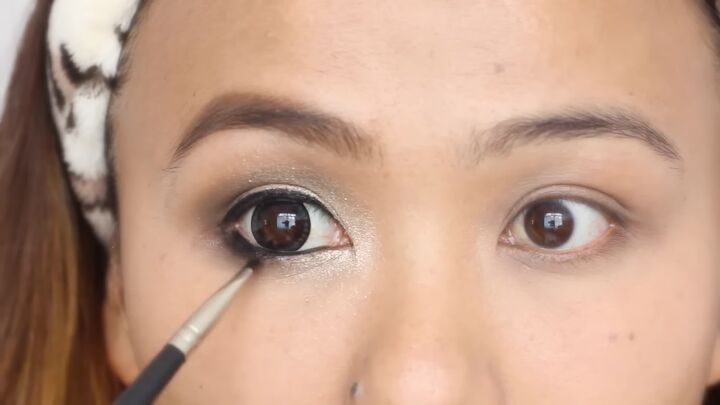
13. Tightline
Tightline your upper and lower lash line with a black kohl pencil.
14. Smoke out the outer corners
Add more of the kohl to the outer corners of your lower lash line and smoke that out with a small, flat brush.

15. Add false lashes
For the false lashes, I used a criss-cross pair of lashes because they look really cute when you’re going for that dolly look.
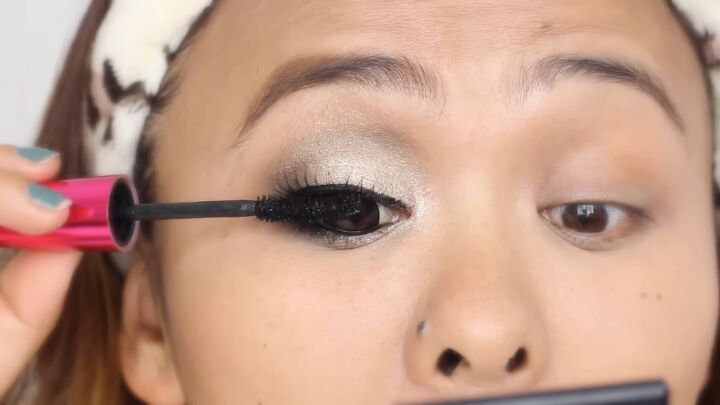
16. Apply mascara
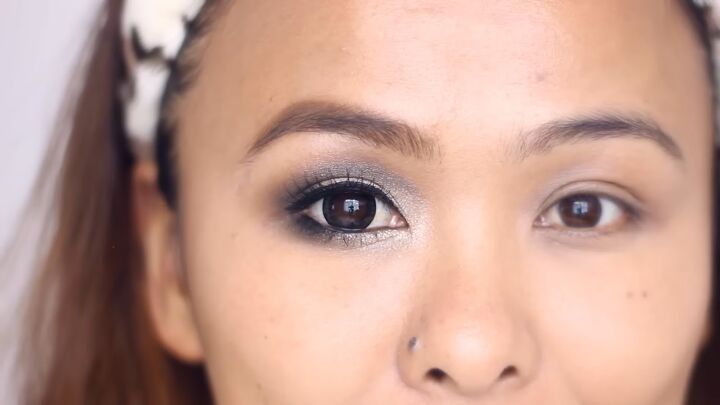
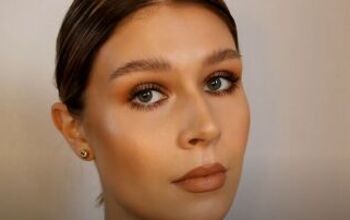
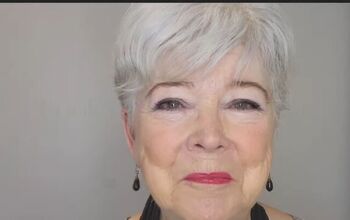
Easy doll eye makeup
Here’s the finished doll eyes makeup! Let me know what you think about this look in the comments below.
Check out my Quick and Easy Day to Night Makeup Tutorial.
The author may collect a small share of sales from the links on this page.


Comments
Join the conversation
Great tips, and a very classy look!