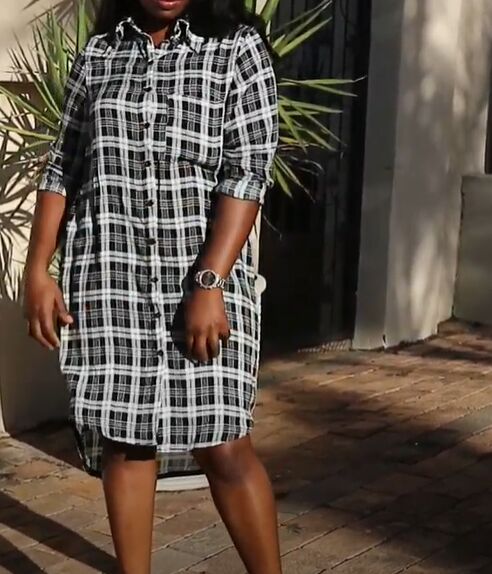
Learn How to Make Your Own Fabulous Shirt Dress

I love a good shirt dress! It’s got all the benefits of a great shirt with an added bonus! I was searching for the perfect dress when I decided to make one at home! I chose the perfect shirt-like fabric and got started! This dress was so fun and easy to make and the best part is its totally versatile. There are so many ways to style it and you can dress it up or down! If you are ready to learn the ins and outs of making this fashion statement dress, follow my step-by-step tutorial below!
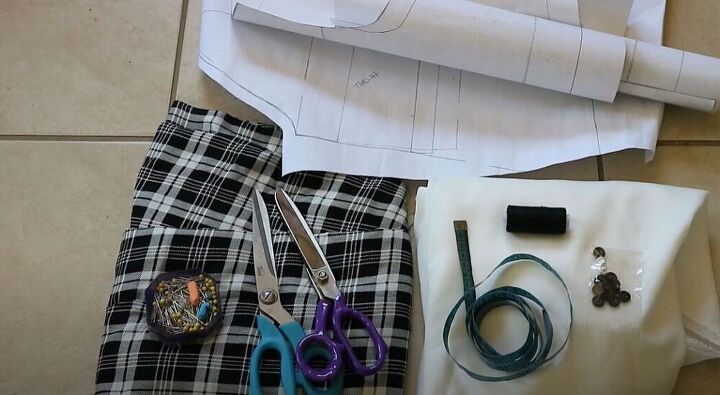
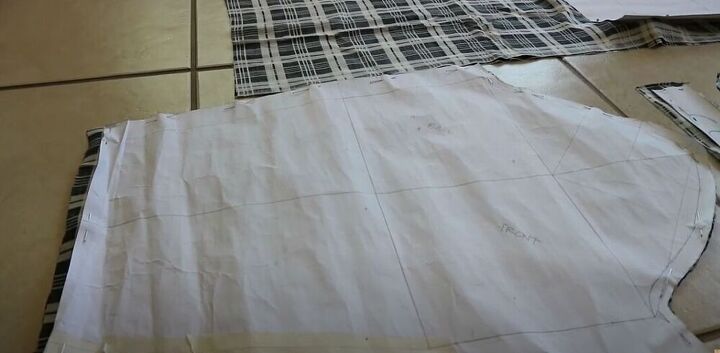
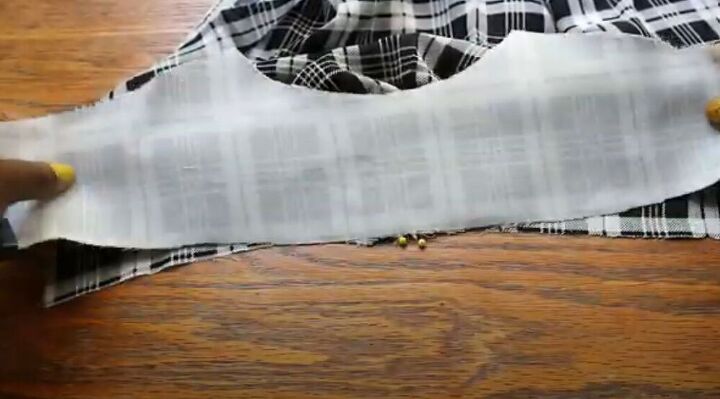
To get started on this awesome shirt dress I traced the patterns onto my folded fabric and cut the fabric to get the perfect shapes I would need to start making this dress. I also made sure to cut out the interfacing fabric for the collar and the cuffs. I then pressed the interfacing fabric on the shirt fabric using my iron.
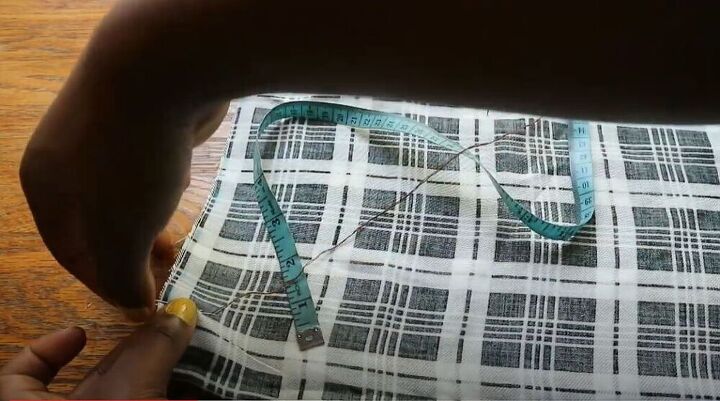
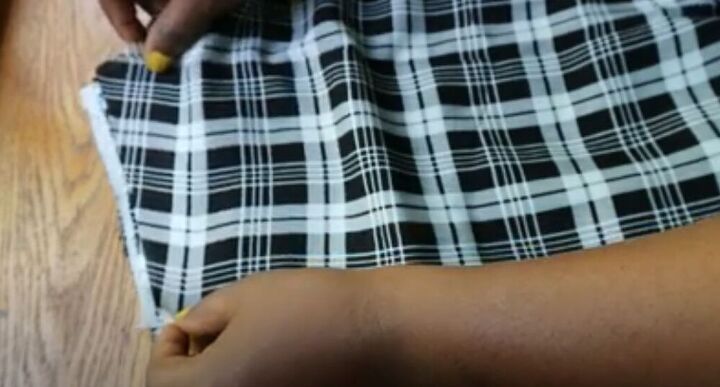
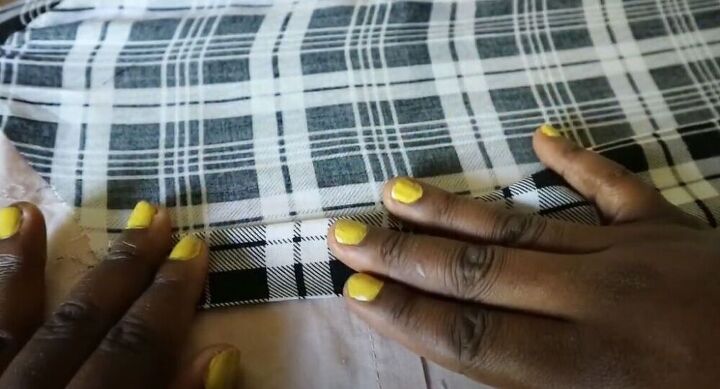
From the fold of the center back, I marked one-inch. I used a rolling stitch to make sure my mark would be secure.
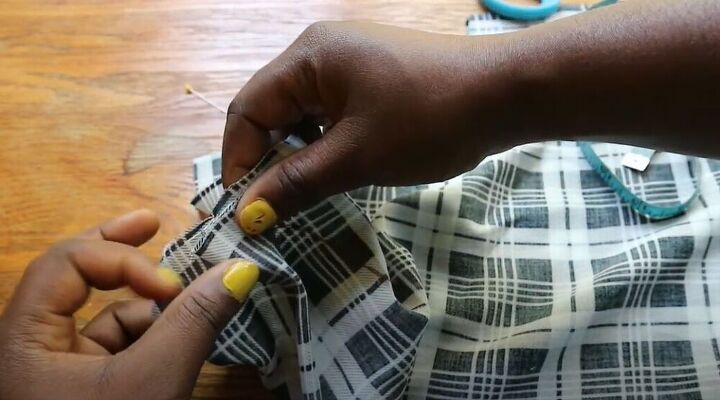
I then created a pleat by opening the fold and pinning it down.
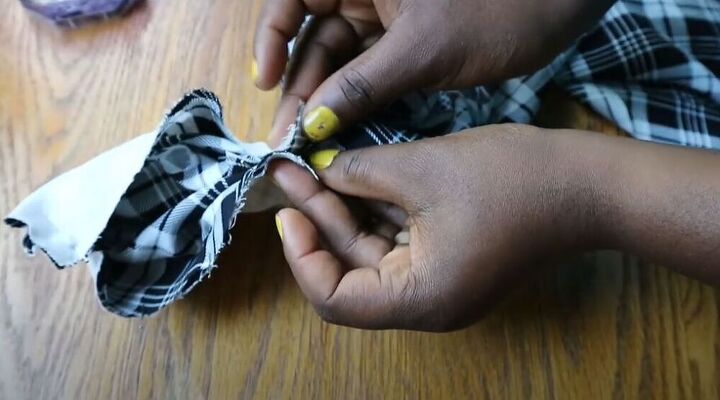
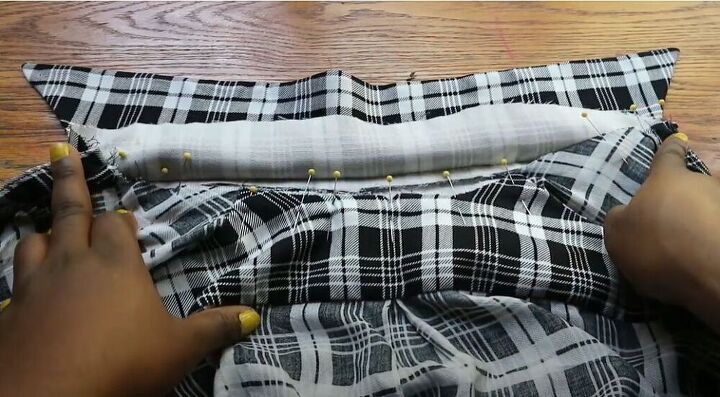
I then moved on to the back of the shirt. I took one of the back yoke pieces and placed it right side facing on the fabric. I placed the other back yoke on the bottom with the right side facing the wrong side of the back piece. I then sewed all three pieces together with a straight stitch. I made sure to topstitch the seam to the other back yoke.
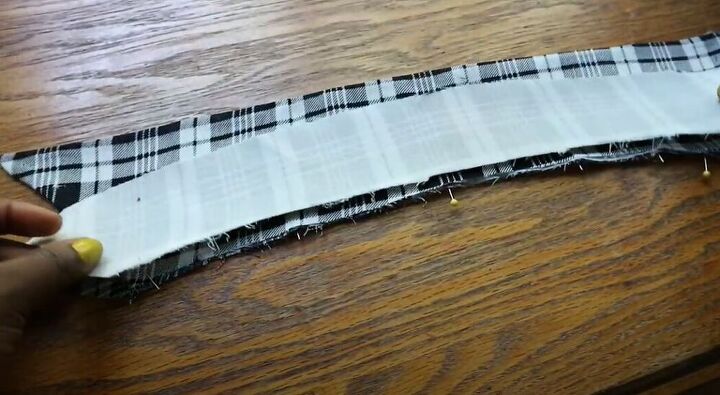
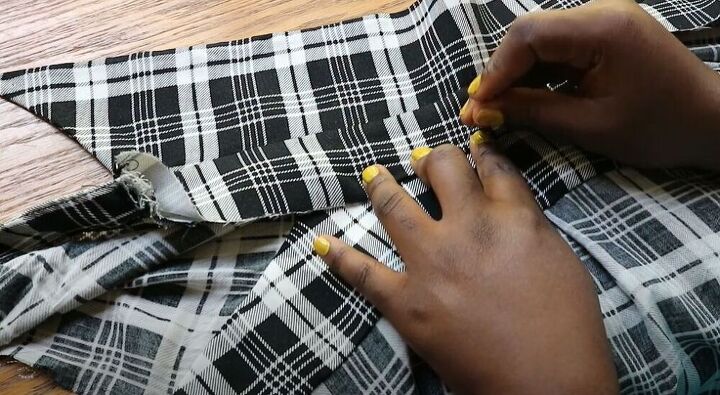
In this next step, I placed the wrong side of the front bodice on the right side of the inner back yoke, pinned them together, and sewed. I love it when I start to see my ideas come to life and I couldn’t wait to see the end result!
I twisted the back yoke around to face the front and pinned. Once I had pinned it into place I sewed the edges with a straight stitch. Once I had stitched, I turned it right side out and was so happy with the results!

Next, I moved on to the collar. I placed the two pieces, right sides together and sewed around three edges, leaving the bottom open. The collar on a shirt dress is one of my favorite details so I wanted to make sure it was perfect! I trimmed the seams of the collar and then turned it right side out and pressed it.
To continue making the perfect collar, I placed my collar stand pieces on either side of the collar, right sides facing together. I joined the edges with a straight stitch.
Once I had the collar looking how I wanted, I moved on to making a button stand for the shirt. You can’t have the perfect shirt dress without buttons! I folded 1.5-inches from the edge and pressed it down. I then folded in half an inch from the top of my fold. I pressed it down again and sewed on both sides of the stand.
Finally, I was ready to attach my collar to the shirt. I pinned around the collar stand along the top starting from one button stand and ending at the other. I sewed along the pinned line.
I used the other collar stand pieces and folded it to create a hem to cover up the stitch I had just made. This step really helped give my collar a gorgeous and professional finish! I pinned it in place and sewed it from the right side in the seam joint.
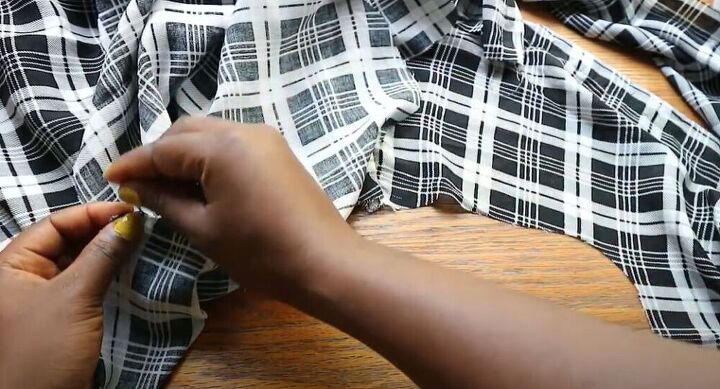
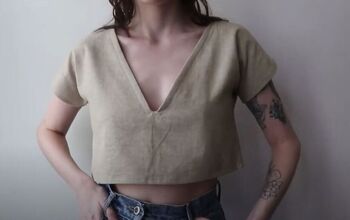
In this next step, I got started on my shirt dress’ sleeves. I started by placing the pieces right sides together and I joined the curved side with a straight stitch. Once my sleeves were attached I closed up the sides of my dress and sleeves with a straight stitch. I couldn't wait to see the end result!
To add all the finishing touches to my dress, I made sure to zig-zag stitch all the raw edges. I repeated the same step on the cuffs as I did on the collar and I also added bias tape to the bottom of the dress to give it a more flawless finish.
This shirt dress is everything I wanted and more! How would you style it? Let me know in the comments below!
The author may collect a small share of sales from the links on this page.


Comments
Join the conversation
Great dress!! Love it…
So sweet! Will never go out of style. I have some from 40 years ago and still wear them. You did a fantastic job with the instructions. Be proud! 💗