How to DIY a Chiffon Midi Dress

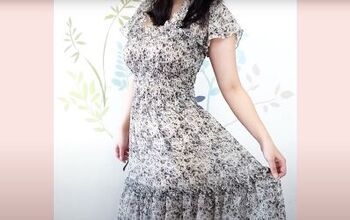
I was challenged by another vlogger to work with a fabric I find difficult, and I chose to make a sleeveless chiffon fabric dress with a crossover or wrap bodice and pleated skirt.
Chiffon can be challenging in several ways - it's sheer and it's slippery - but I think I made a good job of this dress.
In this tutorial I'll show you how to sew a dress from chiffon and how to make a pleated skirt.
Tools and materials
- 3 yards chiffon fabric
- 3 yards lining fabric
- Lightweight fusible interfacing
- Invisible 22 inch dress zipper
- Roll of paper for pattern
- Pencil or marker
- Ruler
- Fine pins
- Scissors
- Sewing machine with a fine needle
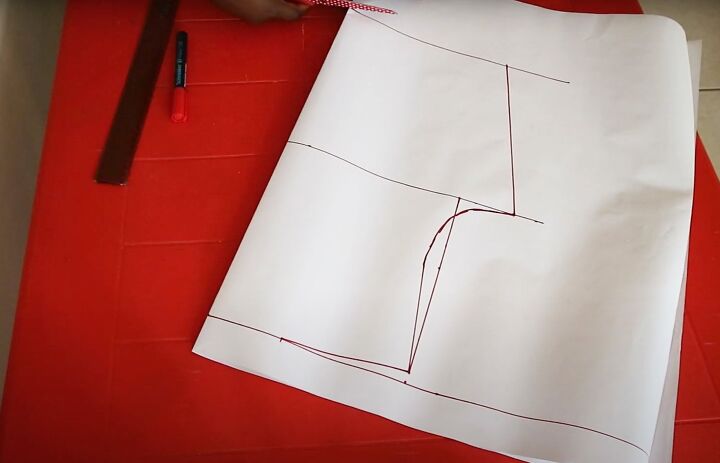
1. Draft pattern
See the video at 2:50 for how I made the skirt pattern and at 4:22 for the bodice pattern.
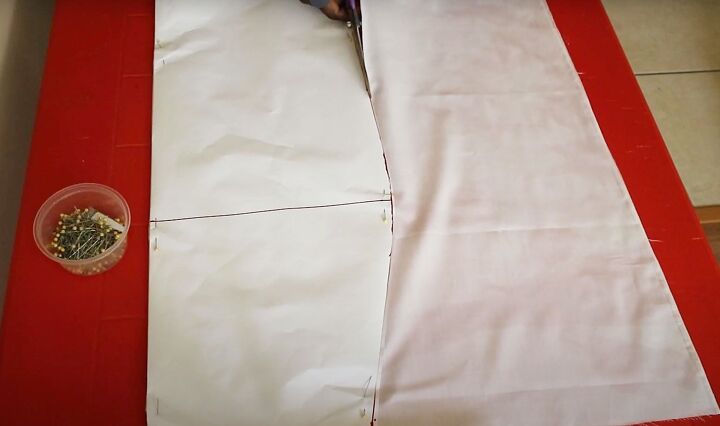
2. Cut fabric
Make sure to pin the pattern pieces to the chiffon securely when cutting out, so the fabric doesn't slip.
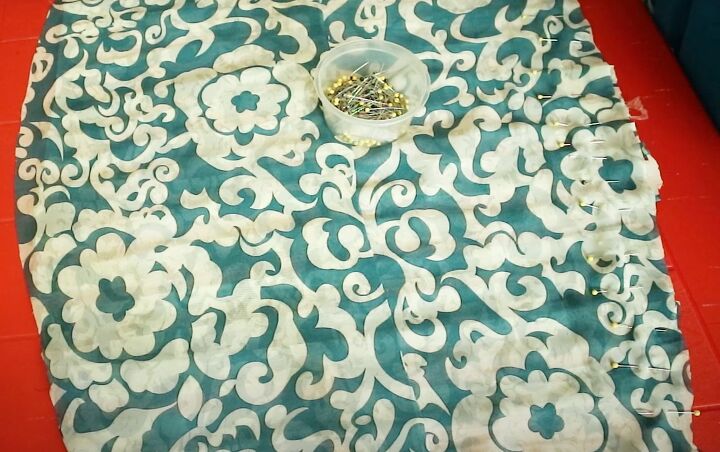
Fold the skirt pattern and the lining in half and place the pattern on the fold to cut out the skirt front panel.
Use the same pattern to cut out the back lining and back skirt panels, but not on the fold. Don't cut the front skirt panel from the chiffon yet.
Cut two back bodice pieces from the lining.
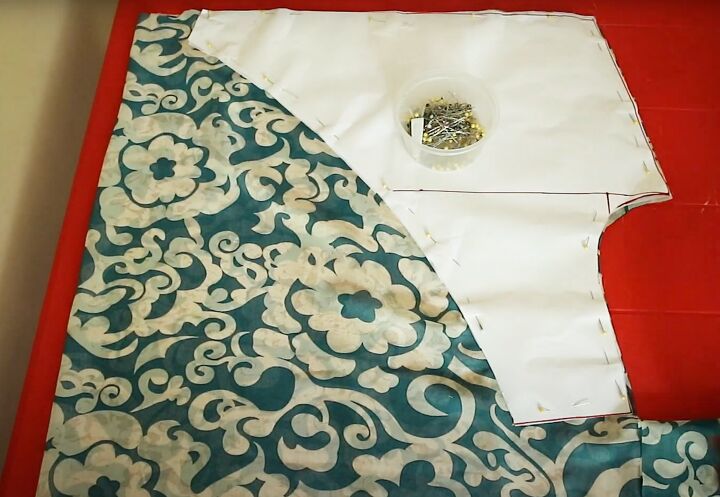
To cut the wrap front, fold the chiffon with right sides facing and cut two. Cut the bodice lining in the same way.
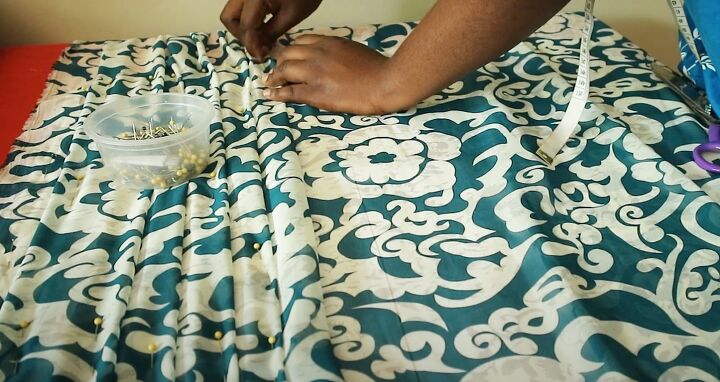
3. Create front pleats
Place a single layer of fabric over the skirt pattern and pin at the top edge.
Pleat the fabric widthways and pin to the pattern to hold the pleats together.
You don't need to measure the pleats but make them as even as you can.
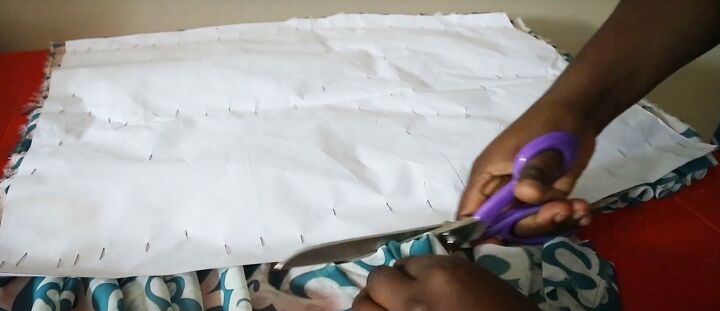
When the entire front panel is pleated, turn the pattern and fabric over and cut off the excess fabric at the sides.
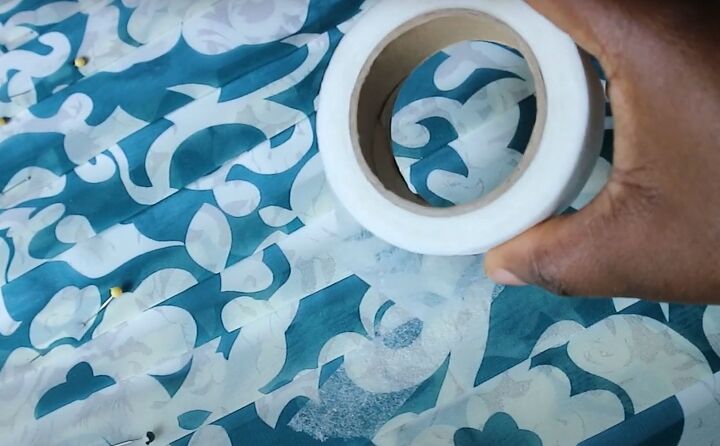
Hold the pleats in place by pressing small pieces of very lightweight fusible interfacing between them.
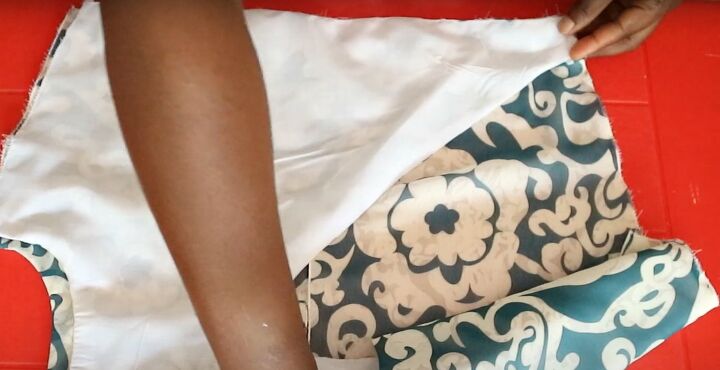
4. Sew skirt
Place the back and front panels right sides together.
Pin along the sides seams and sew with a straight stitch. Sew the skirt lining in the same way.
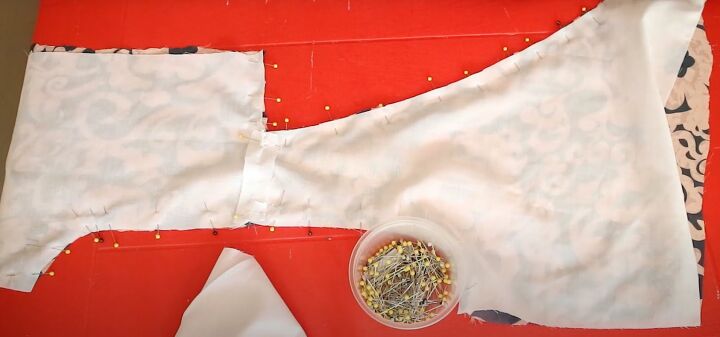
5. Sew bodice
Join the front and back dress pieces at the shoulders. Sew the bodice lining at the shoulders. Press the seams open.
Match the lining and main fabric pieces at the shoulders and pin one back and one front together along the armhole and front and back necklines.
Join all the seams with a straight stitch. Sew the second front and back together in the same way.
Cut notches along the curve of the armhole and neckline on each piece. Turn them right side out and press.
To stop the chiffon and lining from slipping while you work, sew a zigzag stitch along the open edges of the skirt and bodice pieces to hold them together.
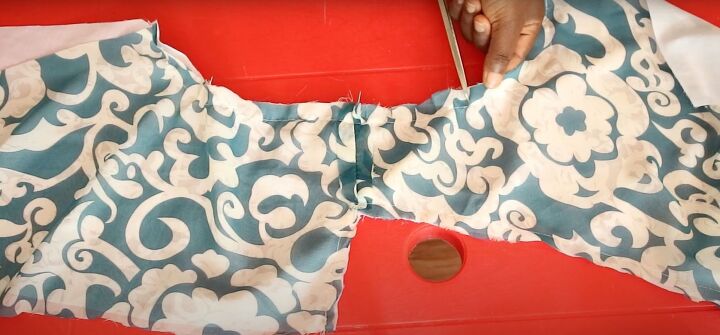
6. Finish bodice
Place one bodice piece on one back piece with right sides together. Pin the short side of the wrap to the opposite side of the back panel.
Place the other piece on top and pin and sew the side seams.
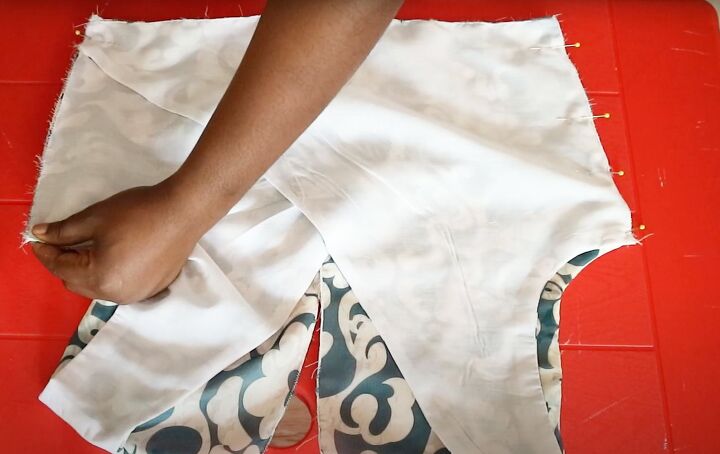
7. Attach bodice
Pin the skirt to the bodice along the waist with right sides together, matching the seams. Sew in place.

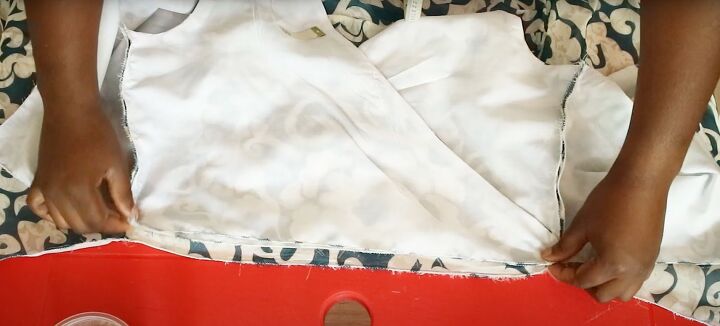
8. Insert zipper
Pin and sew the zipper to each side of the back, starting at the neck edge.
Join the remainder of the back seam, leaving a small slit at the bottom for ease of movement.

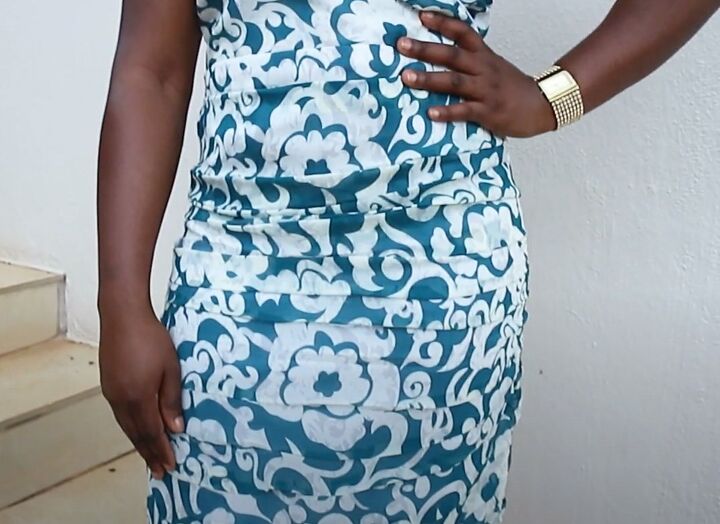
DIY chiffon midi dress
I hope you enjoyed watching me make my blue chiffon dress and even sewed along with me.
I love the pleated skirt detail and I'm definitely going to sew chiffon again. I'd love to know if you find any fabric difficult to work with. Please let me know in the comments!
And, for more sewing content, check out my post on How to Make a Cute DIY Peplum Top Out of an Old Men's Shirt.
The author may collect a small share of sales from the links on this page.


Comments
Join the conversation
Super pretty and very flattering!
That is so pretty! Great job!