How to DIY an Easy Infinity Dress + 11 Ways to Wear It

Today, we will make a no-sew infinity wrap dress.
The DIY itself is super quick, but you end up with something so versatile.
Depending on the fabric you choose, you could have a fun beach cover-up or something to wear to a wedding.
Tools and materials:
- Fabric
- Scissors
- Rotary cutter
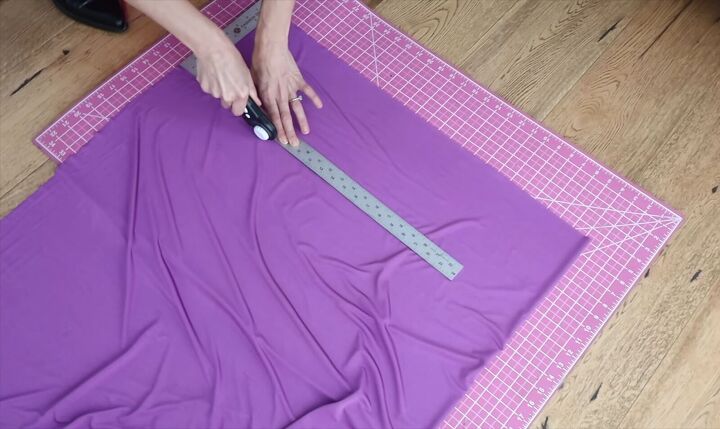
You have two ways that you can fold your fabric when you cut.
One way is to fold it lengthways, which will make the dress more narrow but longer.
The other way is to fold it widthways, which will make the straps longer but the dress a little shorter.
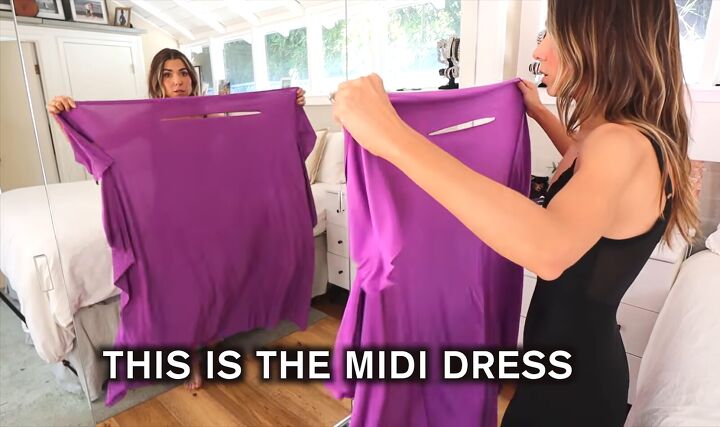
To make the dress, we just have to make two cuts.
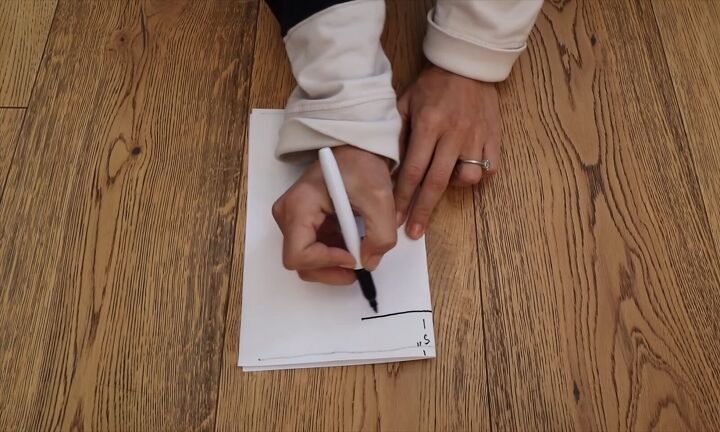
First, cut 5 inches (13cm) down from the top.
And then another cut 7.5 inches (19cm) across the dress below the first cut, so when it opens up, it will be around 15 inches (38cm) long.
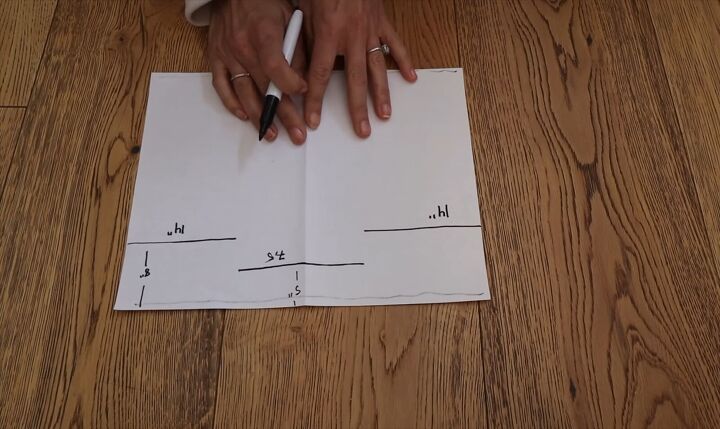
The other measurement is 8 inches (20cm) down and approximately 14 inches (35.5cm) across.
This cut is on the open side, so when you open the fabric, you’ll have a cut of 14 inches (35.5cm) on either side, as shown.
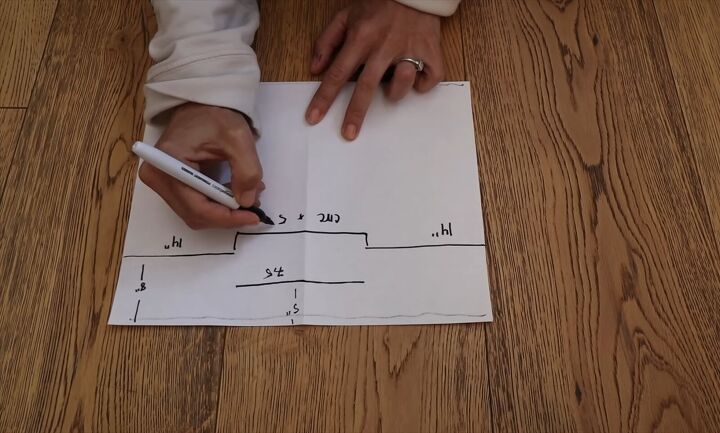
The distance in the middle should be your full body circumference plus about 5 inches (13cm), so for me, this was around 30 inches (76cm).
When it comes to the fabric, you want a four-way stretch and something opaque so it's not see-through but thin enough that when you tie it in a knot, it won't be bulky.
I also recommend getting something that has the same color or print on both sides, as this will give you more flexibility when you're draping.
How to cut the fabric
Now make the cuts on the dress.
If you make any of the slices a little too small, you can always go back in and extend them.
It is safer to go a little shorter because you can always make it longer. You cannot go back and make them shorter.
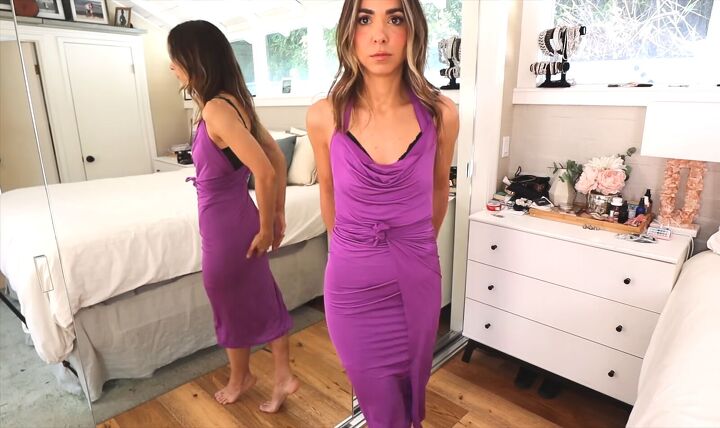
The piece of fabric now has one slit in the middle and two slits on the sides. Now I’m going to show you how to wear it.
How to wear your DIY infinity dress
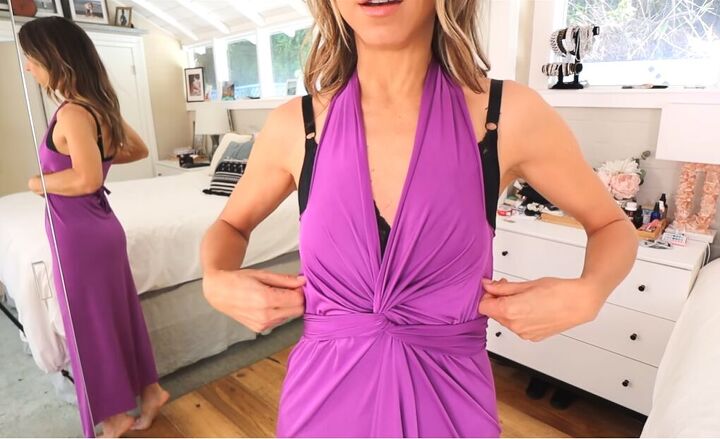
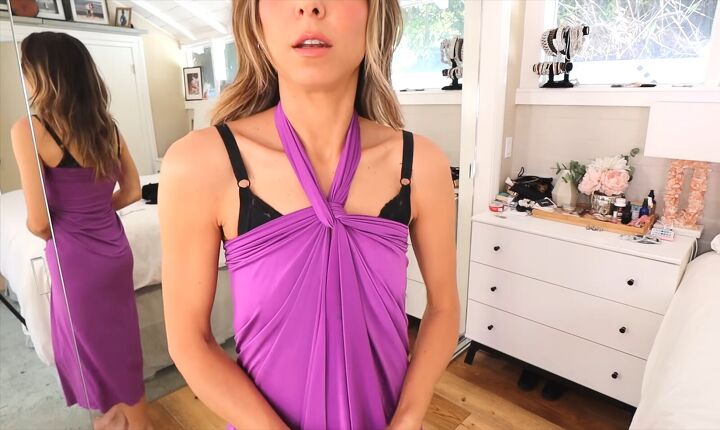
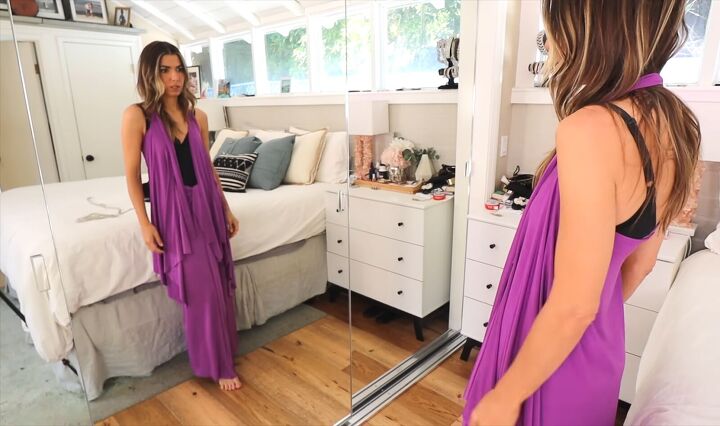
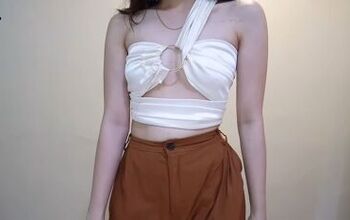
1. Ruched front
Put your two arms through the slit. With these ties, there are a million things we can do.
The style I like the most is to criss-cross them twice, then pull them tight and tie them together. Look at how pretty the ruched detail is.
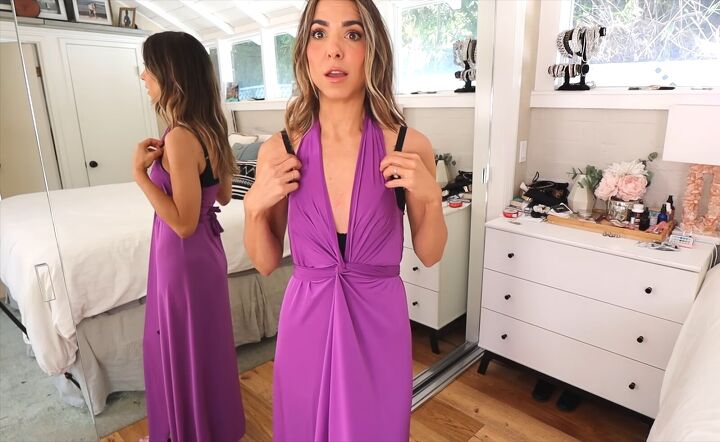
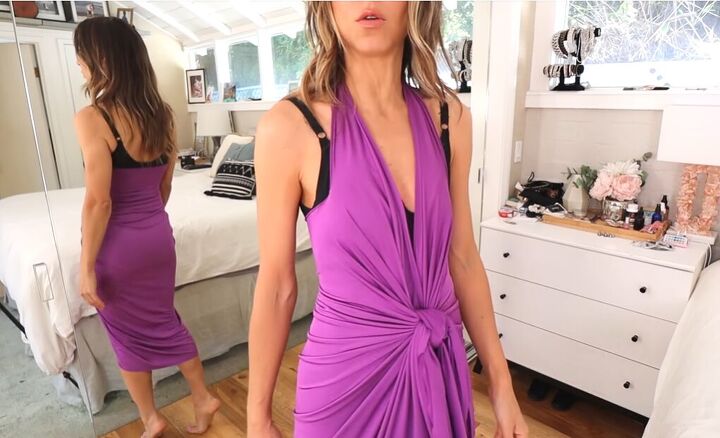
2. Deep-V
Tie the two straps, then bring them to either side and tie them at the back. This creates the same pretty knot but a deeper V in the front.
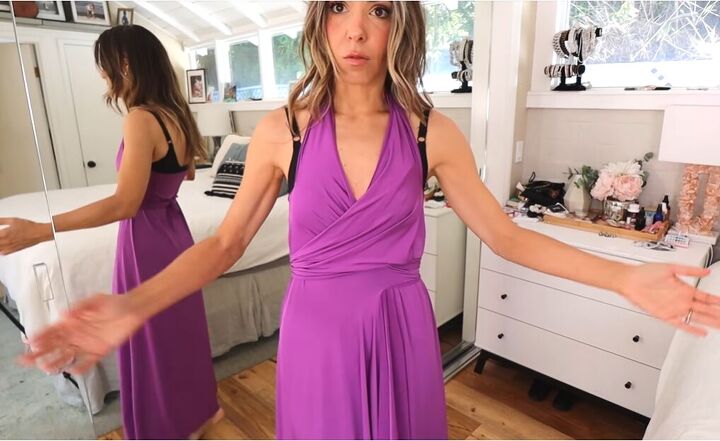
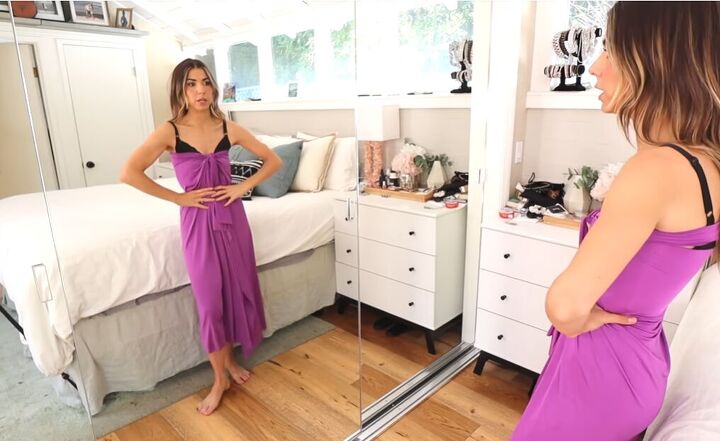
3. Crossover
You can also not do any kind of a twist but just overlap it. This has a nice drape at the front.
4. Front knot
You can leave the two ties hanging down at the front and then tie the material on either side of the bottom of the dress.
This has a really cute knot in the middle of the dress, and this style will look amazing on those of you with curvy figures.

5. One-shoulder
Tie a tiny knot at the top. Put it over your head so the knot is on one shoulder, and now you can crisscross the dress at the side.
6. Looped neck
While it’s tied, you can style it as a halterneck, so throw it over your head.
It creates a super pretty drape in the front. Then crossover the two sides at the back and tie them at the front.
7. Sarong style
For a classic sarong style, put the wrap around your back (we don’t need the hole at the top for this) and then just knot it twice.
8. Looped neck 2.0
Bring the straps up around your neck and tie them at the back.
If you’re wearing it as a beach coverup, you can leave it open with your swimsuit showing underneath, or you could tuck or pin one side under the other for fuller coverage.

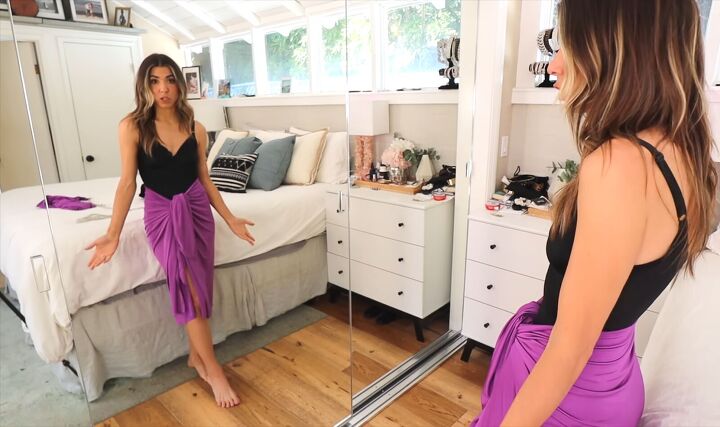
9. Skirt
Wear it as a skirt by simply putting it around your waist and tying a knot at the front.
10. Two-piece
I was able to make a shorter version of the dress out of the material as well so I can wear it as a top and a skirt.
11. Midi-skirt
You can also fold it to get rid of that top part, just using the two sides to tie it.
This makes it a little bit shorter but still gives you a similar style with all of the flattering ruching and the V in the front.
DIY infinity dress
There we have our no-sew infinity dress as well as endless ways you can wear it. I hope you’ll give this DIY a go for yourself!
Next up, check out my post on How to Make Stunning DIY Butterfly Wing Heels at Home.
The author may collect a small share of sales from the links on this page.


Comments
Join the conversation
I don't know how you managed to even think of this, but it is pure genius! Thanks so much for sharing.