Easy Dress Making Tutorial: DIY Ruched Dress

If you’re new to dress making, I’m going to show you how to sew a dress quickly and easily. You’ll learn basic dress pattern making at the same time.
The measurements I give fit European sizes 38 - 42. I used a viscose jersey for my dress, but any light to medium weight fabric that drapes well would work beautifully.
Tools and materials:
- 2 yards (2 m) of 39 inch (100 cm) wide fabric
- Narrow elastic
- Measuring tape
- Ruler
- Fabric marker or chalk
- Pins
- Scissors
- Sewing machine
- Serger (optional)
1. Dress sewing pattern
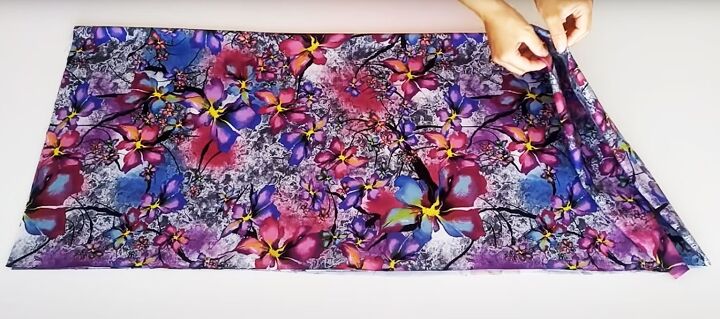
Fold your fabric in half widthways and in half again. Lay it flat with the folded edge nearest to you.
Measure and mark 4 cm (1.6 inches) from the double fold along the edge closest to you and 2.75 inches (7.5 cm) along the double fold.
Join the marks with a curved line for the neckline.
Draw a line 9 inches (23 cm) long from the double fold, half an inch (1 cm) from the raw edges to mark the end of the sleeves.
Measure and mark a hand's width from the end of that line.
Measure 14 inches (35 cm) across the fabric from the folded edge of the fabric, to the lower edge of the dress.
Connect them into a line, starting at the outer edge of your hand.
Join the top of the line to the end of the sleeve line with a curve.
Cut out the dress along the lines.
Open out the fabric and refold it down the center front and back with the right sides facing, matching the edges carefully.
Mark 2 inches (5 cm) along the fold from one edge of the neckline.
Join the mark to the outer curve of the neck and cut it out. This will be the front neckline.
2. Sew the side seams
Refold the fabric at the shoulders.
Mark 6 inches (15 cm) from the lower edge at each side seam, for the side slits.
Serge all the raw edges, or use a zigzag or overlock stitch on your sewing machine.
With the right sides facing, join the side seams from the end of the sleeve to the top of the slits.
Turn both edges of each slit to the wrong side, by the depth of the seam allowance.
Sew in place up each side and across the top.
3. Finish the edges
Turn in a narrow hem around the neck edge, and sew in place.
Finish the ends of the sleeves and the lower edge of the dress in the same way.
4. Elasticated waistline
Draw a line across the dress, 20 inches (50 cm) up from the lower edge, on the front and the back.
Cut your elastic to 28 inches (70 cm) in length. Fold it in half and mark the halfway point.
Starting at one side seam, sew the center of the elastic to the wrong side of the dress, along the line you drew..
Make sure you’re not stitching through both layers of the dress.
Stretch the elastic as you sew, so that you reach the halfway point at the second side seam.
DIY dress
You can sew this garment in a lightweight fabric for a spring dress, as I did. It also looks great in a heavier weight as a winter tunic over a turtleneck worn with leggings and boots.
It’s a versatile design that you can adapt in many different ways.
I hope you enjoyed making a dress, especially if it’s the first time you’ve tried it!
I’d love to know what you think of it. Please drop me a comment below.
For more sewing patterns and ideas, please also follow me on TikTok: @tugbaisler
Enjoyed the project?
Suggested materials:
- 2 yards (2 m) of 39 inch (100 cm) wide fabric
- Narrow elastic
- Measuring tape
- Ruler
- Fabric marker or chalk
- Pins
- Scissors
- Sewing machine
- Serger (optional)
The author may collect a small share of sales from the links on this page.


Comments
Join the conversation