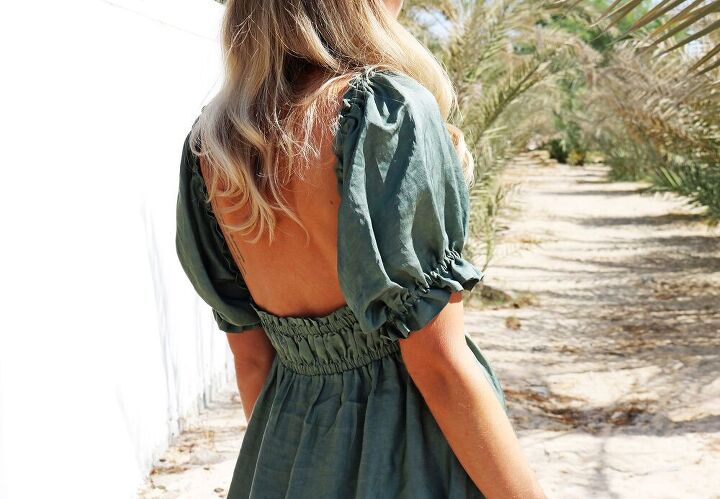
How To: Gathered Bodice Dress With Puff Sleeves & Low Back
So here I was thinking I'd come up with something a bit original for doing a gathered/elasticated bust, but @alissahthreads educated me quickly on IG that there is a McCall's pattern ( m7946) that is very similar to this. No new ideas in the world 🤷🏼♀️I still prefer mine:) Here's how I made it in case you don't want to invest in a pattern.
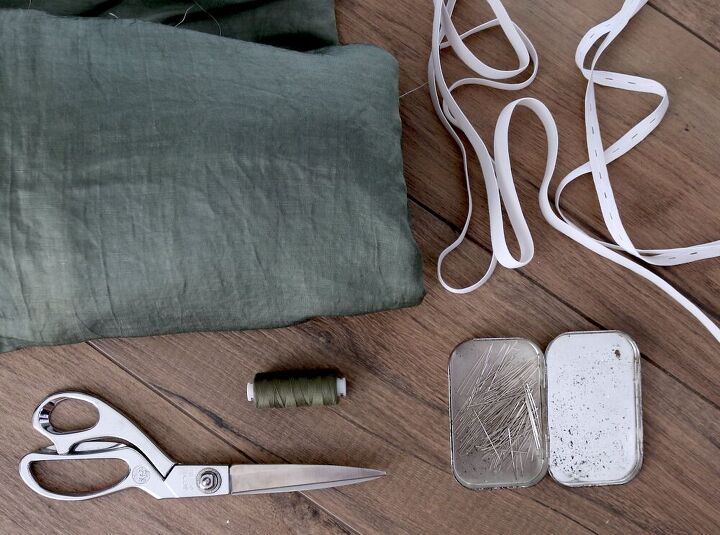
TOOLS:
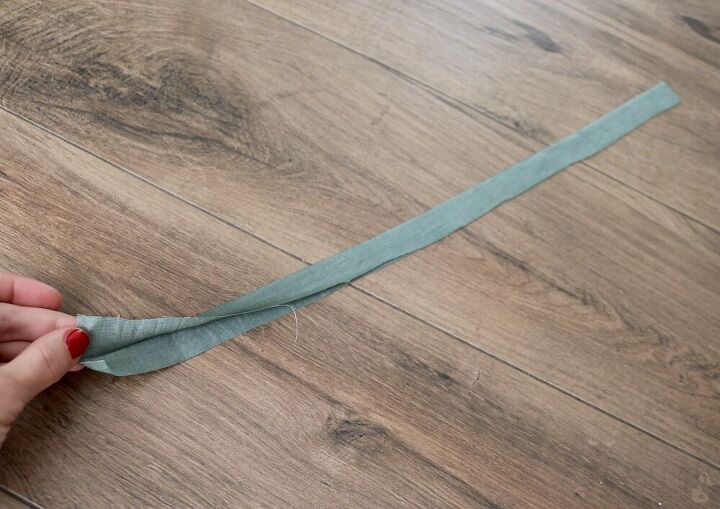
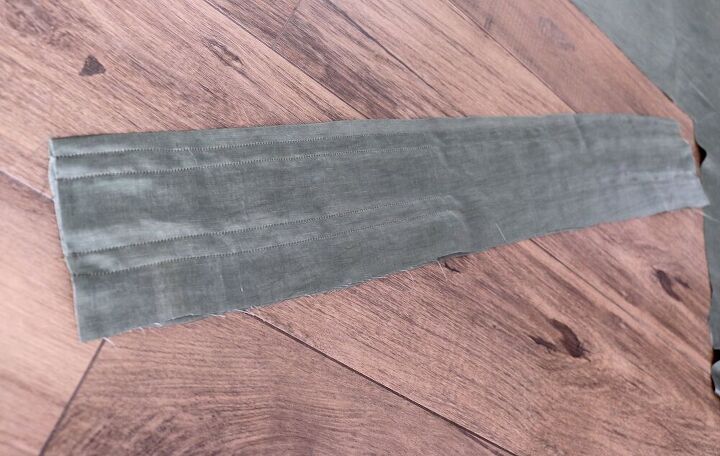
First press the ruffle strip in half width-wise, right side out..
.. And pin onto one of your top pieces, folded edge pointing down, then pin the other top piece on top matching the neckline, right sides facing.
After sewing, turning right side out and a press you'll have this.
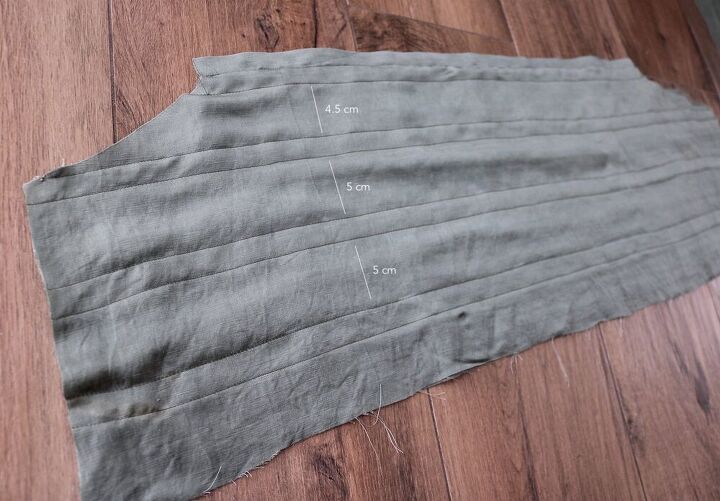
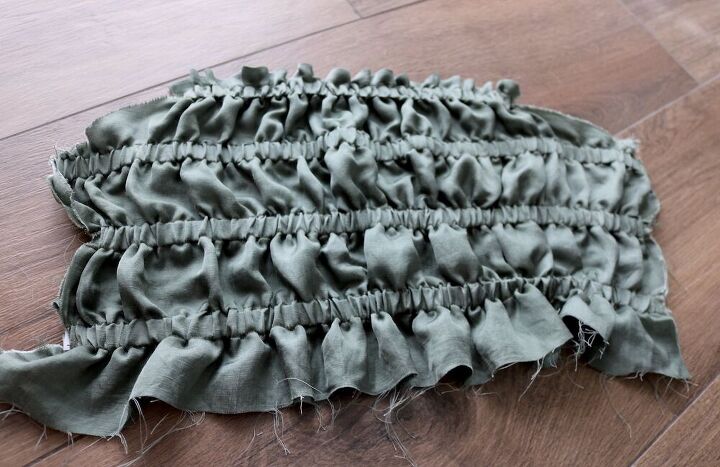
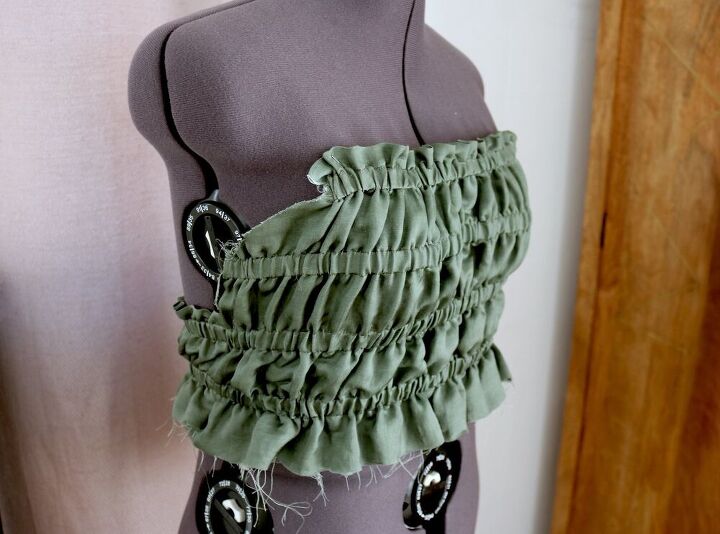
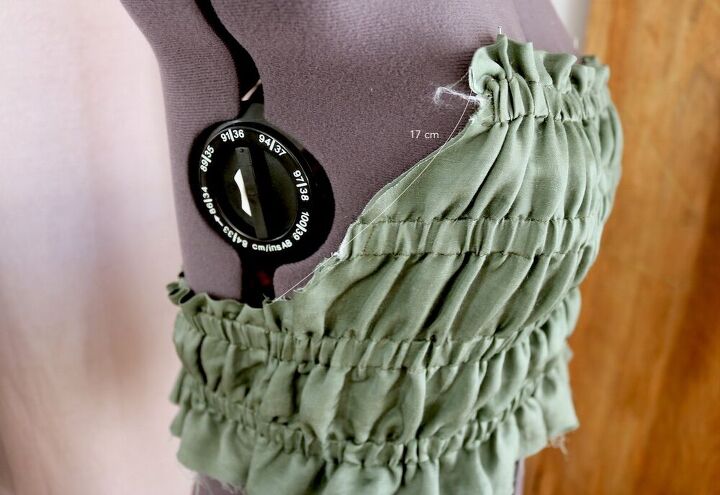
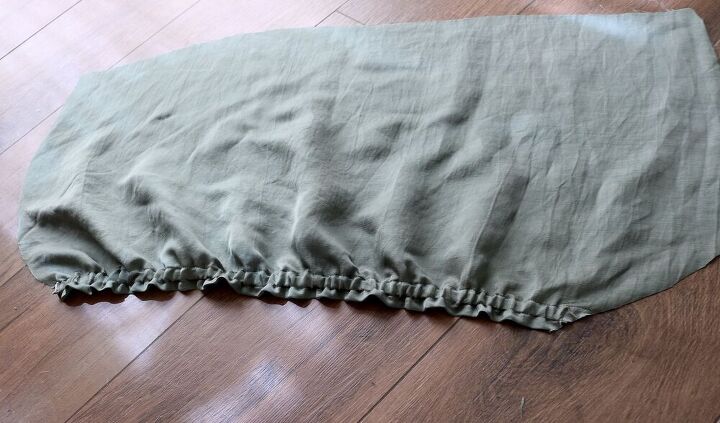
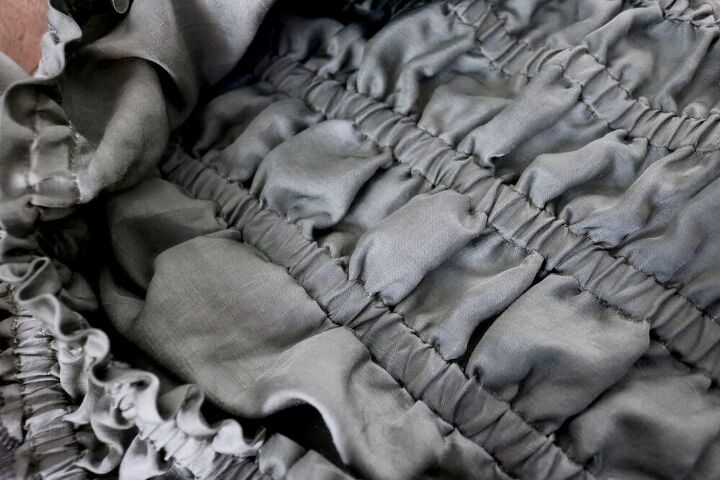
Repeated that at almost the same intervals, 4 casings in total. My initial plan was to leave the bust part with no casing across ( milkmaid style like this), but I felt I wanted more structure since this is a braless style with the low back.
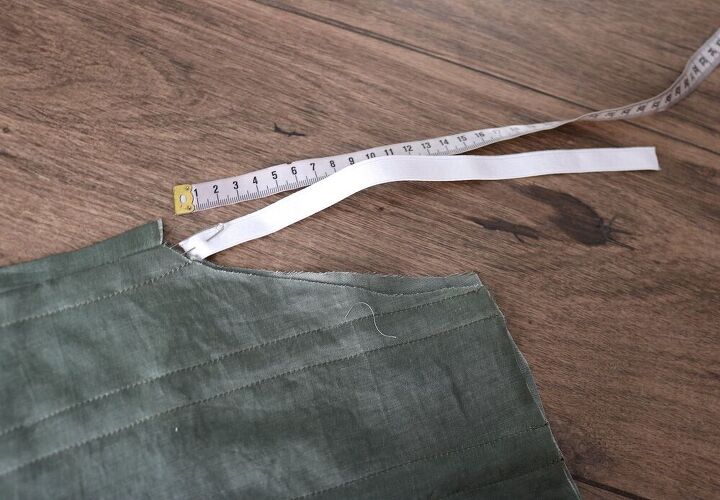
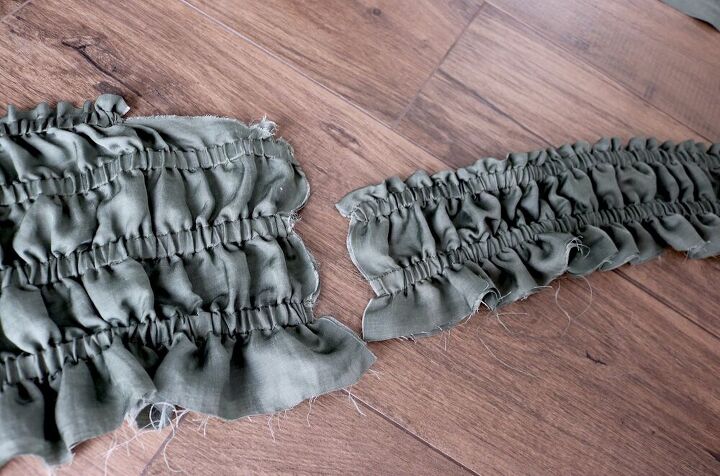
Then added my elastic pieces. The first one I cut about 27 cm long, corresponding to the width of the neckline I wanted. Inserted that with the help of a safety pin..
.. And once it was far enough inside I sewed the end to secure it, then pulled the safety pin all the way through and secured that end with stitch too.
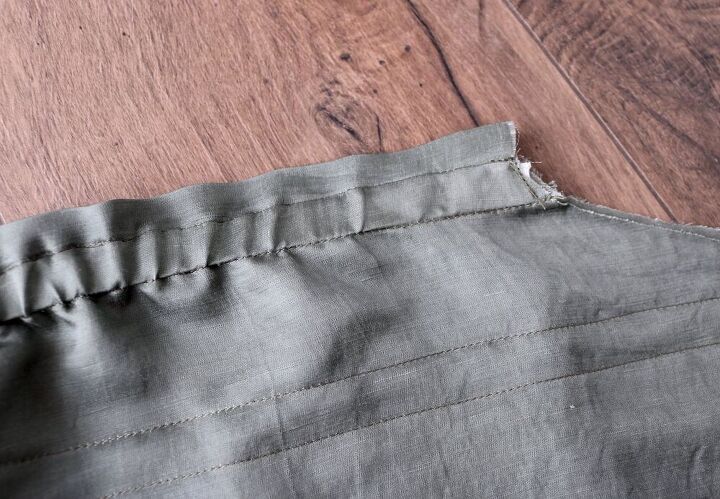
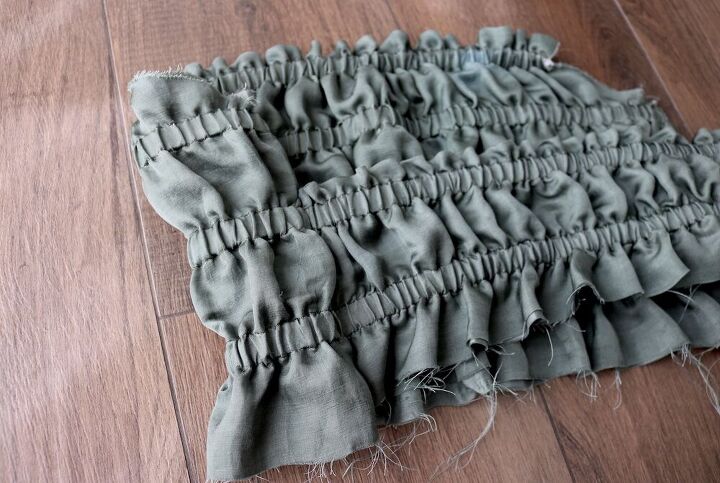
Repeated for all casings. I figured out the lengths of the elastics by measuring across my torso at the point that casing would be located (first one down: across the bust, second one down: side to side under-bust, third one down: side to side at natural waist).
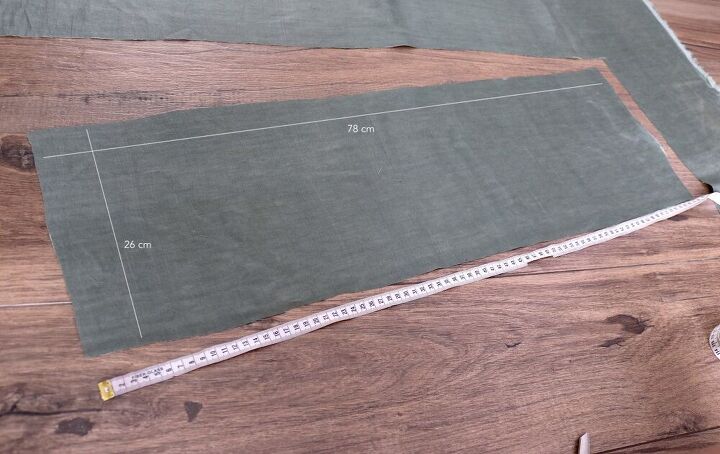
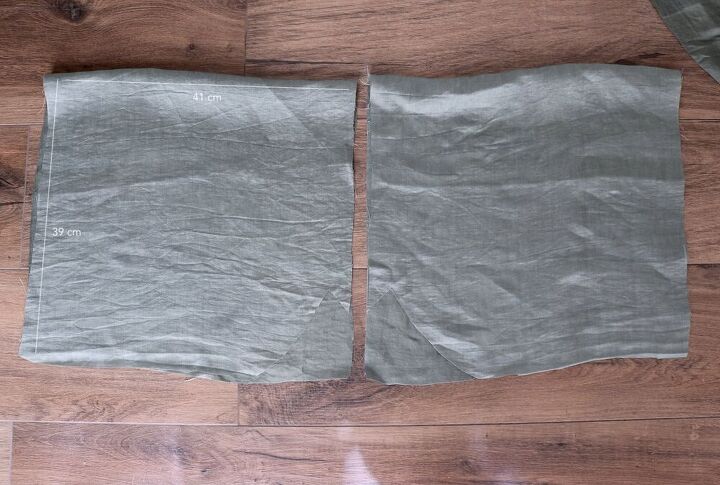
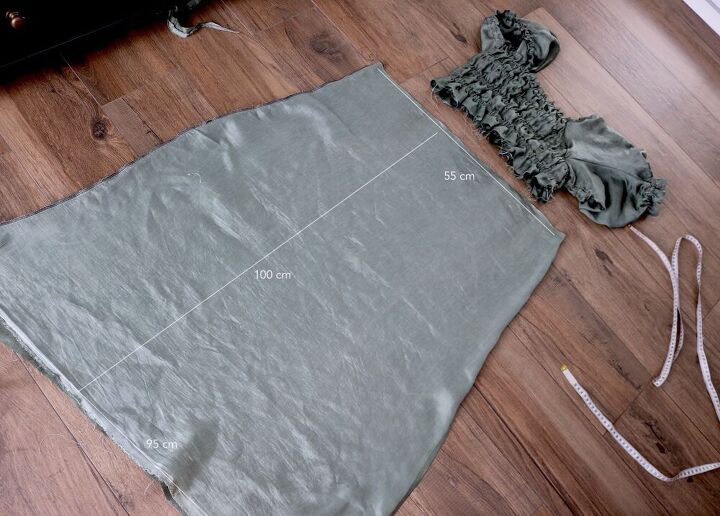
I folded the rectangle in half width-wise, pressed, and then added my casings to it (same distance apart as the two lower casings on the top piece). Inserted elastic (side to side back measurement).
After doing my side seams they were almost invisible due to all the gathering.
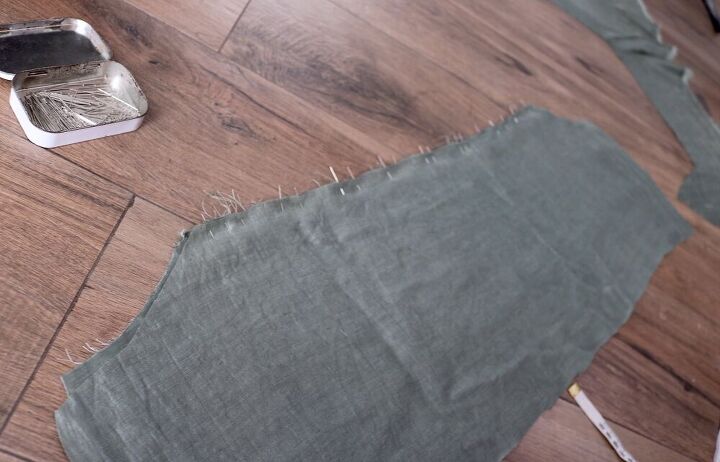
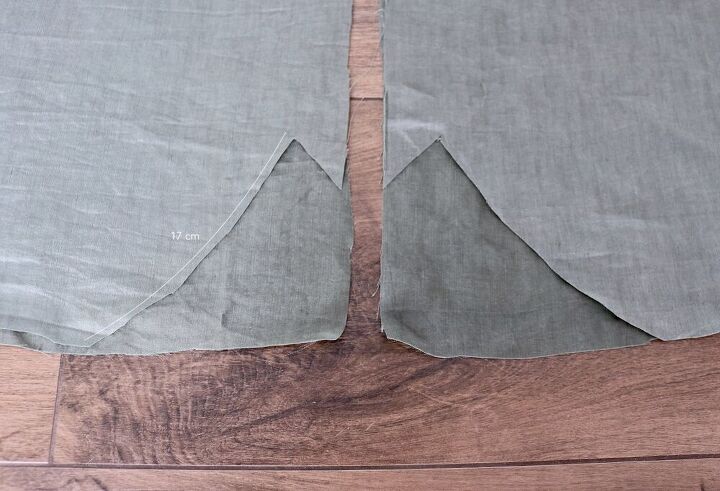
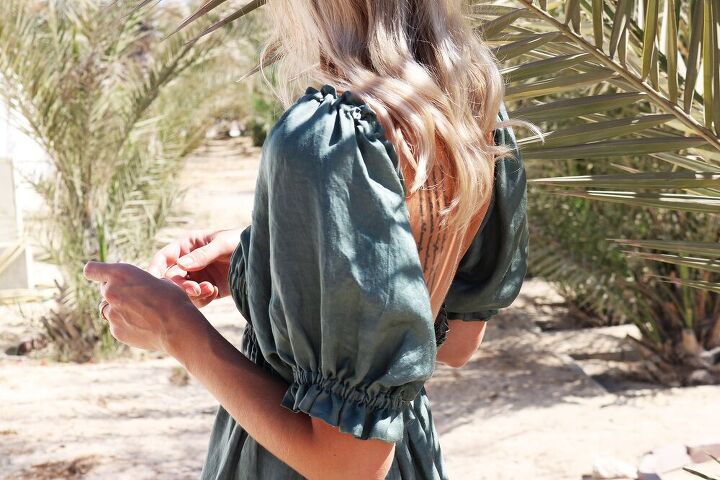
.. which I did after stitching the elastic in place where I was going to cut the excess off. Then I measured the arm curve from the side seam to the neckline. The back of the sleeve was not going to have a curve.
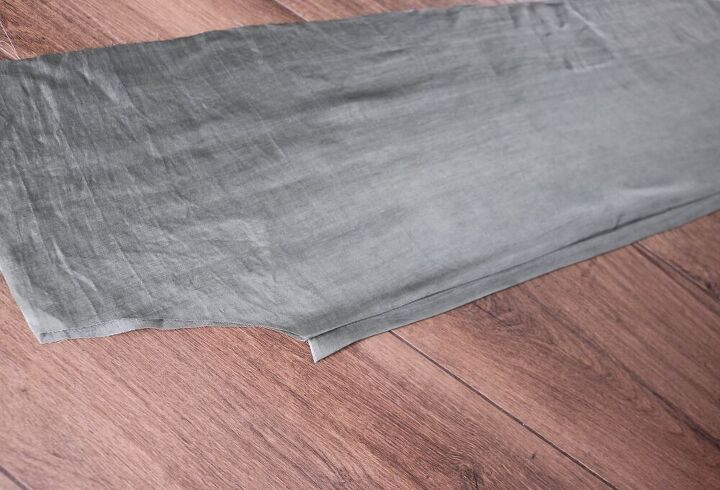
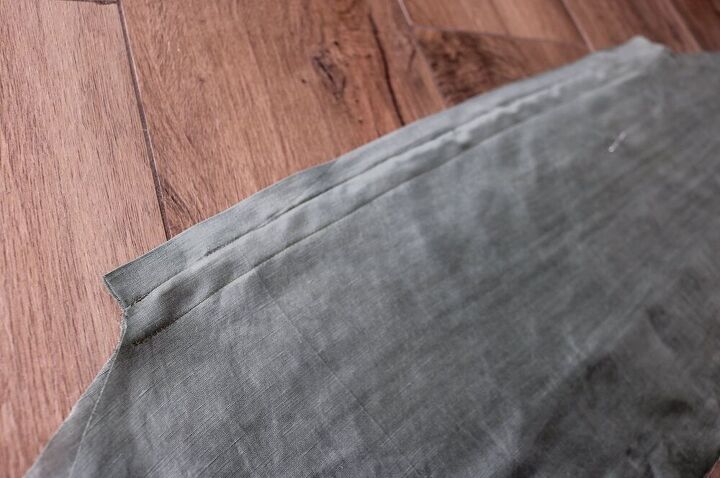
Here's a closeup of how I cut the front piece arm curve. The same curve as on the bodice, and then a mirror image of the curve to make a clean end to the casing for the elastic.
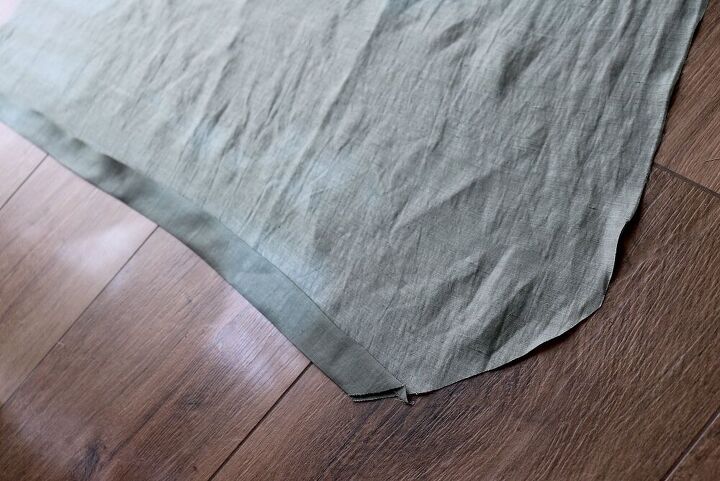
It probably makes more sense in this photo where the casing is folded & pressed.
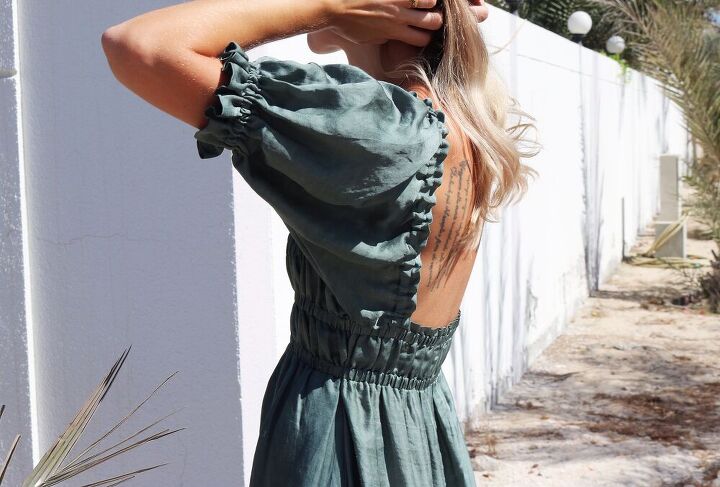
Added my elastic, once again. Measurement needs to be from the neckline, over your shoulder, to the back of the top. Easiest to try on the bodice and then measure.

Then pinned the skirt to the bodice, right sides facing, just above the last casing stitch, where I would sew them to attach. I first pinned the sides of the skirt to the sides of the top, then stretched the bodice out to pin the front and back centers, and from there the quarters, etc. to distribute the skirt evenly along the bodice.
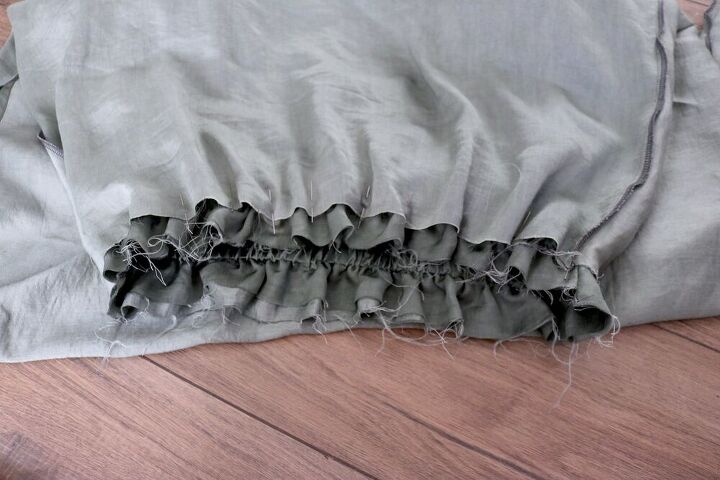
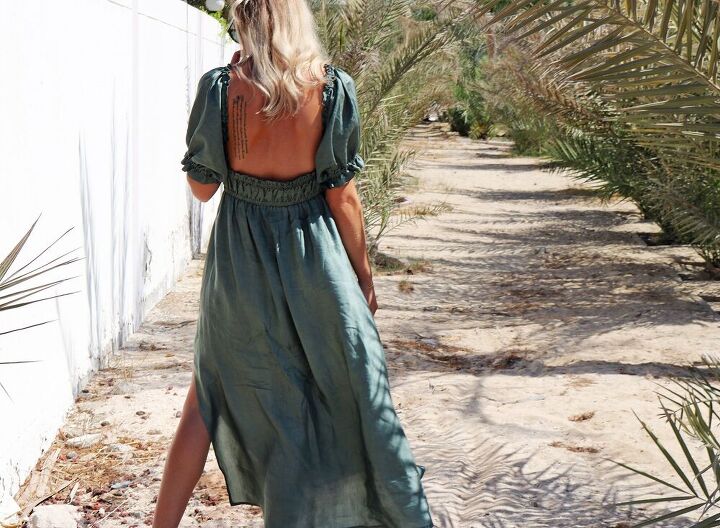
Then just sewed and finished the seam with my serger (or cut and zig-zag). Important to sew on the side of the bodice, so you see the last casing stitch and can sew directly over it.
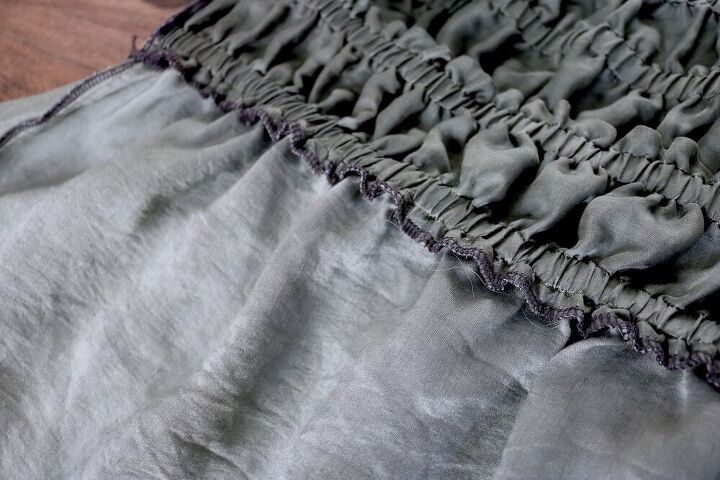
That way on the right side the skirt will continue seamlessly from the last elastic.
Into it.


xo,
The author may collect a small share of sales from the links on this page.


Comments
Join the conversation
Hello, your dress is lovely, thank you for sharing your take on it. I also want to thank you for doing your homework and acknowledging the McCall's pattern. Very few people do that and take credit for either the exact same thing or very very similar. You are SO right there are very few "new" ideas out there but to take an idea and make it personal with a few modifications is not a bad thing :)
Your dress is utterly feminine and romantic.
I would definitely make one like it IF only... Nay! I WILL make this WHEN I find my my waistlilne again.