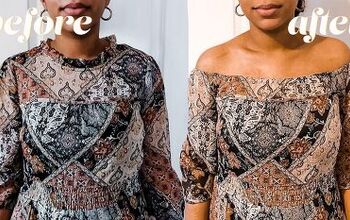
Sew a Unique Off-The-Shoulder Dress

Want to add this charming, flowy off-the-shoulder dress to your collection? You can easily sew an off-the-shoulder dress and make it your own! It’s delicate and gentle and the off-the-shoulder detail adds a touch of fun. In this tutorial, I am going to make a half-sized pattern as it will be easier to depict each step. Also, you can get the off-the-shoulder dress pattern here; this is the pattern that I will be using. I can’t wait to show you how easy it is to sew. Let’s start!
Tools and materials:
- Daisy dress pattern- get it here
- 2-3 yard ightweight fabric
- 2 yards elastic
- Matching thread
- Weights
- Scissors
- Sewing machine
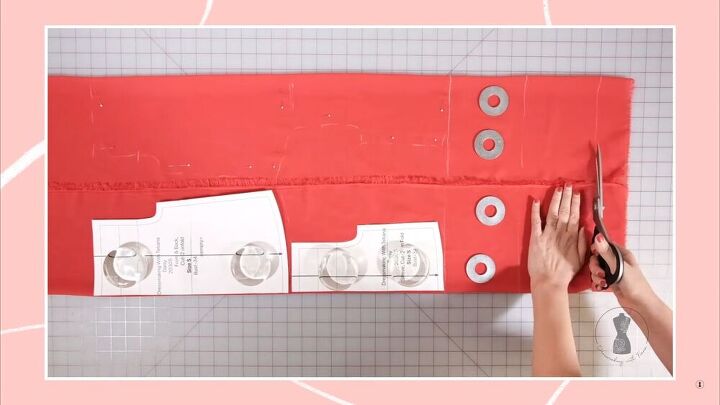
Cut your pattern
To cut out the pattern, either use weights or outline the actual fabric with chalk. You can choose what’s best for you. Fold your fabric and lay your pattern on the fold. Cut your belt, ruffles, sleeves, and front and back pieces.
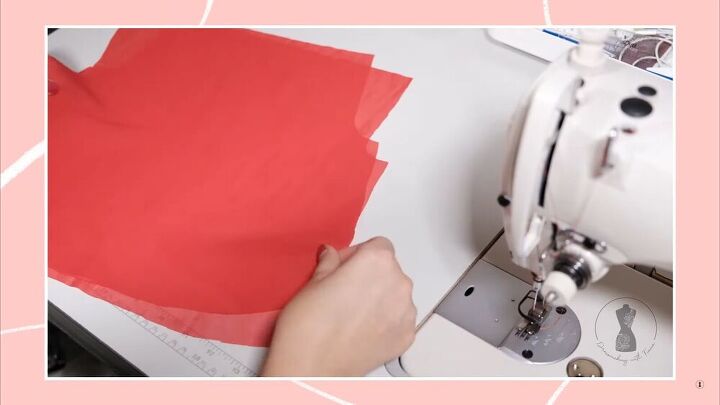
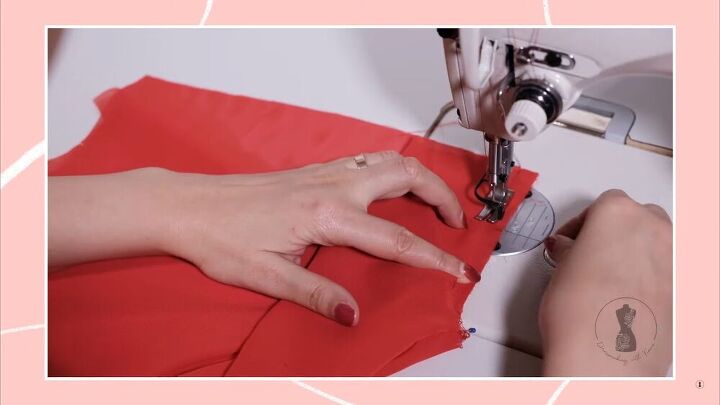
Sew the front and back sides
Place your front and back sides together, pin the side seams, and sew.
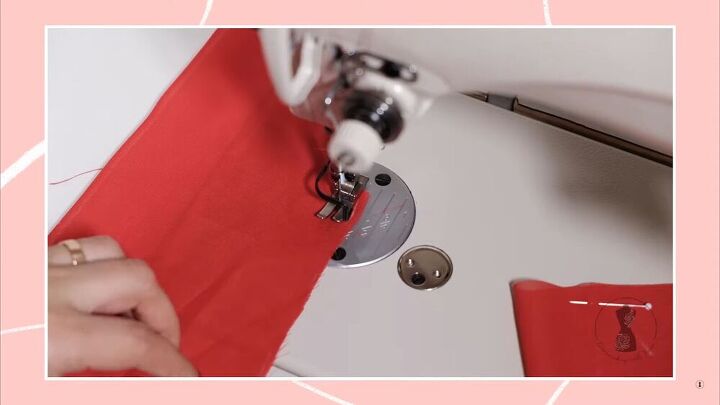
Sew the sleeves
Sew the side seams of the sleeves, and serge.
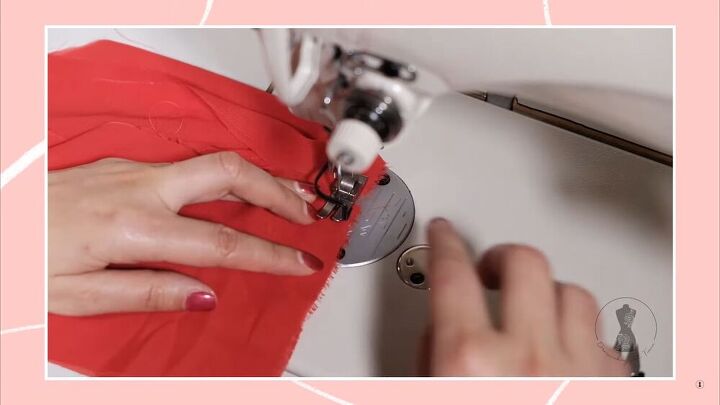
Sew the ruffles
Sew the ruffles by first placing them on, right sides together; creating one big loop.
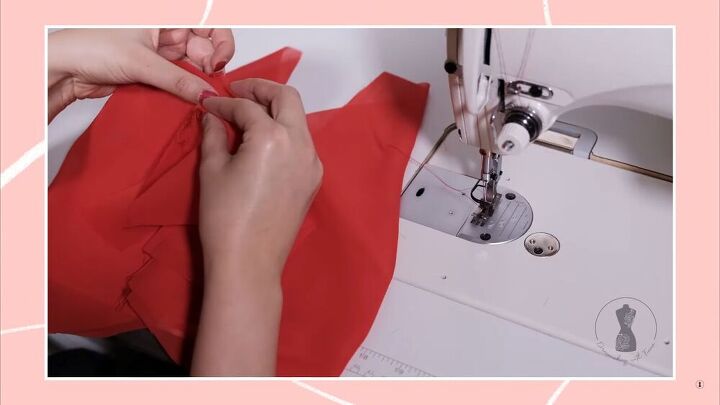
Sew the belt
Sew the belt, right sides together. Start from the center to the end. Leave a 2-inch hold so that it can be turned inside out. Finish the rest of the belt after. Once the sewing part is complete, turn inside out, press the fabric and hand sew the 2-inch gap.
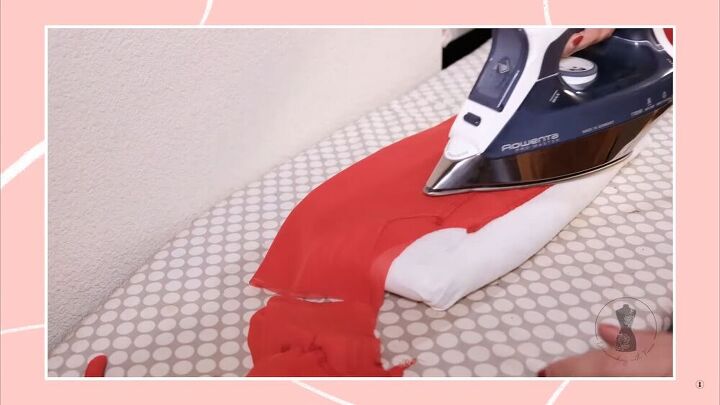
Serge and press all the seams
When all the sewing steps are complete, go ahead and serge all the seams. Next, press all the seams as well as the belt ( if you haven’t pressed the belt, yet).
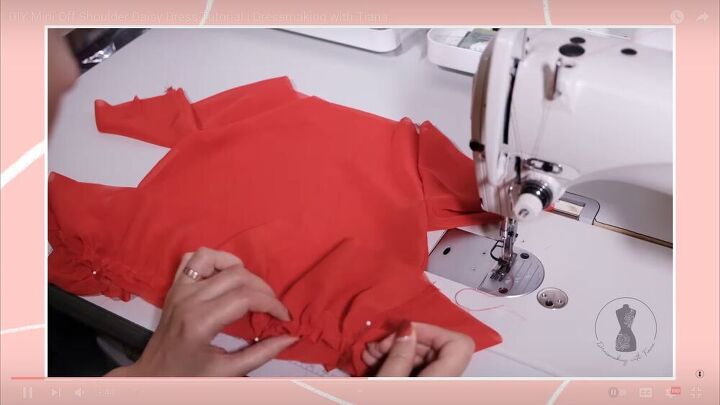
Assemble sleeves and bodice
Pin the side seams of the sleeve to the side seams of the bodice, making sure the edges are matching.
Once pinned, sew and serge.
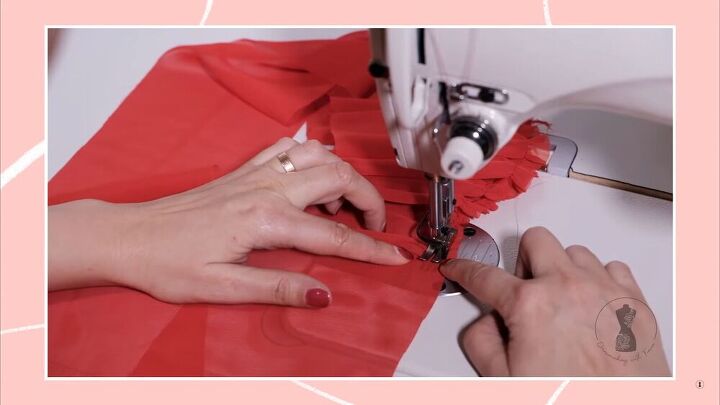
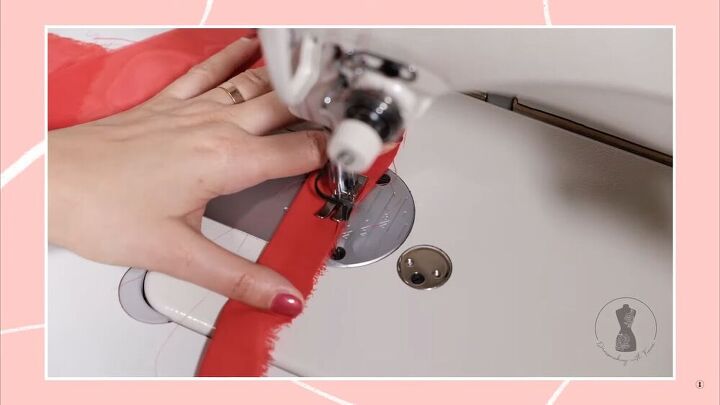
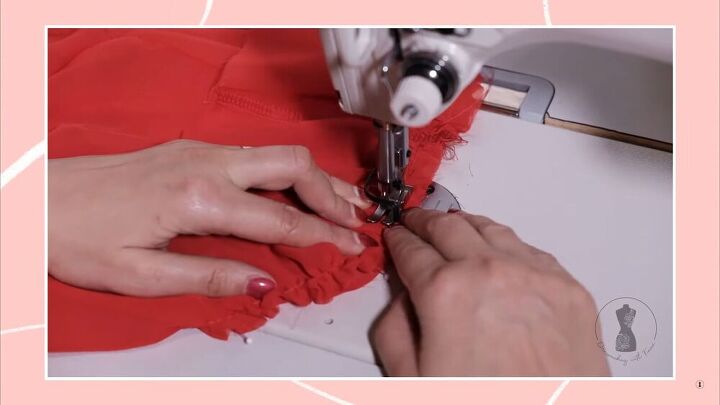
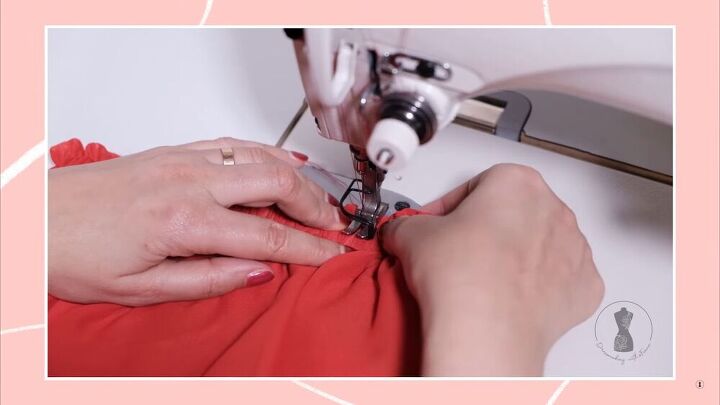
Gather your ruffle
This for me is the fun part- making ruffles! Set your stitch setting to the widest option, and while sewing, push the fabric under the machine foot in increments. This is a way to create lovely gathers and folds.
Attach the ruffle
Mark the center back and center front of the bodice, including the center of the ruffle. Pin your ruffle right sides together at the side seams, center back, and center front.
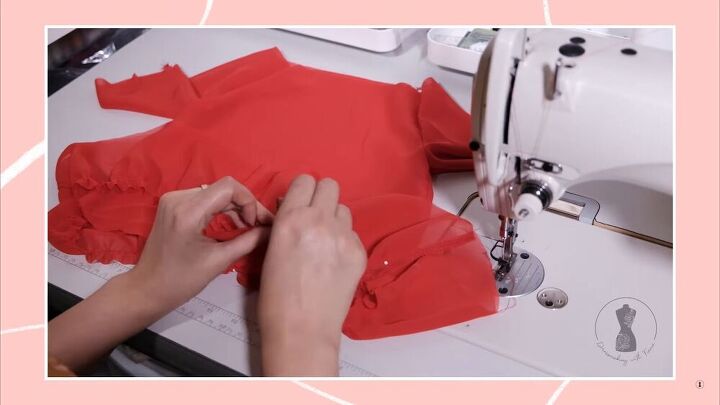
Evenly distribute the ruffle along the bodice, and pin between the key points.
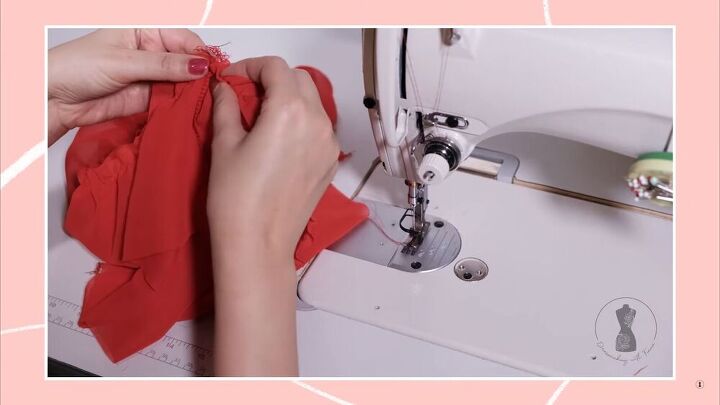
Should your ruffles need more rufflin’ up, simply pull at the thread until you create your desired look.
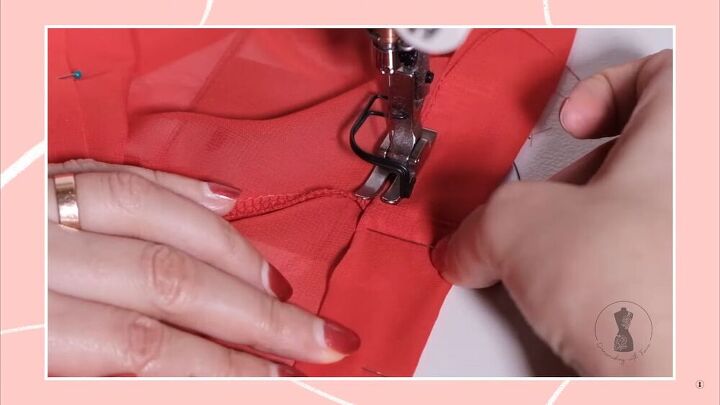
Now, sew the ruffle piece to the bodice, and serge.
Sew your hem
On the ruffle, make a hem by folding ⅛ of an inch twice, towards the wrong side of the fabric. Then, sew all around.

Press the ruffle and armhole seams.
Add the belt
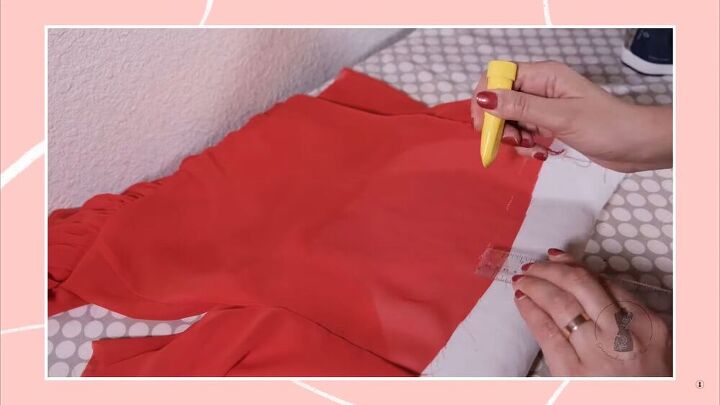
Mark half an inch of seam allowance at the top of the dress and press all around.
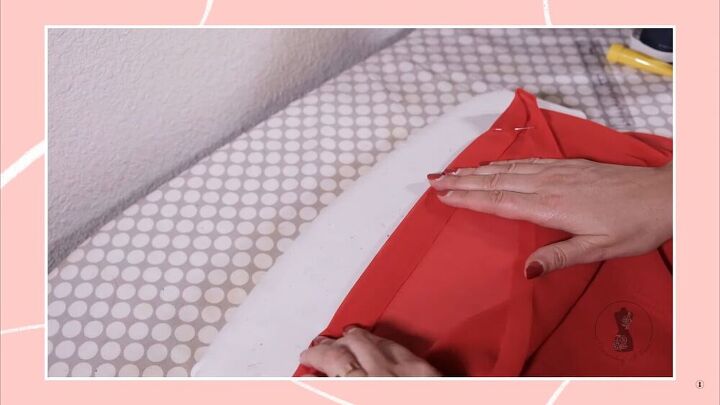
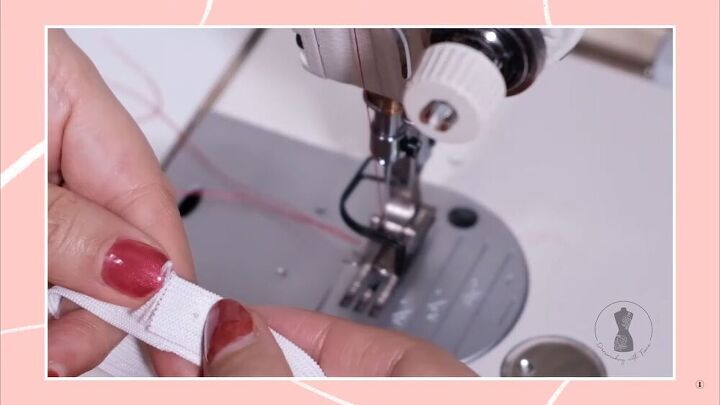
Mark the width of your elastic. If your elastic is half an inch wide, mark one inch from the folded edge,pin in place, and press all around.
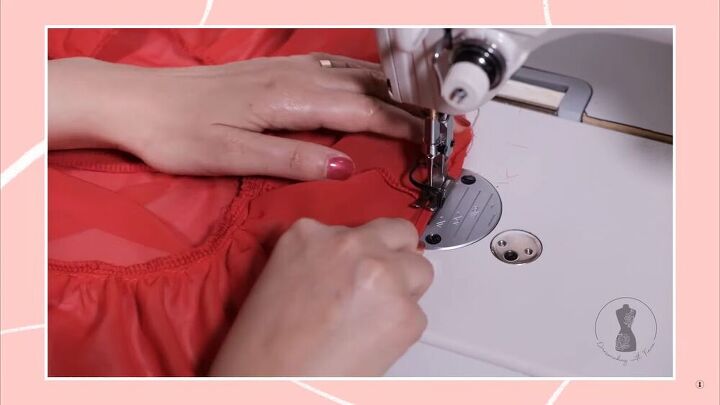
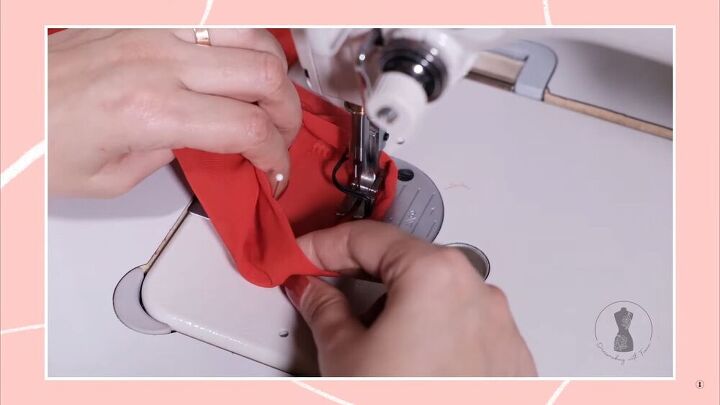
Sew your folded casing, leaving an opening of about 2 inches. Remember to sew at the edge of the fold.

Make one more seam, half an inch from the folded edge. Sew all around. This will create a gathered effect.
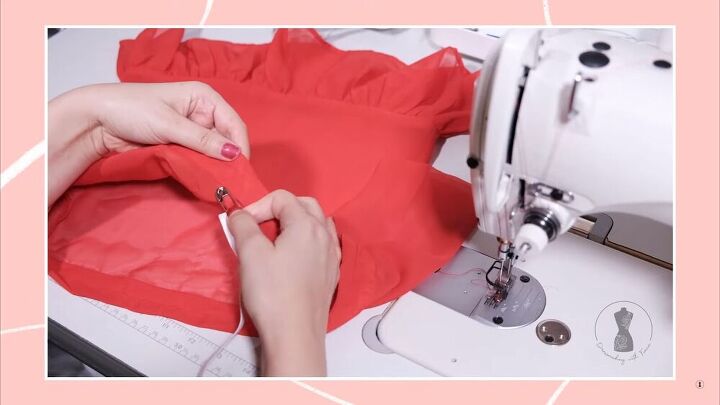
Feed the elastic through with a safety pin.
Overlap the ends of the elastic by half an inch and sew to secure the ends.
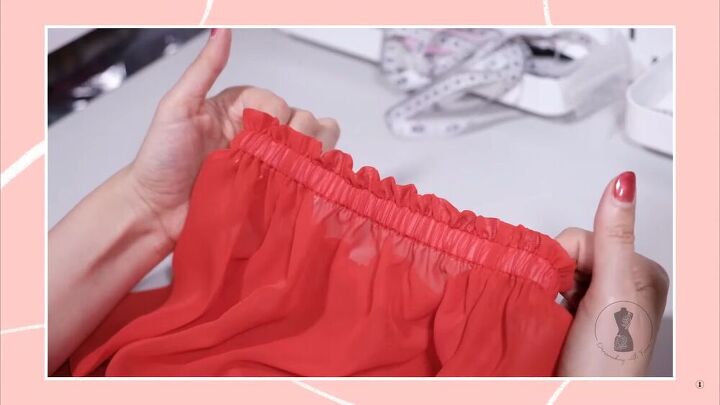
Sew the opening closed and stretch the elastic to evenly distribute the gathers.
Secure your elastic at the side seam to avoid any twisting and turning.
TIP-
To find a great length for your elastic, place it over your shoulders, wrap it around and add 1 inch for the seam allowance.
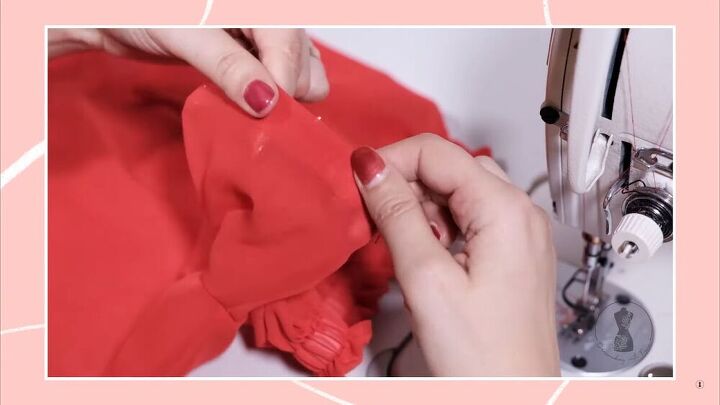
Add elastic to the sleeves
For the sleeves, the steps are almost the same as attaching the skirt elastic. The only difference is that there won’t be ruffles on the casing; in which case you will fold the hem as the exact same width as the elastic. For seam allowance, add ⅛ inch.
Fold, sew, add a gap for the opening, and feed through the elastic. Finally, hand stitch the gap.
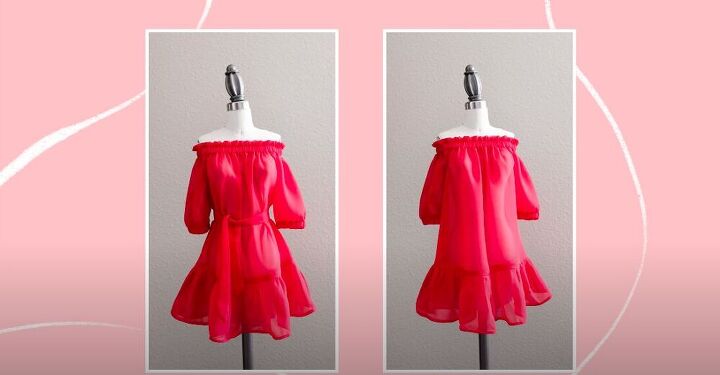
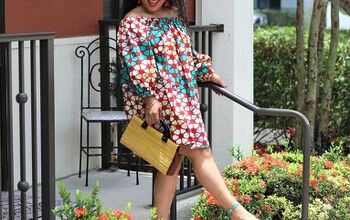
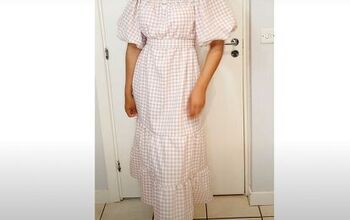
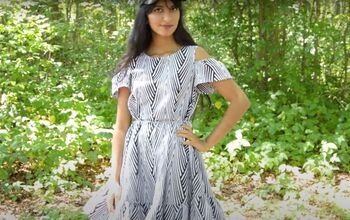
Our beautiful, flowy, and charming Daisy, off-the-shoulder dress is complete. I am so chuffed with the result. There's a broad variety when it comes to styling this dress, you can wear it on a date by slipping on some heels. If you’ll be in a casual setting, then pairing these with sandals works great, as well. This dress gives you endless options. Go out and have fun!
The author may collect a small share of sales from the links on this page.


Comments
Join the conversation
So so pretty and the color is fab!