Gorgeous and Easy Wrap Dress Tutorial

My thirtieth birthday is fast approaching, and since we’re still in lockdown and I can’t celebrate with my friends, I decided I would make myself a new dress to celebrate, instead. I’m making a basic wrap dress with puff sleeves using a cotton fabric with a delicate floral pattern, and I wanted to share the process with all of you.
Tools and materials:
- Shirt (to trace)
- Paper
- Marker
- Scissors
- Fabric
- Elastic band
- Pins
- Measuring tape
- Safety pin
- Sewing machine
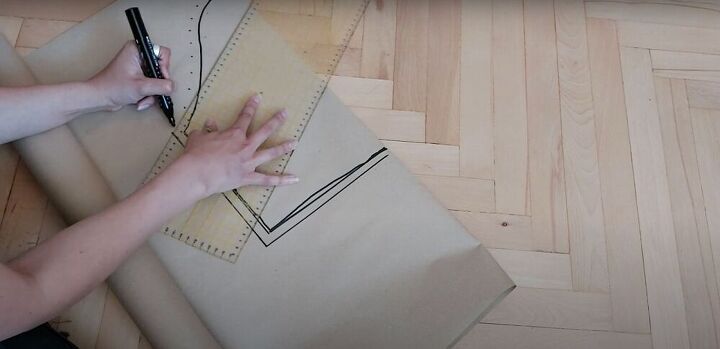
Create the pattern and cut
I used a shirt I already owned as a reference to create a pattern and cut the pieces for the top half of my dress. For instructions on how to draft the pattern, see the video from 1:55-3:49.
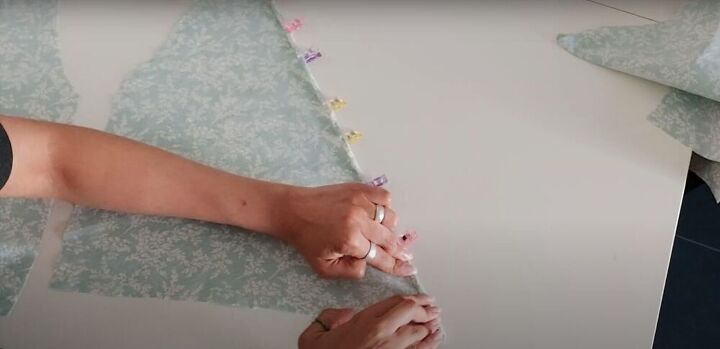
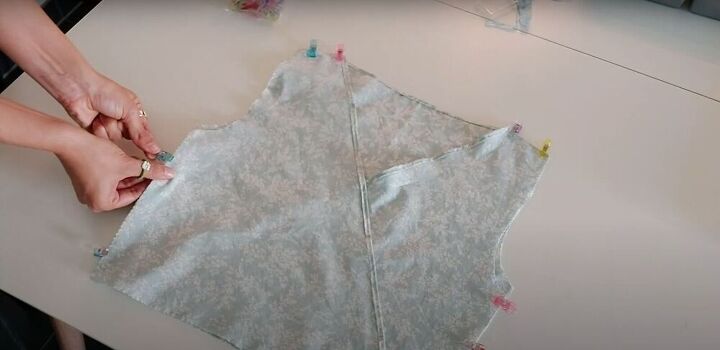
Pin and sew
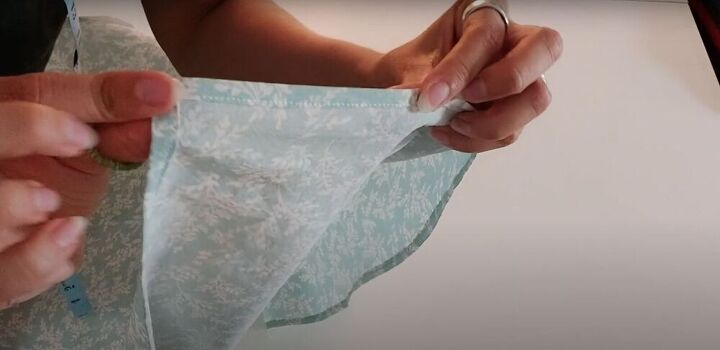
To begin, I folded down about ¼ of an inch of the diagonal edges of the front panels, pinned them, and sewed them down.
Adjust
At this point I realized my armholes weren’t big enough, so I went in with scissors and adjusted the size a bit.
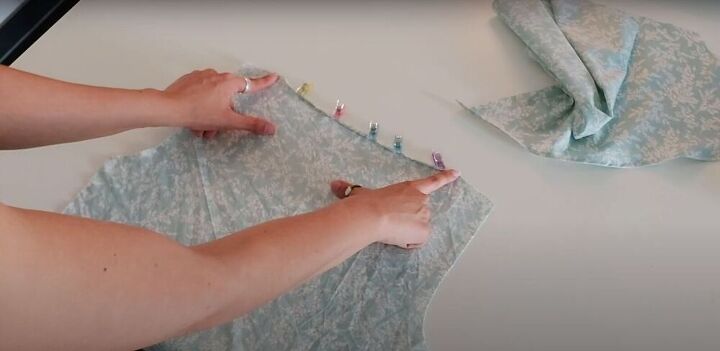
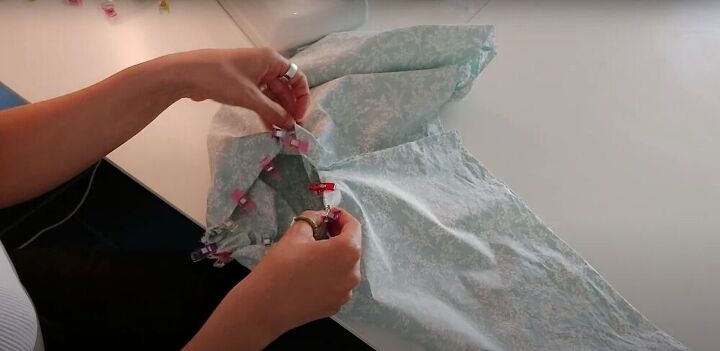
Pin and sew
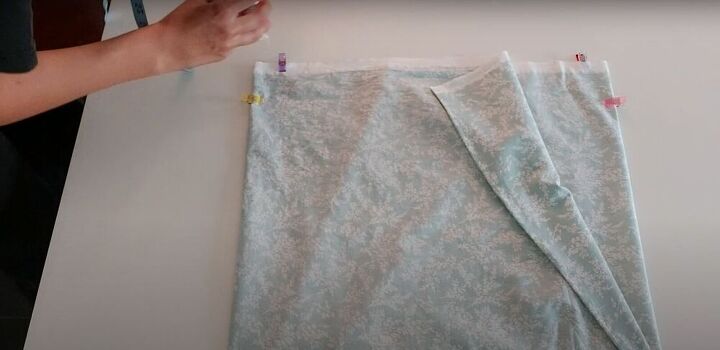
Then I hemmed the neckline on the back panel.
Once the edges were hemmed, I began construction by laying the front panels on top of the back panel, and pinning and sewing the shoulder seams and side seams together.

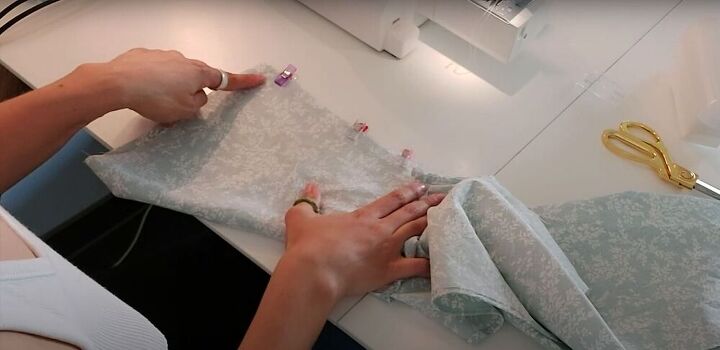
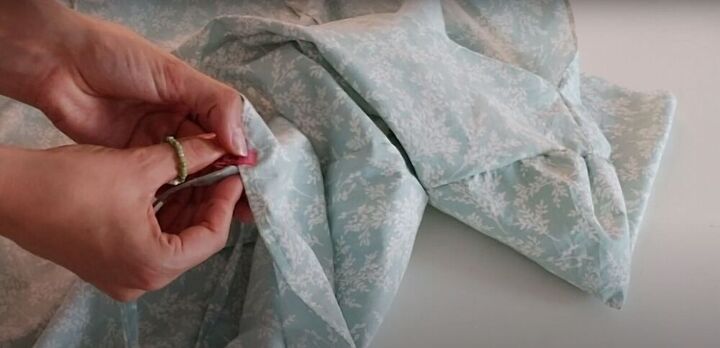
Gather
Next, I ran a basting stitch along the top edge of the sleeves and gathered the fabric along the thread to create a puff sleeve.
Mark, pin, and sew
Once I was happy with how the gathers looked, I folded the sleeve in half and marked the center point of the top edge. Then, I matched the center point of the sleeve with the shoulder seam, and pinned the sleeve in place, with the right sides of the fabric facing each other, and sewed it down.
Once the sleeve was sewn into the armhole, I pinned and sewed the sides of the sleeves together, with right sides facing.
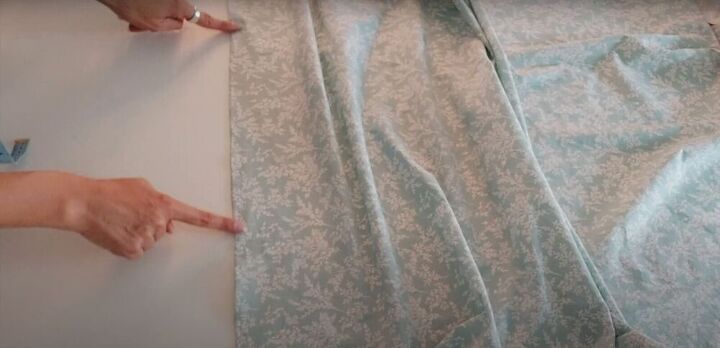
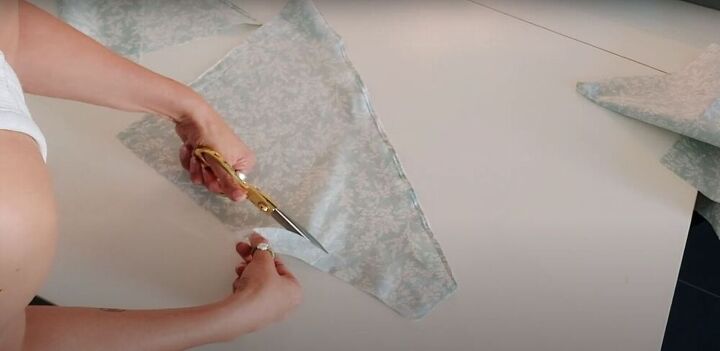
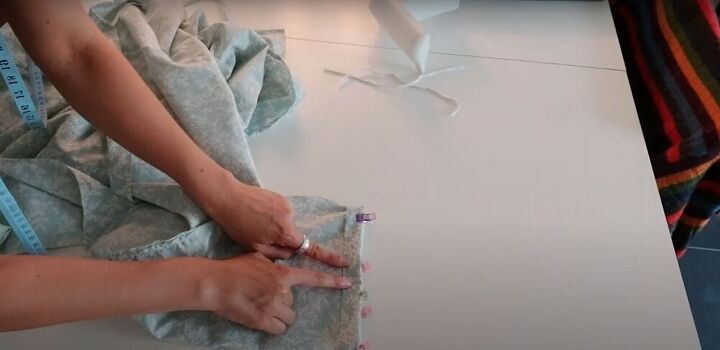
Measure and cut
To make the skirt part of the dress, I measured my hip circumference and multiplied it by 1.5 to determine the width of my skirt. The length is a personal choice, so you can determine that according to your preference. I cut the length of my skirt so it would hit just below my knees.
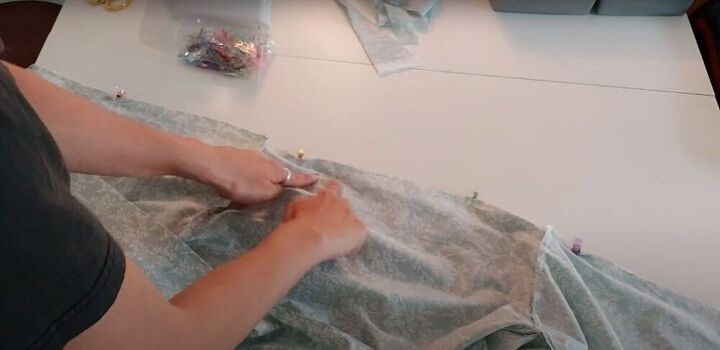
Hem
Next, I hemmed the bottom and side edges of the skirt with a rolled hem to hide the raw edges.
Create darts
To make the top and bottom parts of the dresses equal in width, I created darts on the top edge of the skirt. For an explanation on how to calculate the size and placement of your darts, see the video from 8:25-9:17. I recommend sewing your darts at a fairly shallow angle, and tying off the loose threads at the end, instead of backstitching.
Pin and sew
Once the darts were sewn, I pinned the top and bottom parts of the dress together and sewed.

Create ties
To make the ties for the dress, I cut two long strips, folded the raw edges into the center, folded the strip again lengthwise, and sewed along the open edge.

Make a hole
I used a seam ripper to make a small hole in one of the side seams so I’d be able to wrap the ties all the way around my waist. Then I sewed around the edges of the hole to secure it, so it wouldn’t rip open further.
Attach ties
Then I pinned and sewed the ties in place.
Create a tunnel
At the edges of the sleeves, I sewed down about 1 centimeter (½ an inch) of fabric. Then I folded the edge again to create a tunnel wide enough for an elastic band, pinned it, and sewed it down. I made sure to leave a gap in the stitching, through which I could insert the elastic.
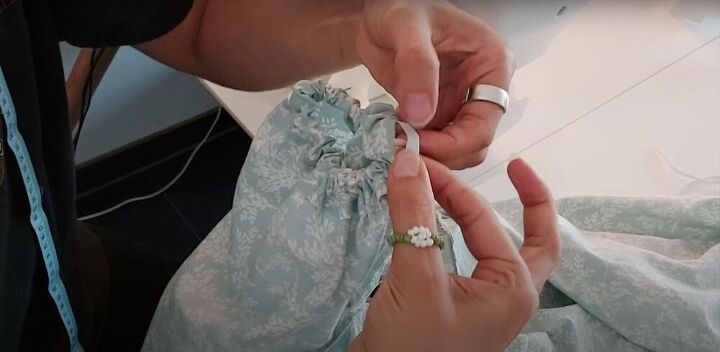
Insert elastic
I attached a safety pin to one end of an elastic band I had cut to fit comfortably around my arm and ran it through the tunnel at the end of the sleeve. Once I pulled it all the way through, I sewed the two ends of the elastic together, and then closed up the gap in the stitching on the sleeve.
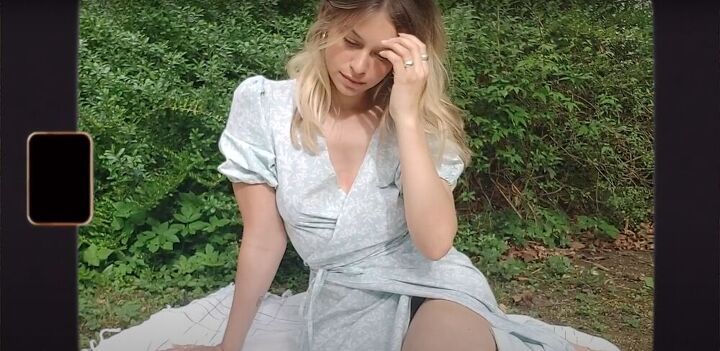
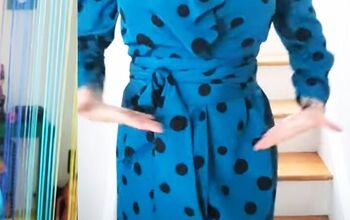
And with that, my birthday dress was complete!
I hope you found my DIY wrap dress tutorial helpful. Let me know in the comments what you think of this pattern.
The author may collect a small share of sales from the links on this page.


Comments
Join the conversation