Easy St Patrick's Day Nails Tutorial

Hey nail art enthusiasts! Follow along with this step-by-step tutorial to learn how to create these easy St. Patrick’s Day nails. Let's get started.
Tools and materials:
- Acrylic nail set
- Gel nail polish in assorted colors
- Nail detail brushes
- Mechanical pencil
- Paper towel
- Nail buffing block
- Holographic nail glitter mix
- Super gloss

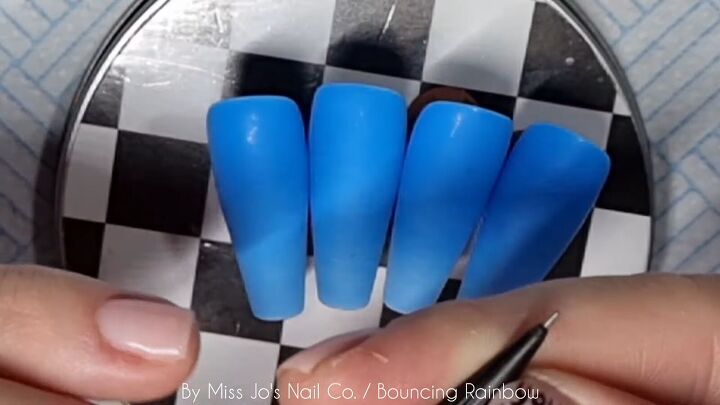
1. Paint an ombre base
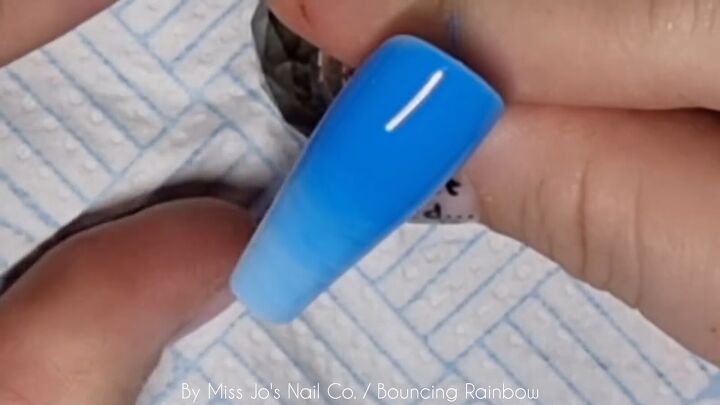
For the sky backdrop, first, paint a medium blue at the top of your nails, covering about ⅔ of the nail.
Then, use a lighter blue shade on the last ⅓ of the nail.
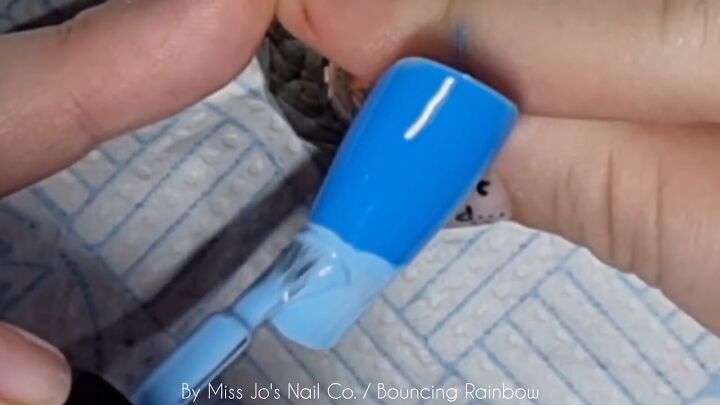
While the polish is still wet, use a clean, detail brush in a sweeping motion to blend the transition for the ombre effect.
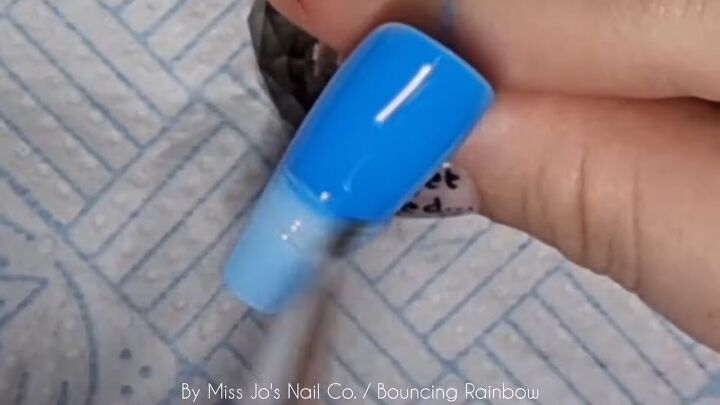
Here is the subtle look for the ombre sky backdrop:
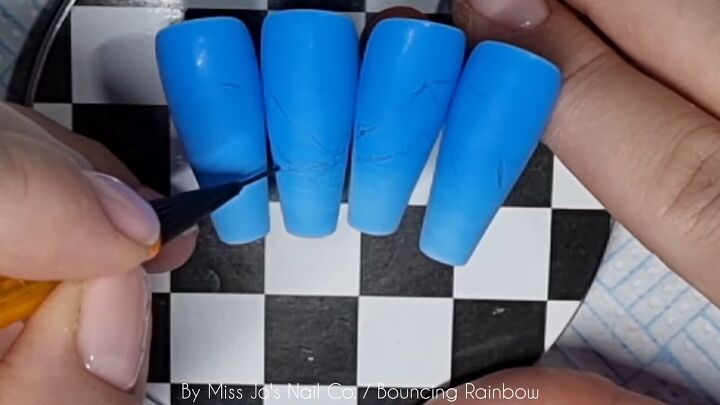
2. Sketch the rainbow shape
Here is a sketch to show you the shape of the design we will ultimately draw on the nails.
It starts with a ribbon shape for the rainbow, filled in with colors.
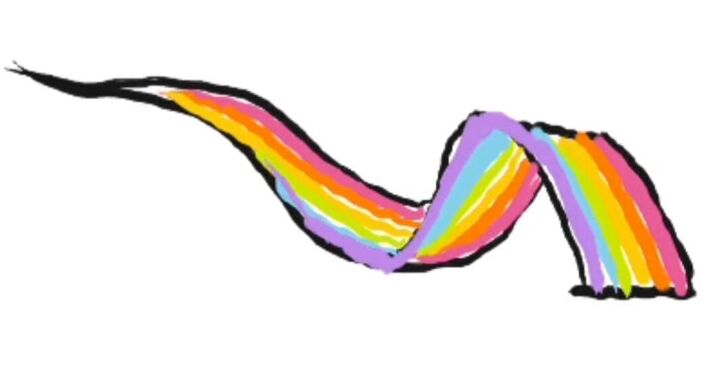
Line up your acrylic nails so that you can sketch on the rainbow design so that it flows from one nail to the next.
The design will only go on these 4 nails.
Using a mechanical pencil with extra lead sticking out, sketch on the ribbon shape.
3. Add colors to the rainbow
Referring to the sketch from above as a guide, start by mapping out where the pink polish should go.
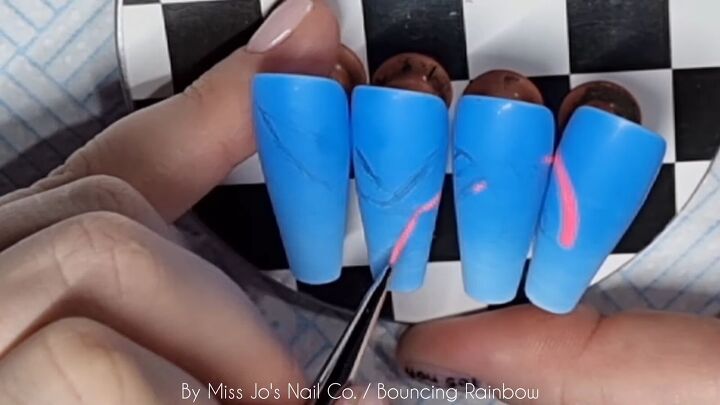
Once mapped out, you can take each nail to work on separately.
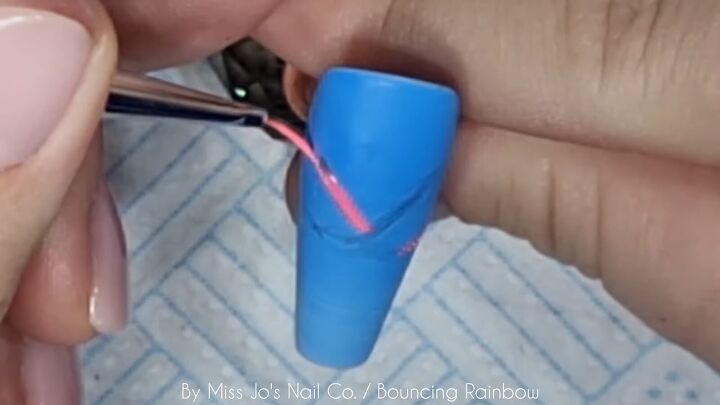
Next, add in the other colors of the rainbow, one by one.

Notice that the purple line goes all the way through, while the other colors get cut off as the rainbow twists and turns.
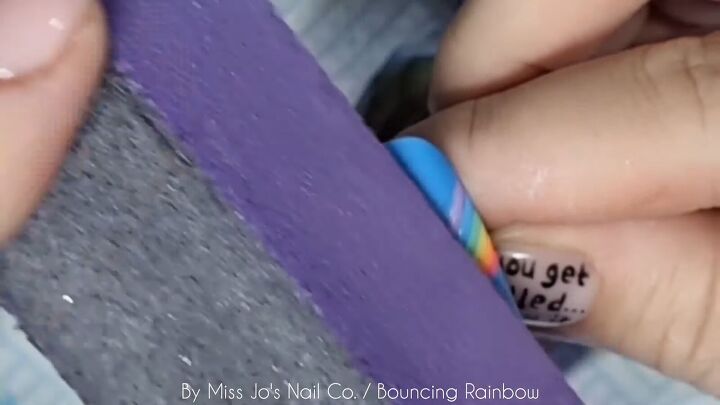
4. Wipe and buff
Once the design is finished and the nails are dry, wipe them off with a paper towel and then smooth them out by buffing them.

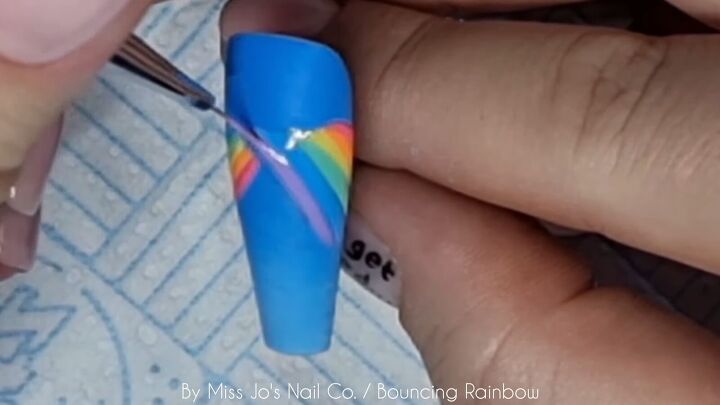
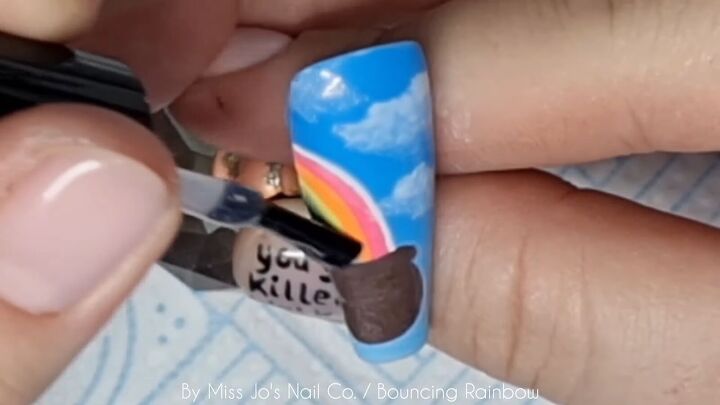
5. Outline
Next, use a white polish on a detail brush to outline the rainbow.

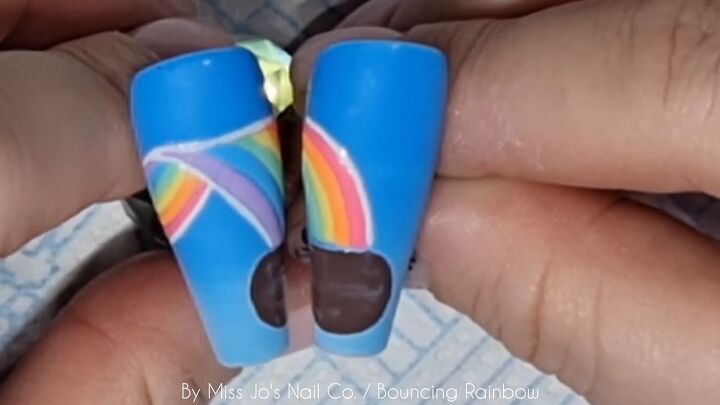
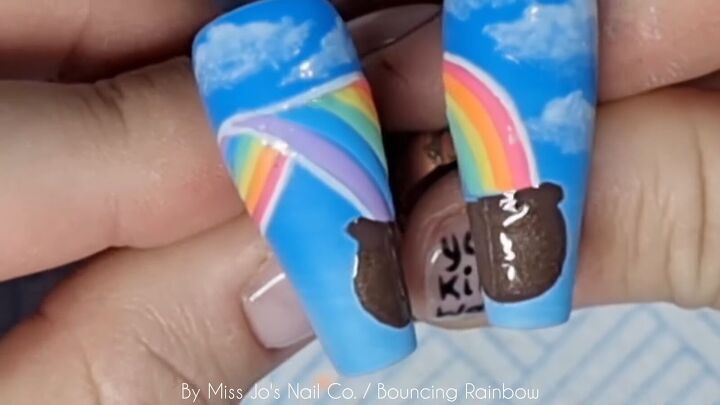
6. Add the basic shape for the pot of gold
At the wider end of the rainbow, on the 2 consecutive nails, paint on a pot of gold in a brown polish.

It should be an oval shape, like this:
7. Paint on clouds
Mix a clear base gel with a white polish.
Swipe on the basic shape of a cloud, then dab underneath that to give the appearance of a cloud that fades out.

Add different shapes and sizes of clouds in the empty parts of the sky, as much as you like.
The idea is that some parts of the cloud will remain white while others will be more translucent.
8. Finish the pot of gold
Dab on a shimmery brown polish on top of the brown pot.

Then, using a tiny detail brush, draw a lip at the top of the pot.
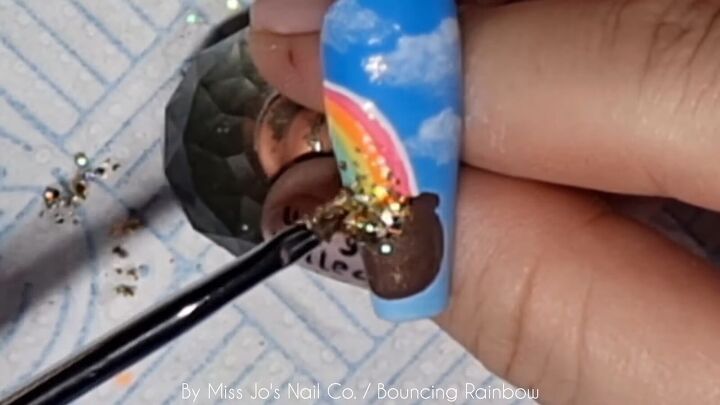
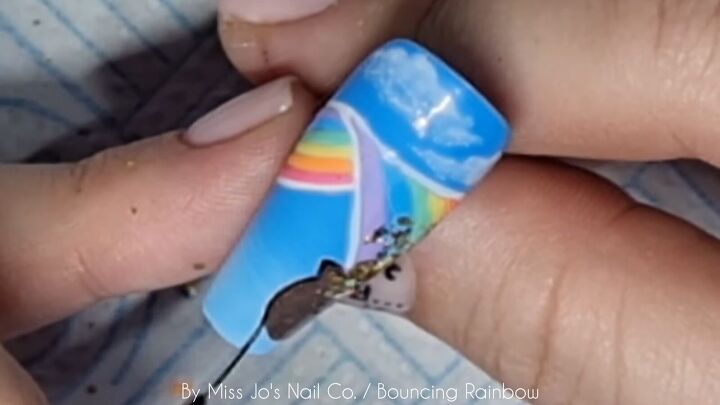
9. Add glitter
Add a clear, first base polish over the pot of gold and part of the rainbow.
Then, to create the look of gold shooting from the pot, apply the nail glitter using a clean detail brush while the clear polish is still wet.
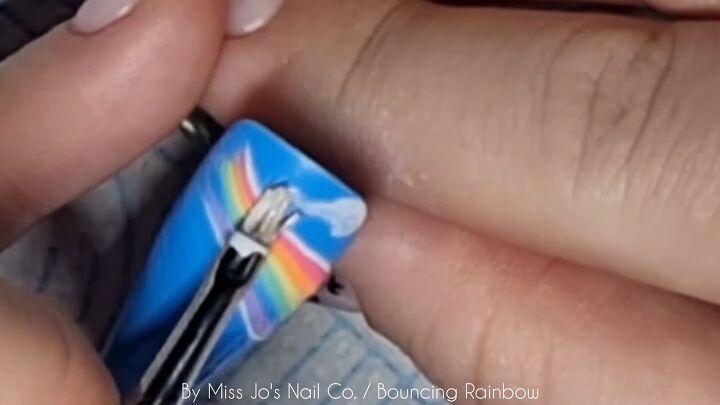
10. Outline the pot in black
Next, use a black polish to outline the pot of gold.
11. Paint on a top coat
Finally, paint over all the nails with a clear, super gloss (rubber top coat).
The super gloss should be able to handle some texture on the glittered nails since it is so thick, but make sure that those nails are flat before curing them.

Here is the final design for these festive nails:

Easy St Patrick's day nails
If you loved these easy St. Patrick’s Day nails, let me know in the comments below.
For more unique nail art, check out my Easy Galaxy Nail Art Tutorial.
Bye for now!
The author may collect a small share of sales from the links on this page.


Comments
Join the conversation
I’m really curious about what it says on your nails, lol!
Hehe! It says "get killed, walk it off". It's a Captain America quote from...Endgame I think 🤔.