Easy False Eyelash Hack: How to Apply and Remove Falsies

Despite the myriad of videos online showing how to apply fake lashes, I couldn’t seem to get it right.
For years I avoided false lashes or wore the chunky, magnetic kind.
Well, I finally figured out how to apply regular, false lashes and make them stay! Follow along to learn my false eyelash hack.
Tools and materials:
- Eyeliner and eyeshadow (optional)
- Black mascara
- False lashes
- Clear lash adhesive
- Nail scissors
- Eyeliner brush
1. Apply your makeup first
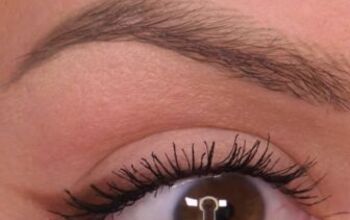
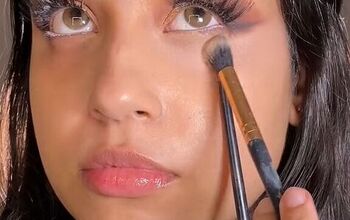
Start by applying any eye makeup you like first, leaving your eyelashes bare.
2. Apply mascara
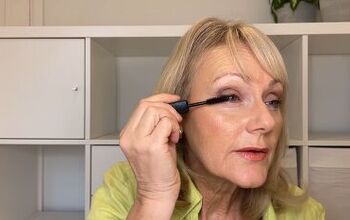
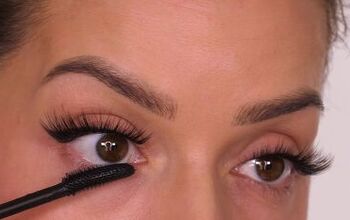
Now apply black mascara so that they blend in with the false lashes. You can curl them too, but I find that it’s not necessary.
3. Trim the false lashes
Remove the lashes carefully from the container since they are so delicate!
Then take your first piece and line it up with your lash line.
Mine almost reaches the inner corner of my eye. If left this long, it will be very uncomfortable.
Determine how much length you need to trim based on where your natural lashes end. For me that’s just passed the iris.
Always cut from the outer corner of the false lashes in order to leave the tapering on the inside edge for a natural finish.
Once trimmed, lay it in place at your lash line to check if you cut enough off.
Then trim the other lash. You can line it up with the already trimmed lash to eyeball the length.
4. Loosen the lashes
Because these lashes are fresh out of the box, they’re still a bit stiff. So roll them back and forth to make them more flexible.
5. Apply lash adhesive
Apply your lash adhesive directly to the back of the false lashes. If too much comes out, spread it with the tip of the bottle.
6. Apply glue to your lash line
Put a bit of glue on the plastic from the false lashes box.
Use an old eyeliner brush to apply glue to the entire lash line, above the eyeliner if you’re wearing it.
Be sure you reach the inner and outer corners. You only need a small amount and you should avoid getting glue on your lashes.
I prefer clear lash glue rather than black because it’s less messy.
Repeat for your other eye.
7. Apply the false lashes
Once the glue on your eye and on the false lashes is clear, that means it’s ready to use.
Start by holding the lashes upward, as they would look when the eye is open.
Then place the outer edge of the false lashes to the outer end of your lash line.
Adjust the placement by gently pulling the false lashes.
Now grab the inner corner and put it in place, which should also line up the centers.
You can make any adjustments while the glue is still wet.
Push the lashes upward from below them and make sure the inner and outer corners are in place.
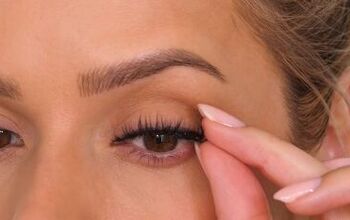
Then sandwich it between your fingers to pinch it together with your natural lashes.
Repeat the lash application process for your other eye and that’s it!
8. Removal
After 7 or 8 hours of wear on a windy day, you can see that the false lashes held up, and they aren’t even lifting!
My eyeliner is starting to fade, but the lashes are stuck in place.
When you’re ready to remove them, the key is to be gentle with both your natural lashes and the false pair so that you can reuse them.
Grab the false lashes at the outer edge, completely avoiding your natural lashes and pull carefully.
Pull slowly and the false pair should come off intact. Repeat on the other eye.
If possible, peel off some of the glue and return the false lashes to the box.
False eyelash hack
This false eyelash hack was so easy and virtually mess free! Let me know what you think in the comments.
Next, if you’re prone to acne, try this soft, natural makeup look.
Enjoyed the project?
Suggested materials:
- Eyeliner and eyeshadow (optional)
- Black mascara
- False lashes
- Clear lash adhesive
- Nail scissors
- Eyeliner brush
The author may collect a small share of sales from the links on this page.











Comments
Join the conversation
Are there false eyelashes for the lower lids?
I've never tried them but a lot of companies make them😊