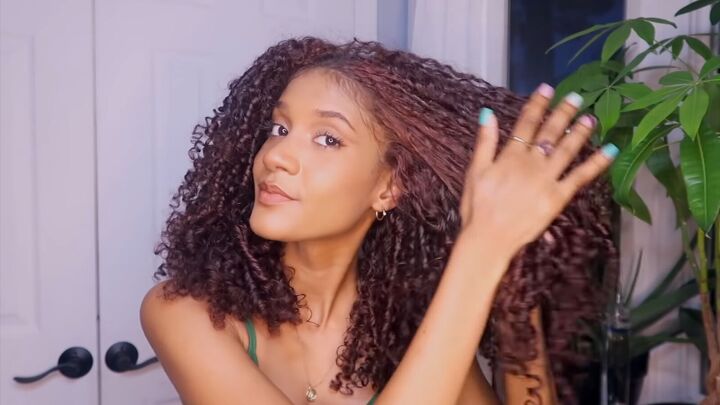
How to Do Perfect Finger Coils on Natural Hair

I’m going to be showing you how I do finger coils on natural hair. This is a method that I discovered a couple of months back. I’ve been trying it out for a while now, and I really enjoy it.
The finger coil method does take quite a while to do, but you by no means have to do your whole head; just a few coils here and there can make such a difference in the shape and definition of your curls.
I highly recommend this routine to any newly transitioning naturals. Let's get started with this tutorial!
Tools and materials:
- Spray bottle filled with water
- Leave-in conditioner
- Styling foam
- Hair ties
- Paper towel
- Blowdryer (optional: with diffuser)
- Hair oil
- Comb
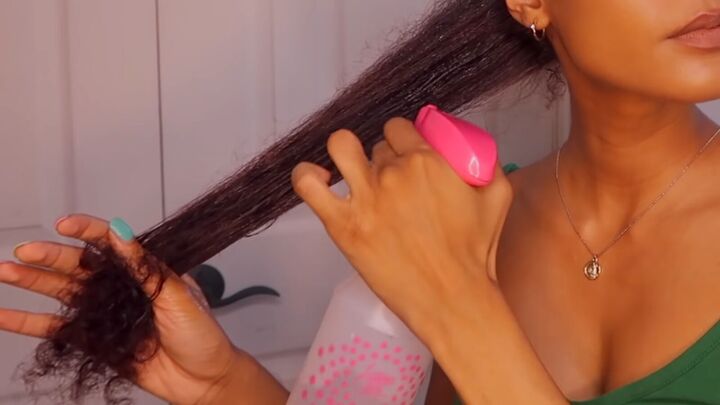
1. Prep your hair
First and foremost, what you’re going to do is take your good old water bottle, and you’re going to spray your hair down, making sure it is nice and damp.
Then, go in with a leave-in conditioner. I like to use an intense hydration one because it is so moisturizing.
Go ahead and rake that through your hair, and then on top, add some styling foam for a little extra hold.
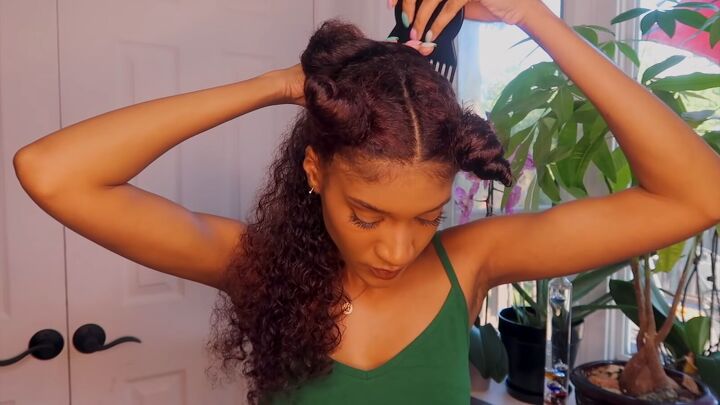
2. Tie into sections
Section your hair off by tying it up. Then, take just one section and divide it so that you have just one piece that is about the size of a regular curl.
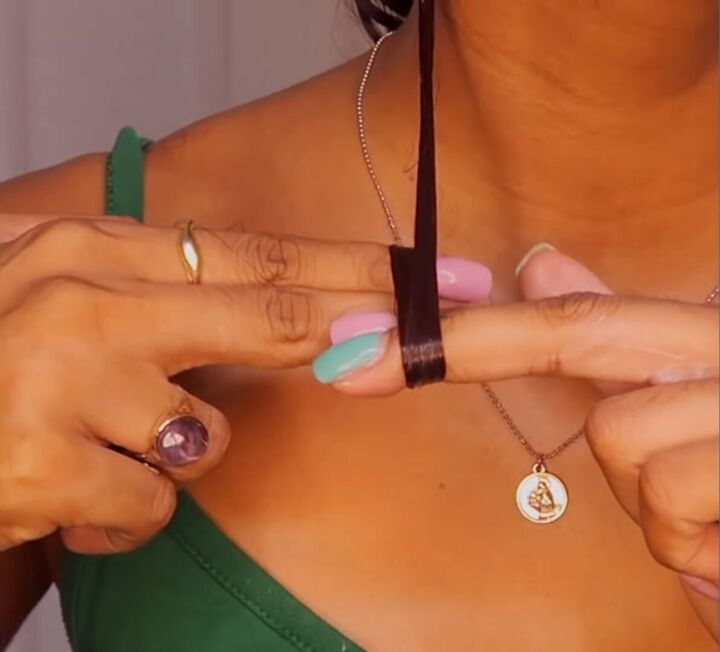
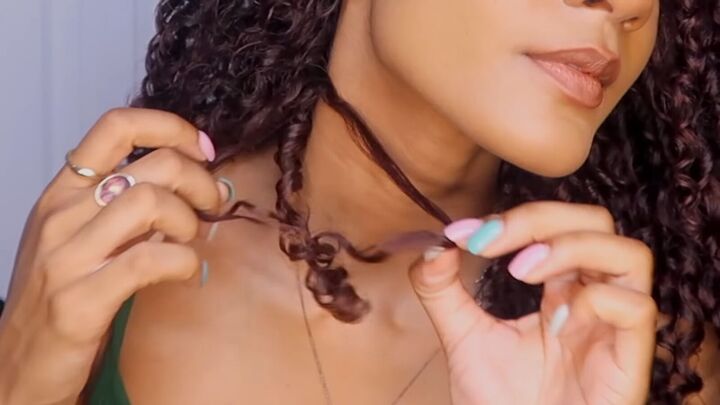
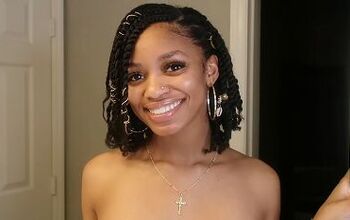
3. How to finger coil natural hair
Now you’re going to smooth your hair and then, using your index finger and middle finger on either hand, start tucking the hair underneath itself over and over until it creates a nice loop effect.
When you get to the end, you just let it go to reveal a very beautiful, shiny curl. If you want to achieve an even tighter curl, you can just do it with one finger.
Once you’re done, if you choose to, you can just carry this motion on throughout the rest of your hair.
4. Dry hair
After coiling, you’re just going to want to take a piece of paper towel, an old t-shirt, or a microfiber towel and just dry up all of the excess moisture in your curls.

5. Blowdry
Next, take your blowdryer; if you have a diffuser, use a diffuser. Make sure it’s on medium to low heat, nothing too high, as you don’t want to damage your curls in the process.
6. Apply hair oil
After drying, I’m going to go in with my all-time favorite DIY shine and growth oil. I’m just going to go ahead and apply that to my scalp. I swear by scalp massages.
Then, go ahead and rub some oil into your hair to make it even shinier.
7. Uncoil hair
Next, you’re going to start uncoiling your hair. When you uncoil your hair, it should want to come apart naturally.
The bottom should not be snagging, and it should not be puffy. It should just be a nice, well-moisturized curl, and it should look really natural.
That’s why I like this method more than regular finger coiling because with regular finger coiling, you can take apart the coil and your hair isn’t voluminous; it just looks like a bunch of coils.
This method, on the other hand, looks incredibly natural.
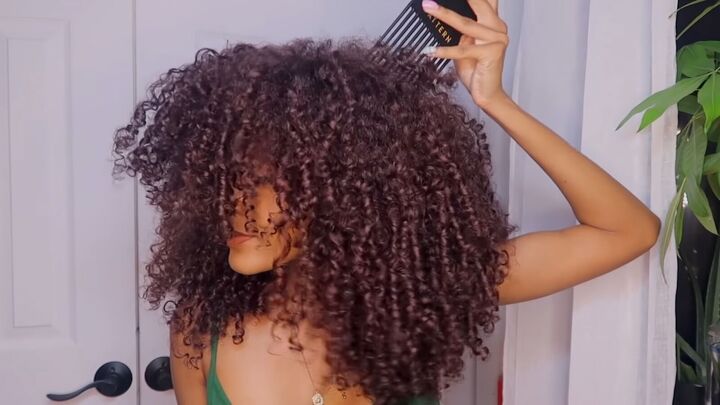
8. Add more oil and comb
Once you’ve taken the coils apart, add in some more oil using a wide-tooth comb to comb it through if you like.
I like to backcomb my hair a little bit at the roots to get it as big as possible with as little frizz as possible.

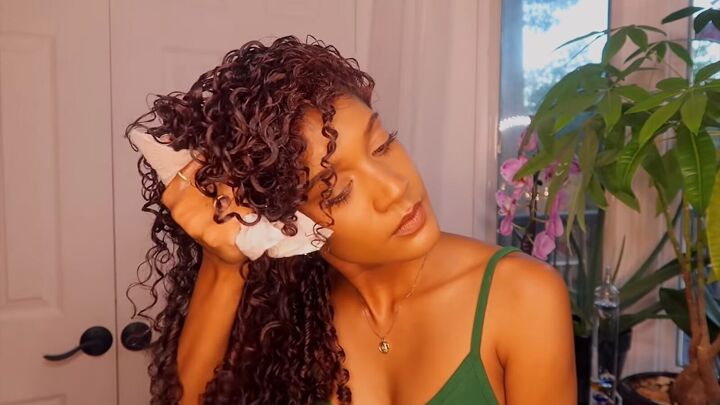
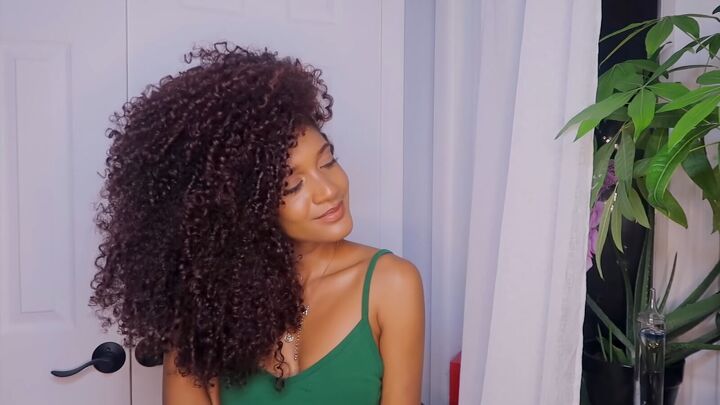
How to do finger coils on natural hair
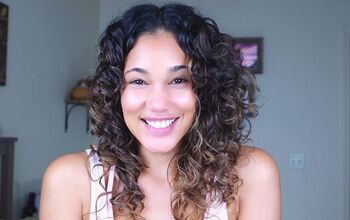
Now that I have finished the finger coil method, my hair is nice and shiny, and voluminous. My curls are very defined.
I hated finger coiling for such a long time because it left my hair super flat, but this method makes my hair look like I just washed it, and I’m having a really good hair day. There so much movement, and I love it.
Again, I cannot recommend this method enough to my transitioning curly girls and curly guys out there.
Products used:
- Shea Moisture Raw Shea Butter Restorative Shampoo and Conditioner
- Shea Moisture Manuka Honey and Mafura Oil Intensive Hydration Leave-In Milk
- Styling foam by Sally Beauty
- Diane D3012 Spray Bottle
- INFINITIPRO BY CONAIR 1875 Watt Compact Travel Styler/Hair Dryer with Twist Folding Handle
4 Important Tips For Washing Natural Hair
The author may collect a small share of sales from the links on this page.


Comments
Join the conversation
I love your hair...So curly.
I have straight frizzy horrid hair.😬
Nice tutorial. Have a fab day
Louise