Hair Experiment Tutorial: Scrunching Vs Finger Coils for Natural Hair

If you’ve been wondering how to achieve the perfect coil on your hair, follow along with my step-by-step tutorial.
Here, I’m comparing a simple scrunching method versus a finger coil method for natural hair.
The hand curling method is a great, non-damaging way to bring back curl definition for those of you who have heat and styling damage. Let’s get started!
Tools and materials:
- Comb
- A few claw or alligator clips
- Leave-in conditioner
- Coconut styling gel
- Hair brush
- Hair dryer with diffuser
I will use each method on a single side, but ultimately you’ll choose your favorite and use the chosen method on both sides.
The following preliminary steps involve both methods.
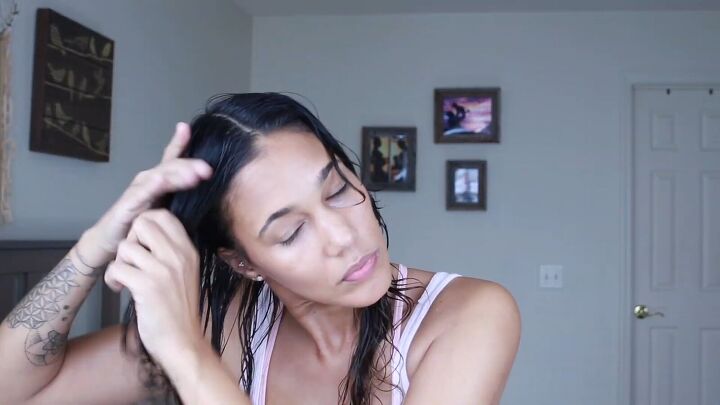
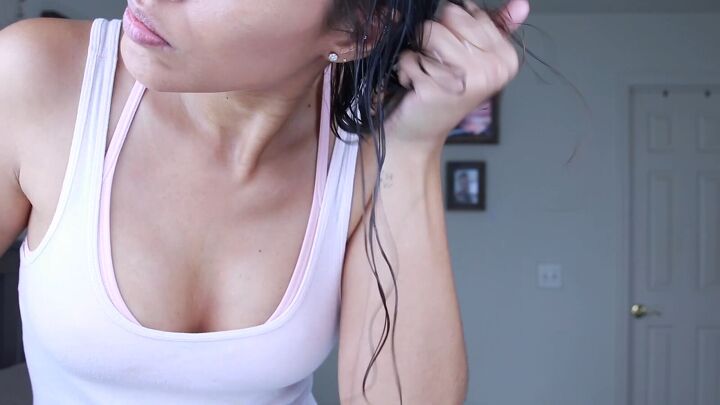
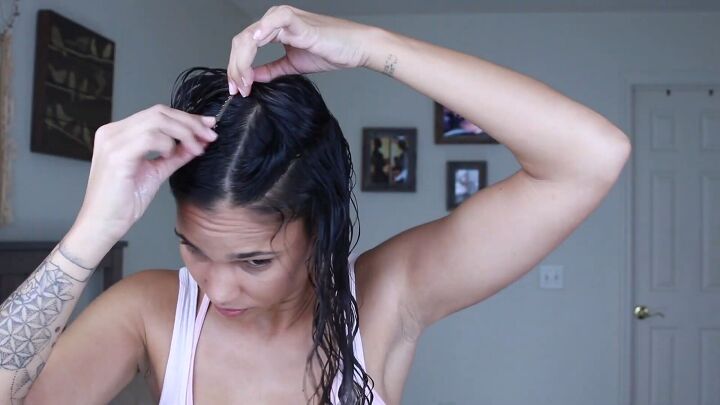
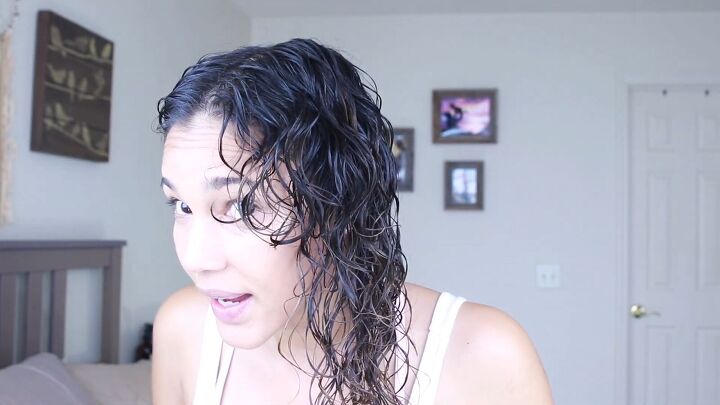
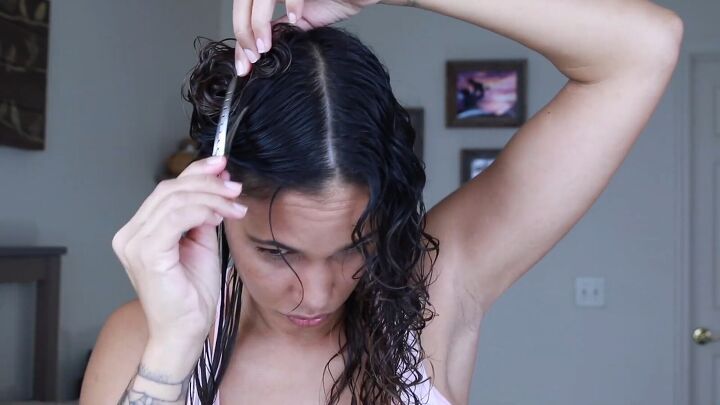
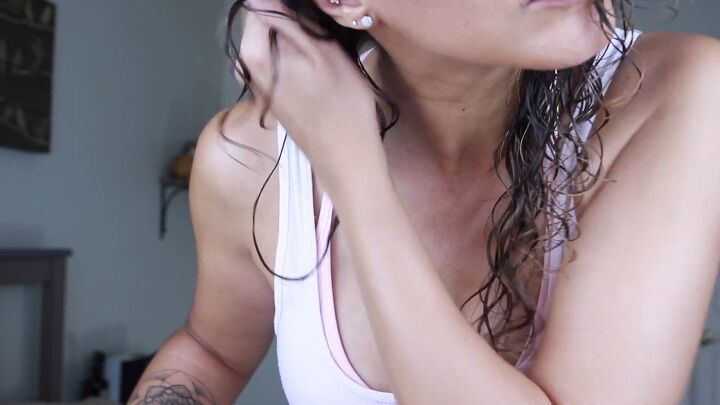
1. Wet, comb and part your hair
After a shower or just wetting your hair, comb out any knots and part it down the center.
The center part is optional but I’m using it to show the difference between the scrunched and finger curled methods on either side.
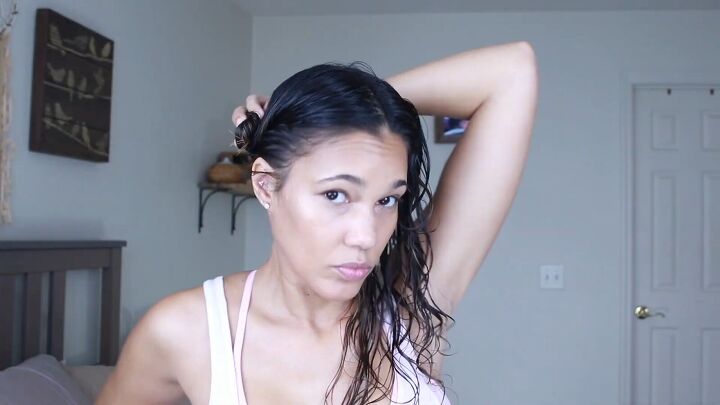
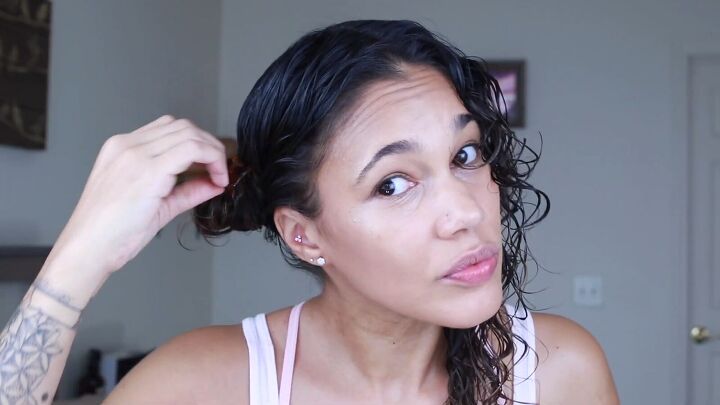
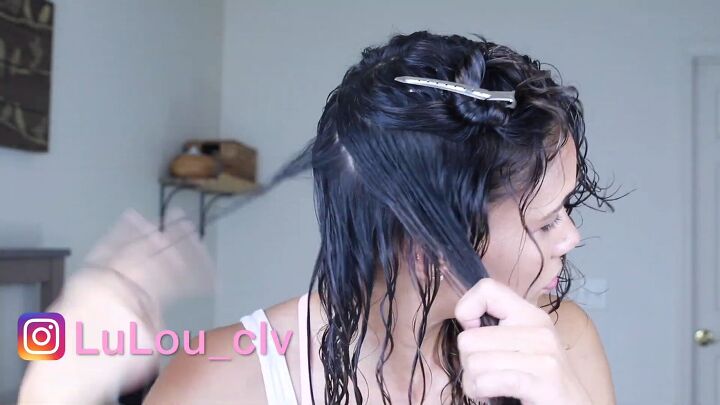
2. Twist and clip
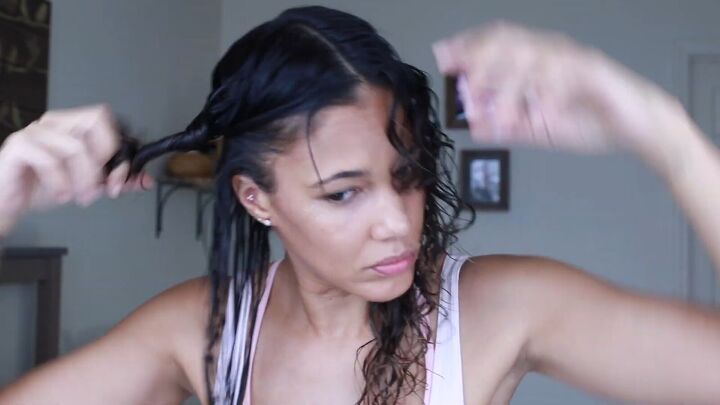
Grab all the hair on 1 half of your head, twist it around itself and clip it into a bun.
This will actually be the first step of the finger curl method but I’m doing this now before it dries.
The scrunching method:
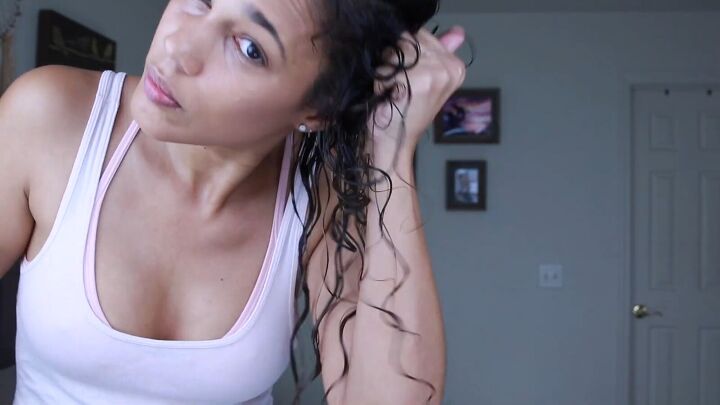
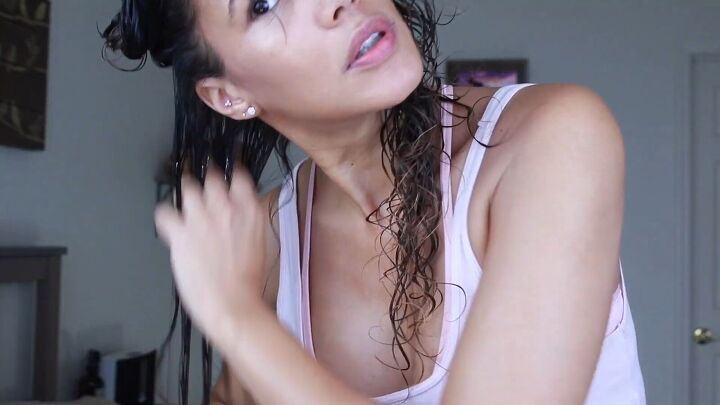
1. Apply leave-in conditioner
On the other side that’s loose, apply the leave-in conditioner with your hands.

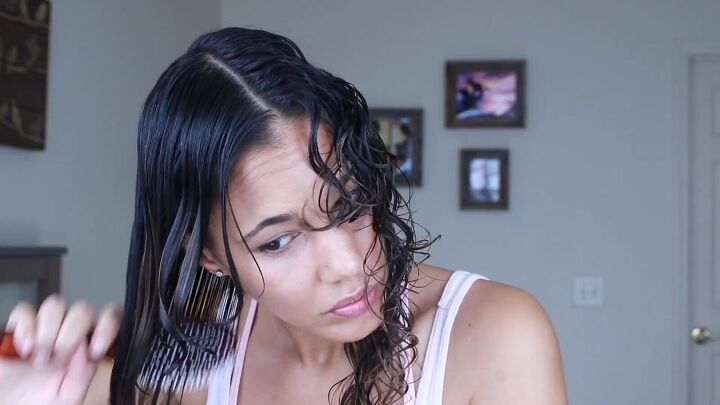
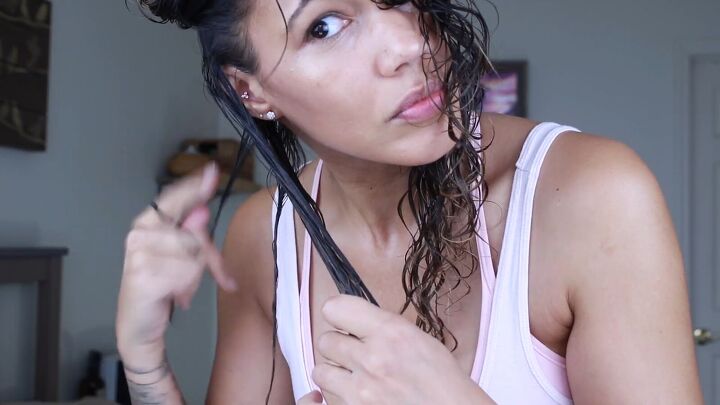
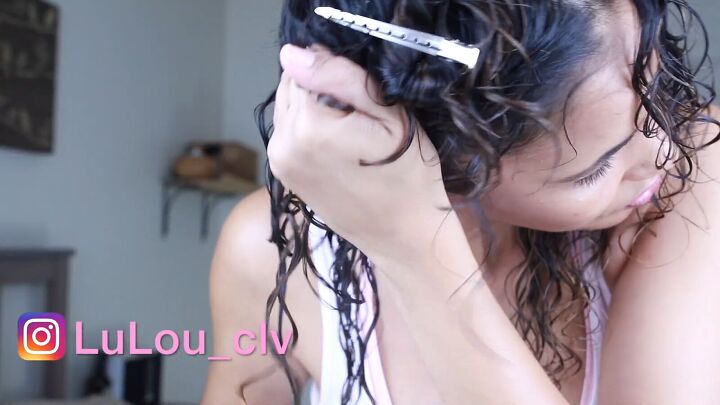
2. Clip the top section of hair and apply styling gel
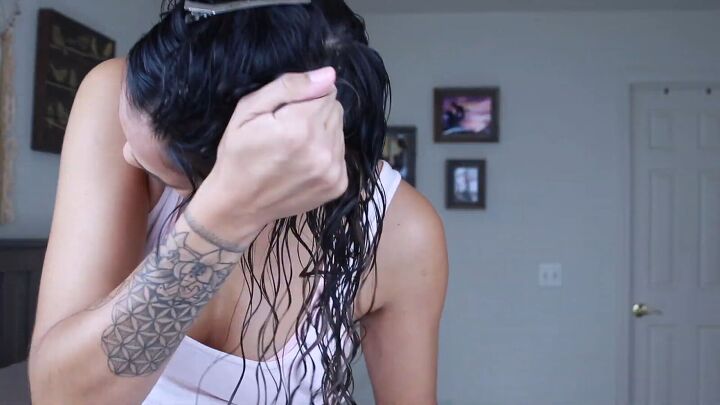
Grab about half of that hair and clip it out of the way.
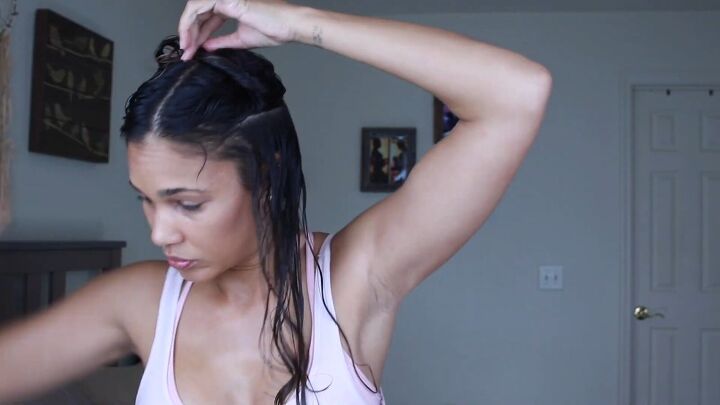
Then, run a brush through the remaining hair and work a coconut based styling gel through it.
Avoid the roots since this oil-based product can weigh them down.
Scrunch the hair and brush it through a few times.
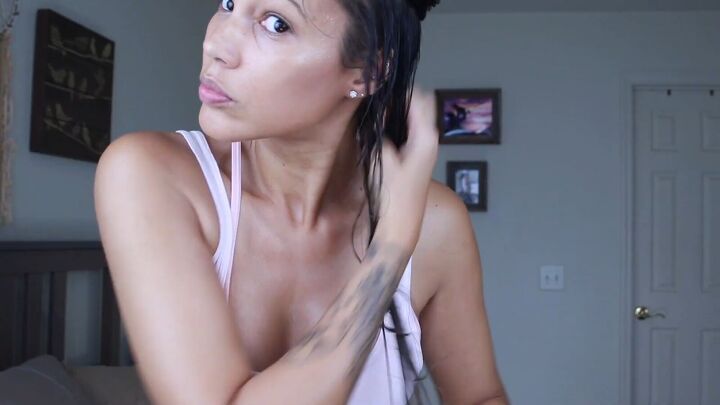
3. Repeat for more layers of hair
Let down another small section of hair from the clip and return the clip to hold the last bit of hair.
Apply more of the styling gel and scrunch the hair as in the previous step.
Release more of the hair from the clip and repeat the same process.
Repeat until there is no more hair to hold in the clip.

Now the scrunched side is done (before drying).
The finger curling method:
1. Release hair from the coiled bun
As mentioned above, for this method, you start with a coiled bun from your wet hair.
At this point, remove the clip to release this bun.
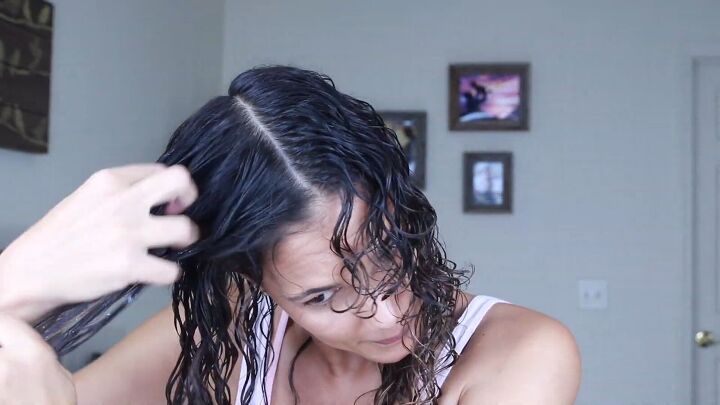
2. Apply leave-in conditioner
Next, apply leave-in conditioner and comb it through the hair with your fingers.
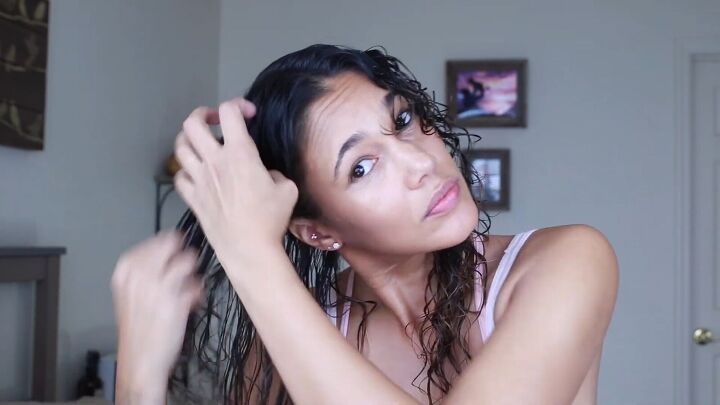
Use a brush to spread the leave-in conditioner and detangle.
3. Make a small, coiled bun
Grab about half of the section of hair and twist it around itself.
Then clip it up in a coiled bun.
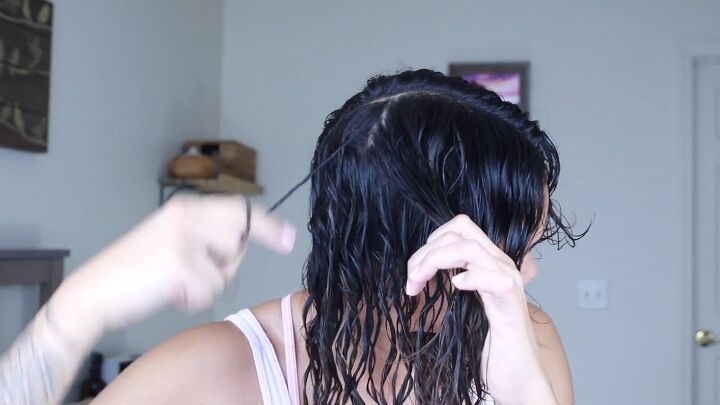
4. Apply styling gel and make tiny twists
Next, apply coconut styling gel to the loose section of hair, avoiding the roots.
Then twist tiny sections from all of the hair that’s loose.
Scrunch those tiny coils up for good measure.
5. Let more hair down and make tiny twists
Gradually take down more and more hair from the clip and continue to twist tiny sections of hair.
Scrunch those up as well.
Let out the remaining hair from the clip and apply more styling gel, focused on the ends.
Then make tiny twists with the rest of the hair.
Scrunch all the new twists.
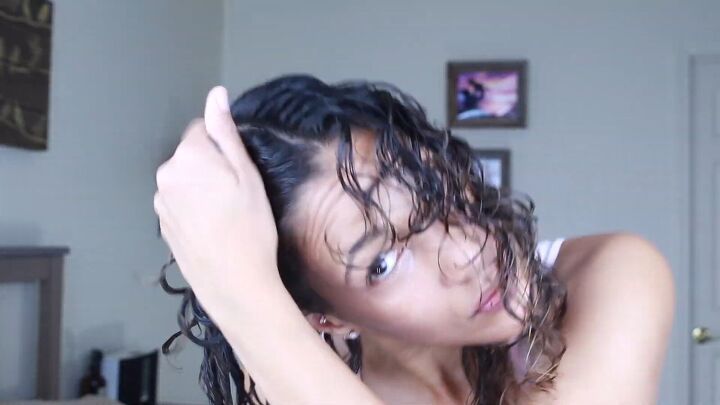
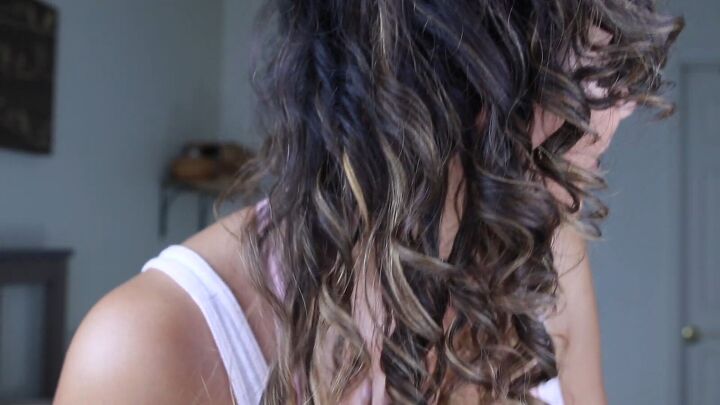
Here is my hair after diffusing! As you can see, the finger-coiled side is much flatter.
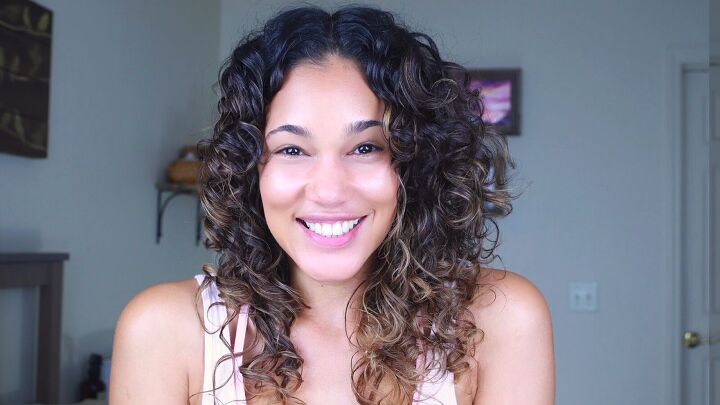
Here is the scrunched side after diffusing. It appears drier and frizzier but has much more volume.
The finger-coiled side feels heavier and has more defined curls with more moisture.
The coiled hair stayed together while drying, which caused the curls to retain some of the moisture.
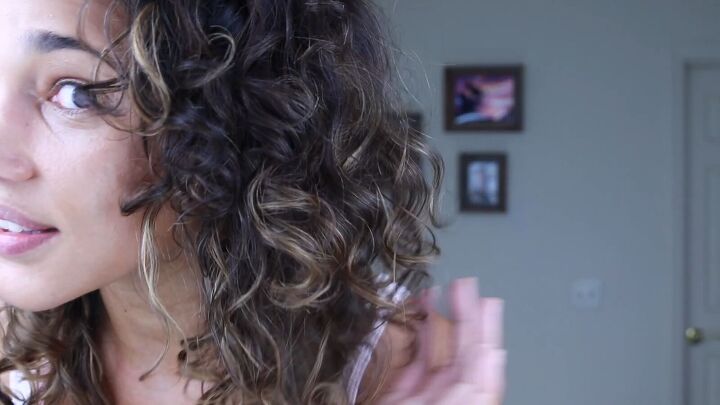
Below you can see the results on the part of my hair pattern that naturally tends to be straight.
Besides the very ends, which look the same, the coiled side has more defined curls.
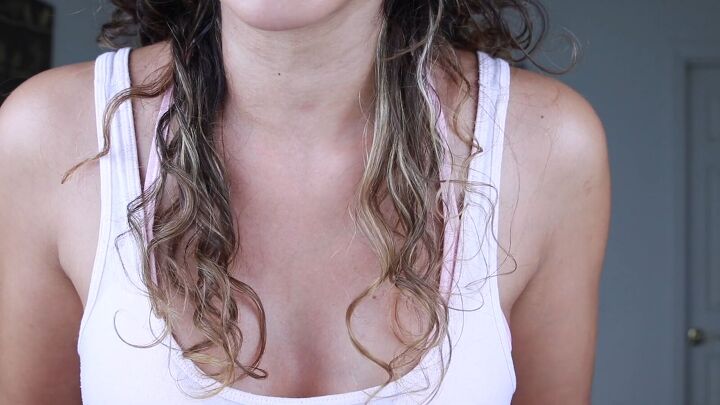
The scrunched side looks almost straight.
Scrunching vs finger coils for natural hair
Overall, I prefer the scrunched method that maintains my natural curl pattern.
It’s up to you to try both and decide which method you like better.
Alternatively, you can use the finger coil method to just touch up any areas from your natural curls that need a boost.
If you loved this post, check out my tutorial on How to Cut Bangs on Curly Hair.
The author may collect a small share of sales from the links on this page.


Comments
Join the conversation