How to Create Two Gorgeous Frozen Hairstyles for Halloween

In this tutorial, I’m going to be doing two Frozen hairstyles for those of you who are eager for a Frozen Halloween. Whether these styles are for you or your kids, anyone with medium to long hair can do them. You only need a few hair ties! Let’s get started.
Tools and materials:
- Hair elastics
- Bobby pins
Anna Hairstyle Frozen 2
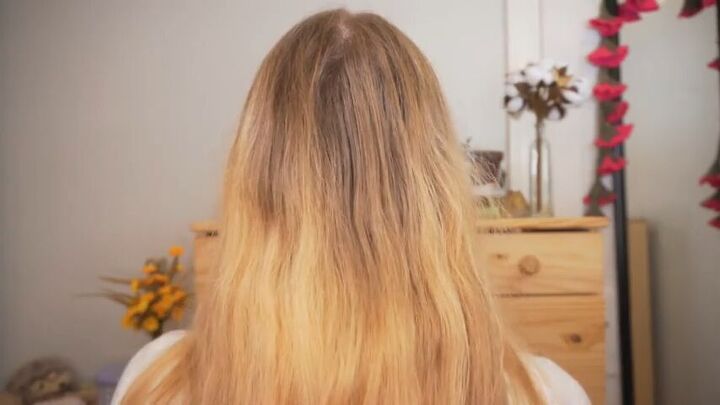
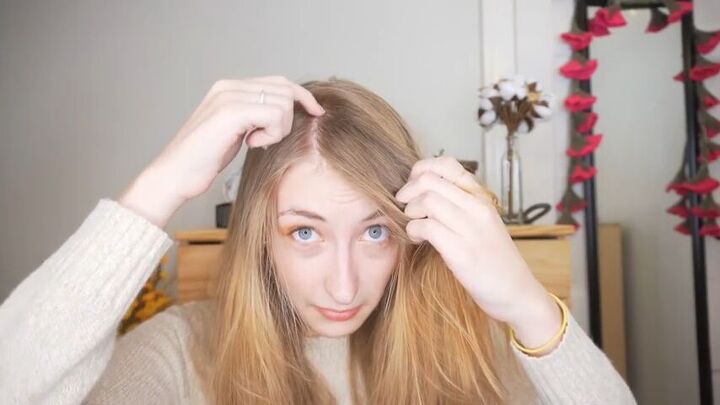
1. Detangle your hair
The first look we’re doing is Anna’s hairstyle from the second movie. To start, fully brush out your hair and make sure there are no knots or tangles since we’ll be doing a braid.
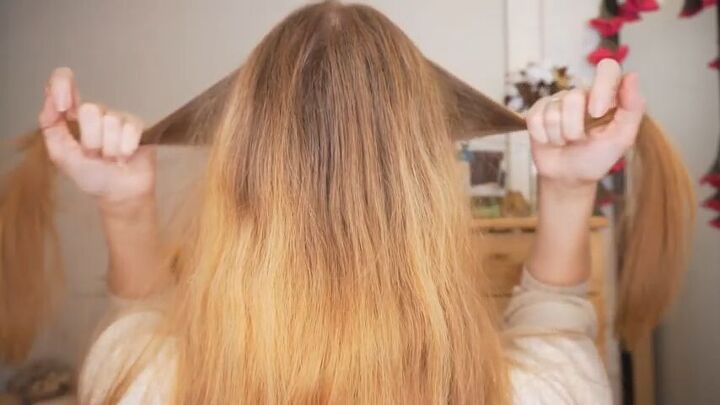
2. Section
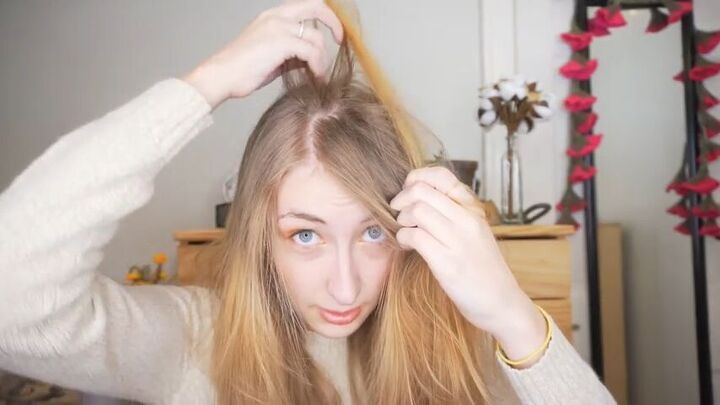
Grab two little parts from the front to make our braid with.
Tie off one section to the side with a small hair elastic for later.
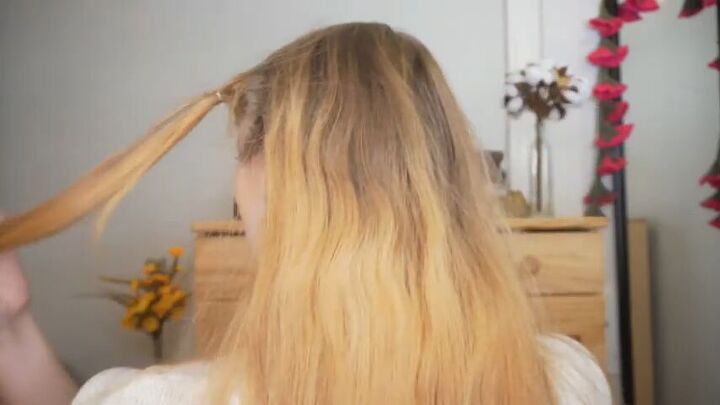
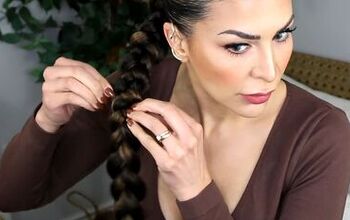
3. Braid the second section
With the second section, make a regular three-strand braid and braid it all the way down. Tie off the end for now. You can tie it a little loose since we’ll be coming back to it soon.
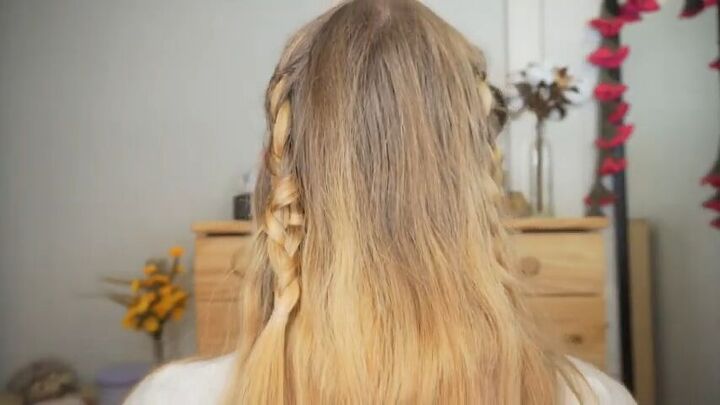
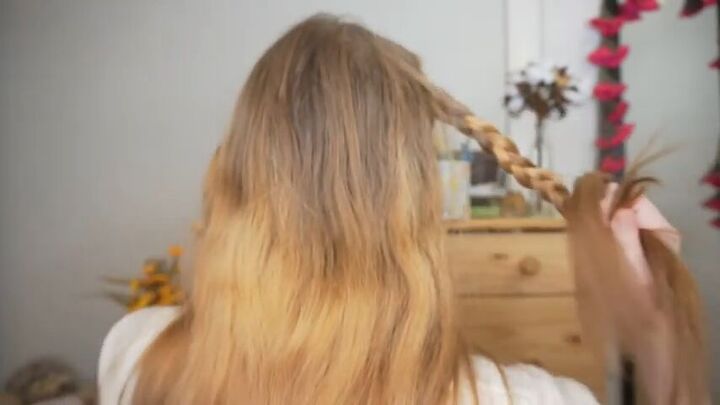
4. Braid the first section
Do the exact same thing with the first section you tied off and braid it all the way down.
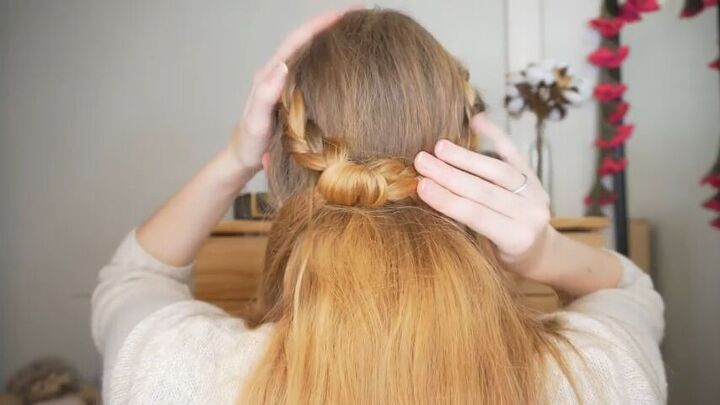
5. Decide how you want the braid to look
Once both sides are braided, figure out which braid you want to be on top. Just look at them and decide which looks nicer.
Also, consider the placement of where you want it on your head - do you want it further up or further down near the nape of your neck? I’m putting mine near the nape like Anna’s in the movie.
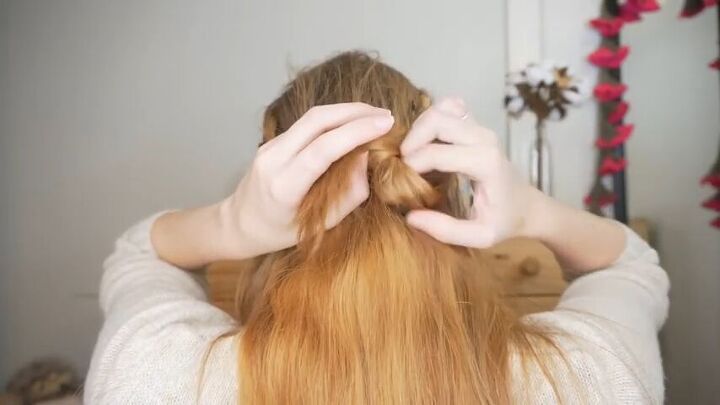
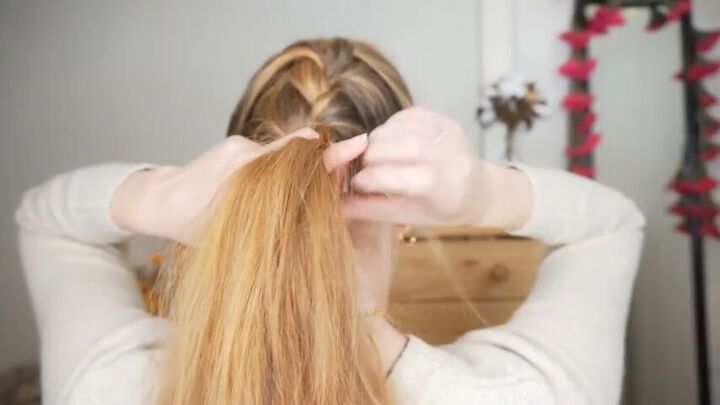
6. Pull the ends through the opposite braid
Find a place inside the braid and pull the end that you’ve already tied off through the braid. Do this for both sides. Use a few bobby pins to keep it in place.
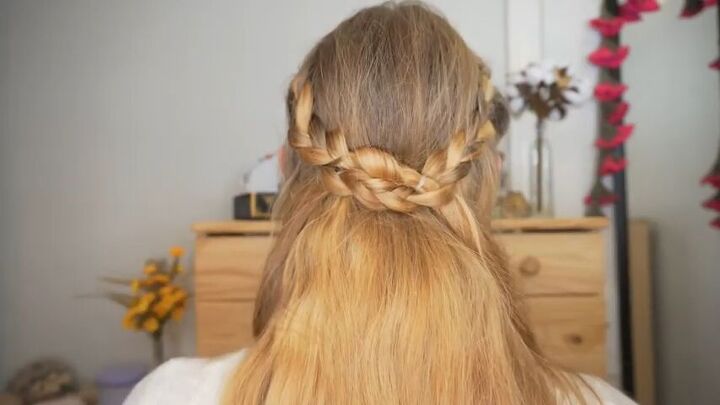
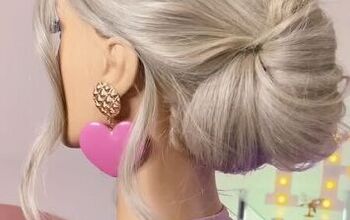
Here’s the finished Anna Frozen hairstyle!
Elsa Hairstyle Frozen 2
Next, we’re doing Elsa’s look from the new movie which is just a wild and untamed French braid that’s half-done and half-undone. It’s pretty casual and much easier to do, especially if you have thicker hair or you have a lot of layers.
1. Part your hair
For this look, you want to start with a side part. Part on whatever side you like best; I usually part on my right side. You want to do more of a deep side part but only do it halfway so the braid in the back still looks even.
Just pull it around halfway, hold it, and then part it in the back.
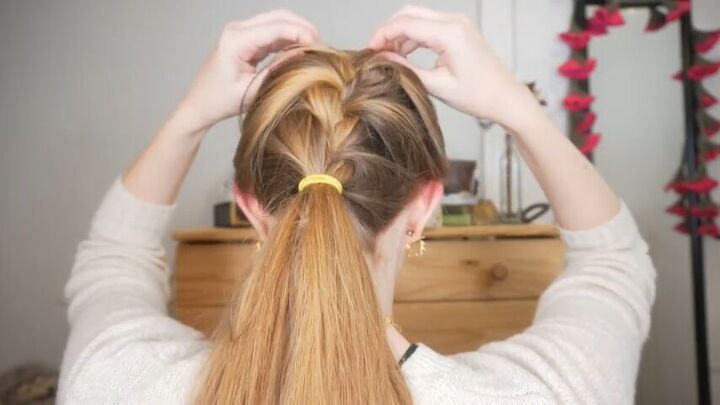
2. French braid your hair
Now, you want to do a French braid. Keep this braid kind of on the looser side, because that’s more Elsa’s style. To do this, take a small section of hair just in the front half and split it into three for the braid.
To French braid, you take a section and put it over the one in the middle, then you do the same on the other side. It’s key to make sure you always take the one that’s on the outside and put it in the middle and just alternate.
What makes a French braid different from a regular braid is that your sections are pretty small, so you can grab a new piece from your hair as you go so that it leaves the part in your hair. Use a mirror for this, so you know it looks okay in front and the back both.
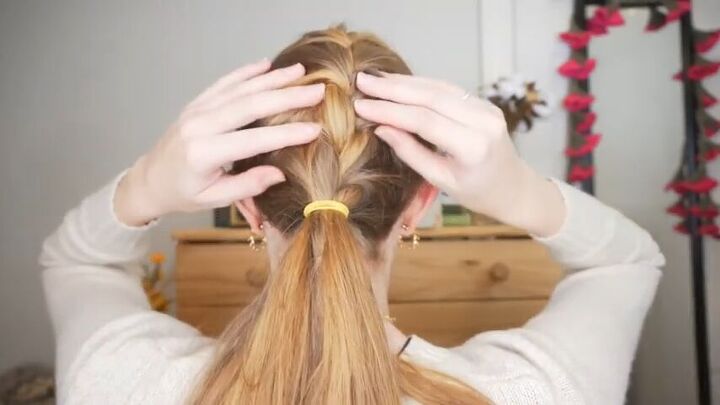
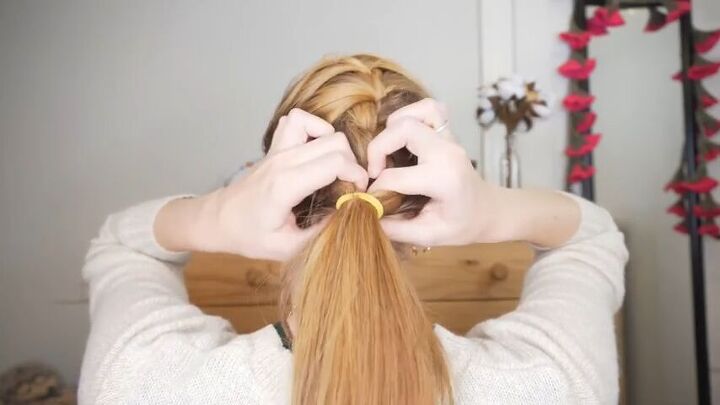
3. Tie off the braid
Once you reach the nape of your neck, tie off the braid with a ponytail holder and pull it tight.
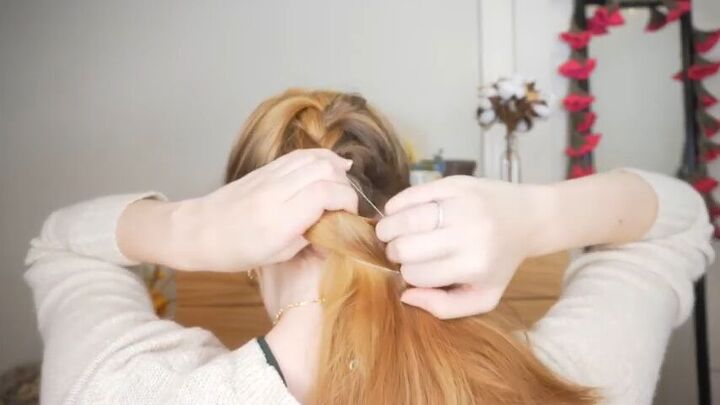
4. Loosen the braid
Elsa usually does a bit more of a messy French braid, so pull out little pieces to loosen it up.
4. Flip your ponytail
An alternate version to this look is to flip the ponytail at the end of the braid underneath itself.
Use a clear elastic band to tie it off instead of a colored one.
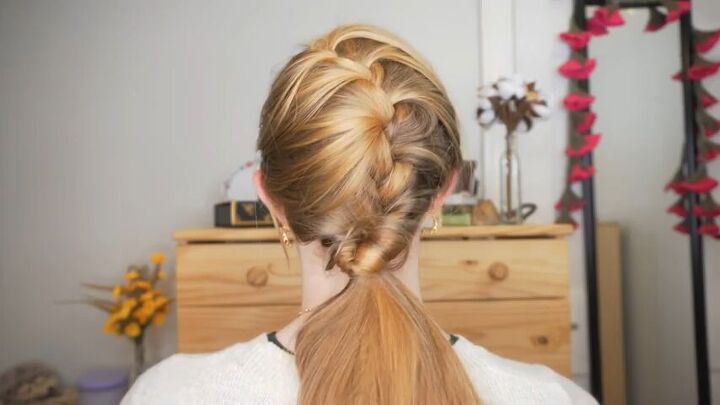
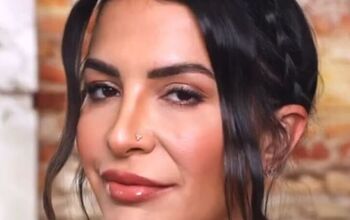
Here’s the finished Elsa Frozen hairstyle!
Frozen hairstyles
Those are the two looks I wanted to show you guys. Let me know what you think about these in the comments and whether you plan on rocking them this Halloween!
The author may collect a small share of sales from the links on this page.


Comments
Join the conversation