How to Rock Magical Glitter Snowflake Nails This Festive Season

It’s that magical time of the year and who can say no to these winter-perfect glitter snowflake nails? If you’re looking for an original and unique idea for your festive manicure, then this snowflake nail tutorial is for you!
I’m going to show you how to make a snowflake on a nail and how you can take your manicure to a jingly and magical level. Let’s get started!
Tools and materials:
- Base coat
- Top coat
- Glitter/holographic nail polish
- Stamping plate
- White nail polish
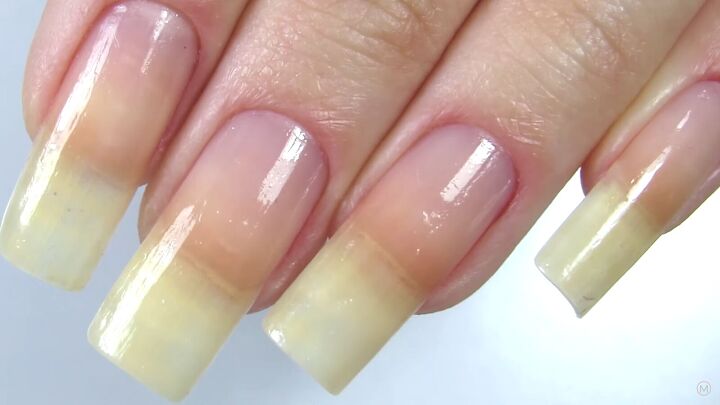
1. Apply a base coat
Before we start the simple snowflake nail art, go ahead and apply your favorite base coat.
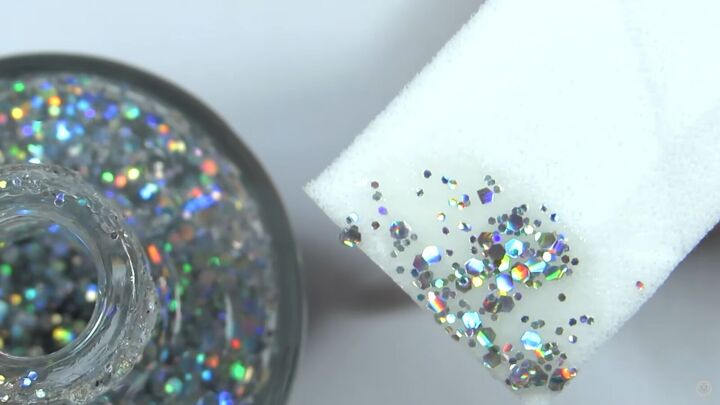
2. Apply glitter
Now for the fun part! Apply a glitter nail polish to the tip of your makeup sponge. Be generous and add a few applications, so the glitter particles are really concentrated.
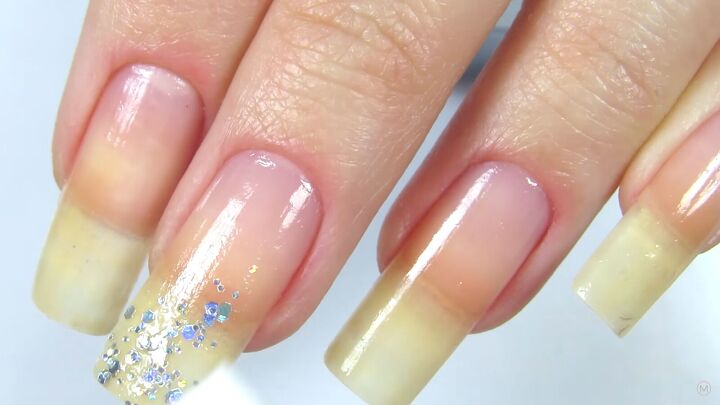
Now, dab the first application on the tip of your nails. This is your base.
Also, add a little over your nail and onto the nail bed to give it a “falling” impression.
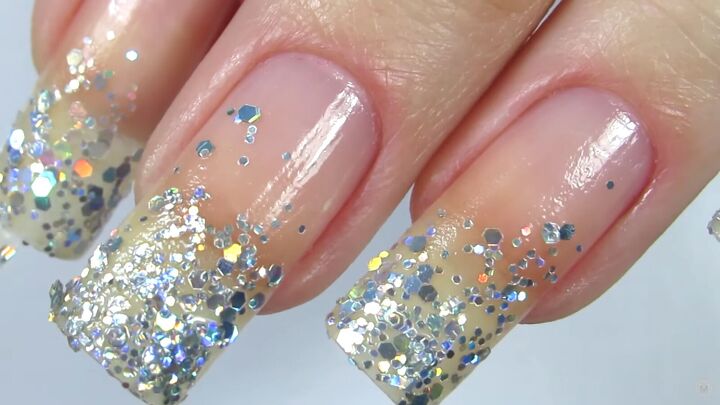
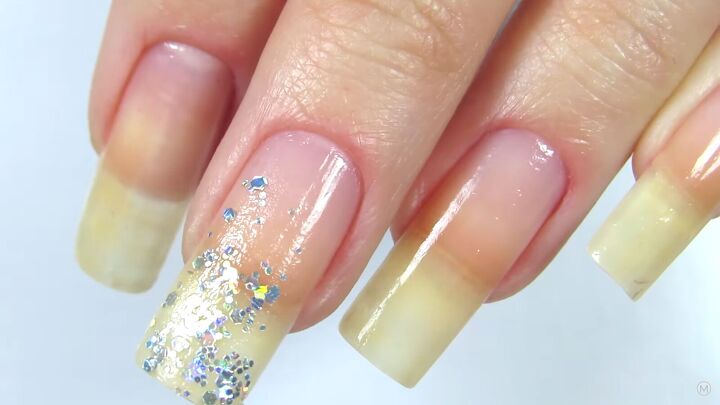
Now, add a second coat and dab it on the tip of your nail only. In the end, I applied three coats.
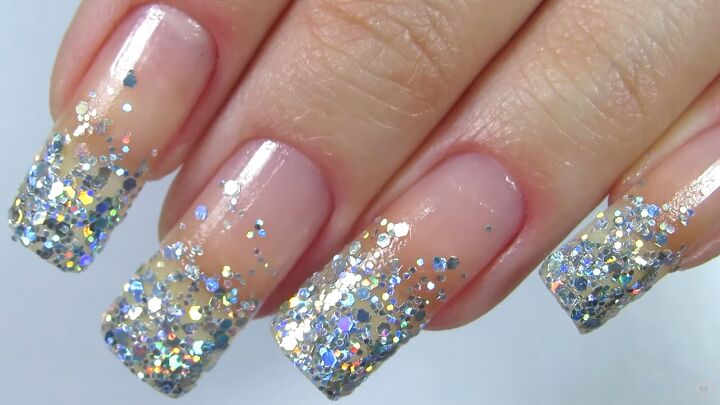
Here’s how it looks so far. So dazzling, I love it!
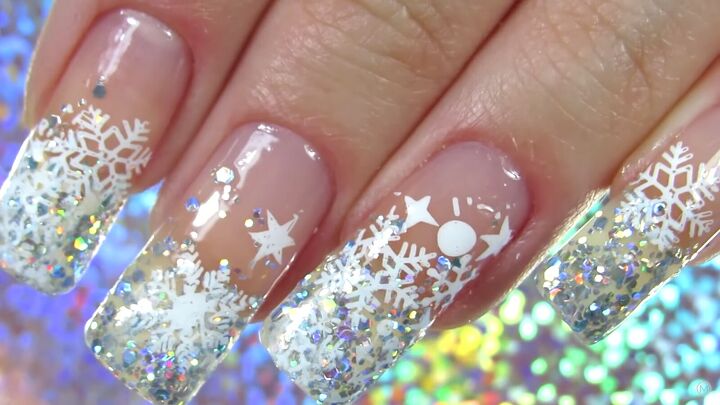
3. Add the snowflakes stamps
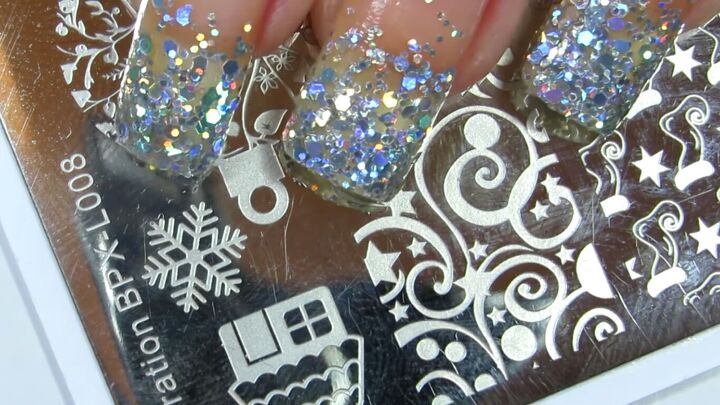
Now, I’m using a stamping plate to create the glitter snowflake nails. There’s no need to use snowflake nail stickers because the stamping plate is easy enough!
First, apply white nail polish to the stamping plate.
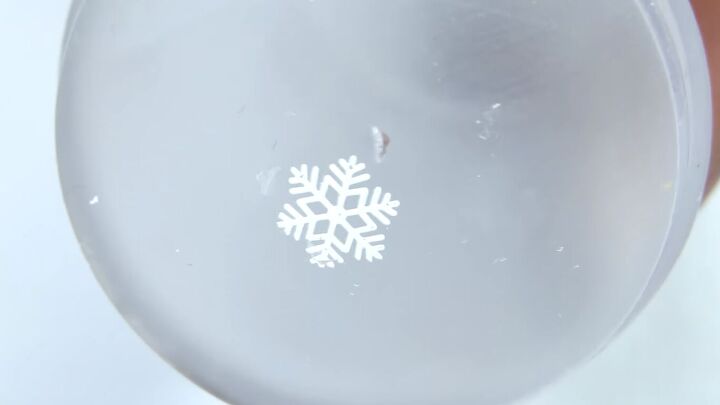
Press the stamp onto the plate to pick up the nail polish.
Then, press the stamp onto the nail to transfer the design.
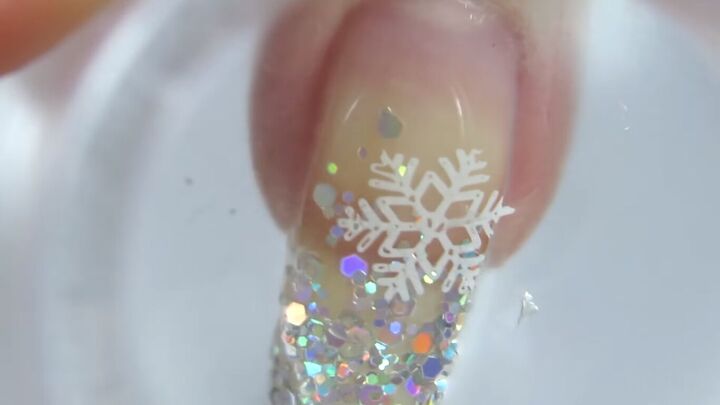
Go ahead and randomly place some white snowflakes on your nails. Be sure not to go overboard; there needs to be a good balance between the snowflakes and glitter nail polish.
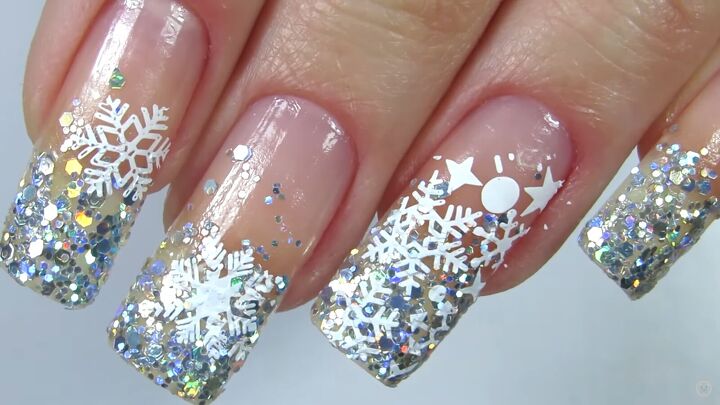
4. Add a top coat
Now it’s time to add a top coat. This is my favorite part because it seals in the design and makes your glitter snowflake nails come to life!
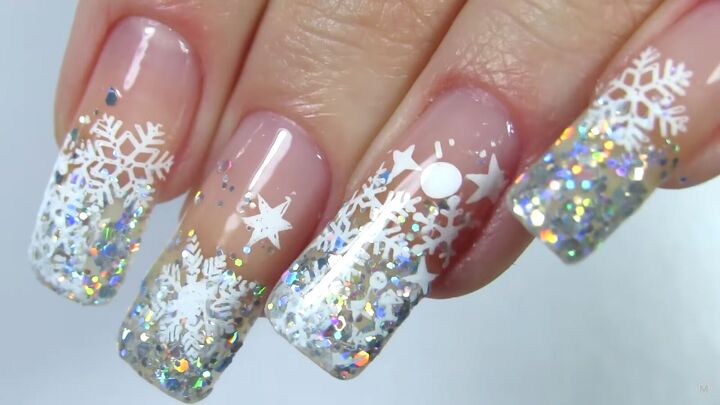
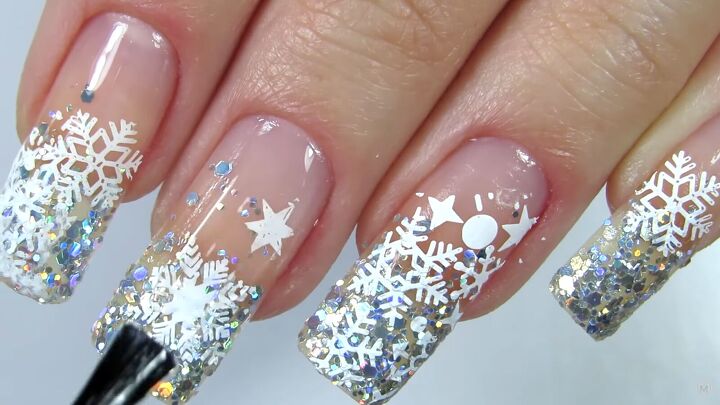
Glitter snowflake nails tutorial
This nail art is so mesmerizing and magical, and I could look at it the whole day! See, it’s a very easy process. Now that you know how to make a snowflake on a nail without snowflake nail decals, you can flaunt your pretty manicure at your next festive event.
Thanks for tuning in, and see you again next time!
The author may collect a small share of sales from the links on this page.


Comments
Join the conversation
See what Color Street is here..You'll love them. No polish, no dry time, no sheet marks, smudges, smears...
https://www.colorstreet.com/Sarazachow
I love it! Where do you find a stamping plate?