Super Easy Thrift Flip: How to DIY a Cozy Granny Square Scarf

If you wish you could make yourself a cozy granny square scarf, but you don’t crochet, then this is the tutorial for you.
Follow along and I’ll show you a very easy way to go from a thrift flip to a crocheted granny square, with no crocheting required, because some granny, somewhere, has already done that for you.
Are you ready to be warm for the rest of the winter? Then let’s get started.
Tools and materials:
- Thrift store granny square quilt
- Scissors
- Sewing needle and thread

1. Cut down your quilt
What you need is one long strip of granny squares from your granny square quilt.
You’ll get that by cutting your quilt along its longest length and then sewing it together end to end. But, since you’ll be sewing two pieces together, you need them to be the same length.
So, you have to ensure that you have an even number of granny squares. If your granny quilt is made up of an odd number of squares along its length, then you can cut out the middle column of squares.
Check the video from 1:10 to 1:45 to see how I determined where to cut out squares.
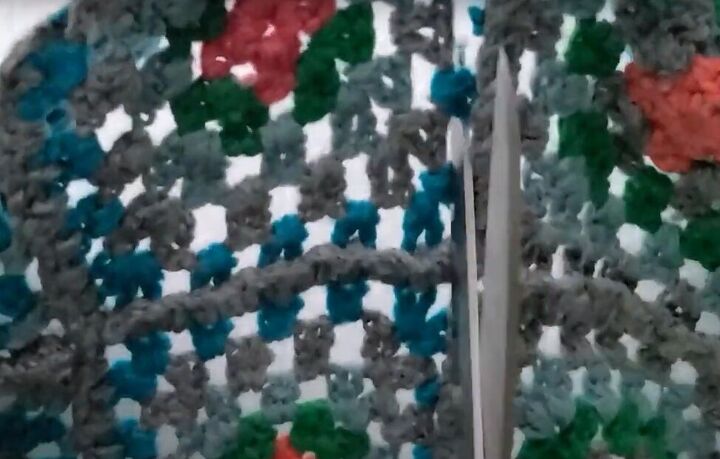
Cut out the section you will remove next to the finished edge of the sections you are keeping.
As soon as you snip the border of the section you are removing, use a needle and thread to bind that edge with a blanket stitch, because it’s likely not a finished edge as the rest of the column is.
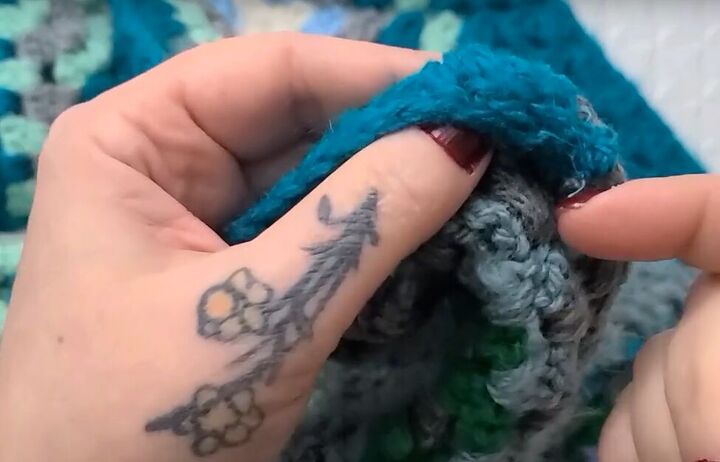
2. Join your granny quilt strips
Place your two remaining granny quilt strips together, with right sides facing, and hand stitch them together with a whip stitch on one short edge.
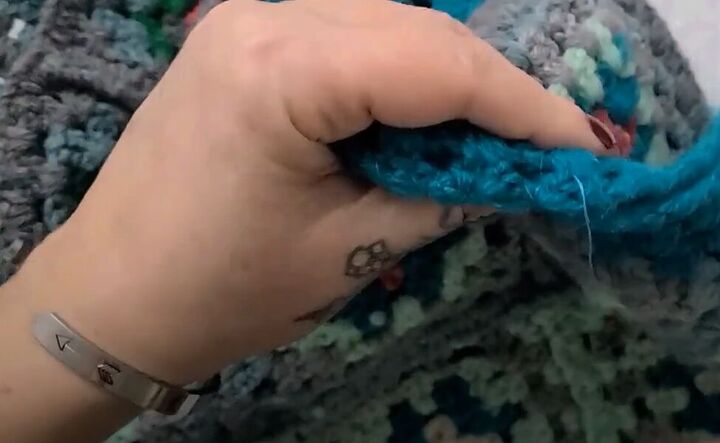
Tip: If you really dislike hand-sewing, there’s a simple workaround.
Since this scarf is crocheted, and there are already big holes along the edge, you could simply take some matching yarn and hand feed it in and out of those holes, tying it off at the end.
Voila! Sewing without a needle and thread.
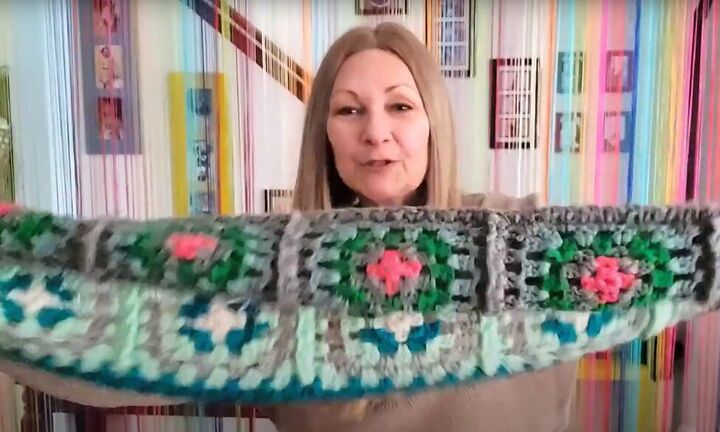
Now you have one long scarf.

3. How to wear your granny square scarf
The classic way to wear a long scarf is to wrap it around your neck, starting at the front, crossing it in the back and bringing the ends back to the front.
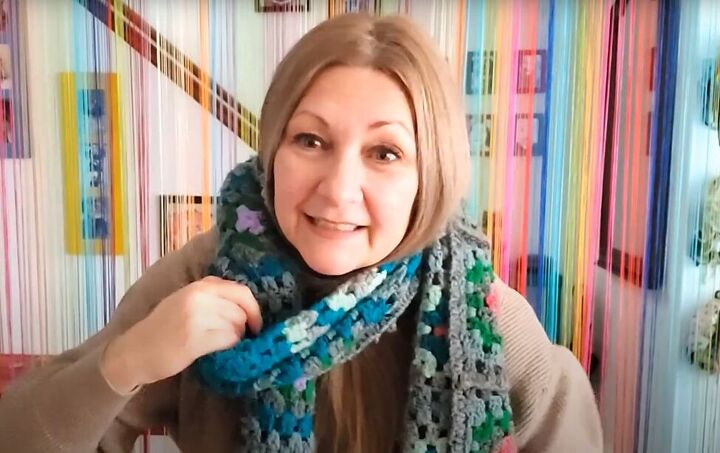
Loosen the neck a little, then take one side of the scarf and tuck it inside the neck.
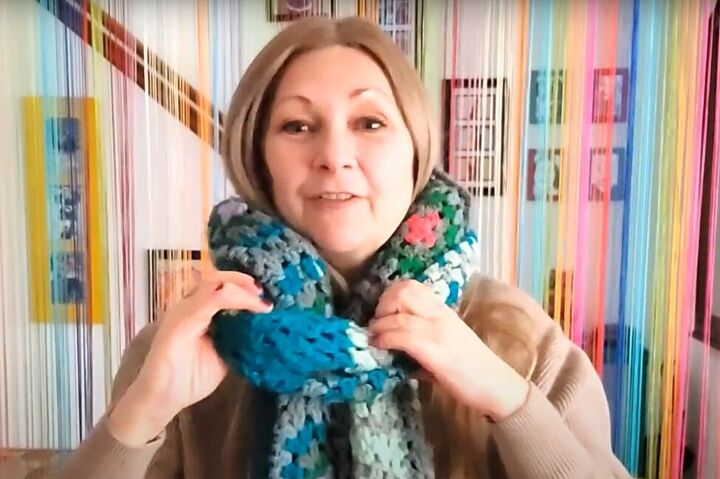
Tuck in the other side of the scarf.
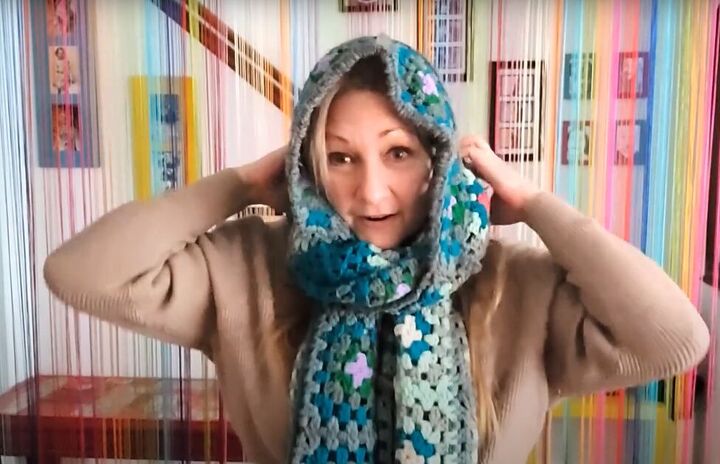
Now, you can pull up the scarf at the back of your head to make a hood, for extra coziness.
DIY granny square scarf
With just a few simple steps, you’ve made a granny square scarf that will keep your neck, head and ears toasty warm!
Enjoy the rest of your winter with your new no-crochet thrift flip granny square scarf, and leave a comment to let me know how you liked this tutorial.
The author may collect a small share of sales from the links on this page.


Comments
Join the conversation