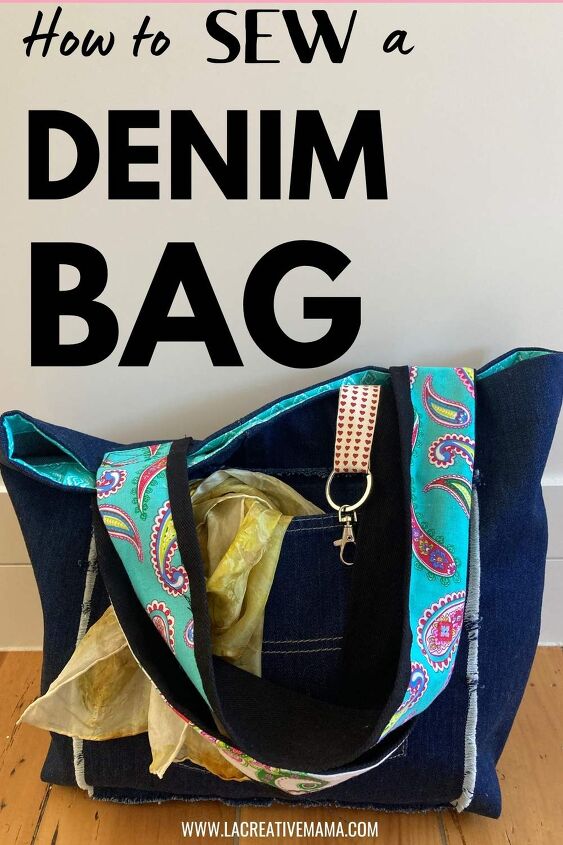
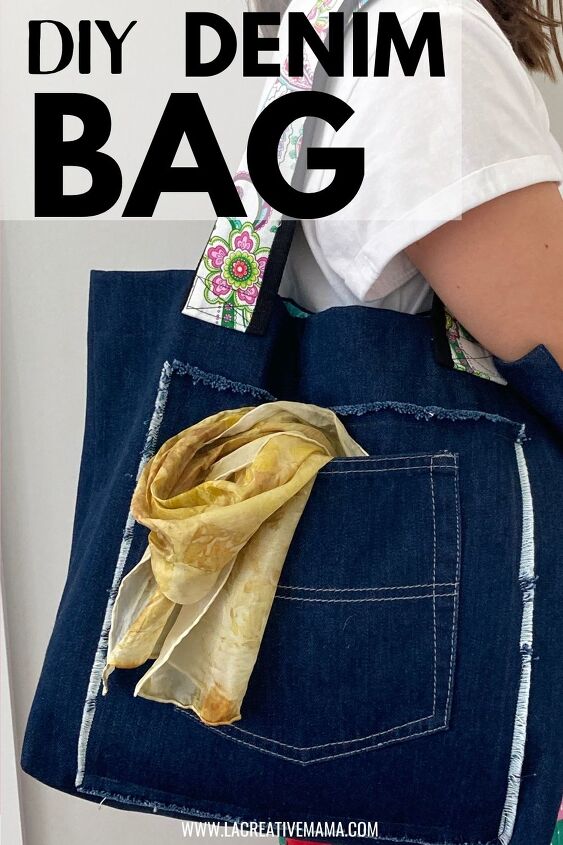
DIY Denim Bag
Hi Creative Mamas! I hope you enjoy upcycling, recycling and re using your denim jeans because in this particular tutorial, I will show you how to make a DIY denim bag from your old jeans (with very little sewing).
This jeans bag is an ideal complement to your DIY Upcycled fashion wardrobe
This post contains affiliate links, which means I receive a small commission, at no extra cost to you, if you make a purchase using this link. Please see my disclosure for more details.
These DIY denim bags are a great way to upcycle your old pair of jeans. You can use worn out jeans, out of style jeans, new looking jeans as well as jeans from different colors. So many ideas!
This is a great DIY project and all you really need (aside of jeans) is a good sewing machine.
- Sewing machine
- FREE Pattern (You can download a free bag pattern by completing the form below)
- Old pair of jeans
- Fabric scraps (I used jelly rolls for quilting)
- Fabric scissors
- Tailor’s chalk
- Key chain
- Tape
Even though you don’t really need a pattern to follow this tutorial you can have my most popular tote bag pattern in case you want to keep a file of it 🙂 Complete the form above
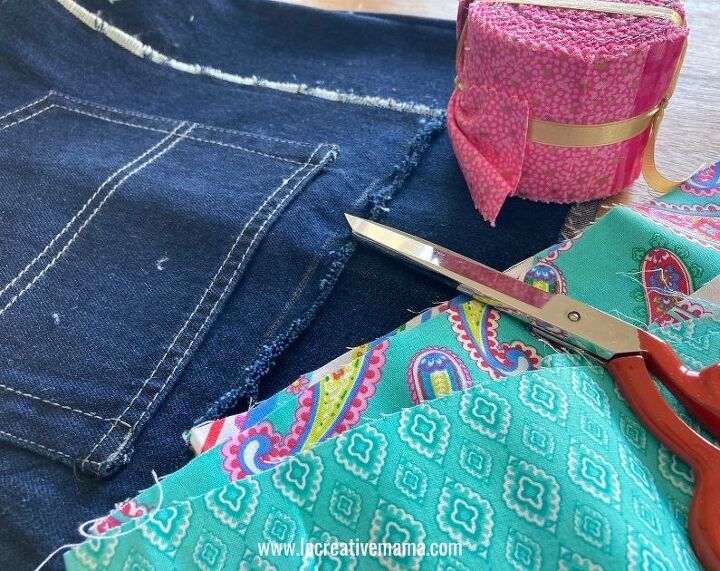
The first thing that we need to do is to cut away the pants and turn them into plain fabric pieces.
Gather your fabric scraps as well and decide what color combinations you are going for. The jelly rolls come in different colors so I have a lot of variety here but you can mix and match the fabrics that you have.
You will use these fabric scraps for the handles and for the facing.
To cut away the denim pants follow this sequence:
1- Cut the legs away from the top of the pants. You will end up with shorts and 2 leg pieces.
2- Lay the shorts on the cutting table and cut through the crotch as shown in photo below.
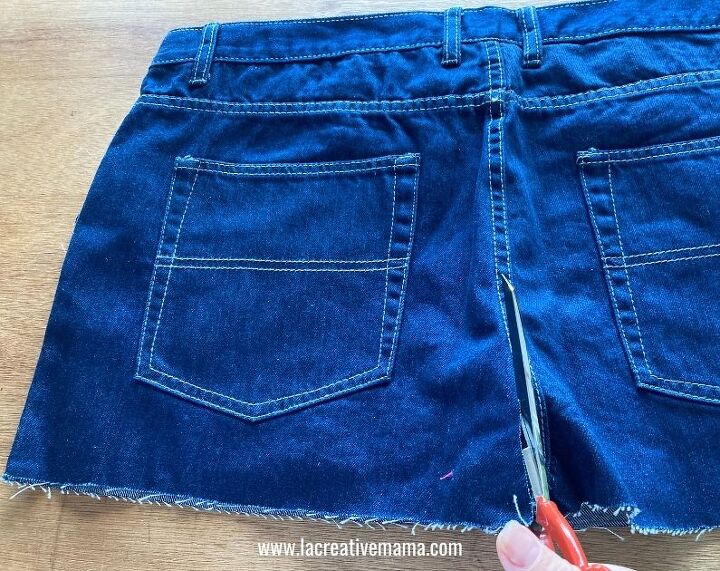
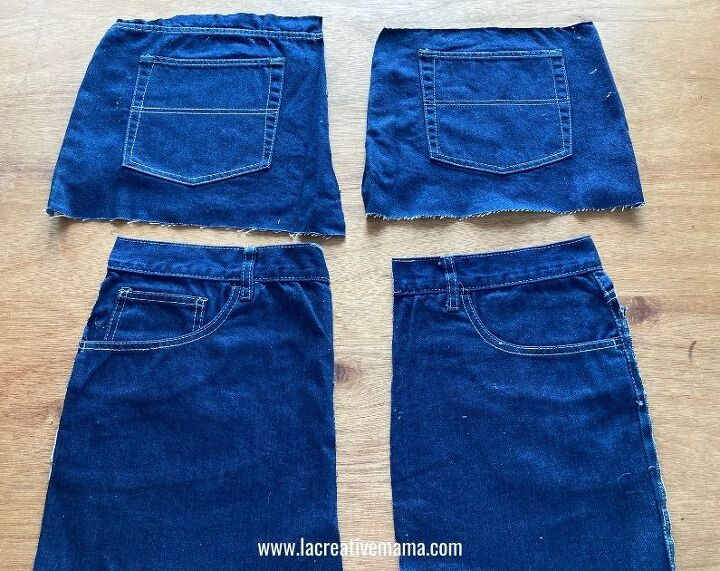
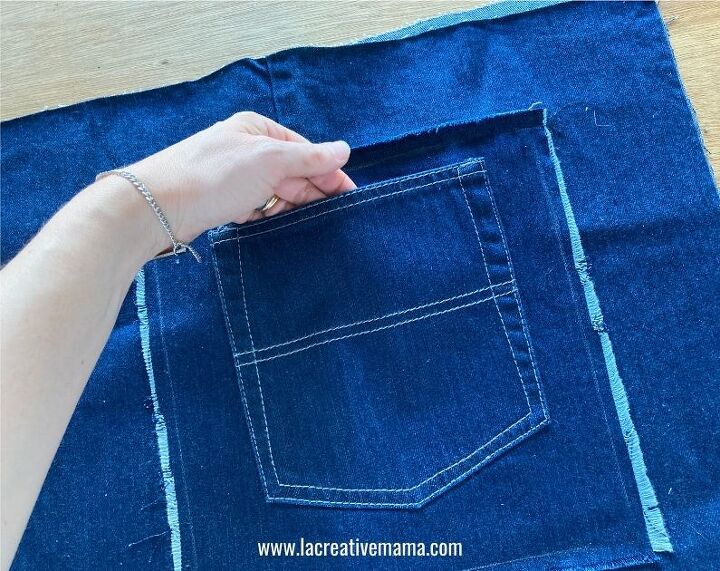
3- Cut around the pockets. you will end up with squares.
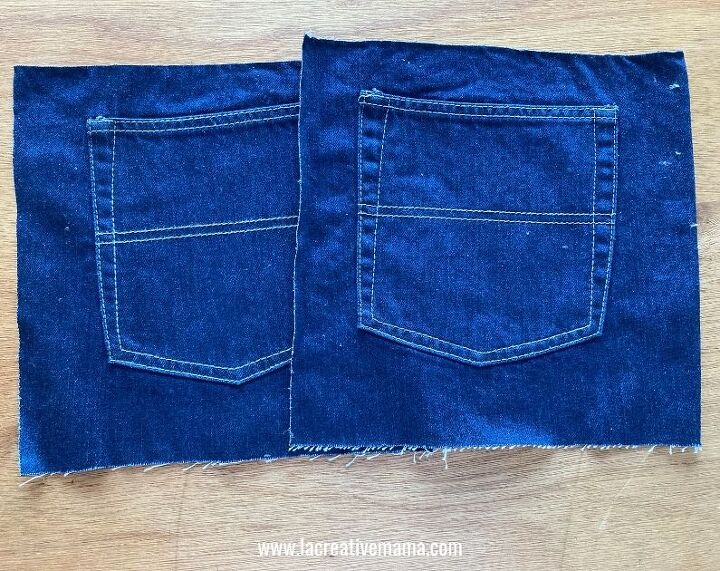
The photo below illustrates the 2 back pockets and the 2 front pockets.
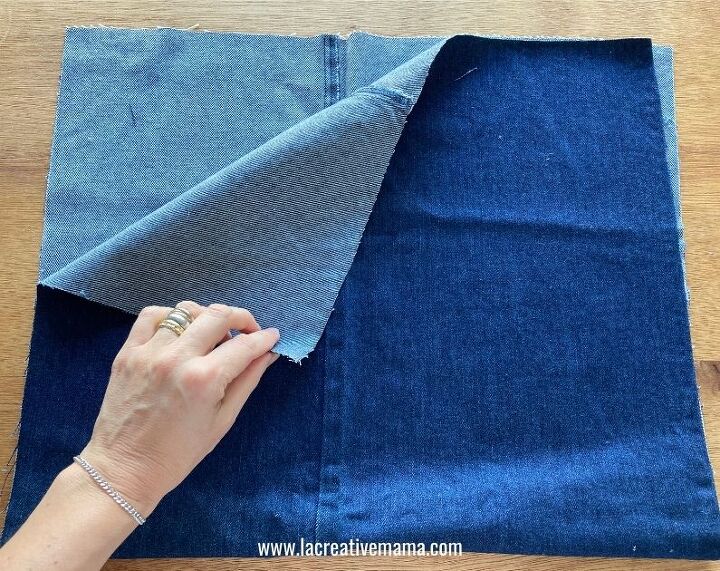
4- Place each leg on your cutting surface. Cut through the outside seam and open flat.
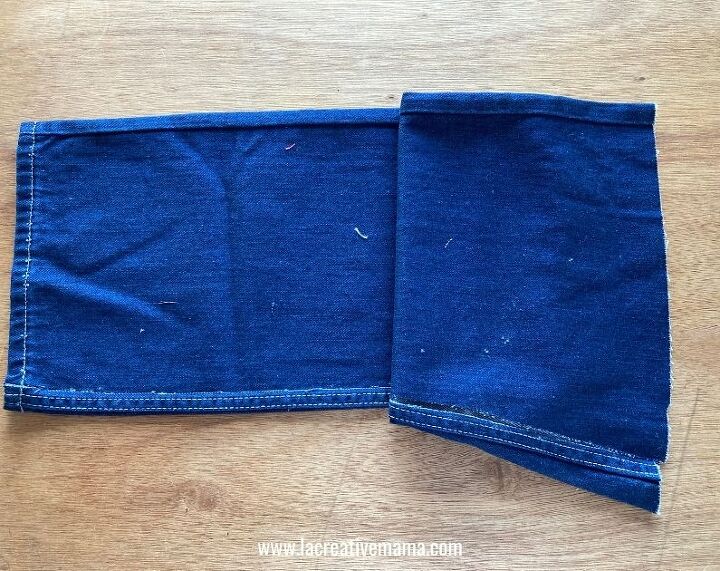
5- Trim the denim piece so that you end with a perfect rectangle.
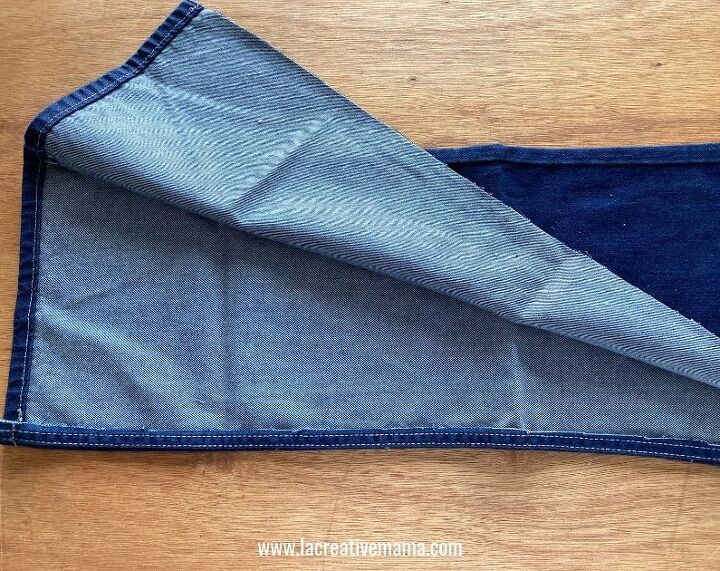
6- Fold the rectangle in half. This will be the base of your bag.
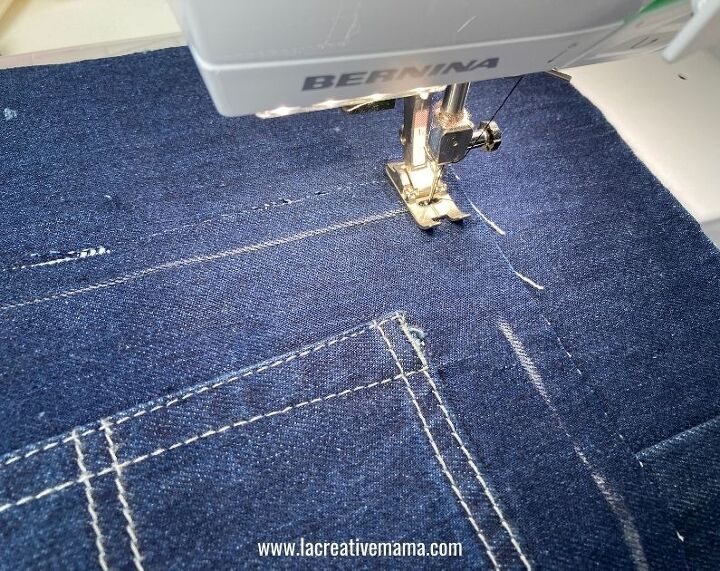
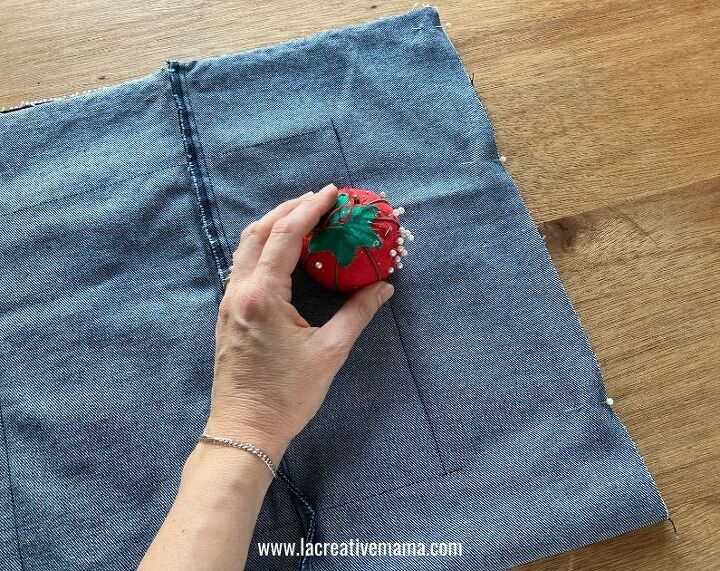
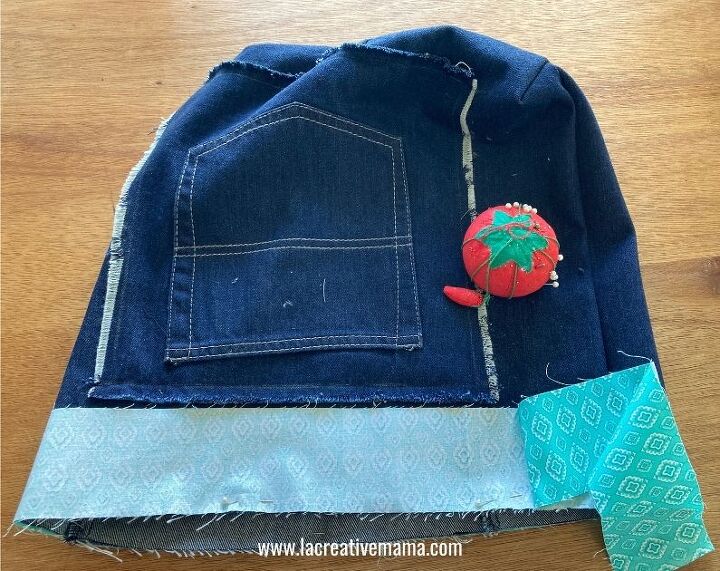
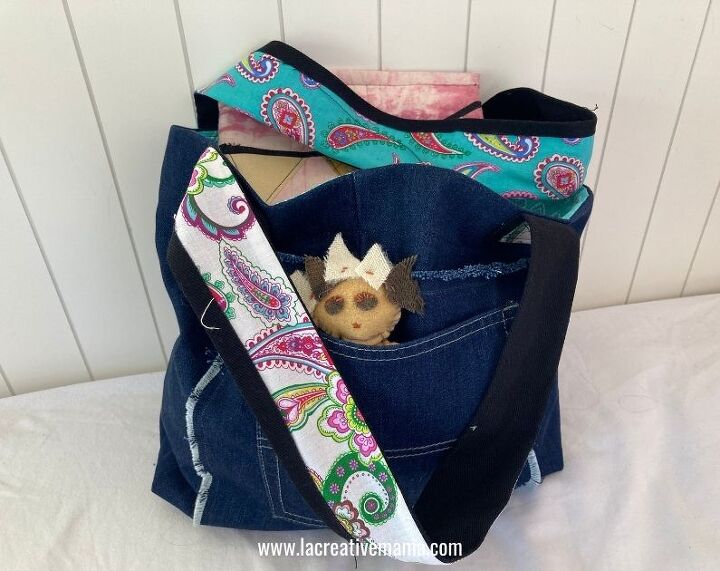
Place one of the pockets on the front of the bag. Pin in place and sew around.
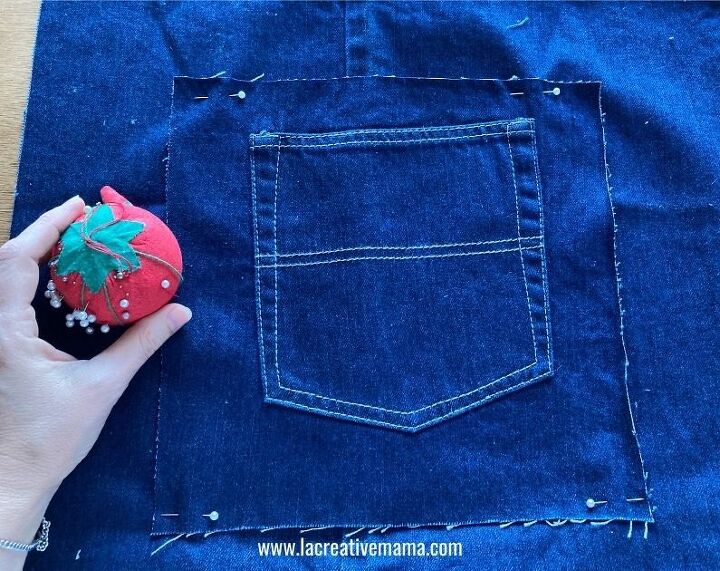
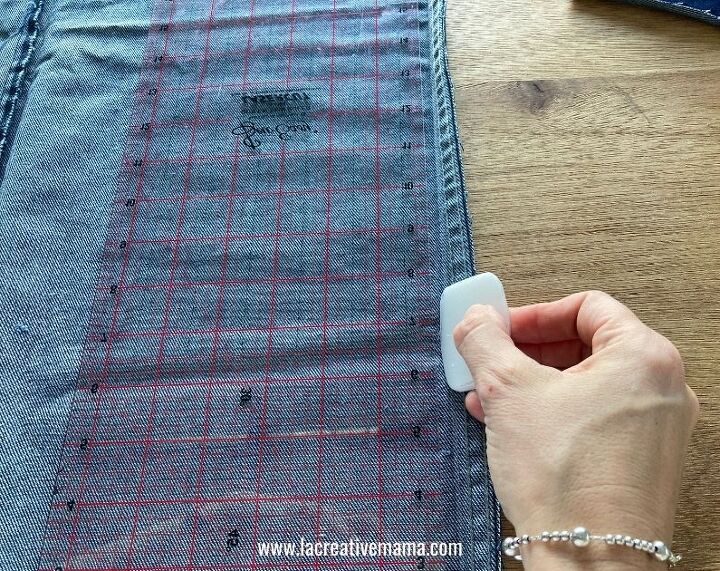
I like to mark my sewing line to make sure that it’s a consistent measurement throughout.
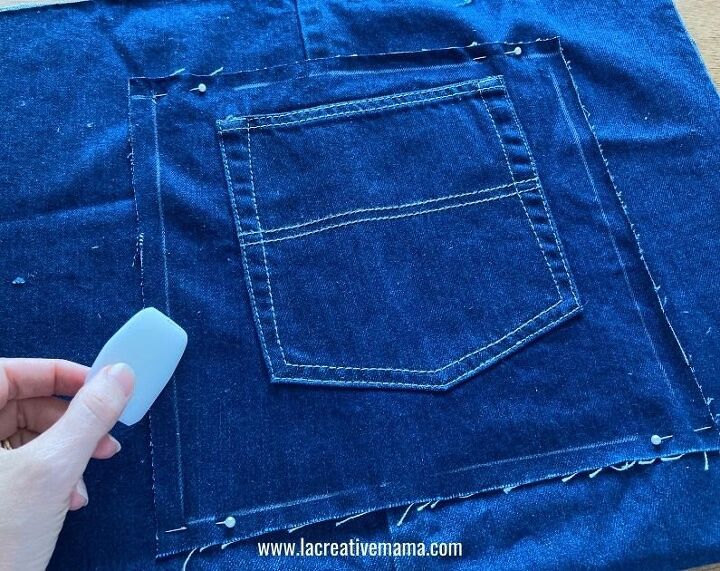
Sew around.
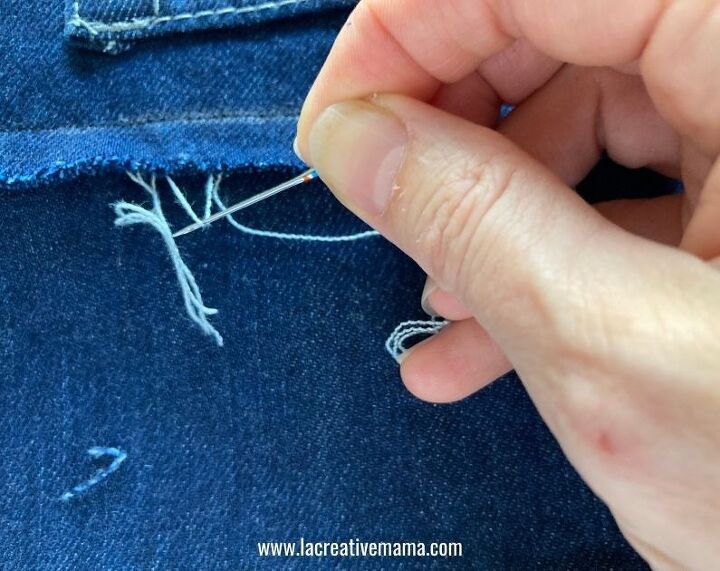
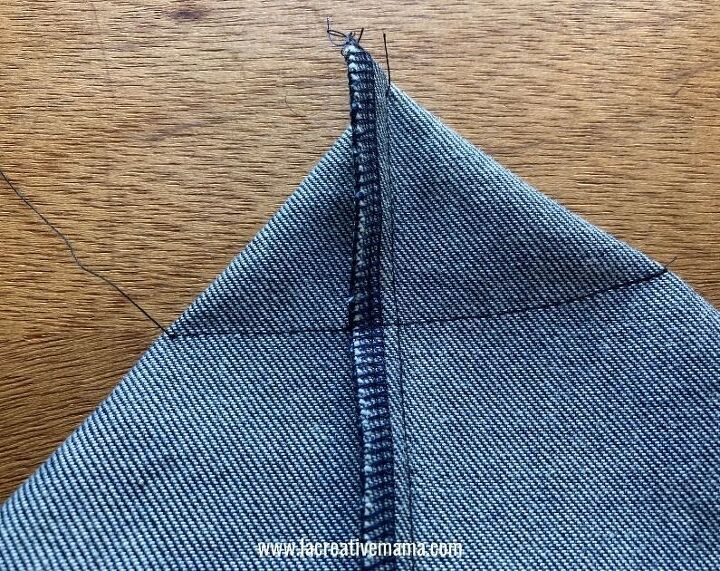
You will need to fray the edges. This is part of the look that I am going for with this bag.
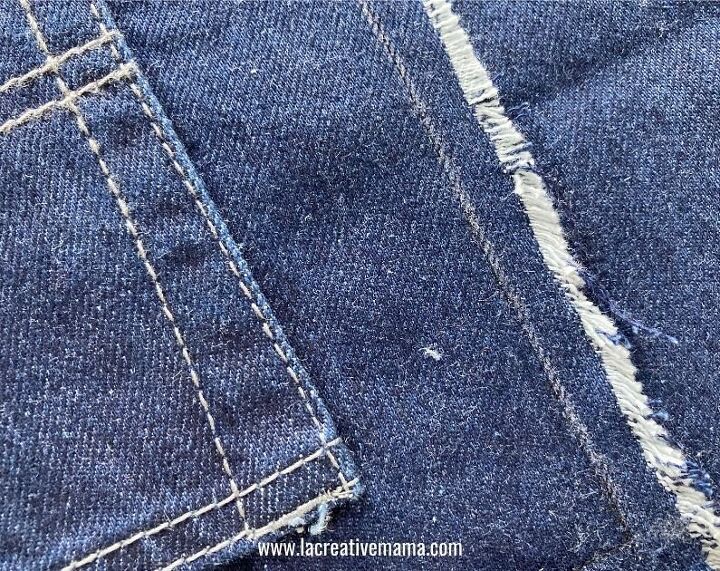
To fray the edges you can use a pin, a needle or an unpicker. Pick up one of the threads and pull.
Now you have a pocket on the outside of the front of the bag.
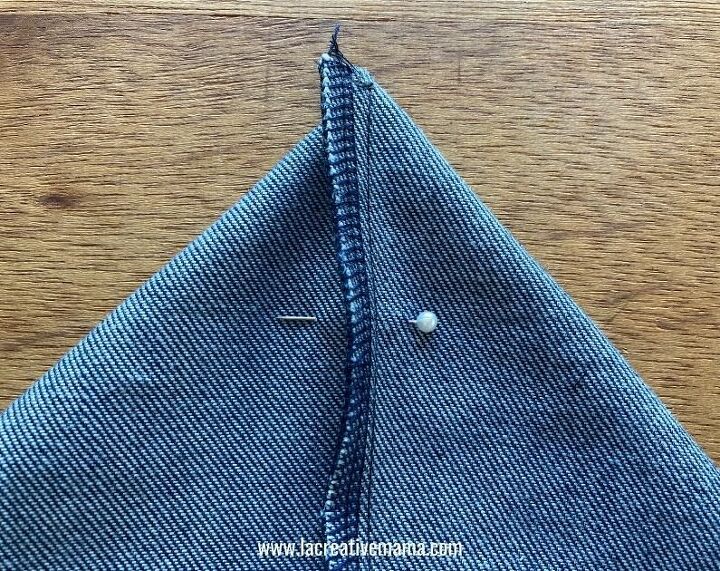
Flip inside out and pin both sides.
Sew using a regular sewing stitch. If you have an overlocker/serger you can overlock the rag edges, otherwise you can do this by using a zig zag stitch in your domestic machine.
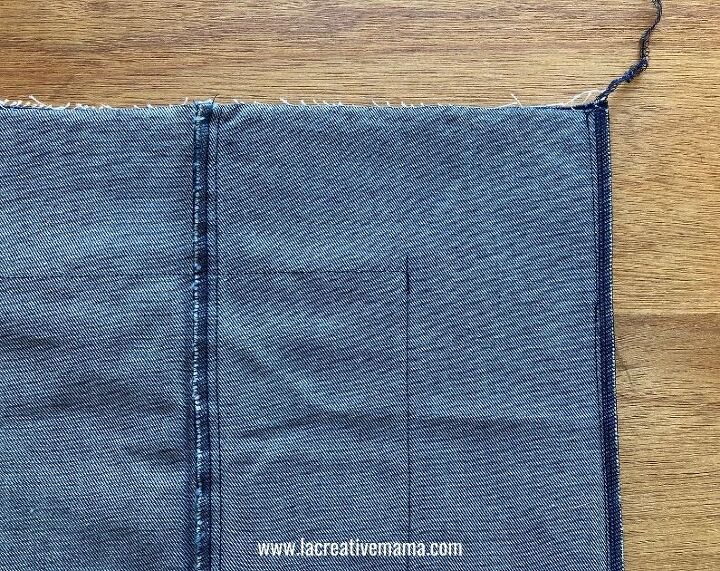
To create a flat bottom you need to sew the corners.
Press the side seam with your hands and place it in the middle. This will look like the photo below.
Sew a line from side to side. This creates that flat bottom for your bag.
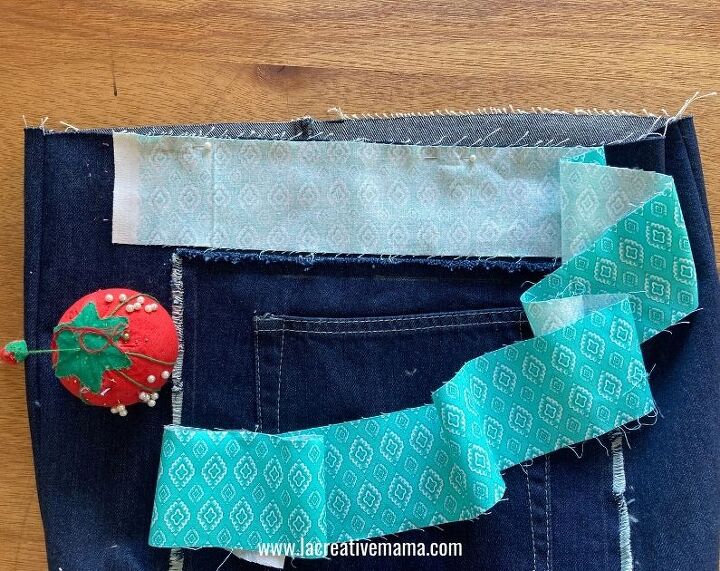
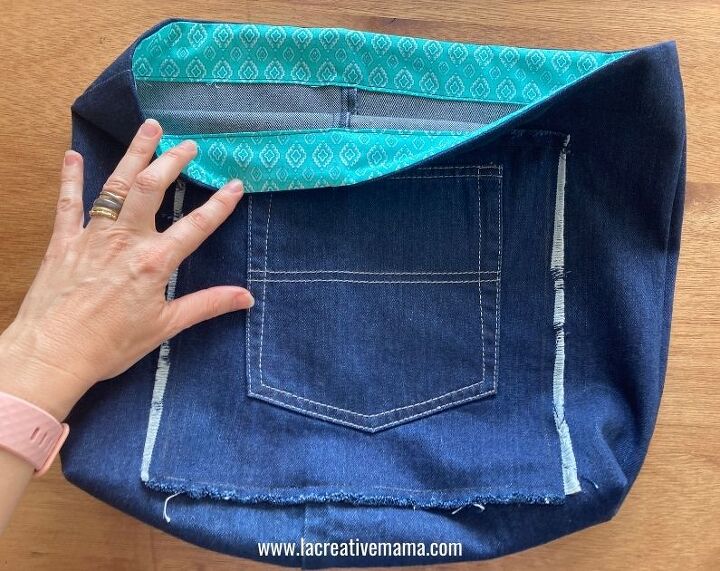
The next step is to sew a facing to tidy up the inside of the denim bag.
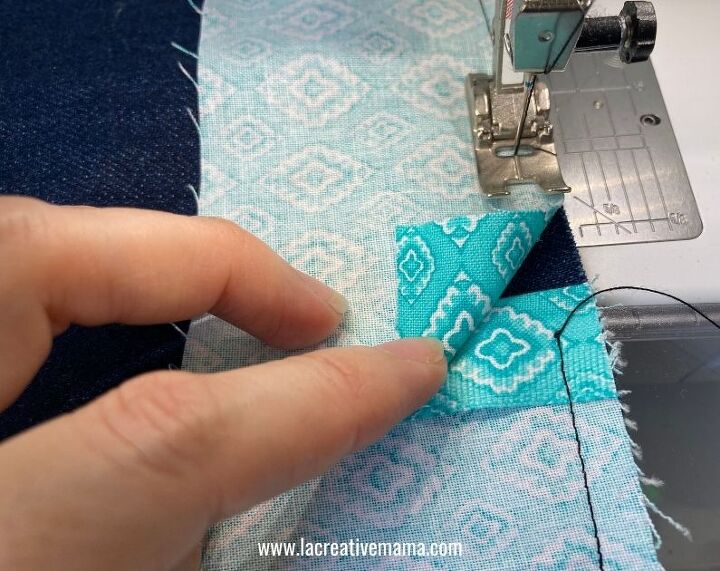
Cut a strip of fabric that measures 3 inches in width and its a little longer that the circumference of the bag.
Pin in place along the top edge.
Allow the strip of fabric to overlap for 1 inch.
Sew around the top edge of the bag.

When you start sewing make sure to fold the strip of fabric to enclose the raw edge.
When you finish sewing the facing make sure that it overlaps with the folded edge so no raw edges are showing.
This is how it should look.
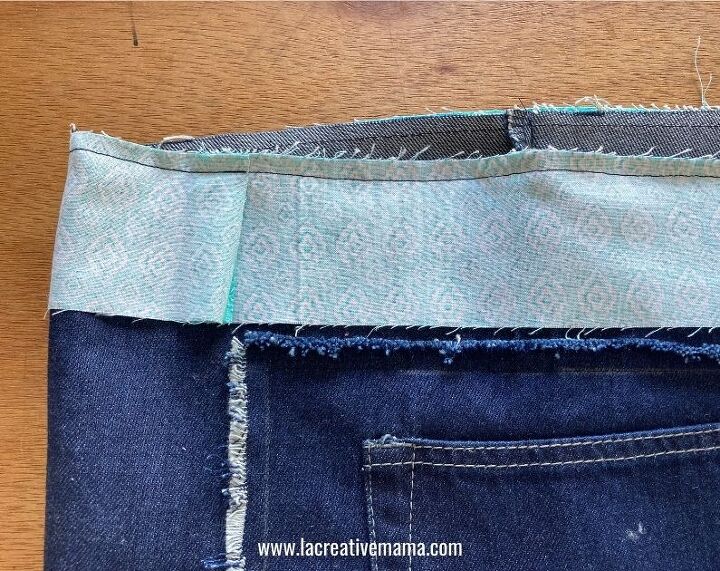
Press firmly with seams facing towards the facing piece.

Fold facing in itself to create a hem and pin to the inside of the bag. Sew facing to the bag.
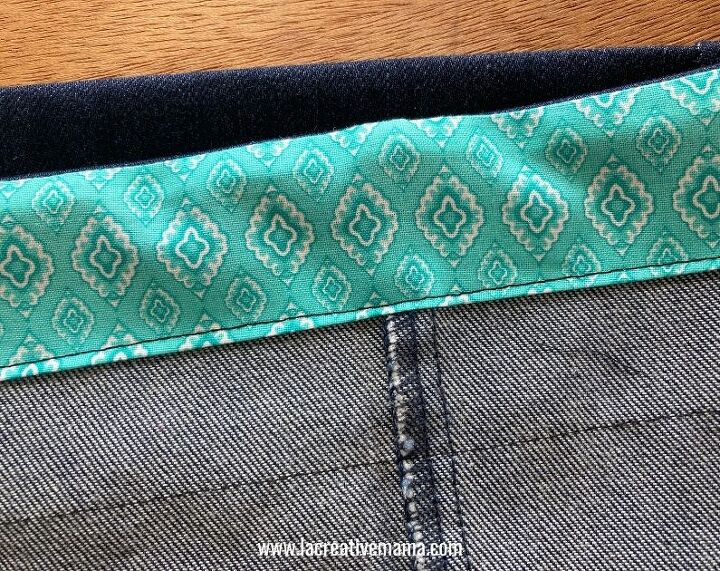
This is how the bag should look at this stage.
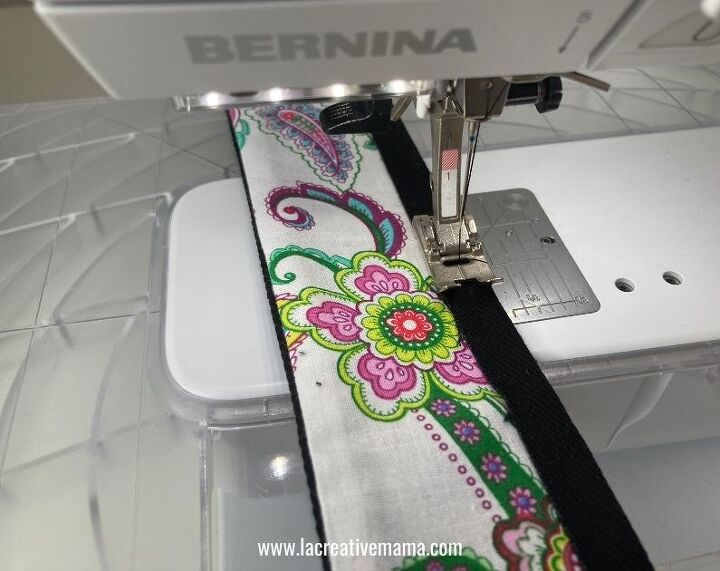
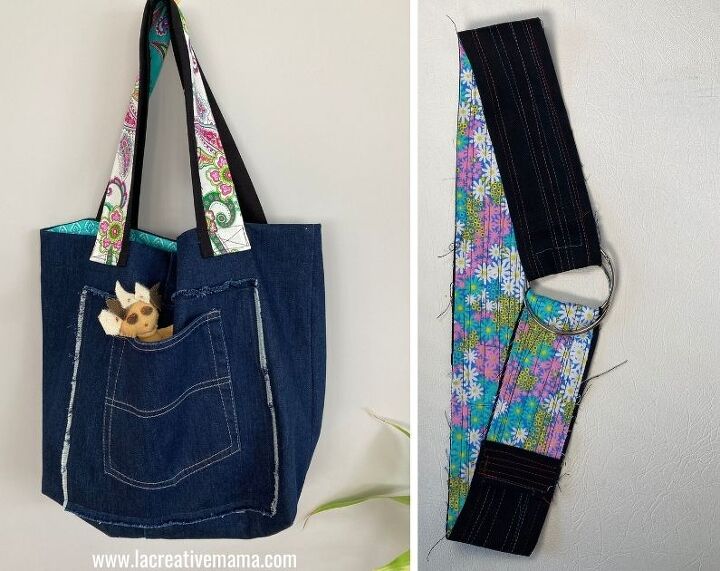
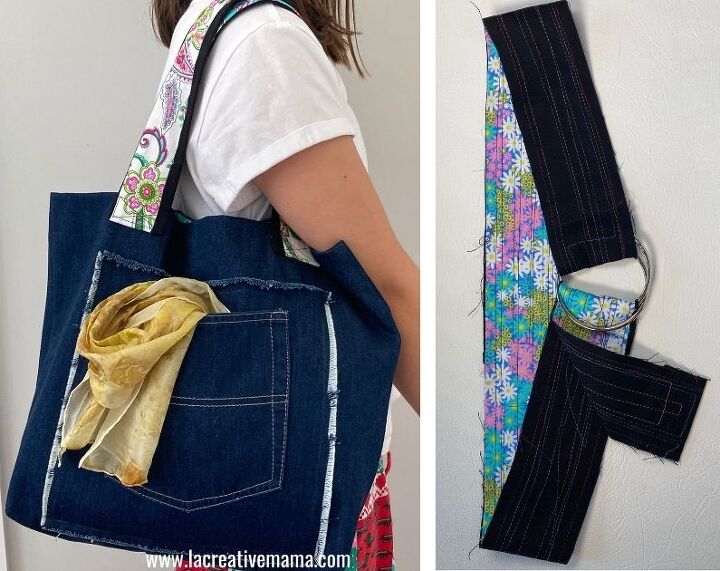
Cut 2 handles. These can be in the same denim or another fabric similar in weight. I used black canvas.
Cut 2 strips the same size as the handles using the jelly rolls or the fabric scraps. Please note that these are 1/2 inch difference in width size compared to the bag handles.
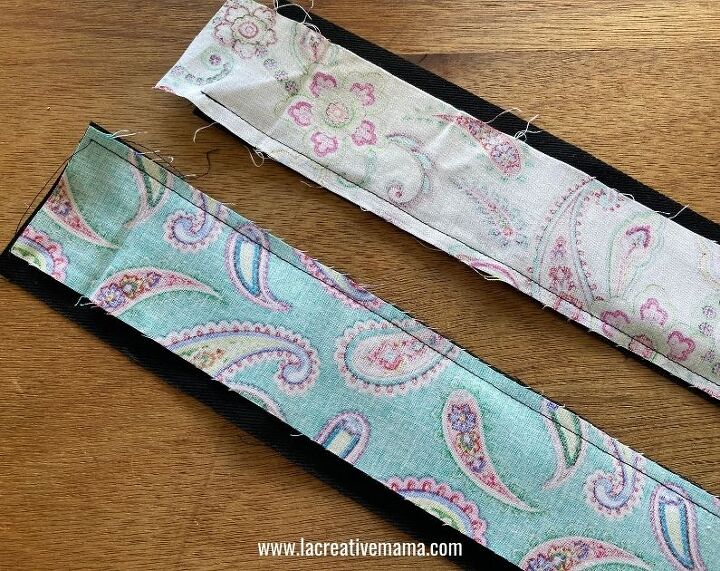
Sew them together on one side and press seams to one side.
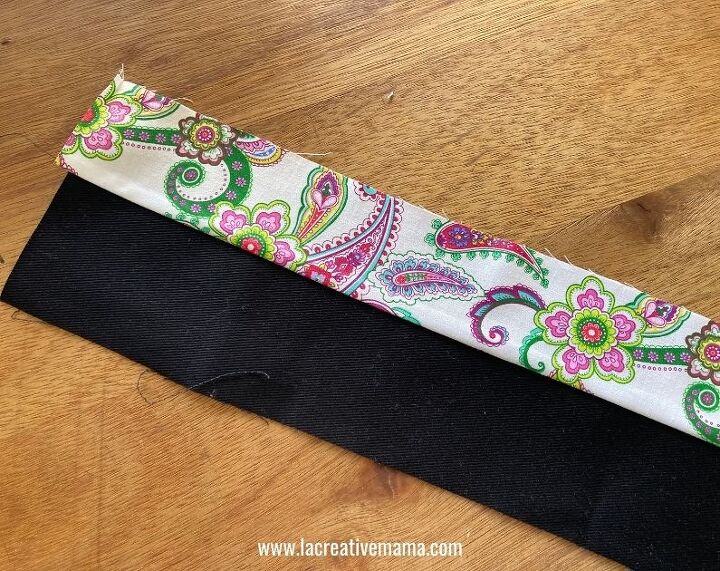
Fold them so that wrong sides are touching as shown in photo.
Fold the excess seam towards the colored fabric and sew in place.
The edge of the seams will fray in time.
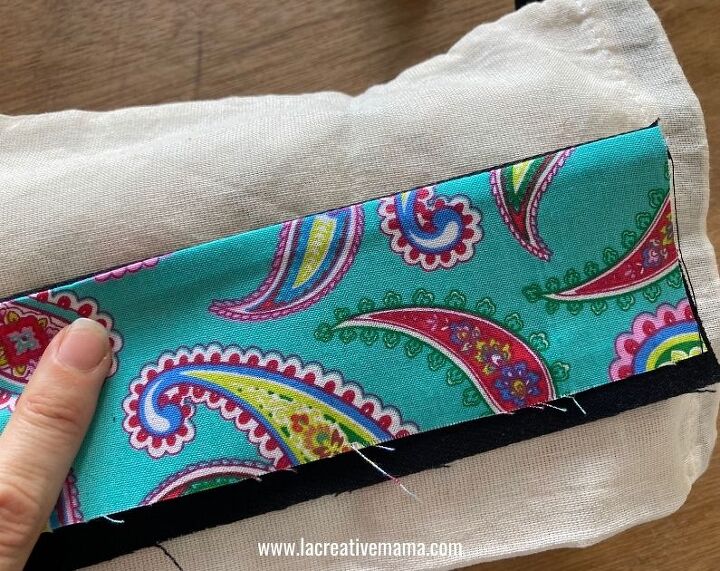
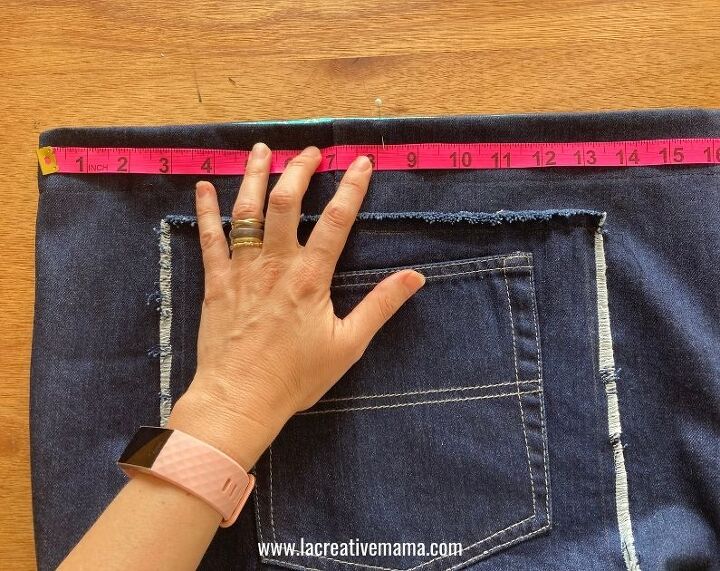
Measure the middle of the bag and position the handles evenly.
Pin in place.
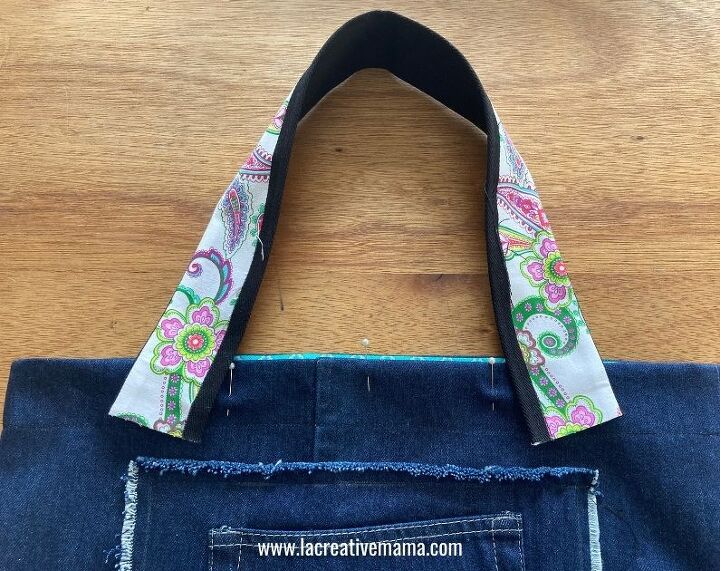
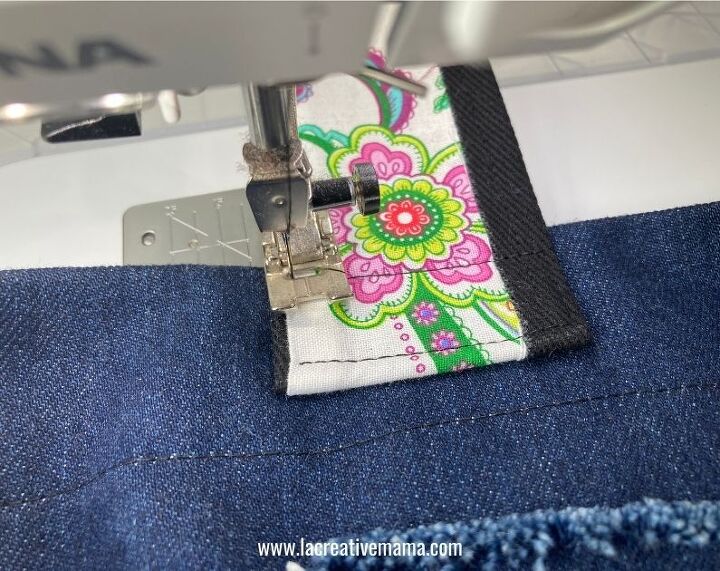
Fold each edge of the handles and sew onto the denim bag. Create an 8 shape to add strength to the handles.
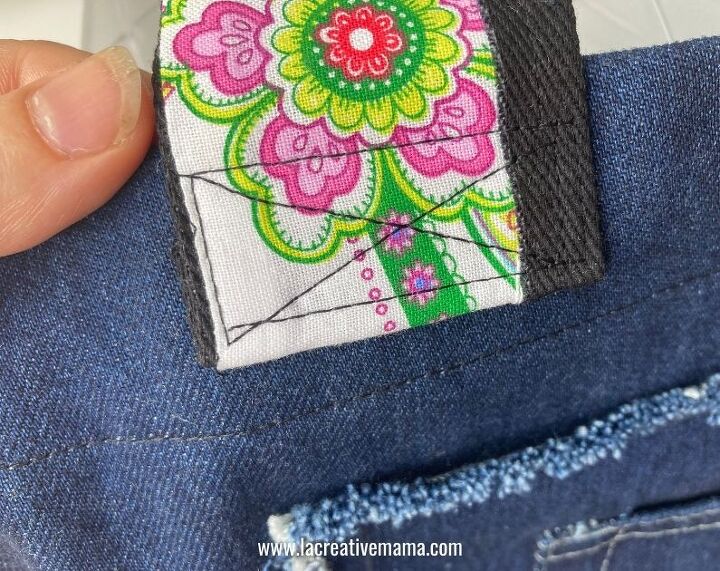
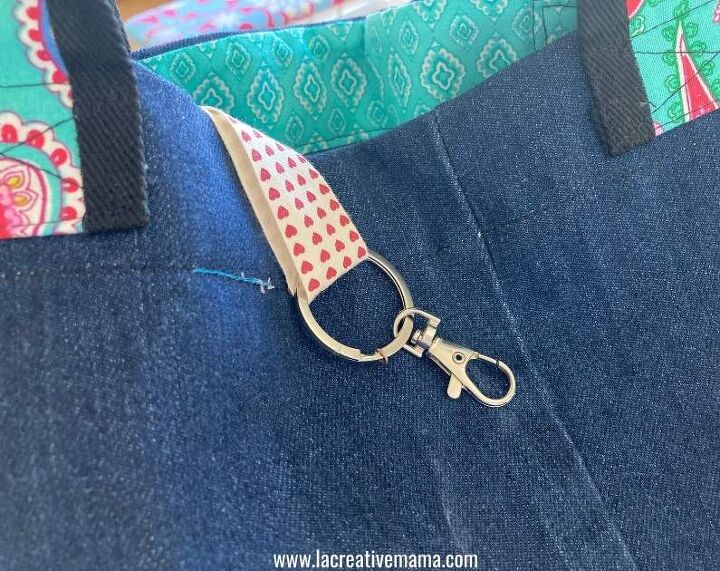
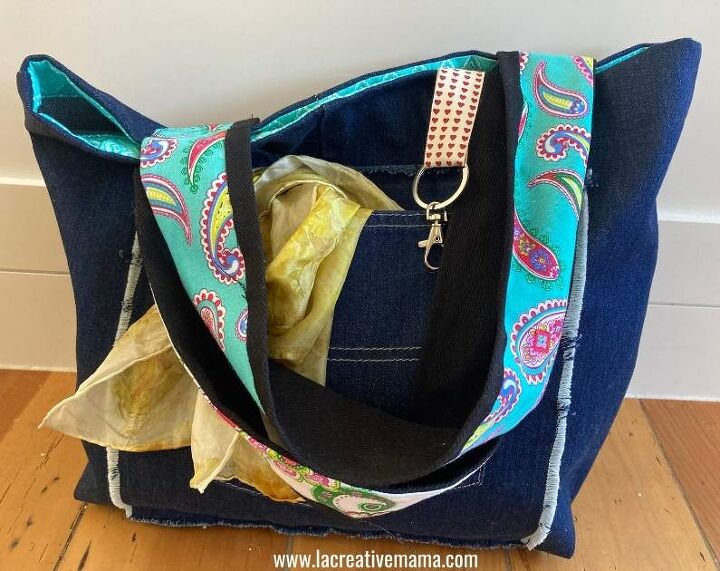
This step is optional but adding a key chain to the inside of the bag is quite handy.
Grab a tape 9 inches in length.
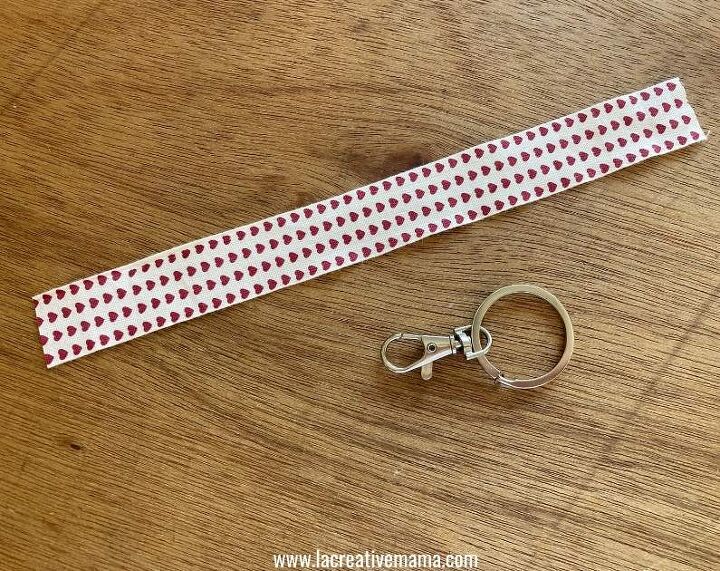
thread it through the key chain loop.
Leave one edge longer than the other.
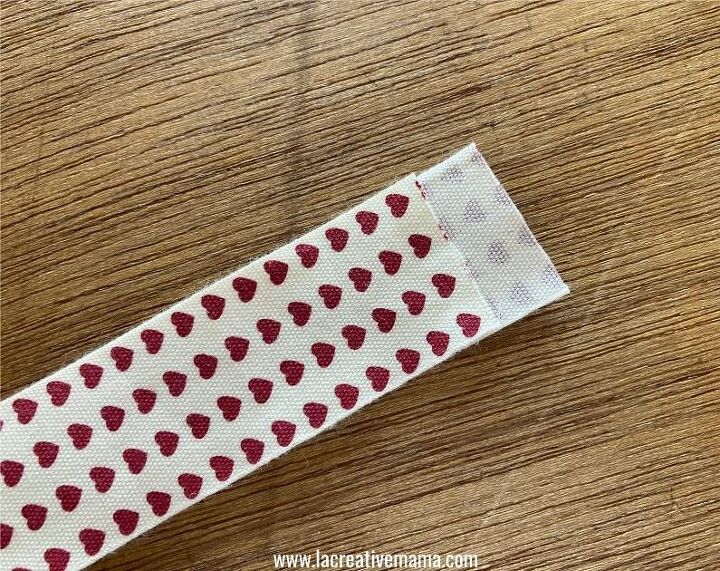
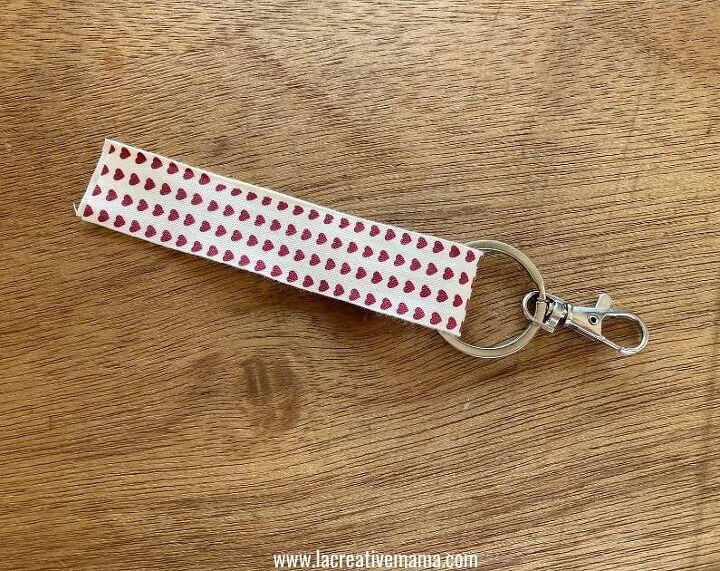
Fold it back to enclose the raw edge.
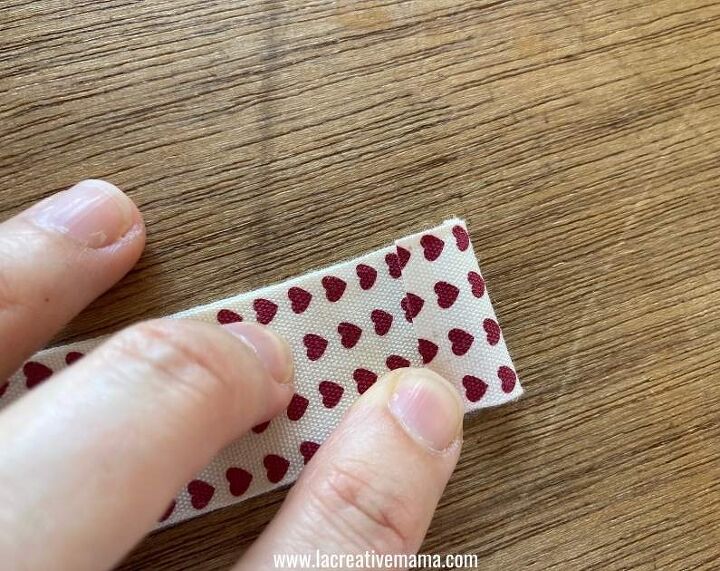
Pin it somewhere to the facing.
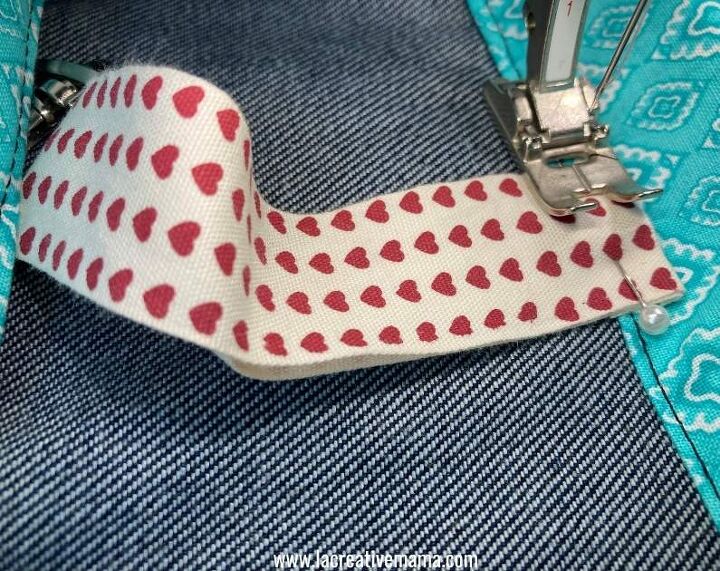
Try it and make sure it’s placed in a comfortable spot. Sew it using a longer stitch.
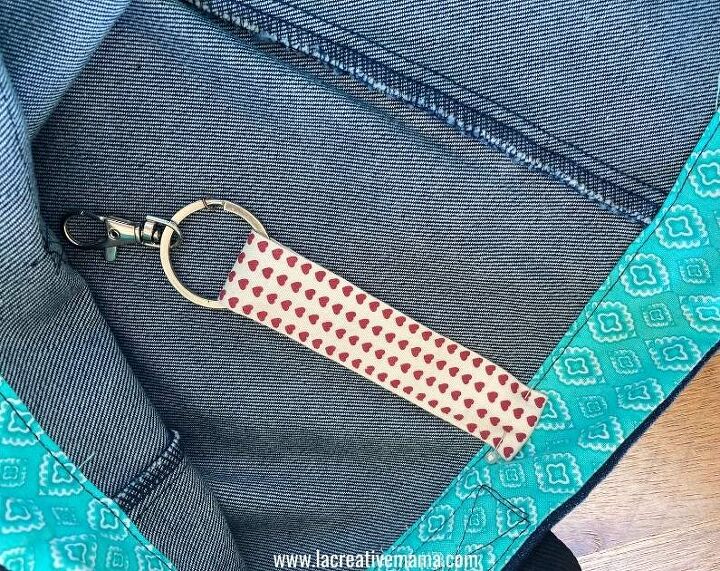
This is how it will look once its sewn in place.
I hope you have enjoyed this tutorial as much as I have enjoyed making it.
This has become a great bag for me to use and it’s super versatile!
I also love using it with my DIY fabric belt!
The author may collect a small share of sales from the links on this page.


Comments
Join the conversation