How to DIY a Cute No-sew Fanny Pack

I upcycled a small purse-wallet into a decorated, blingy fanny pack.
My DIY fanny pack is no-sew except for attaching the Velcro to the purse, and you could use strong glue for that.
There's lots of room for you to be creative in this tutorial and make your upcycled purse into something completely unique.
Tools and materials:
- Wallet or small purse
- Velcro strap
- Belt
- Assorted beads and stones
- E6000 glue
- Protective glove and mask
- Wooden skewer
- Needle and thread
- Scissors
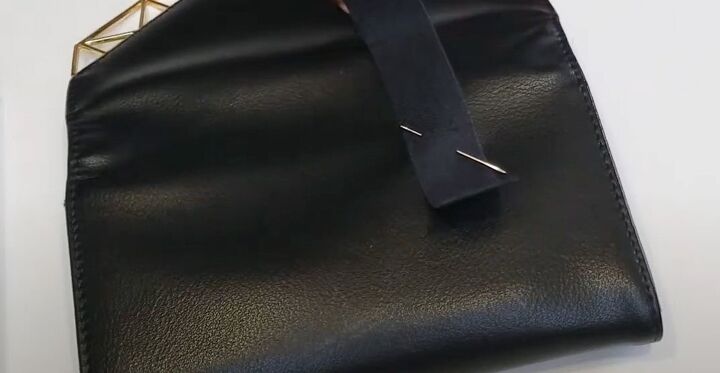
1. Attach Velcro
Cut two pieces of the Velcro strap about 4 or 5 inches long, so that when folded they're long enough to wrap around your belt.
Mark the position for the straps on the back of the wallet, slightly above the center horizontal line and the same distance from each edge, so the wallet will hang evenly from the belt.
Hand sew each strap securely to the back of the wallet, or use a strong fabric glue if you prefer. Remember that the beads will add quite a lot of weight to the wallet.
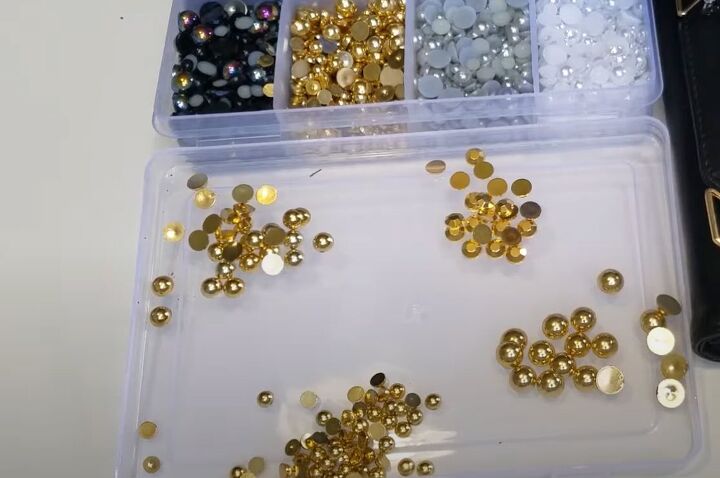
2. Select stones
Select the beads or stones for your design. Aim for a variety of sizes.
I chose a combination of gold colored rhinestones and small and large beads but it would look equally stunning if you used a mixture of colors and sizes.
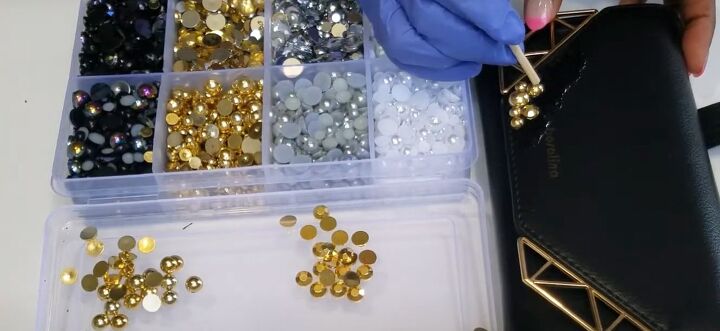
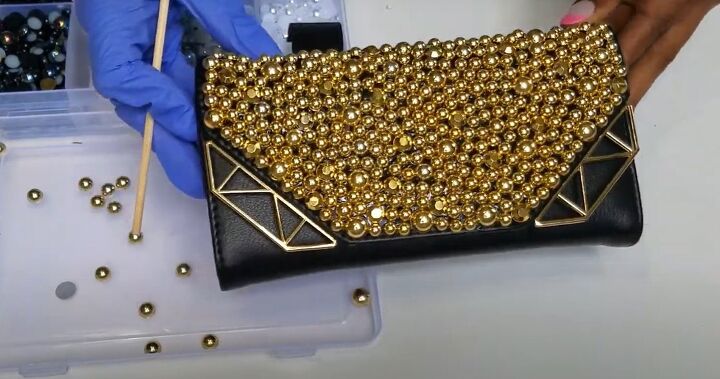
3. Attach stones
It's a good idea to wear a mask and glove when using this glue and put the top on it between uses.
Working in small sections, spread a layer of glue on to the front of your wallet. Dip the end of the skewer in the glue and use it to pick up the beads individually and place them on to the wallet.
Create the design as you go, using the smaller beads to fill in the spaces between the larger ones.
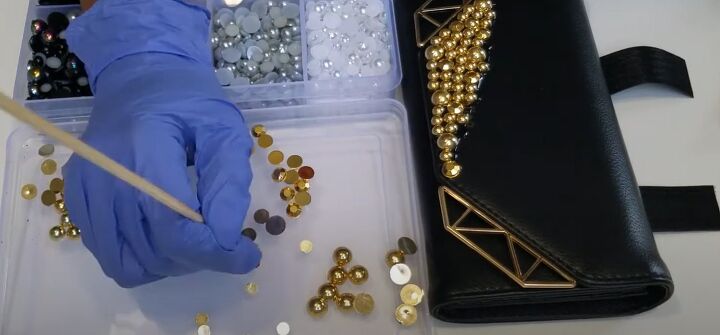
I started in one corner and completely covered the front of my wallet with the stones.
I found I used far more of the smaller stones than I did the larger ones, so you might want to bear that in mind when selecting them.
4. Finishing
Even up the edges of your design when you get to the top of the flap, and fill in any spaces between the stones. Leave the glue to dry for at least 24 hours.
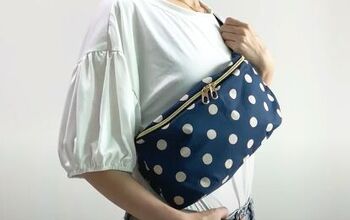
Put your belt on and turn the buckle to the back. Wrap the Velcro straps around your belt so the fanny pack sits securely in the front.
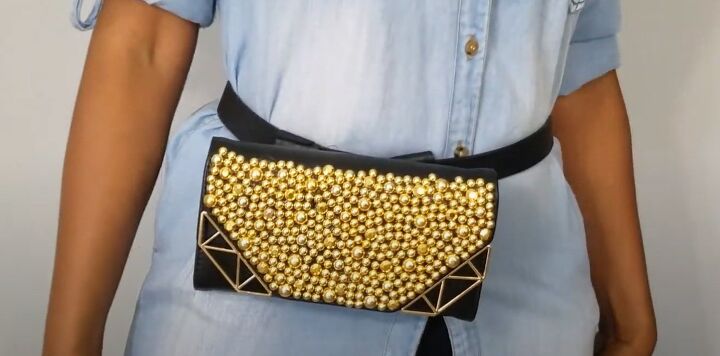
DIY fanny pack no-sew
I really enjoyed creating my custom-made, blinged-out DIY fanny pack.
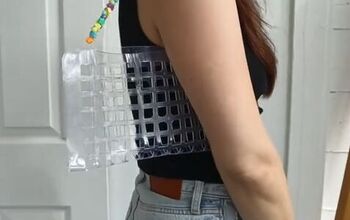
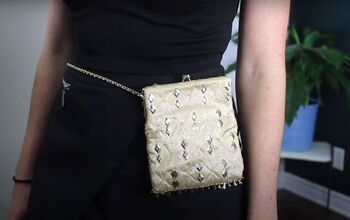
You could use a small purse instead of a wallet. How about a raffia purse with wooden beads if you want something less blingy? The design possibilities are endless and whatever you make will be uniquely yours.
If you enjoyed reading how to make a fanny pack, please let me know in the comments below.
For more DIY content, check out my post on How to Make a Super Glam Clutch Bag in 8 Easy Steps.
The author may collect a small share of sales from the links on this page.


Comments
Join the conversation