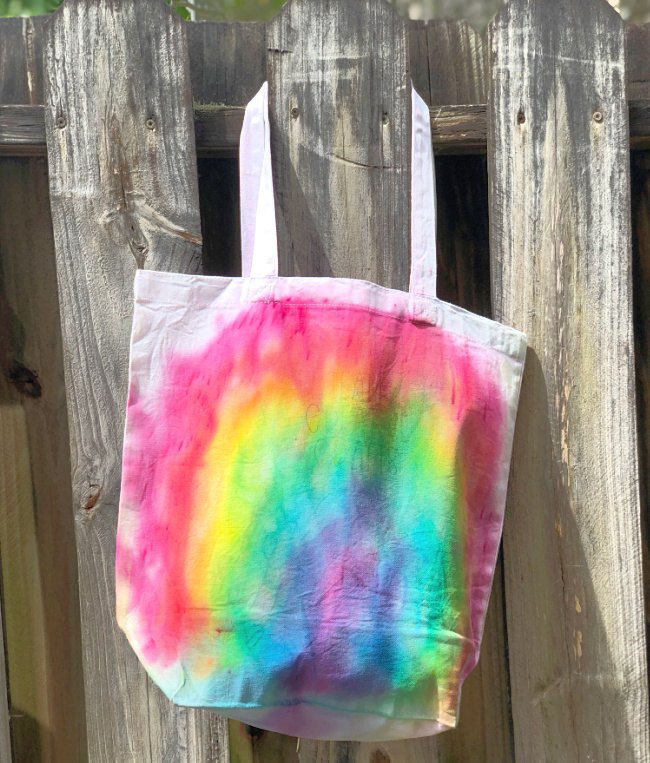
Easy Rainbow Tie Dye Tote Bag Project
No matter what the current trends, style or fashion know-it-all say, tie dye is always a thing. It is timeless because of the fun involved in creating customized pieces with personality and color! I can’t begin to count how many times I have tie-dyed and every single one of them was a blast. Now to be brutally honest, some of the projects came out stellar and some not-so-much. I learn a little every time about techniques and colors. This Easy Rainbow Tie Dye Tote Bag is perfect for taking all of the places. I am using it for my pool bag this summer!
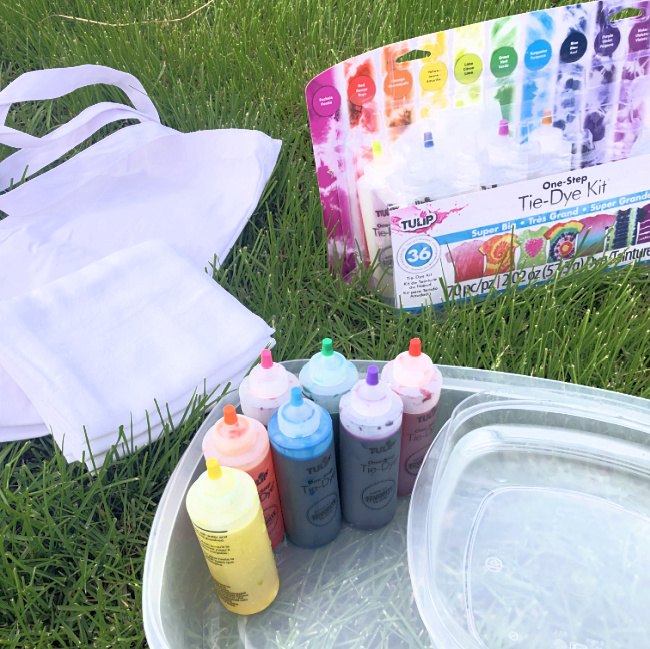
Materials and Supplies Needed
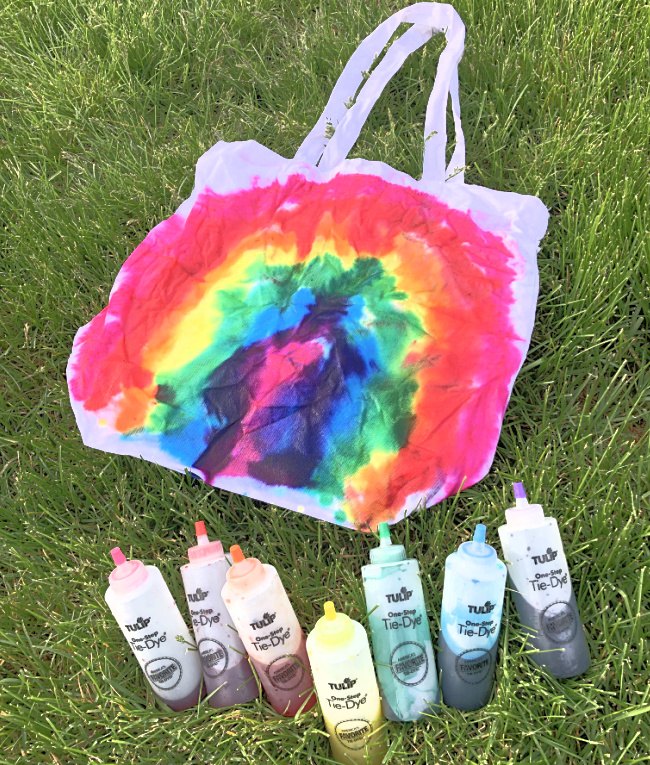
- Tulip One Step Tie Dye Kit (Dye in Bottles, Rubber Bands, Gloves)
- Gloves (They come in the kit but you might want extras.
- Large Ziploc Baggies
- Tub of Water
- Water for Rinsing
Directions to Make the Rainbow Tote Bag
The first step is to prep the tote bag. Wash it with a mild detergent and NOTHING else. You can go right into the dying steps while it is wet. If it dries before you begin, start with step one.
Get tote bag completely wet by dunking it in a bucket of water or running it under the faucet. Wring out any excess water.

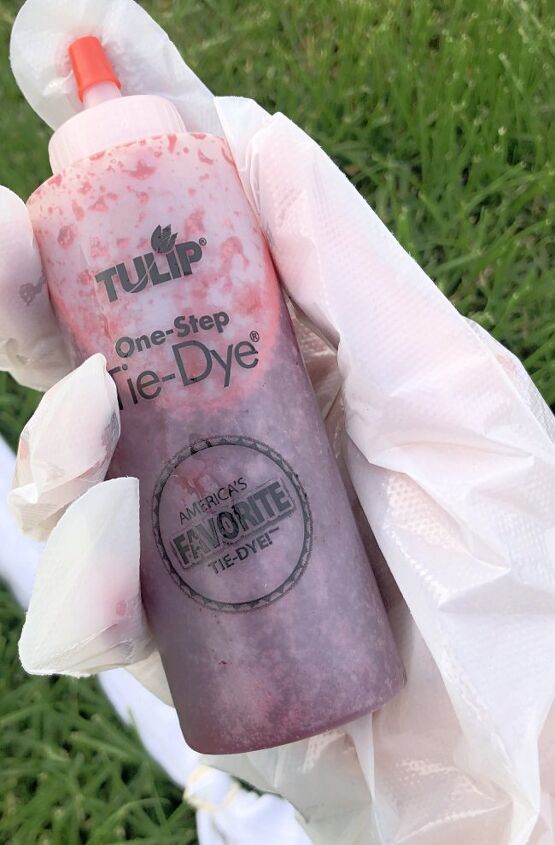
Step Two
Put on your gloves! Prep the dye. Add water up to the line then put the lid on tightly. Shake vigerously until dye is completely absorbed into the water.
Step Three
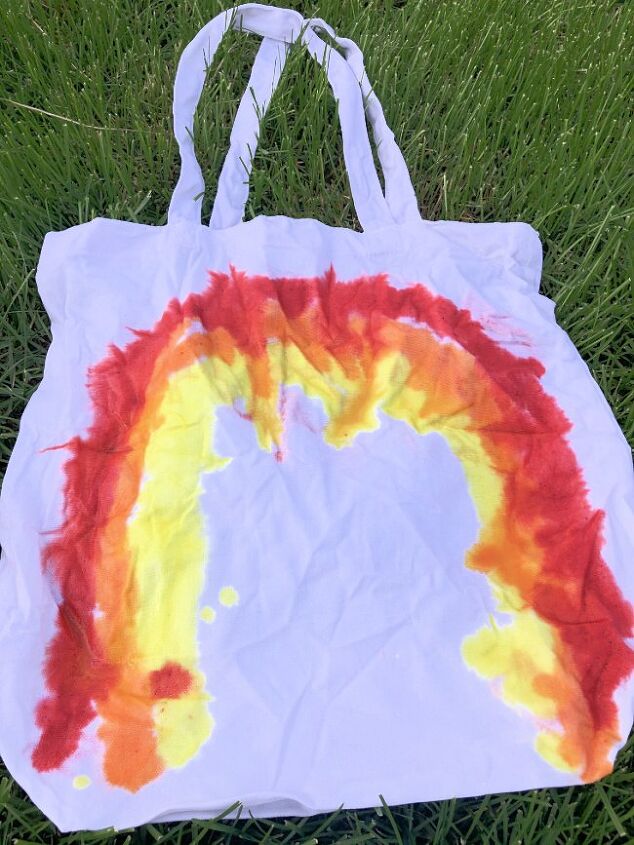
Use the dye to create a rainbow on the wet tote bag. Start with whatever color you would like and then work inward or outward from there. I started with red and worked my down.
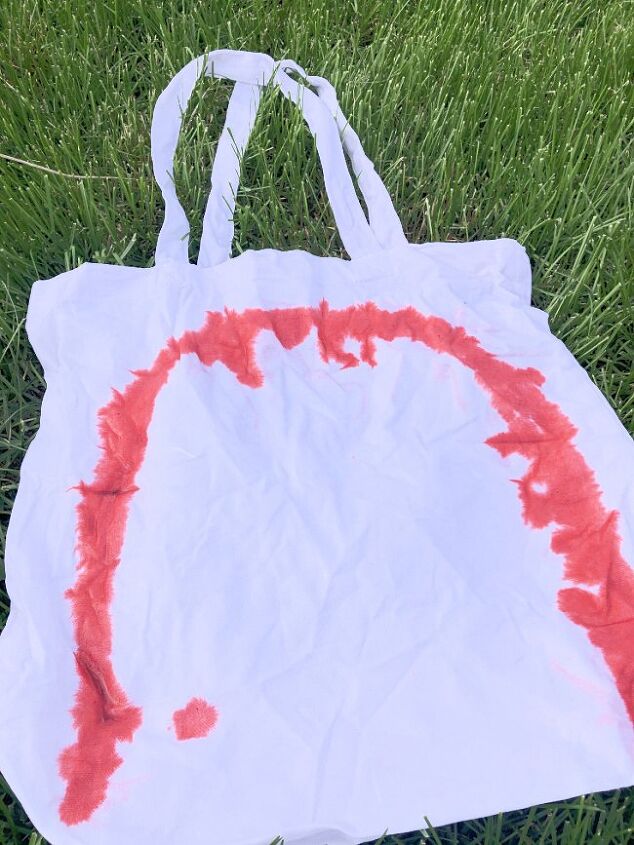
As you add colors, they will bleed into each other. That is okay. It is part of the magic.
If you want to cover more of the white space on the Tulip One Step tie dye tote bag, add pink above the red. Another idea for this area would be to use a blue for the sky.
Step Four
Let the wet bag with they dye on it sit for at least eight hours in a sealed bag or a rubber container with a lid. Then rinse completely.
It’s best that anything you’re planning to dye get completely washed with a mild detergent before the project begins. This removes any potential dirt or debris from the fabric. It also ensures that it is shrunk down to size if it is a new item purchased for the project.
What you decide to dye is completely your decision. I chose the rainbow tie dye tote bag because I need a new bag for the pool. This is the most important thing to know – your item should be a natural fiber: 100% cotton, silk, rayon, and wool are all great choices. Blends of fabric don’t take the dye very well and therefore don’t get much color. If the item is at LEAST 50% cotton – it will get some color but nothing like total natural fiber.
Wash items separately the first few washes in cold water.

Cheers,
Laura
The author may collect a small share of sales from the links on this page.


Comments
Join the conversation