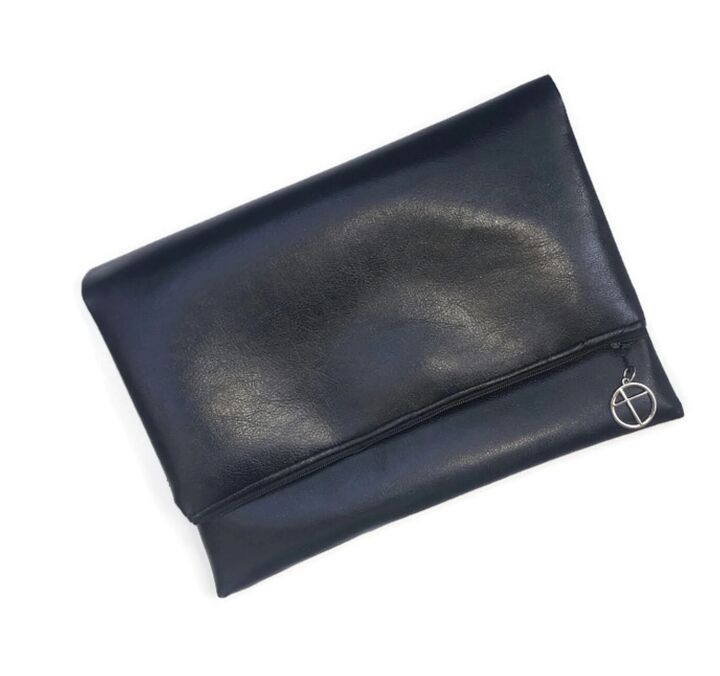
DIY Clutch in Only 30 Minutes

Clutches can be fashion statement. They are here to stay! They can not only be worn at night, but oversize clutches can be a day fashion accessory. Here I teach you a very easy way to make your own zippered clutch. You can also use embellished fabric to give a twist to any simple outfit.
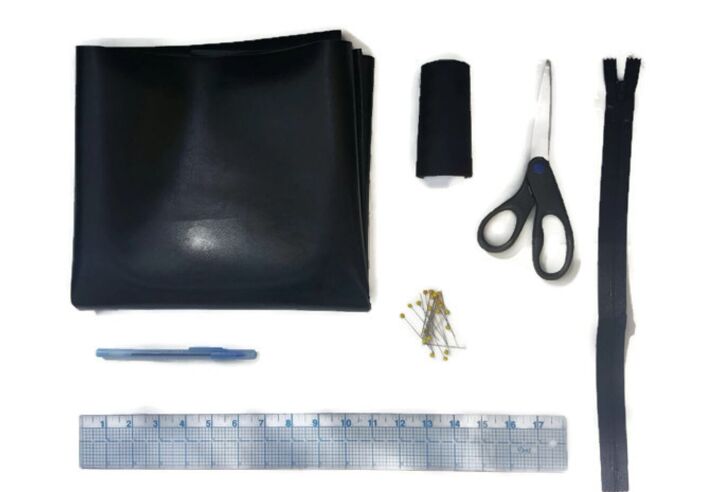
Materials:
· ½ yarda leather or faux leather
· Marker or pencil
· Regular zipper 12” or longer
· Ruler
· Scissors
· Thread and pns
· Regular sewing machine
Instructions:
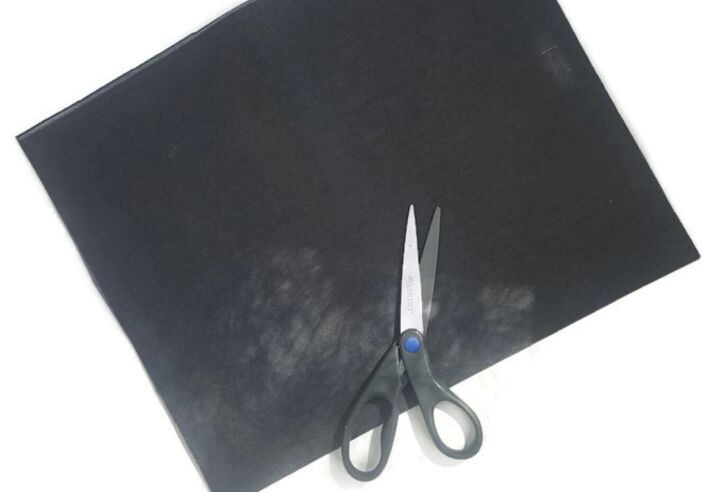
1. On the fabric, mark a 12” wide x 15” tall. Cut 2 pieces. (Fig. 1)
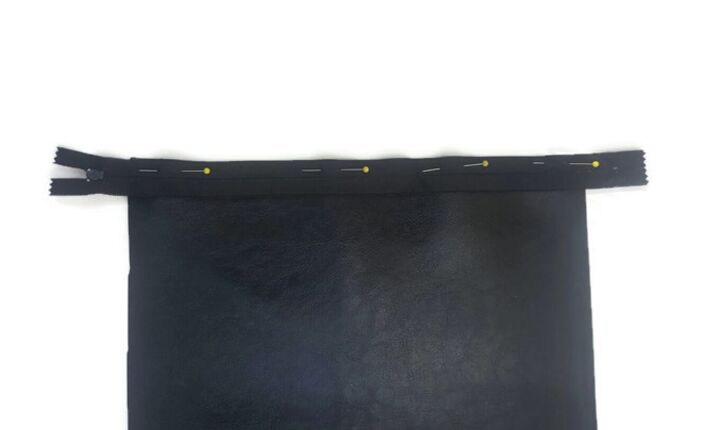
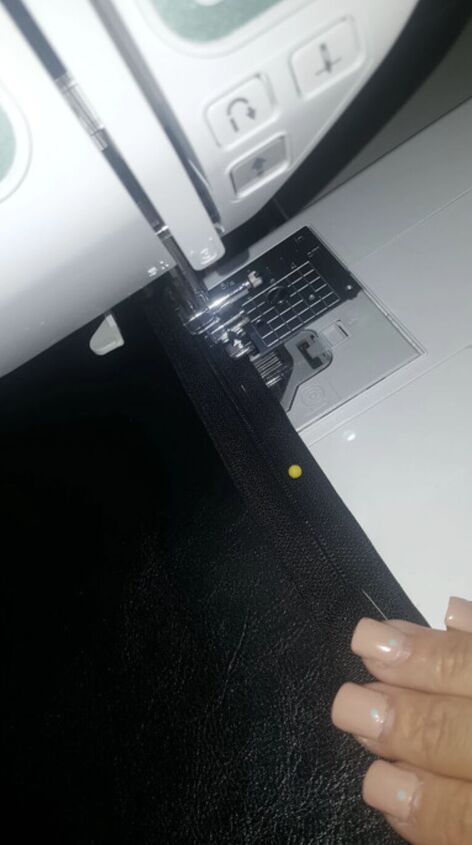
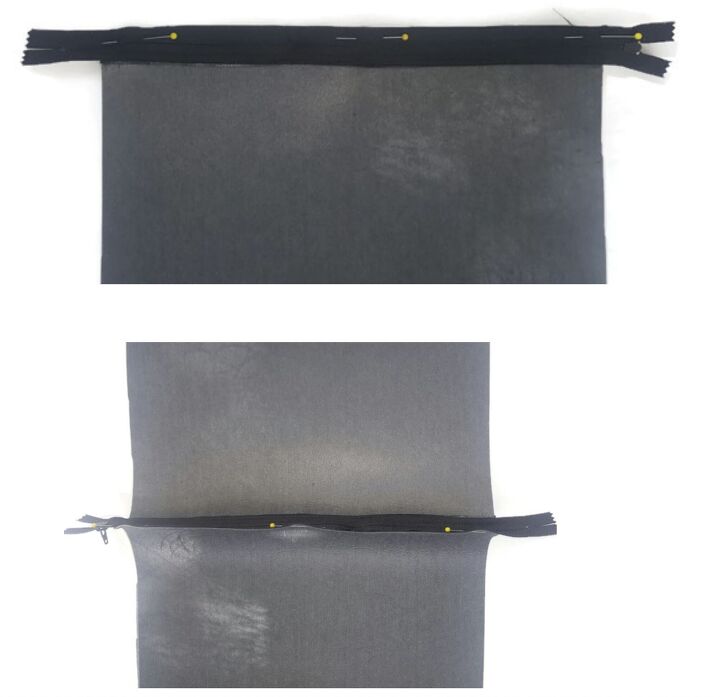
2. Center the zipper FACE DOWN on one of the 12" sides, with the piece RIGHT SIDE up. (Fig. 2 y 3) Don't worry if you have leftover zipper on the sides. Using a zipper foot, stitch close the teeth, leaving a ½” seam allowance.
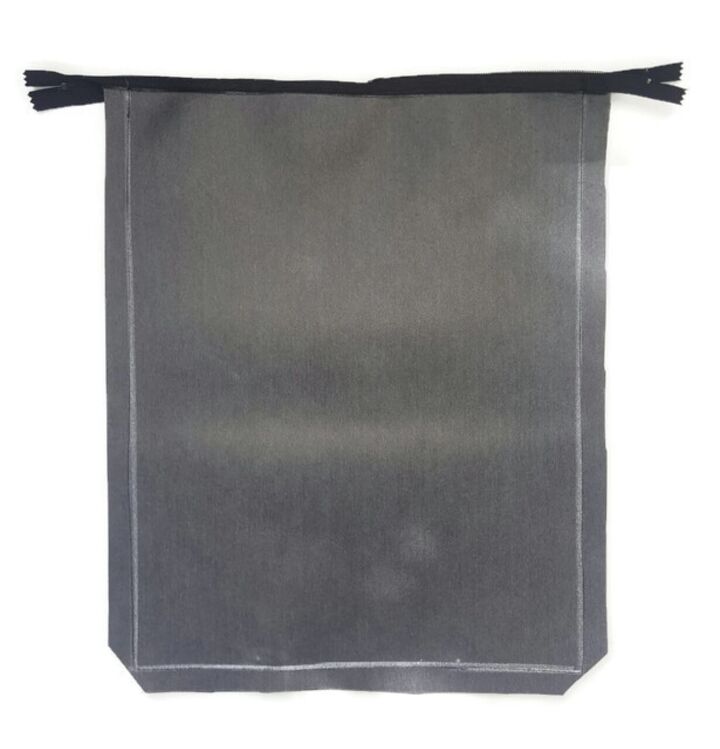
3. Repeat the process with the other piece. (Fig. 4) Fig. 5 shows the inside of the clutch (open) after sewing both sides of the zipper.
4. Open the zipper at least half way (don't forget this step because you need it to open turn the clutch inside out later. Place the clutch RIGHTT SIDES together. Sew all 3 sides, leaving ½” seam allowance, backstitching close to the zipper in the beginning and end. Be careful not to catch the zipper. (Fig. 6) Cut lower corners diagonally.
5. Open the zipper completely and turn the clutch inside out. (Fig. 7) Carefully, turn the the corners using a pen or pointed object.
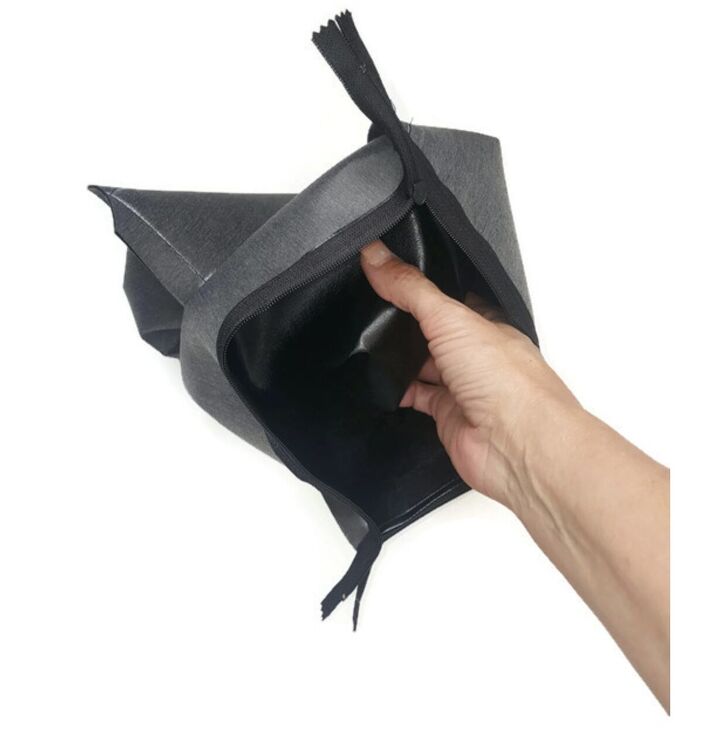
6. Fold in half and you're ready to go :0) You can also attach a dangle or ribbon in the zipper pull.

The author may collect a small share of sales from the links on this page.


Comments
Join the conversation
Very nice! Thanks for sharing!