How to Make a Cute Pizza or Pie-Shaped DIY Coin Purse

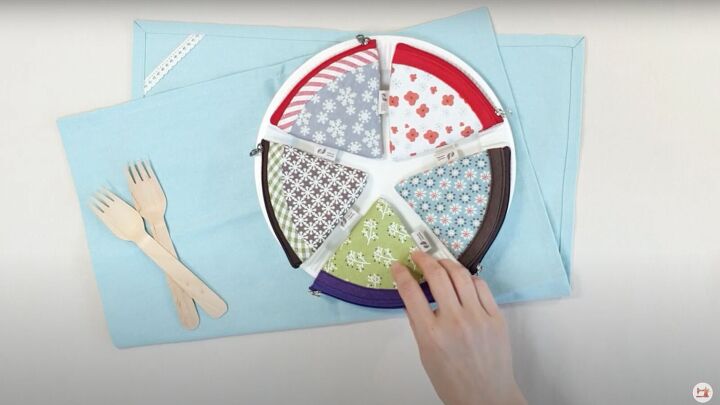
Here’s a free downloadable DIY coin purse pattern so you can make a pie-shaped or pizza coin purse! These little segments are perfect for holding jewelry items like earrings, or other small precious objects, and of course, coins!
I’ll show you how to make a DIY coin purse to make for yourself or give as gifts. Let’s get started!
Tools and materials:
- Outer fabric
- Lining fabric
- Quilted batting (optional)
- Fusible interfacing
- No.3 zipper 11½ inch (29 cm)
- Label (optional)
- Sewing machine
- Scissors
- Clips
- Pattern
1. Make the pattern
Download the DIY coin purse pattern.

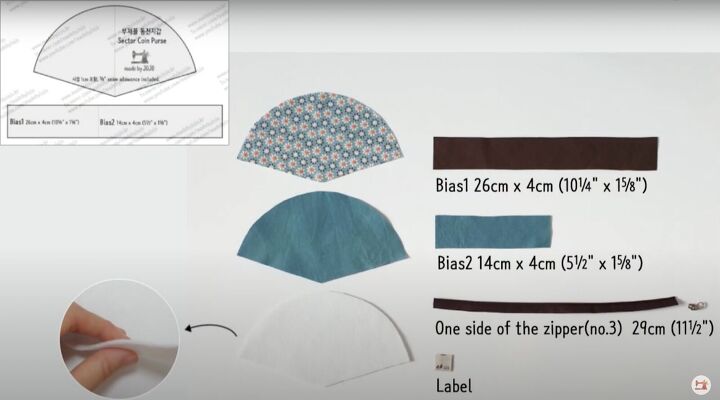
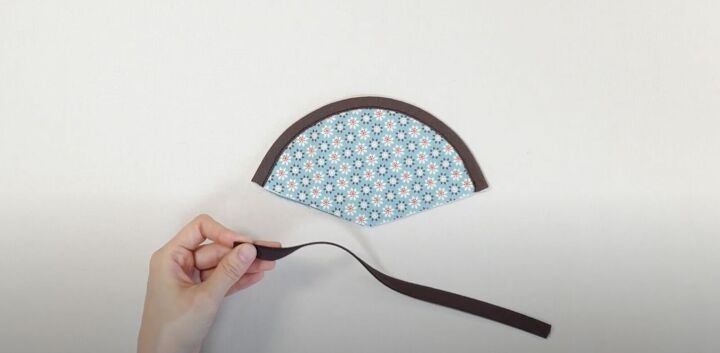
Cut the fabric, fusible interfacing, and quilted batting (if using) in the shape of the pattern. Cut the bias strips.
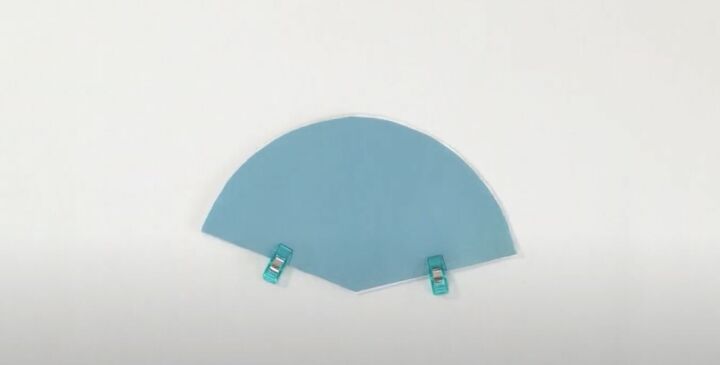
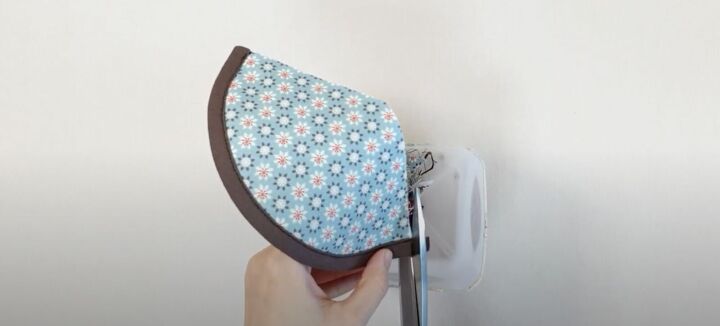
Sandwich the fusible interfacing in between the lining and the fabric. Clip them together on the two straight edges.
2. Sew the coin purse
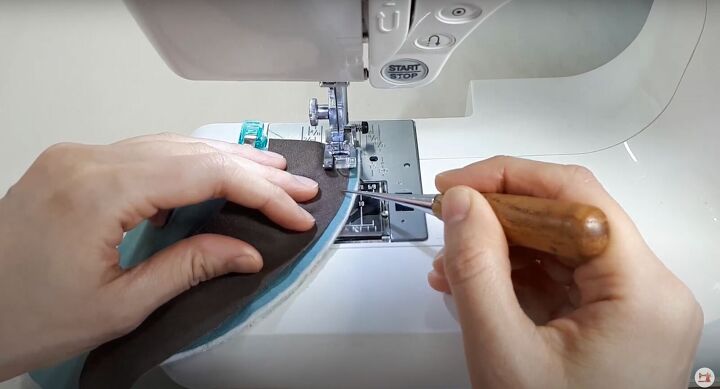
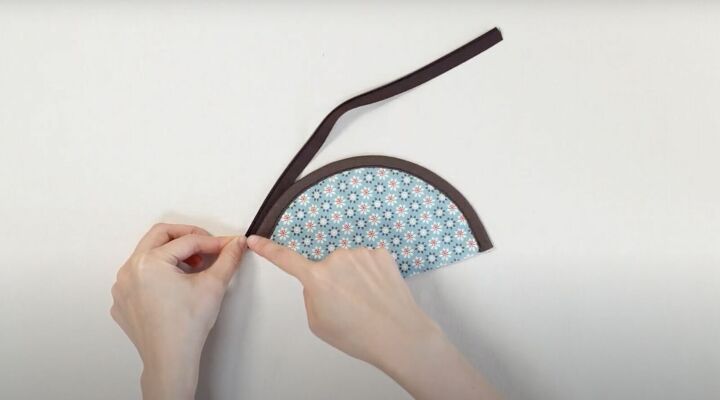
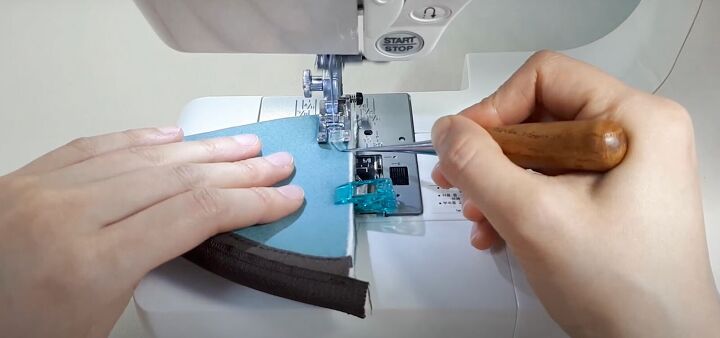
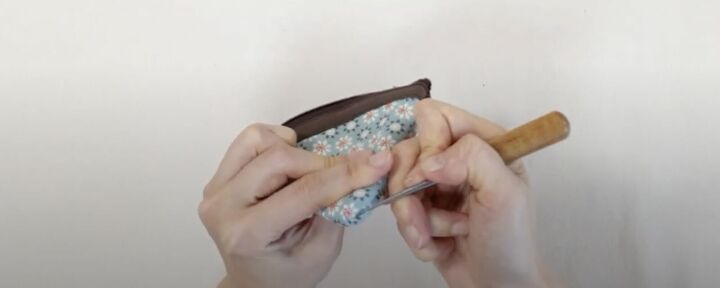
Place the bias tape over the rounded portion of the coin purse and sew it down right at the edge. You may want to use a tailor’s awl to help you guide the fabric through the sewing machine.
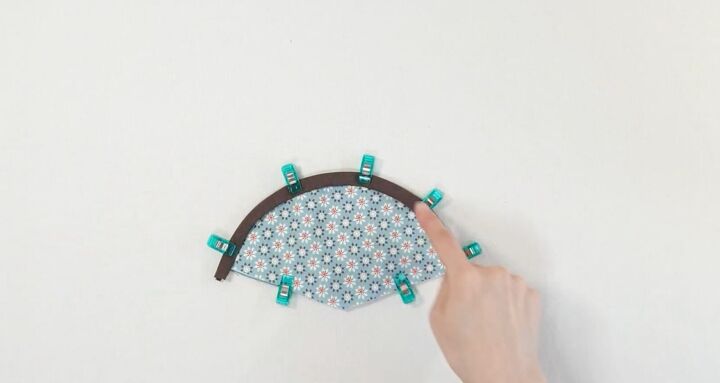
Fold the bias tape over the other side and tuck it in so no raw edges are visible. Clip it in place and sew.
Trim any excess.
3. Sew the zipper
Unzip the zipper entirely.
Sew one side of the zipper to the sewn bias tape.

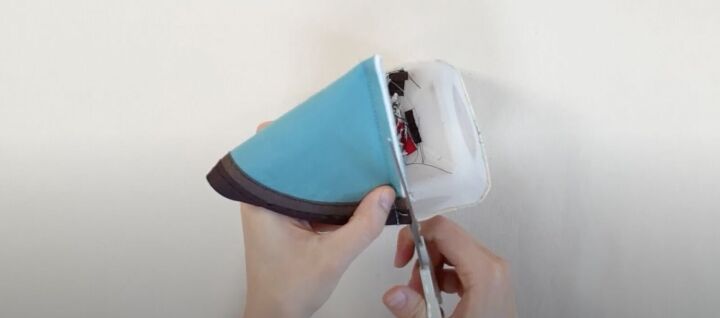
Fold the coin purse in half. Trim the excess of the zipper so it is flush with the coin purse.

Place the zipper slider on to the teeth at the top. Zip the coin purse closed.

4. Sew the last side

This step is totally optional but it lets people know it was your creation. If you have your own label, this is the time to use it!
Place your label inside the open portion of the coin purse right at the center and on the outer fabric layer. Clip it in place.
Sew as close to the edge as possible. Make sure to backstitch at the beginning and end.
Trim the uneven edges of the seam allowance. Snip the very edge of bottom corner, making sure not to cut the seam.
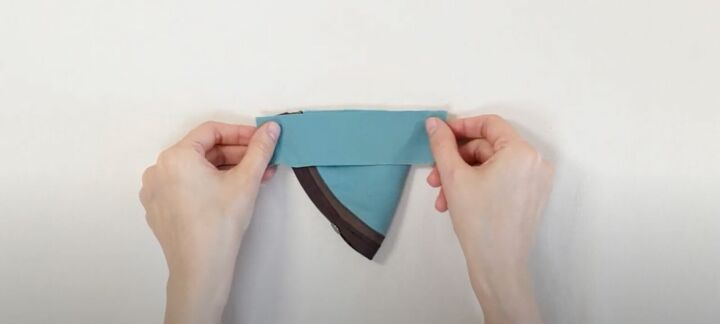
Place the smaller bias strap across the top of the straight side. Sew as close to the edge as possible.
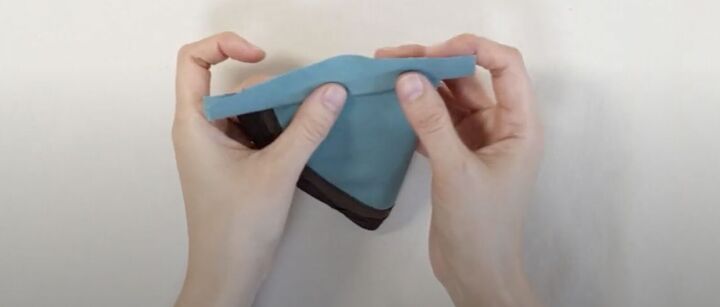
Fold over the bias tape, tucking in the corners and smoothing it down to look as professional as possible.
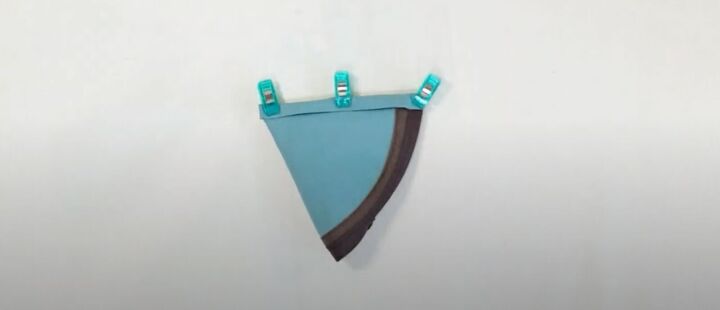
Clip in place. Sew the bias strap down. Open the zipper to turn the coin purse inside out.
Push the corners out. You may need to use a tailor’s awl or another object to make the triangle sharp!
DIY coin purse tutorial
You’re done! How adorable are these DIY coin purses? You can be as creative as you like with different colors and fabrics! Please let me know in the comments if you made these and how many you made.
The author may collect a small share of sales from the links on this page.


Comments
Join the conversation
Have fun sewing!
If you have any questions, leave a comment.
Thanks! 😁
Sewing this one. So cute!