How to Make a Cute DIY Triangle Pouch For Coins, Earphones & More

In this tutorial, I’m going to show you how to make a triangle coin purse. It’s great for holding your money, as well as popping your earphones in and any other small bits and bobs you might have in your handbag.
This DIY triangle pouch is very straightforward to make, so let’s get started!
Tools and materials:
- Fabric
- Interfacing
- T-buttons
- Ring
- Ruler
- Pen
- Scissors
- Iron
- Cips
- Sewing machine
- Button puncher
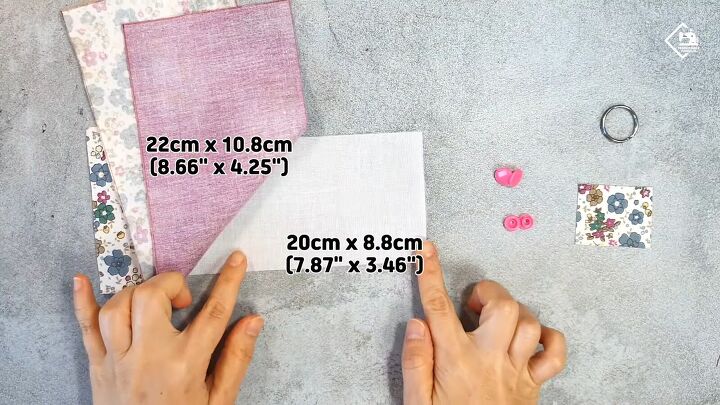
1. Cut the fabric
Start by cutting your fabric.
For this DIY, you need two rectangles of fabric that measure 22x10.8cm (8.66x4.25 inches) and one rectangle of woven fusible interfacing that measures 20x8.8cm (7.87x3.46 inches).
You also need a smaller rectangle that measures 5x4cm (1.97x1.57 inches).
Here I have gone for two different types of fabric, one will be for the outside of the purse and the other for the inside.
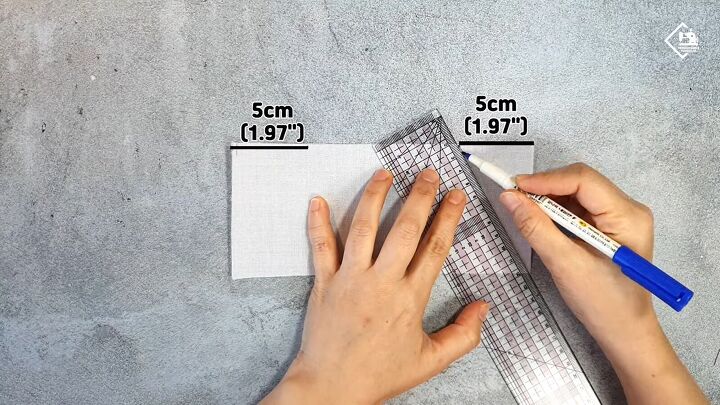
2. Mark and cut
Take the woven fusible interfacing and mark 5cm (1.97 inches) from the ends on either side. Then connect these to the corners to triangle them off. Proceed to cut the triangles out.
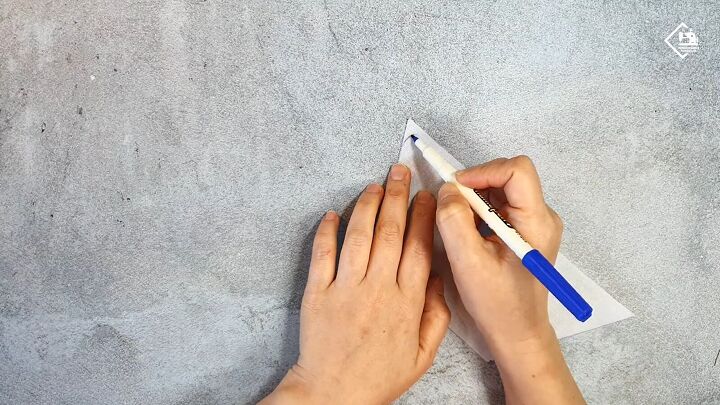
3. Round the edges
You will then be left with a trapezium shape. Round the edge on one side only, first by marking it and then proceed to cut it.
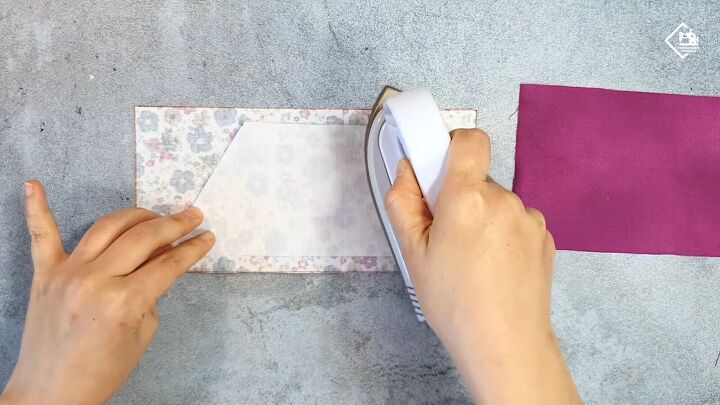
4. Iron the interfacing to the fabric
Take one of the fabric rectangles, place it right side down and then iron your interfacing onto the back of it.
5. Cut the fabric
Place that rectangle on top of the other rectangle so that the right sides face each other. Clip the two pieces together.
Then, draw around the interfacing piece leaving about 1cm (0.4-inch) seam allowance, and then proceed to cut the two pieces of fabric.
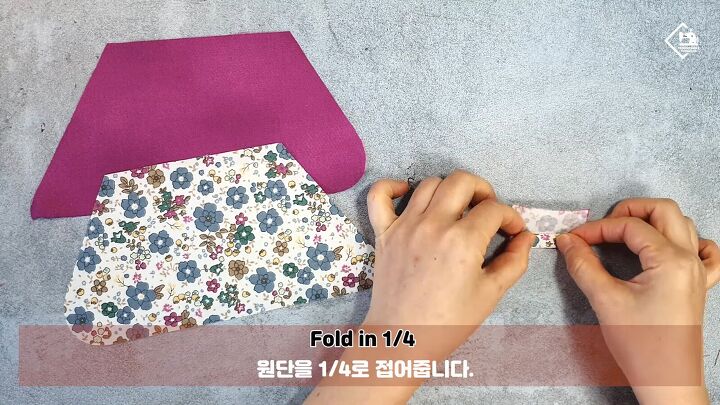
6. Fold the small piece
Take the small rectangle that you cut out before. Fold it into quarters with wrong sides touching. Do this by folding it in half lengthways, opening it up, and then fold each side again.
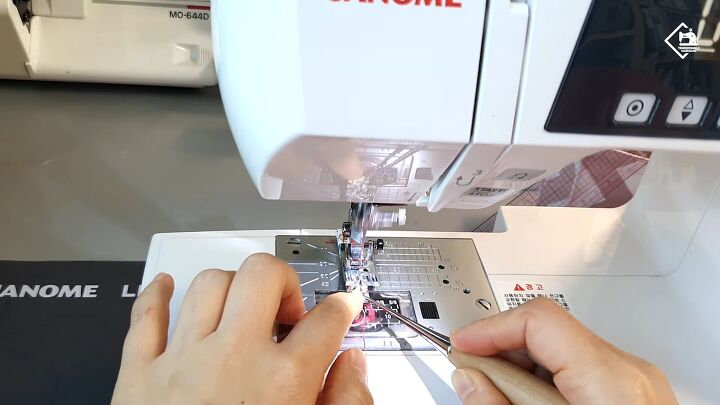
7. Sew the small piece
Next, take the small piece that you just folded and topstitch within 0.2cm (0.08 inches) on either long side. Then fold it in half and clip the two sides together.
Tip: When sewing a small piece like this, you can use a tool to help you push the piece towards the needle of the sewing machine so that your fingers don’t get too close.
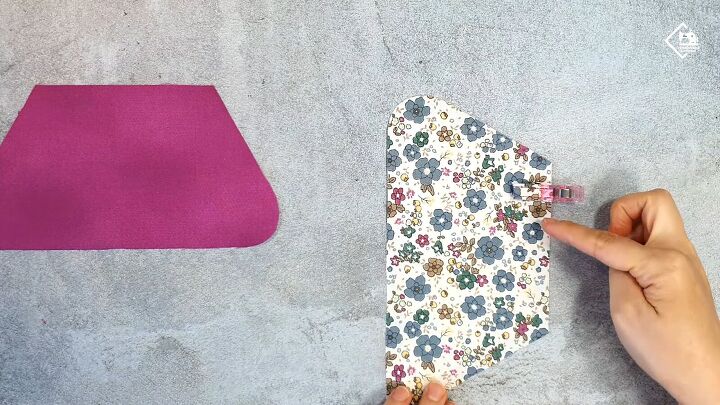
8. Clip the small piece to the larger one
Next, clip the small piece of fabric onto the bigger one. Do this on the smaller straight side at the position shown in the picture. Then sew the top of this smaller piece to connect it to the larger one.
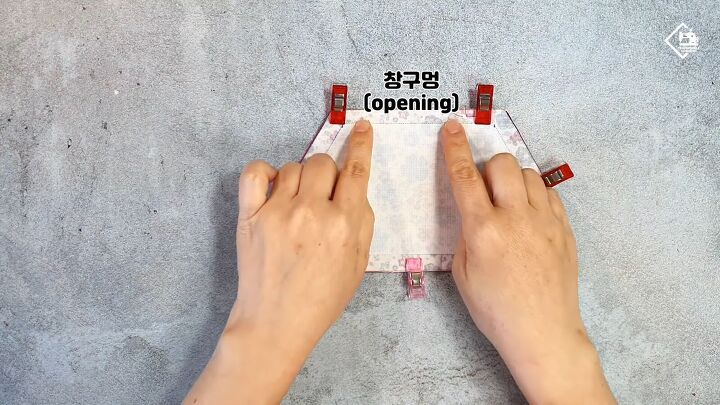
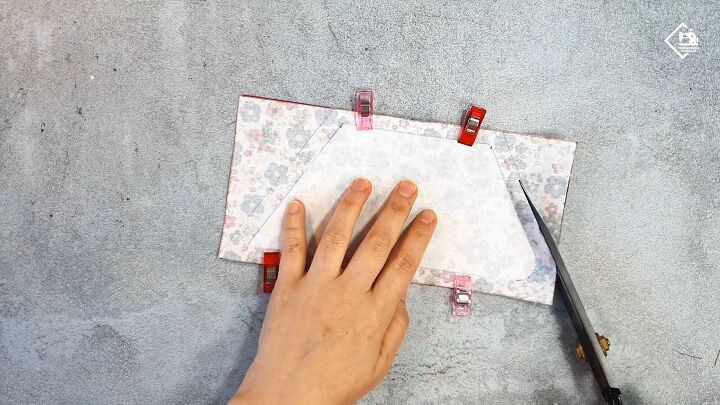
9. Sew around the edges
Place the two pieces together with the right sides touching and clip them together. Mark the opening - this will be roughly 5cm (2 inches).
Proceed to stitch within 1cm (0.4 inches) around the edges, making sure not to sew over the opening.

10. Trim and iron
The next step is to trim the corners, then iron the seams out. Once done, turn the pouch the right way out. Proceed to iron it down so that it’s nice and flat.
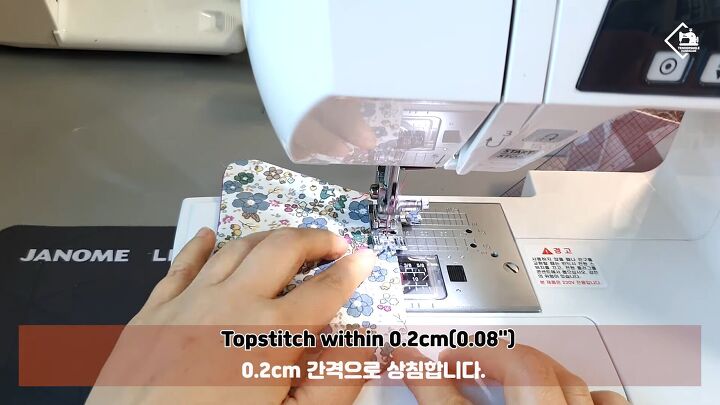
11. Topstitch
Topstitch within 0.2cm (0.08 inches) all around the outside except for the opening.
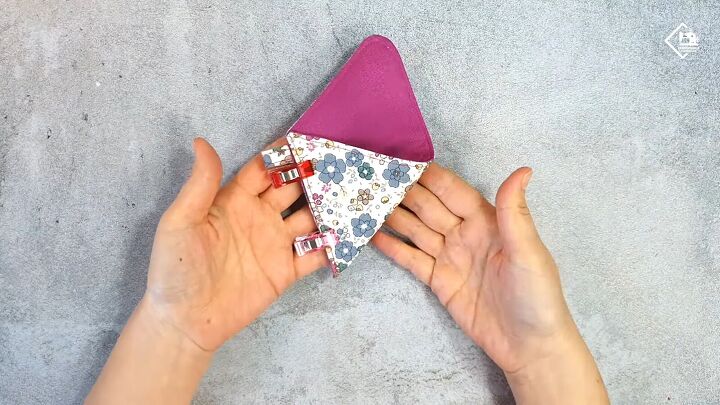
12. Fold and sew
Fold the material so that you get the shape shown in the picture and clip it into place. Topstitch the open side within 0.2cm (0.08 inches).
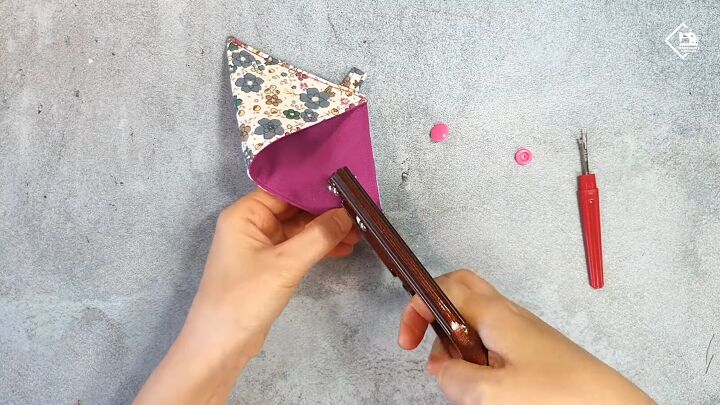
13. Add the buttons
Use a seam ripper to make a little hole in what will be the opening flap of the purse, and then use a button puncher to put the t-buttons in.
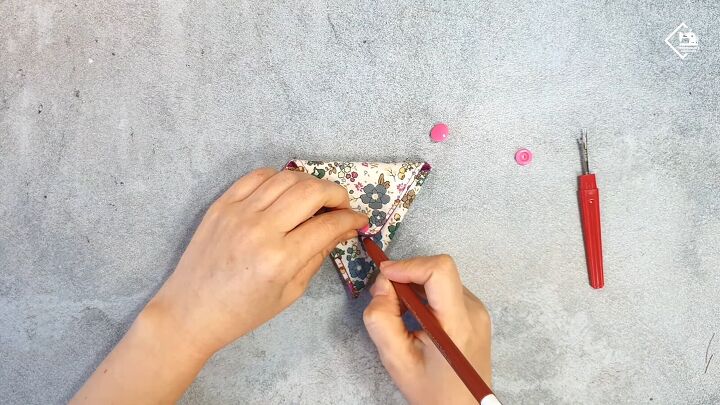
14. Add the buttons
Mark with a pencil where the connecting button needs to go. Then just punch the button on, and clip the two sides together.
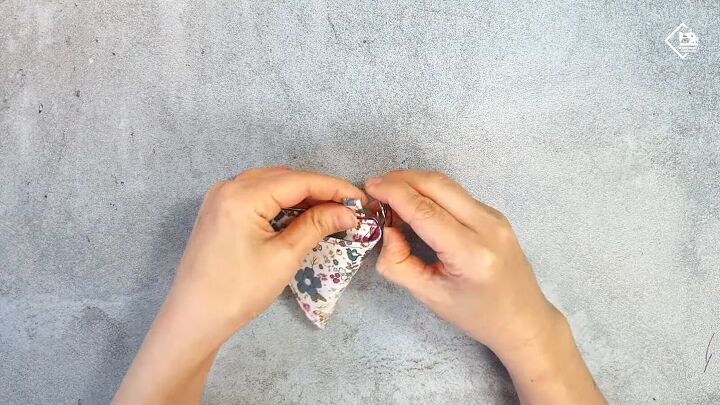
15. Add the ring
The final step is to add a ring to the loop.
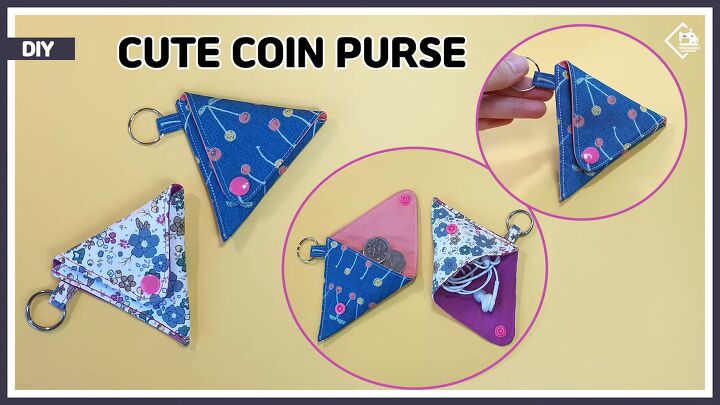
DIY triangle pouch tutorial
Here we have our finished DIY triangle coin pouch. I love how handy this pouch is for holding money or other little items, and the handy ring means that you can easily attach the pouch to a bag or something else.
You can make this coin pouch unique to you by selecting whatever colors and patterns you like for the inside and outside fabric.
The author may collect a small share of sales from the links on this page.


Comments
Join the conversation