How to Make a Drawstring Bag (using Eco Printed Fabric)
Hi Creative Mamas! In this post I want to share with you how to make a drawstring bag with a twist.
We are using Eco Printed Fabric and the drawstring will be on the outside of the bag rather than enclosed inside.
This is a wonderful tutorial that you can follow if you want to make a gift bag, a small bag or a wonderfully unique cute bag for that matter.
How do you make an easy drawstring bag?
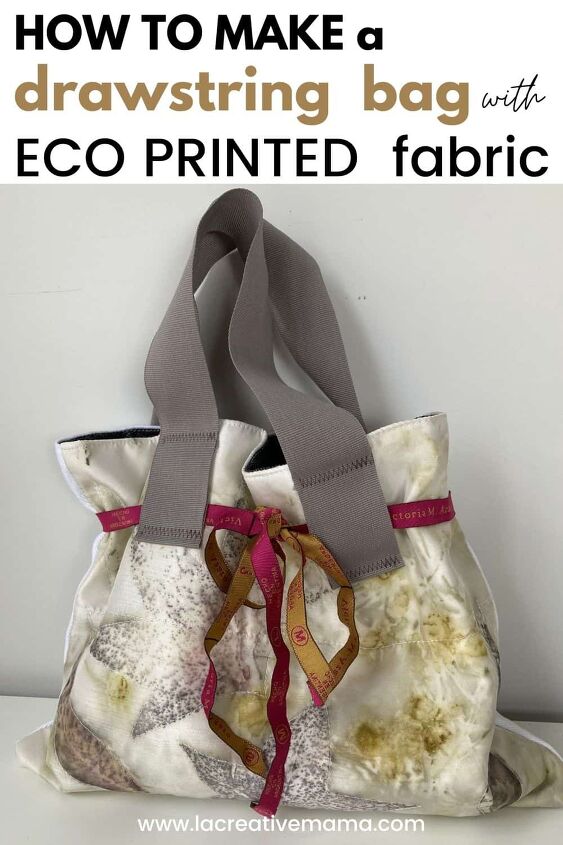
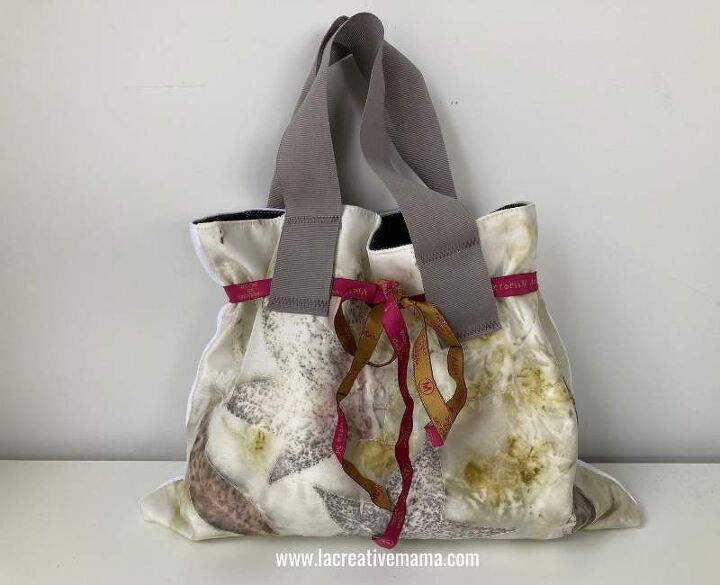
This is not the typical drawstring bag, it’s a one of a kind fashion item that can be used to go out at night or to dress up your jeans during the day 🙂
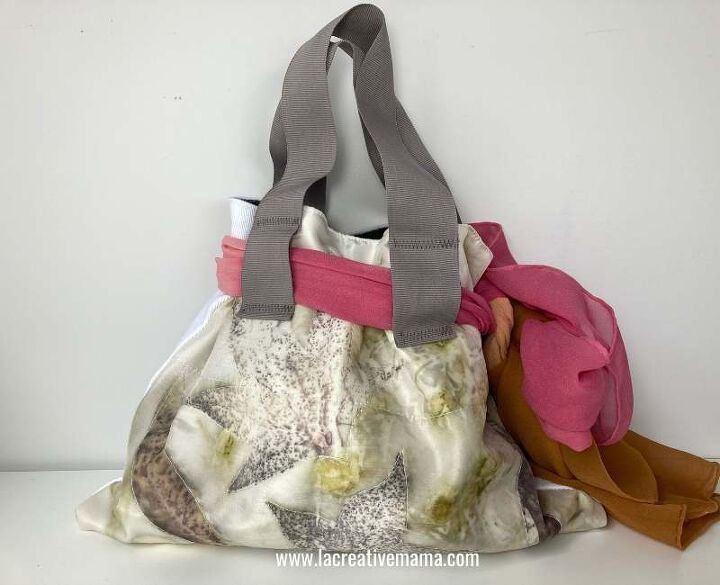
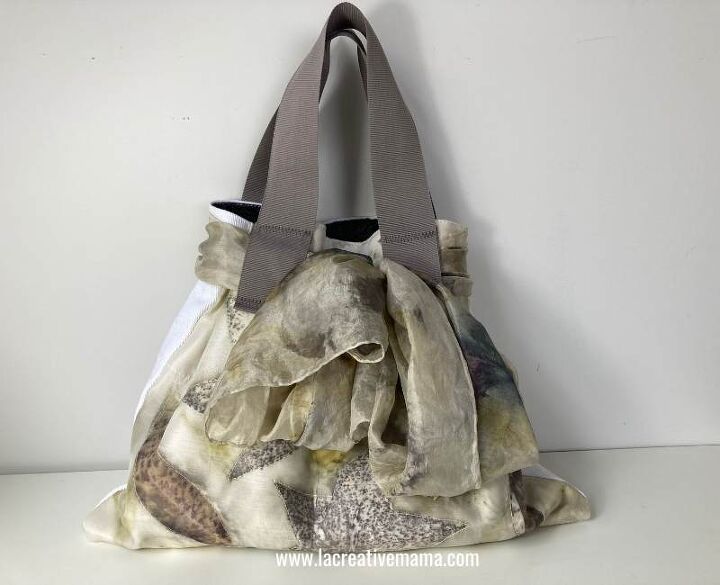
The great thing is that you can style it in different ways by changing the drawstring you use.
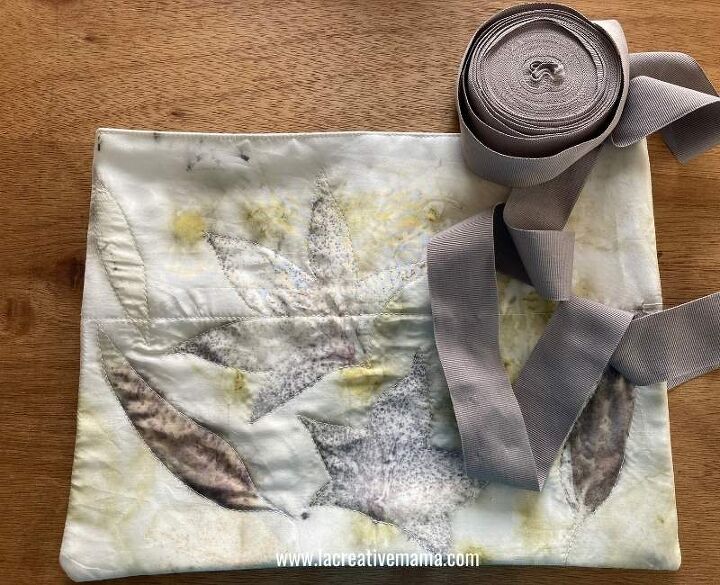
In the photo above I used a naturally dyed multicolor silk scar f and in the photo below I used an eco printed silk scarf.
You can transform one bag into a series of cute drawstring bags.
However, it’s super easy to make! Let me show you how!
DIY drawstring bag tutorial
This drawstring bag can be made in any size. You need 2 rectangular fabric pieces (front and back of the bag) as well as some extra fabric pieces to use as the facing.
The measurements used in this tutorials are: 14 inches by 11 inches (36 cm by 28 cm)
Materials and equipment
- Sewing machine
- Eco printed fabric for bag
- White cotton canvas for bag
- Scrap fabric for facing
- Haberdashery tape for handles
- Tape for drawstring
- Safety pin
- Sewing threads (I used white but you can play with contrasting threads)
Choose your eco printed fabric
The first step is to choose your fabric pieces and that includes the eco printed fabric that you will use for the front of the drawstring bag.
Of course you can use any other fabric, it can be a plain naturally dyed cotton, silk or wool or any piece of fabric that you like.
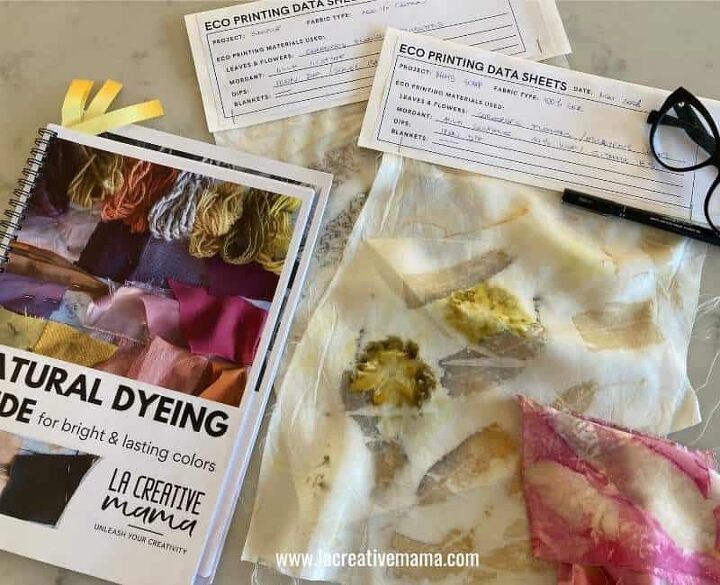
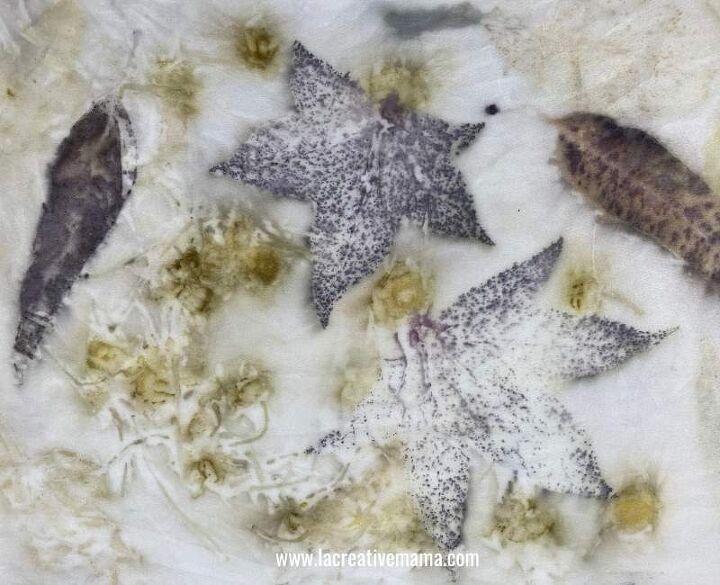
For this bag I have chosen a piece of fabric that I made as part of the Eco Printing on fabric Course.
I chose a piece of silk which was printed using eucalyptus, liquidambar and coreopsis leaves.
Embellishing with the sewing machine
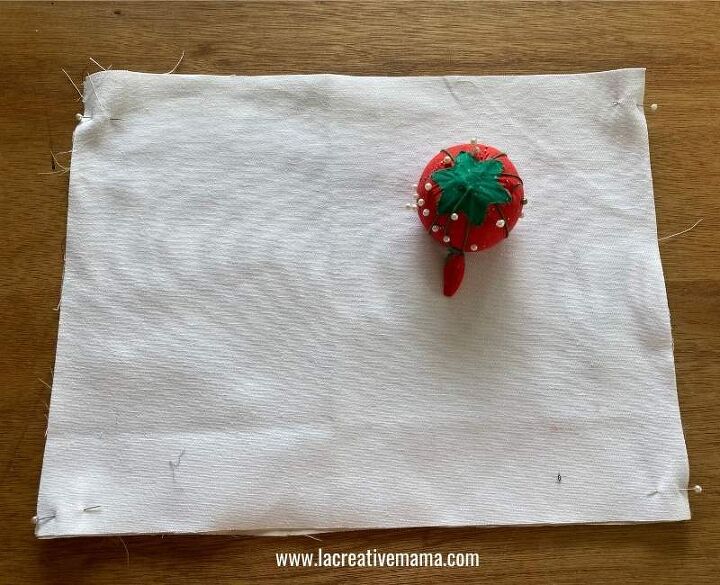
Cut 2 fabric pieces of white canvas and one fabric piece of eco printed fabric (14 inches by 11 inches (36 cm by 28 cm).
These measurements include seam allowance of 1/4 inch.
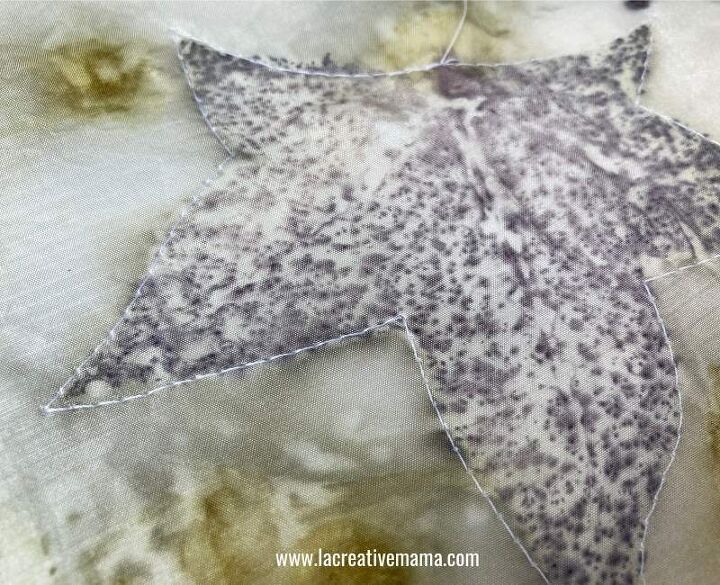
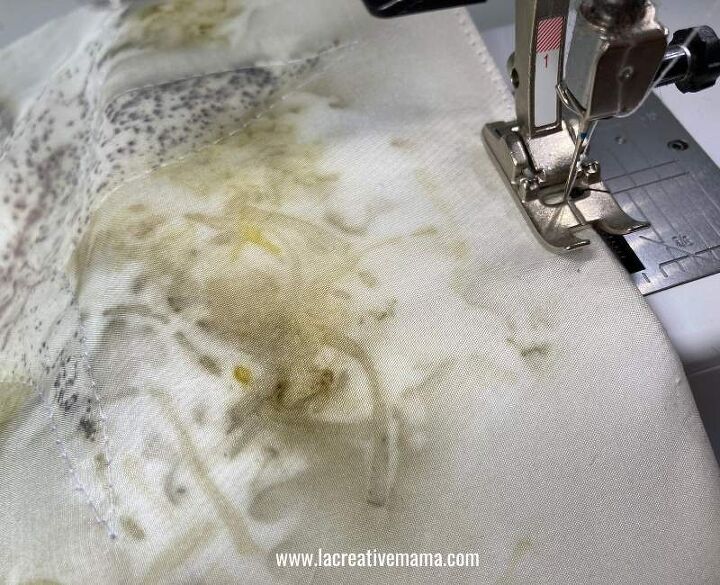
Place the printed fabric on top of the white canvas fabric and using your sewing machine, stitch through both layers of fabric going around the leaves shapes.
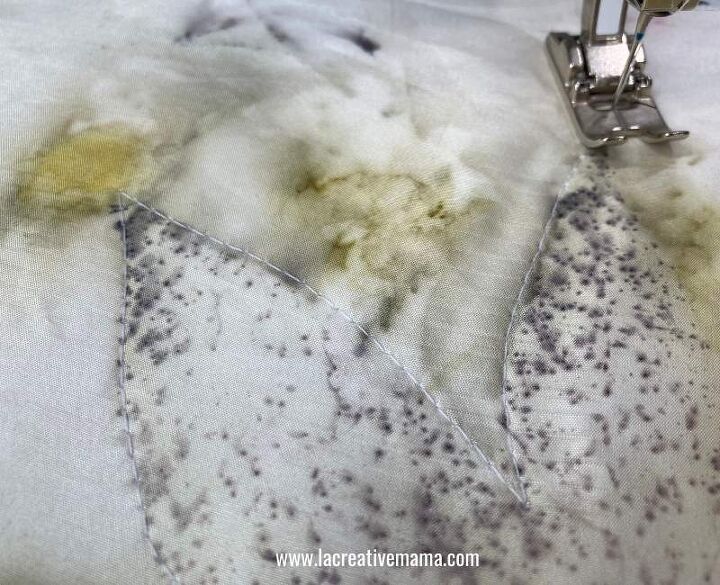
I am using white thread but you can also do this by using a contrasting color thread.
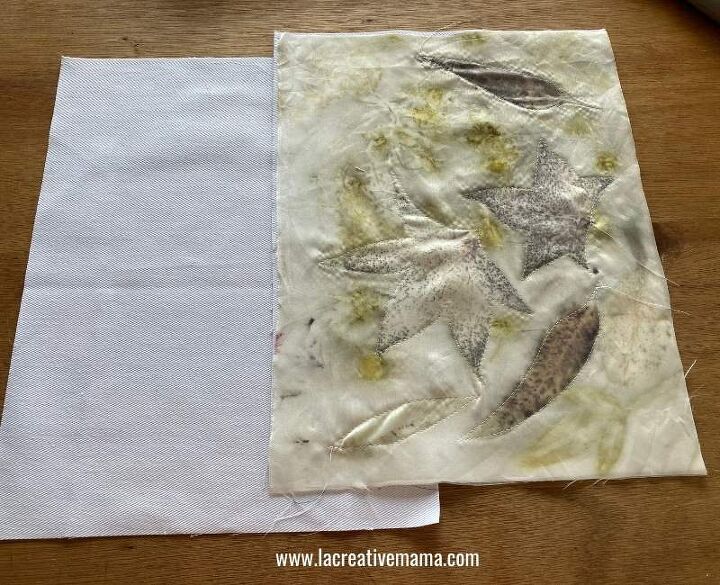
Place the stitched printed front of the bag and the back bag piece side by side.
Make sure they are equal in size.
How do you sew a drawstring bag in minutes?
Place one layer on top of the other, right sides touching.
Pin in place and sew around the bottom and the 2 sides of the bag using a regular sewing stitch. Make sure you leave the top edge open 🙂
To ensure your inside seams (raw edge) are tidy, you can either run a serger/overlock to neaten the edges or you can use a zig zag stitch.
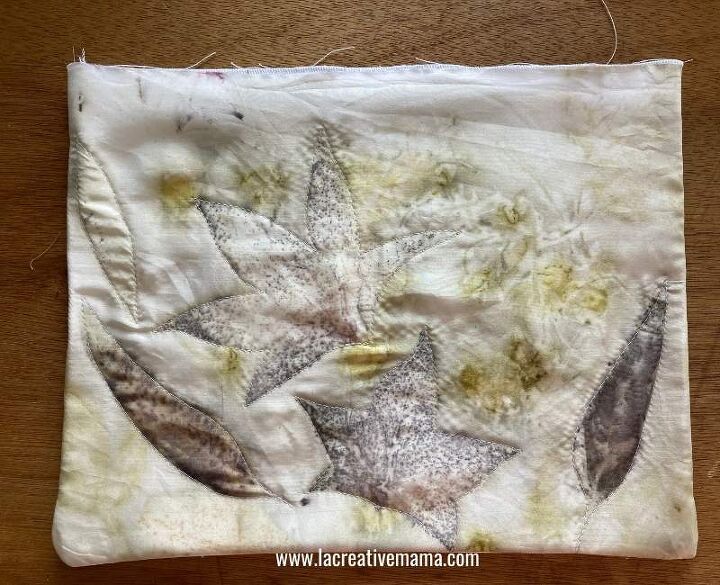
Turn the bag inside out. This is how it will look.
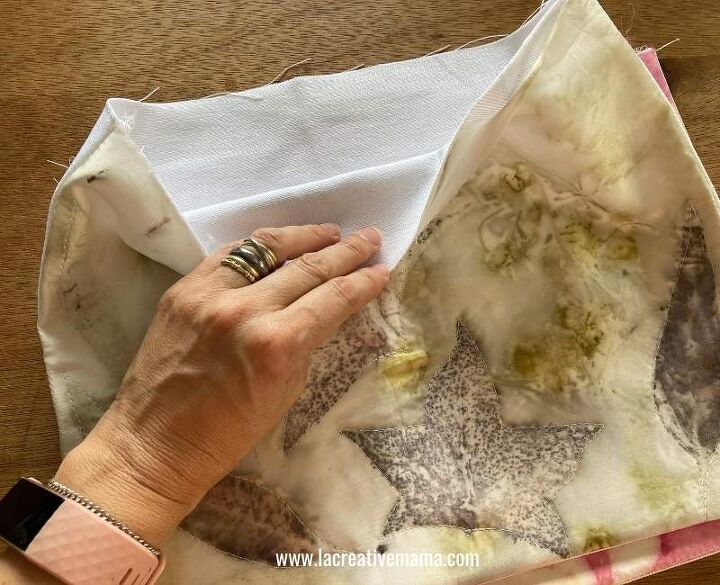
Give it a nice press 🙂
Using facings instead of lining fabric
Using a facing is a quicker and easier option that than having a lined drawstring bag.
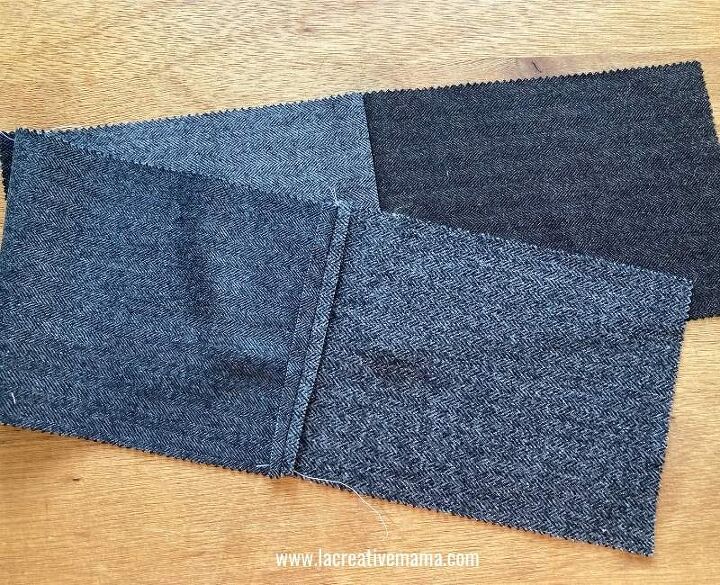
Choose your fabric scraps for the facing. Make sure they are around 5 inches wide (13 cm).
I am using some pieces of wool fabric in a dark color because they match nicely with my eco printed tones.
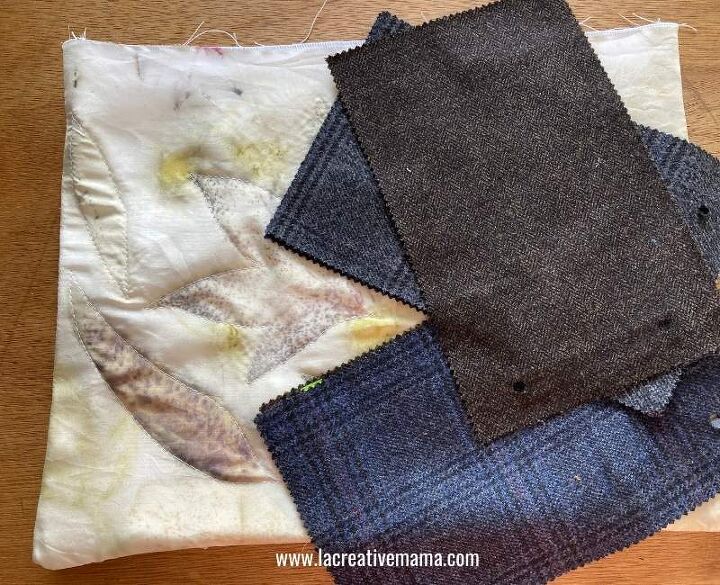
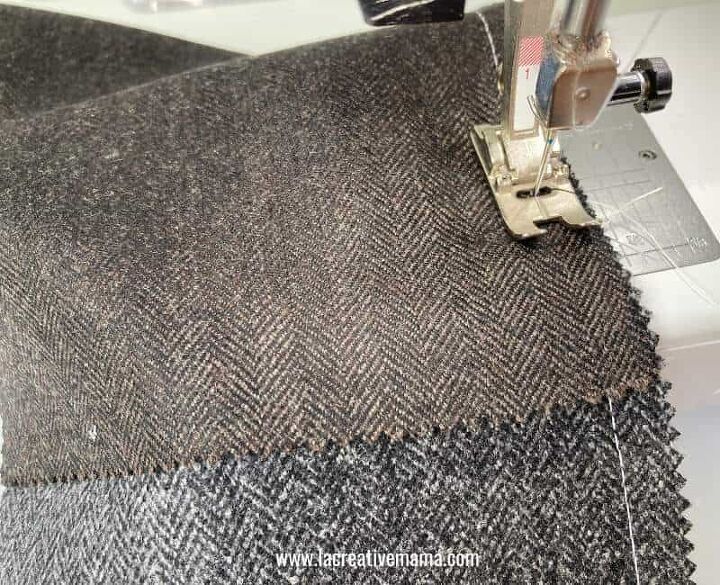
Sew the scrap fabric pieces together so that you have a long strip.
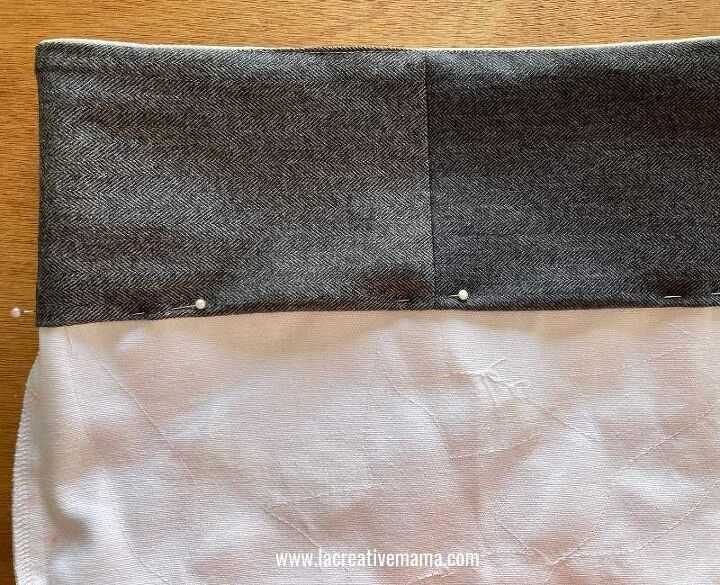
Place the strip on top of the top edge of the bag.
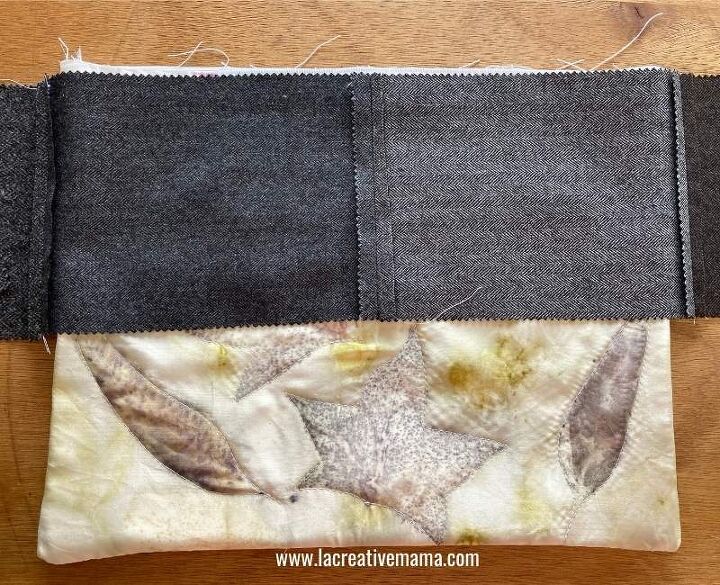
Pin all around it and make sure there is a 1 inch overlap (3 cm).
Using the sewing machine, sew the facing to the bag.
This is how it should like by now 🙂
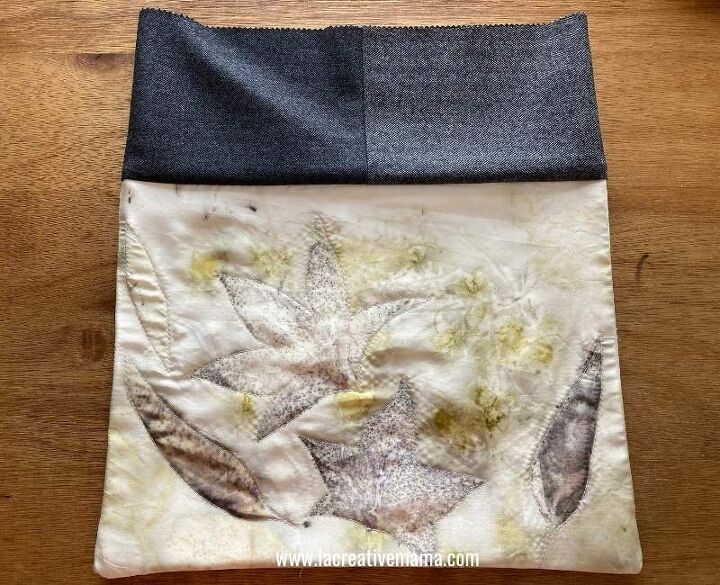
Turn the facing towards the inside of the bag and press.
Top stitch the top edge of the bag.
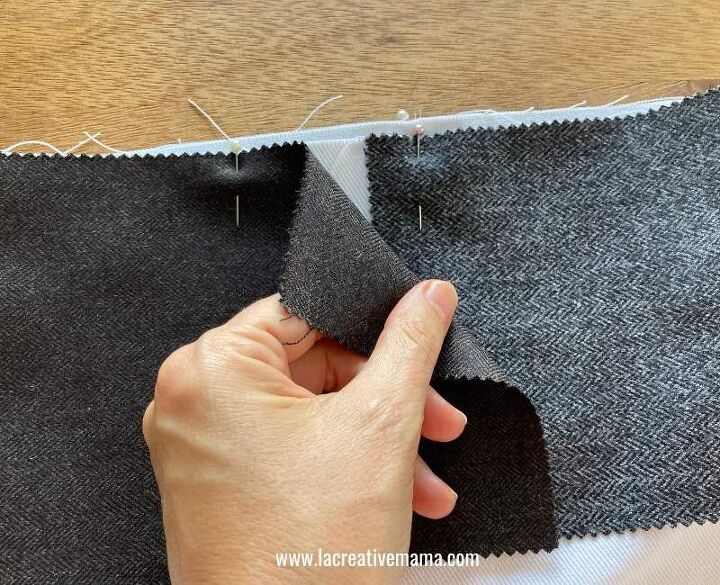
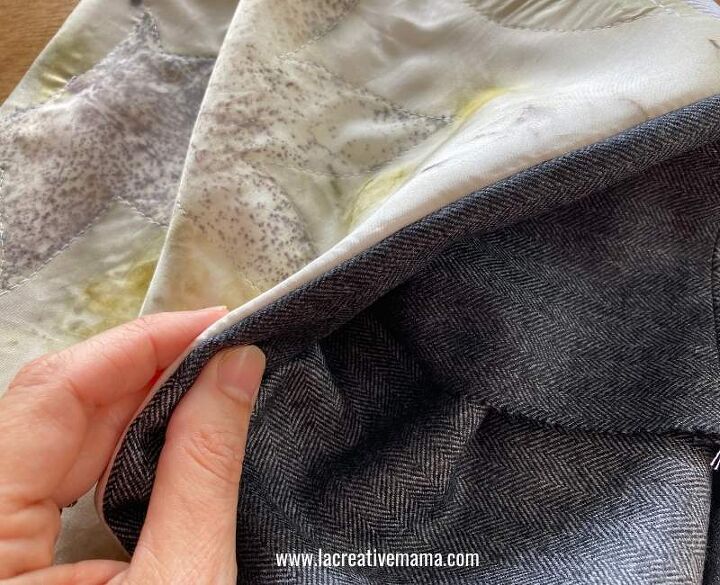
Turn the bag inside and fold the raw edge of the facing. Pin all around before sewing it.
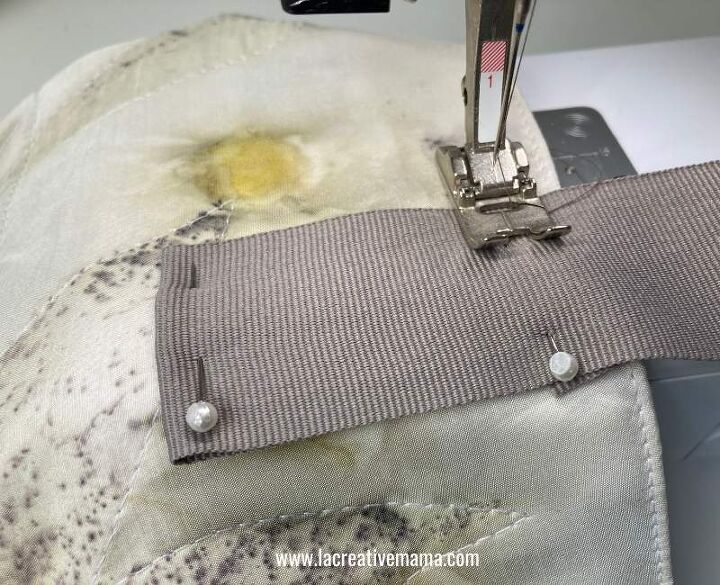
This is the finished faced bag. Now we need to make it into a drawstring bag. We are going to use haberdashery tape which is 2 inches (5 cm) wide and 26 inches (66 cm) long.
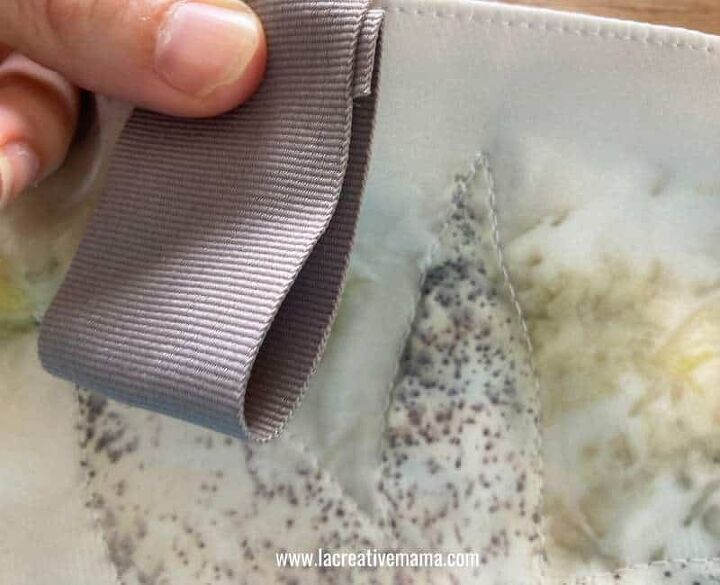
Create a fold at the edge of the tape (around the 7 inches mark 18 cm). Fold the raw edge within itself to conceal any raw edges as shown in photo below.
Place this folded tape against the top edge of the bag.
Pin at the bottom and at the top of the folded tape to the bag.
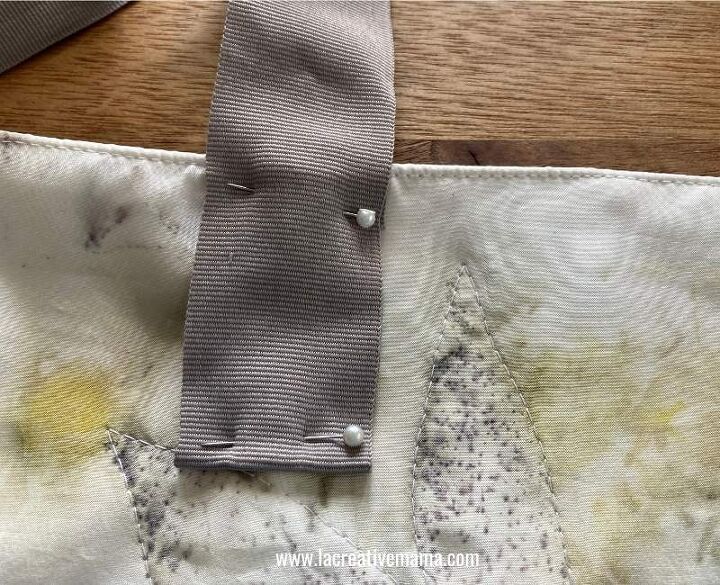
Repeat with the other edge of the tape to create an even handle. Make sure the handle is evenly placed on the bag.
Sew the top and the bottom of the folded tape.
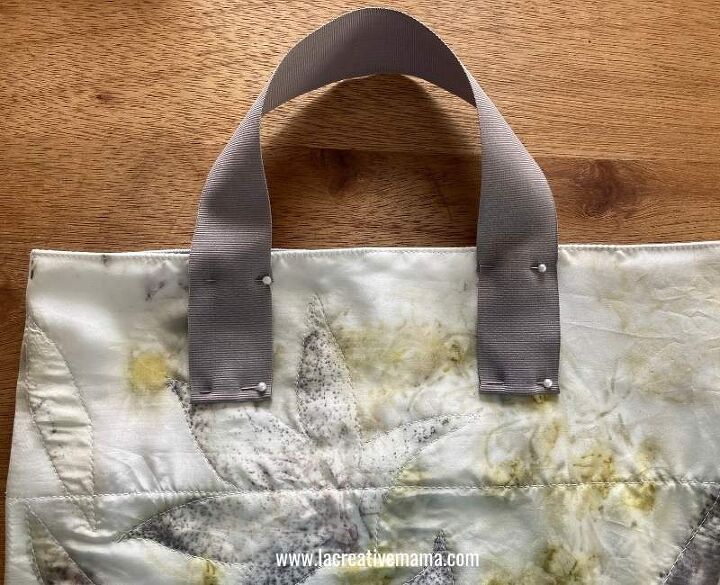
Repeat this for the back handle. Now you can thread any type of tape in order to create the drawstring bag.
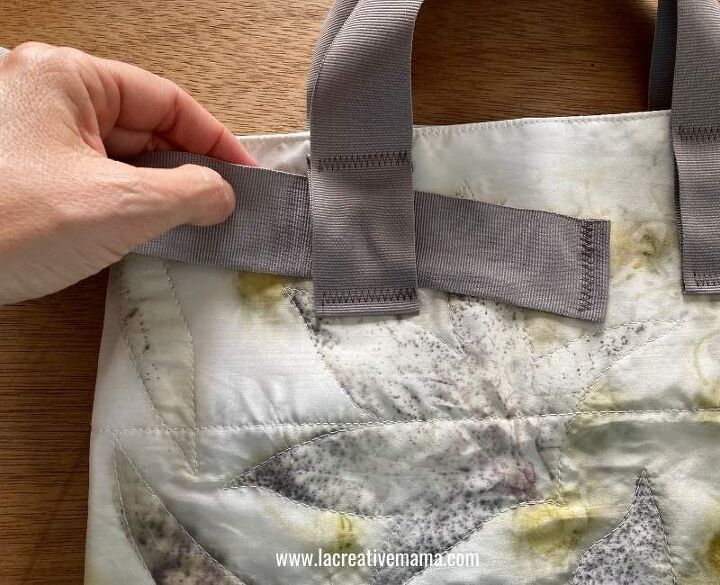
Repeat this for the back handle. Now you can thread any type of tape in order to create the drawstring bag.
Repeat this for the back handle.
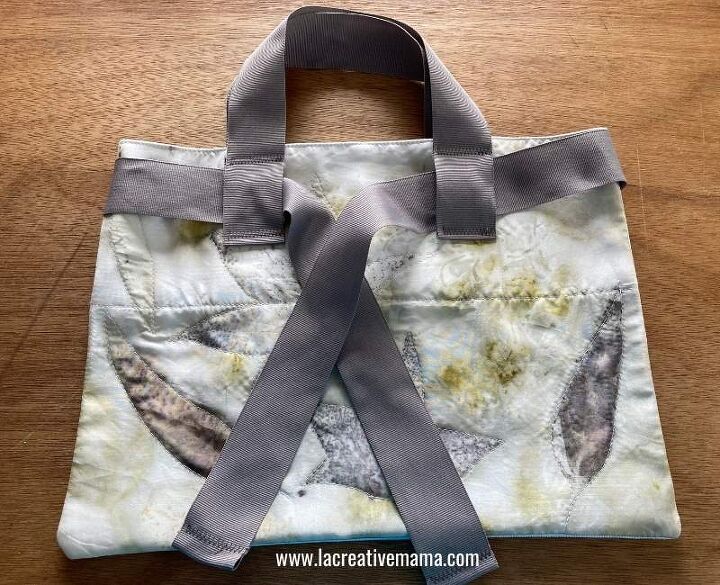
Now you can thread any type of tape in order to create the drawstring bag.
How do you make a flat bottom drawstring bag?
If you want to create a flat bottom for your drawstring bag check out this tote bag with flat bottom tutorial.
Other fun tote bag tutorials
These are some other fun tote bag tutorials that you may enjoy. They all come with free patterns for you to use 🙂
This reversible tote bag is a great way to use fabric scraps and it shows you how to make a cute little pocket.
If you love upcycling you will enjoy this post which shows you how to upcycle old jeans into a tote using applique embellishments.
If you enjoy applique and quilting check out this quilted bag which is fun and quite unique as well!
The author may collect a small share of sales from the links on this page.


Comments
Join the conversation