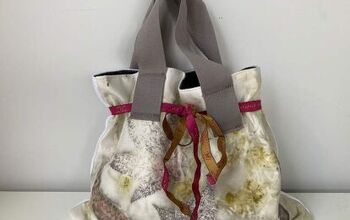
How to Sew a Drawstring Bag in Minutes
This post may contain affiliate links for products I love and recommend.
In this tutorial, I’m going to walk you through how to make a basic drawstring bag in just a few minutes. This project is going to be a pattern hack off my printable tote bag sewing pattern that you can snag here.
Video Tutorial on How To Sew A Drawstring Bag in Minutes
We all love a good ol fashioned pattern hack don’t we? It makes me feel like I get bonus projects out of my single printable sewing pattern. This printable design (created by yours truly) come-on 3 different sizes so you can create a artery of bags- that now come in a variety of styles.
Grab the sewing pattern that accompanies this tutorial here.
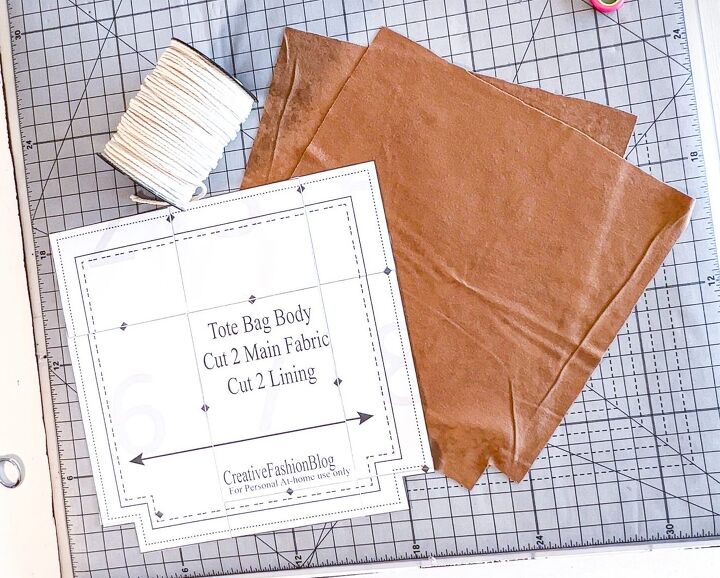
DIY Drawstring Bag Supplies
- My printable tote bag sewing pattern (available in 3 different sizes)
- 1 1/4 yd by 20″ of fabric
- Macrame rope
- Basic sewing machine (you can see my resource of top-rated, inexpensive sewing machines here)
- Loop turner
How To Print Your Drawstring Purse Pattern
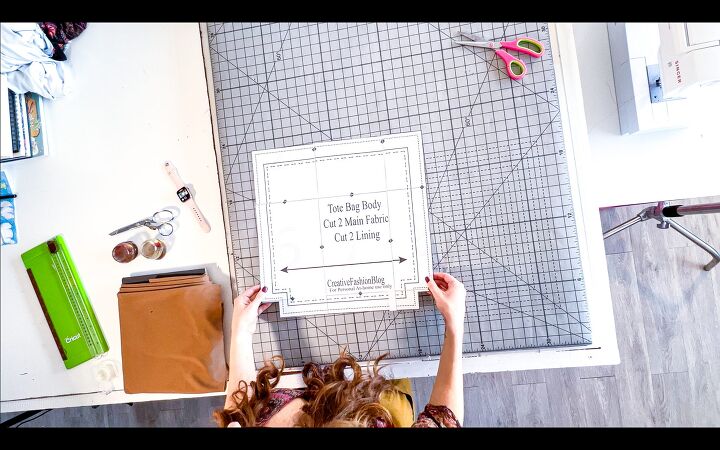
The first step in making our DIY drawstring bag is to print out the PDF tote bag sewing pattern that I created for you. This 12 page pattern can be printed on any standard at home printer. To begin, trim along the border lines of one long end and the bottom of each of our sheets of paper. This is going to make our pattern line up really nice without any spaces.
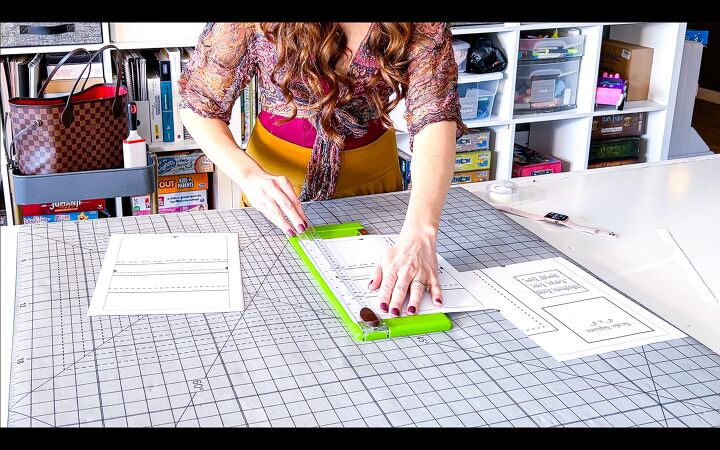
If you’re feeling brave, feel free to trim these pieces in bulk (meaning cutting more than one page at a time.) For me, since the pattern has only a couple pages, I’m going to do it one at a time.
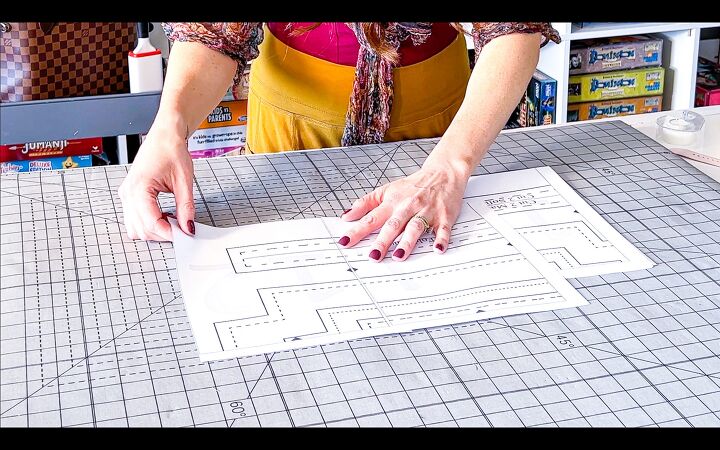
By cutting the border of our pattern pages so meticulously, our notches in between each page can line up perfectly and create one cohesive pattern. Next, lay out your diy drawstring bag pattern pieces. Make sure you can see the large numbers each page and the notches line up to create cohesive lines.

Next, use some regular tape to tape along the notches. If your paper has a notch (or triangle marking) at the top border of your page, that means it’s going to connect to another sewing pattern piece above it. To complete your full-size sewing pattern, continue building up and out until you have a full size sewing pattern. You’ll know your drawstring purse pattern is complete when it is to be four pages across and three pages high.
Assembling Your DIY Drawstring Bag
For this project, I’ll be using the center size (the medium size) and we don’t need to cut out the purse handle at all. So you can just bypass that step.
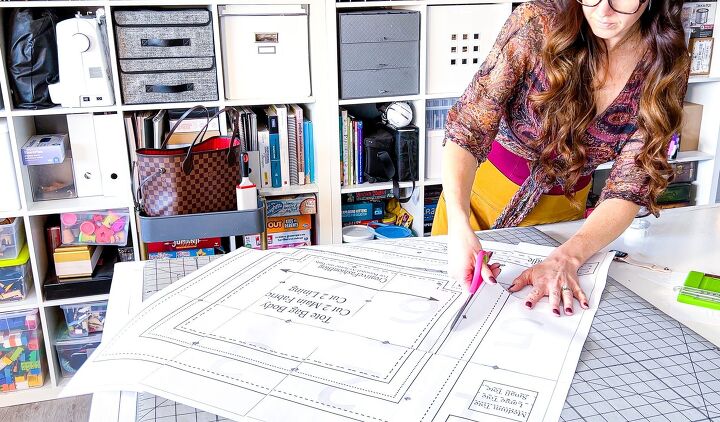
Start out by using regular paper scissors to cut out the middle size. I just like this size the best, because it feels really versatile. The medium size is large enough to hold everything that I could ever need in a day, but not so big that it can double as a weekender bag.
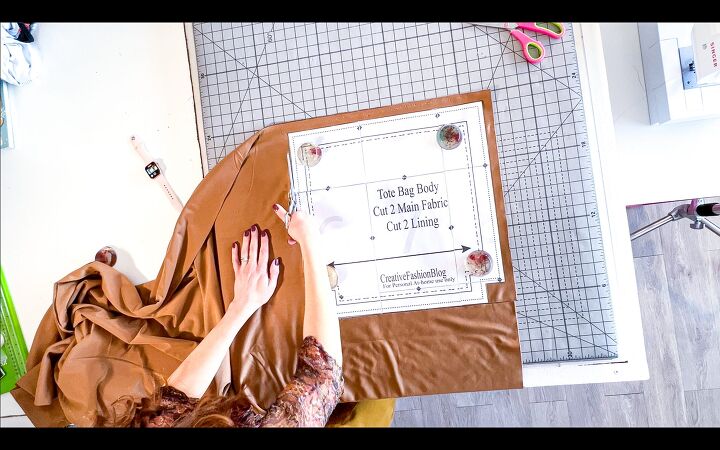
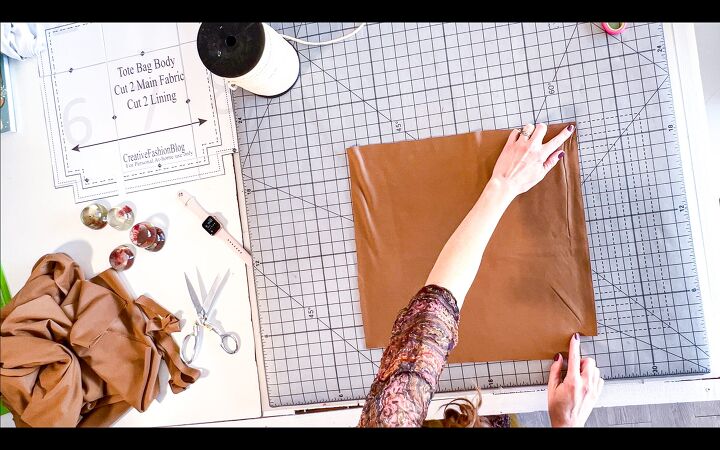
Once your paper pattern is cut out, it’s time to cut it out of fabric. I’ll be using a lightweight faux suede. I’m also going to bypass the lining because we really want this to be a very simple drawstring bag.
To make sure that my pattern and my fabric don’t flip around, I’m going to be using these resin pattern weights that I created in an earlier tutorial on Creative Fashion Blog. Check them out here to make this awesome little sewing project. They really hold everything and have just enough weight so they don’t get in the way while you are cutting out your pattern, but also don’t slide around to create more accurate cuts.
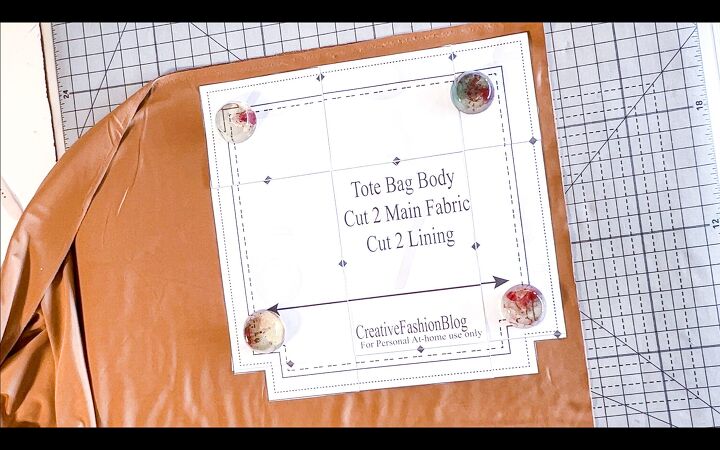
If your fabric has a right side or a wrong side, make sure you have it lined up correctly- before you start sewing. For example, the faux suede I’m using for this tutorial has a really nice soft side, which we want to be on the outside of our drawstring bag. The inside is kind of plain and boring.
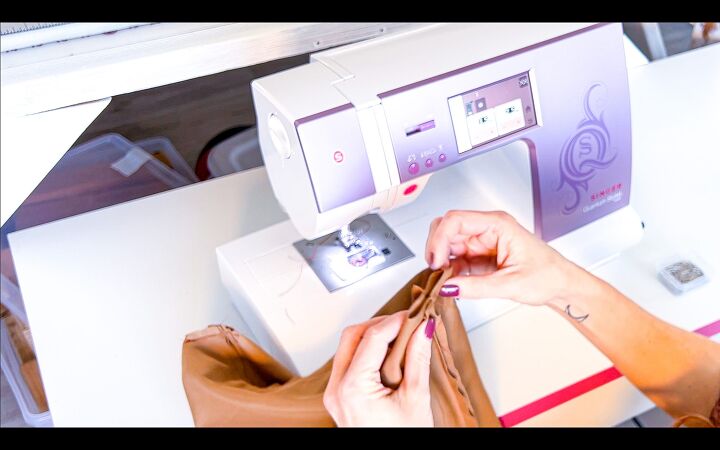
Before we pin your fabric together for sewing, make sure our two visible sides (the sides we want to show) are facing each other. Then, we’re going to sew a straight line across either side and along the bottom.
When it’s time to sew, use a universal standard sewing needle in my sewing machine and my stitch length is set to 2.5. This makes for a really nice, sturdy stitch that can handle regular wear and tear. Again, we’re just going to be sewing the two sides of the bag, as well as the bottom, but leaving the top open and we’ll be finishing this off later.

Once those three sides are sewn, it’s time to make the corners of your tote bag. I really like this pattern because it creates a more 3D effect in the corners. To do that, just fold your fabric so your seams line up together.
Tip: Be sure that you press your same allowances in opposite directions so you don’t have much bulk in the same place on each side of the stitch-line.
From here, just run it through your sewing machine using the same settings. This step is really going to give your bag a lot more dimension and give it a lot more interest than a regular square.
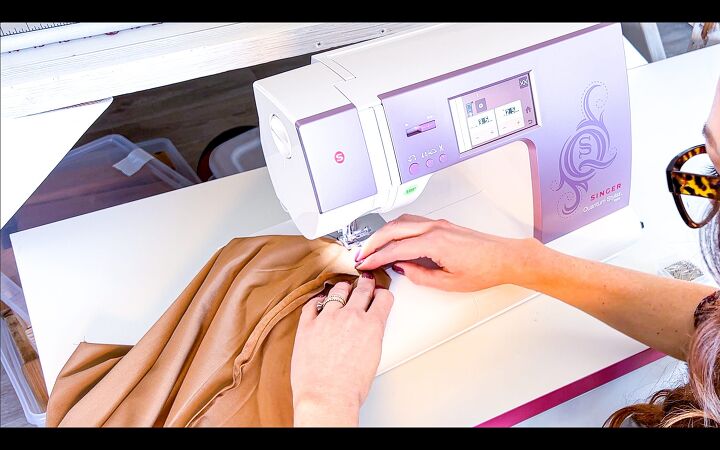
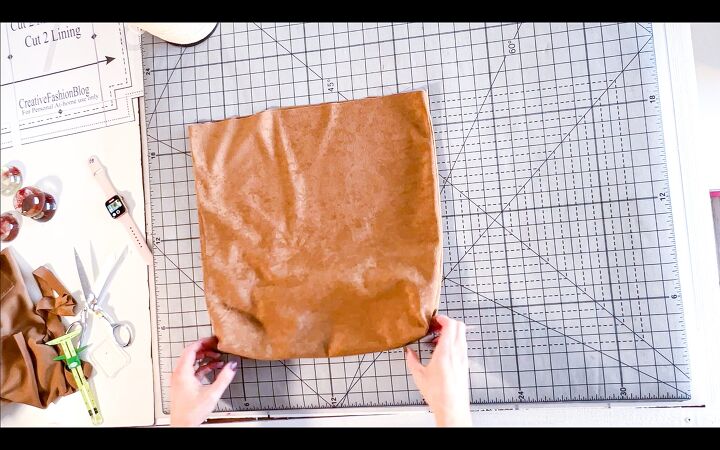
Next, repeat this process on the other side. To recap, line up our seams and then press any extra seam allowance in opposite directions and run it through your sewing machine using a standard straight stitch set to a 2.5 stitch length with a universal needle. Since we won’t be going over these seams again, be sure to back stitch when you’re beginning and ending your stitch line so your stitches don’t come undone. When we are done with both of our corners, it’s time to flip our bag inside out and see what we’ve made.
Now that the body of our bag is done, let’s finish off the top so we can add the drawstring. To do this, flip your bag inside out again so we can work with the seam allowance. Use a seam gauge set to 1 1/2″. I really like this particular seam gauge because it doesn’t slide around and you can actually click it into the measurement that you want, and it really stays there.

From here, we’re going to fold the top of our bag over to match our seam gauge and pin it in place. Then, work your way around the top of the DIY drawstring bag until we have the top completely pinned. If you’re a beginner sewist or even a sloppy sewist, it might be tempting to skip this step. But let me tell you, it matters so much and will make this next step a lot easier. So please be sure you don’t just eyeball this.
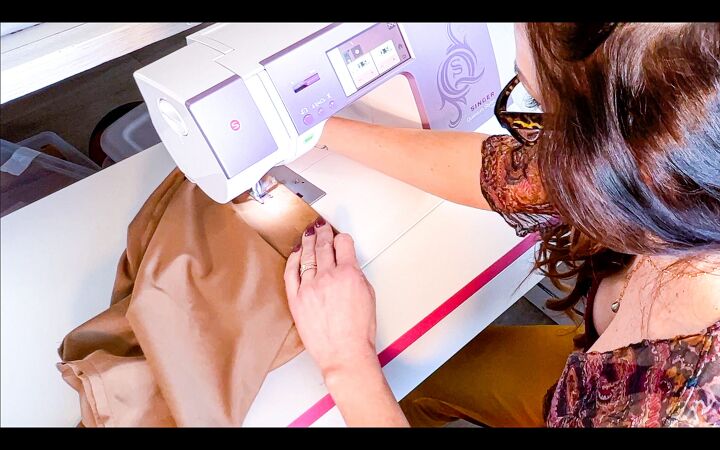
Once you have an inch and a half hemline pinned around the entire top of your drawstring bag, it’s time to sew. Use the same sewing machine settings and sew all the way around the top of your bag. Make sure you are as close to the raw edge as you can comfortably get. I like to aim for a quarter inch here, just so that you have as much room as possible to put your drawstring ropes and handles through.
Now, on either side of your DIY drawstring bag where the sides meet each other, leave about a 1″ gap. This is a really important step. That way, your drawstring ropes can slide through. When you’re done sewing, trim your threads and we are almost done!
Now, all we need to do is add the handles….
How to Add Drawstring Handles
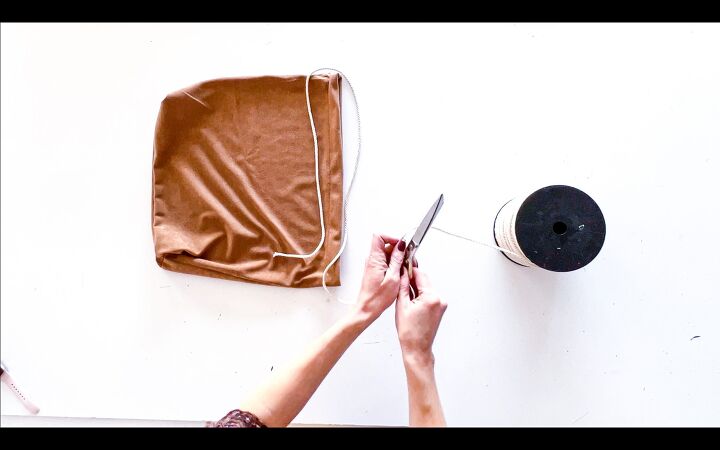
The final step in creating your bag is to lay it out flat and make sure you have access to the openings on either side of your bag. Then, we’re going to pull out our macrame rope for cutting. Make sure you have plenty of rope for it to wrap all the way around your bag with a couple inches to spare. From here, we’re going to cut another rope to the same length. That way our handles are even.
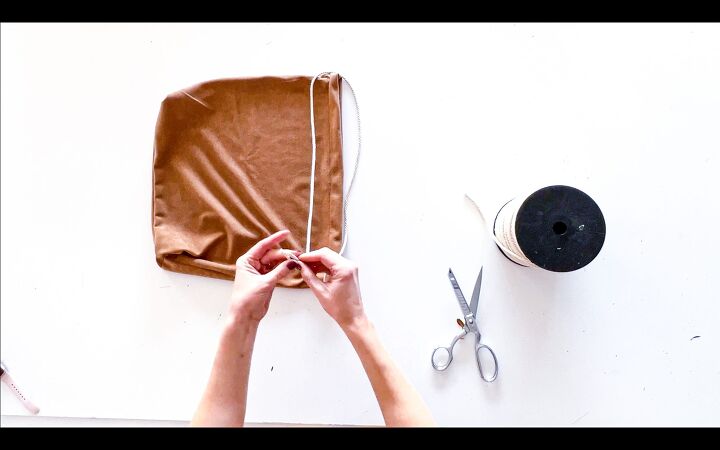
To thread your drawstring through your tote, we’re just going to tie a knot on one end and then use a loop turner to pull your macrame rope through your casing. Slide your loop turner through your casing on only one side. We’re not going to push it all the way around the entire circumference of your bag. Just guide it from one seam to the other seam and then use the little hook on the end to attach your rope and pull it through your 1 1/2″ casing. This is so much faster and easier than trying to slide and pull this rope through with your fingers.
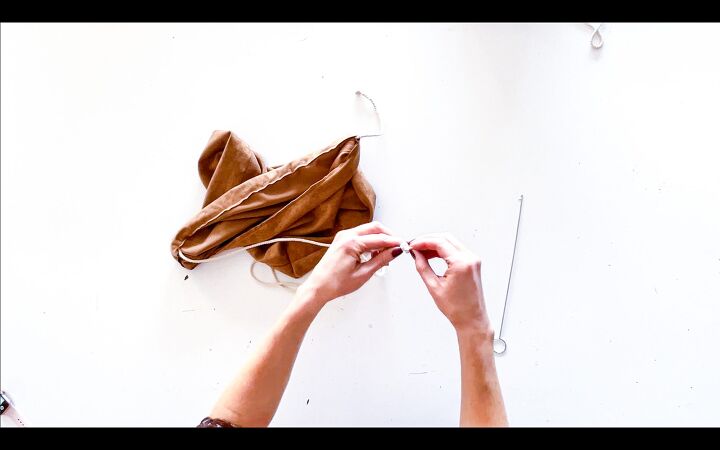
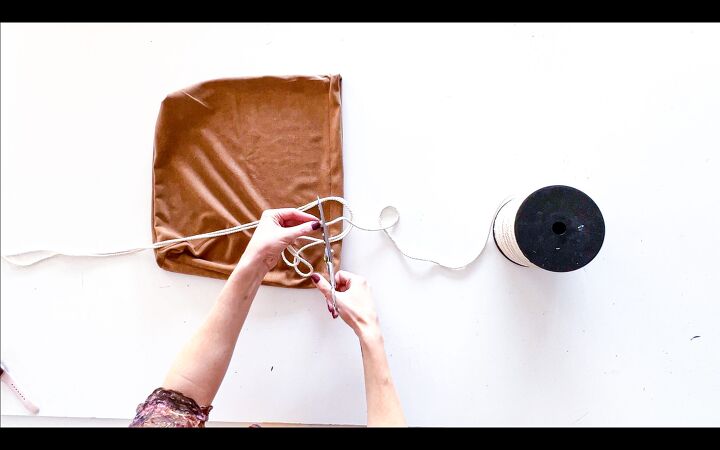
Once your drawstring is pulled through on one side of your bag, it’s time to repeat the process on the other. Taking the other end of your macrame, tie a knot, and then feed your loop turner through the other side of your casing. Attaching it to the hook and then pull it through. From here, you’ll have of the macrame rope pulled all the way around the entire circumference of your casing, making it a drawstring bag.

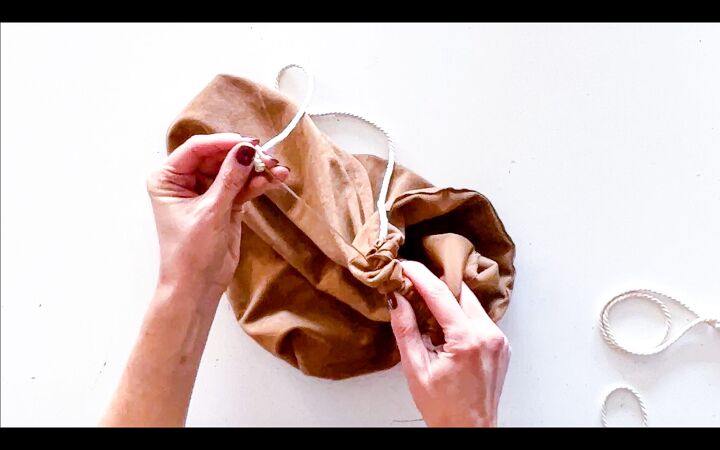
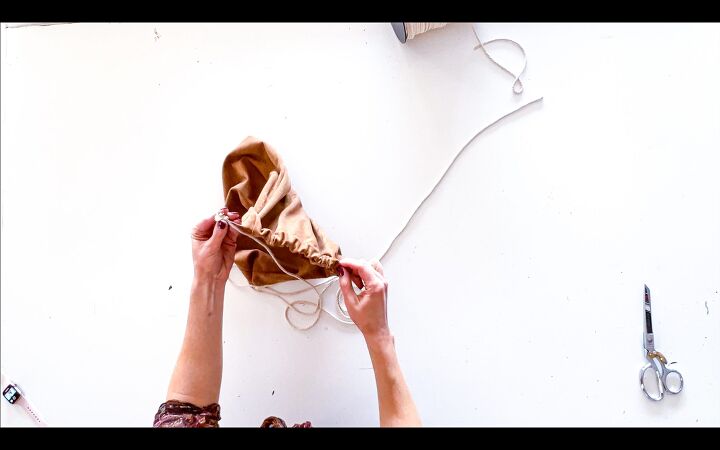
But we’re not going to stop there! When we’re done, tie both ends of the rope together (just to make sure that they don’t fall inside the casing) and you can either stop here or we’re going to make another set of ropes going in the opposite direction. This makes your drawstring bag feel a lot better, hang more naturally, and gives it the ability to be used as a backpack.
To begin, tie a knot on one end of your macrame rope and then feed your loop turner through one side of the casing on the opposite edge. Then attach your knot to the hook in your loop turner and pull it through half of the casing or one side of your casing and your seam allowance for your bag. From here, just flip your bag over and repeat the process on the other side.
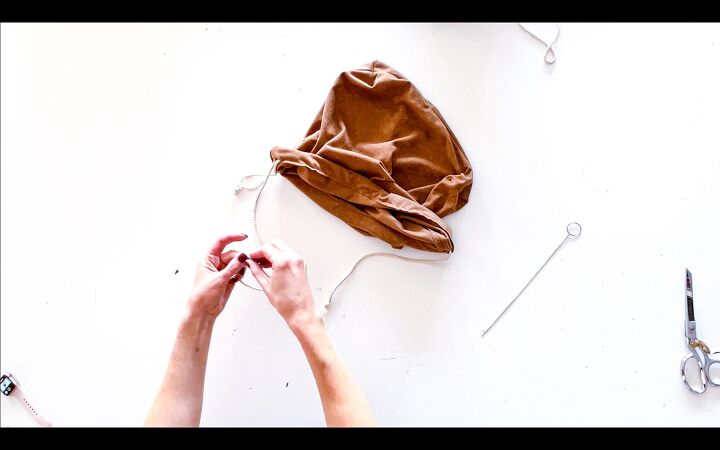
When you’re done, it’s time to test it out and pull your drawstrings and see how your new drawstring bag came out.
https://creativefashionblog.com/wp-content/uploads/2022/03/PhotoLife-Lapse.mp4
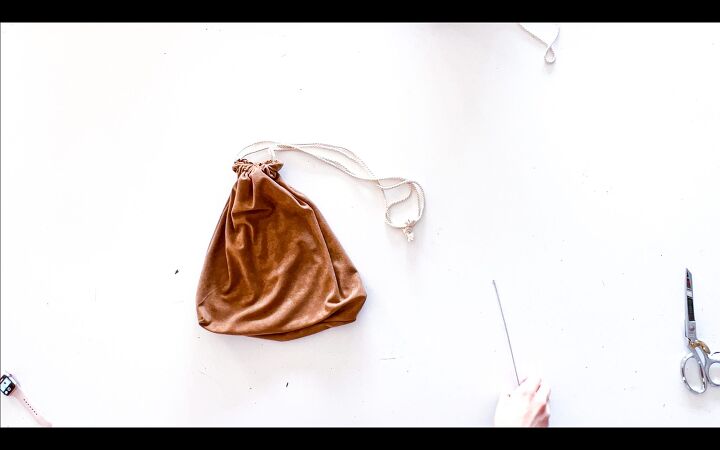
I really loved this project and really hope that you guys did too. To recap, this pattern is actually my printable tote bag sewing pattern that comes in three different sizes. You can not only make three different sizes of tote bags, but also three different sizes of drawstring bags as well. Snag that pattern right here. Thank you so much for watching and I will see you next week with another tutorial!
The author may collect a small share of sales from the links on this page.


Comments
Join the conversation