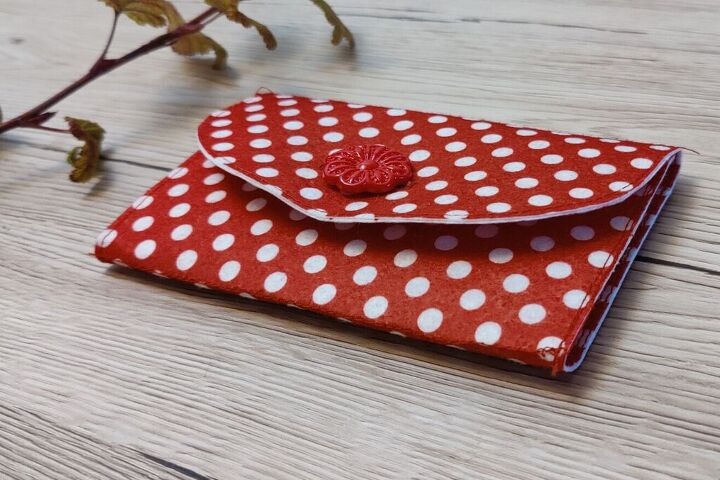
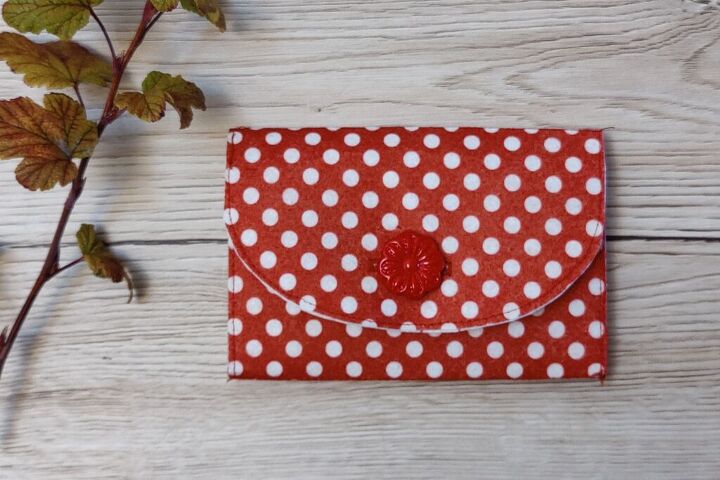
Polka Dot Purse Tutorial
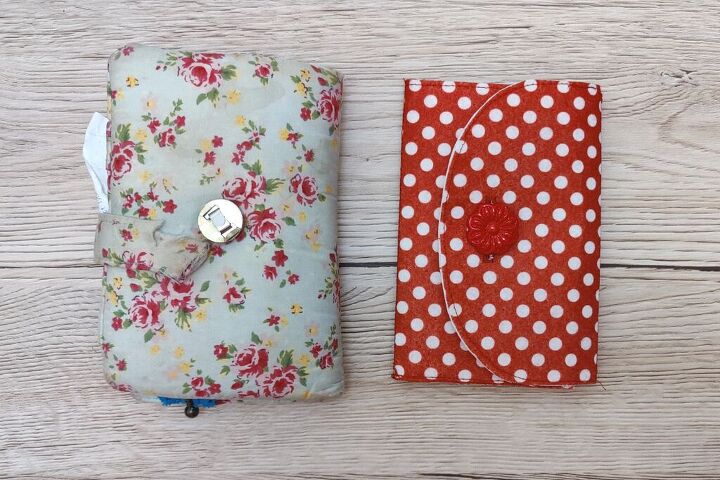
My poor old purse has finally breathed its last.
While I was looking at its dirty, fraying self the other day, I realised that it had done its job for 4 1/2 years. My boys were all still at school when I made it, and I remember a bus driver remarking that it matched my dress, then made some other remark about Cath Kidston, and I felt pleased!
I have to say that although my old purse did its job well, it did not do it perfectly. I found out quite quickly that having the pockets for cards and things facing neither the fastening nor the centre where the purse folded resulted in cards escaping.
So after a couple of weeks, the cards lived in the pocket behind the zippy bit, and the card holder pockets became redundant.
It was definitely time for a new purse! After giving it some thought, there were some things I decided to do differently this time.
- I wanted to card pockets to actually keep the cards safe, not give them free rein to escape all over the inside of my bag, run amok on the floor of the bus or explode all over the cashier at the supermarket.
- Fiddly elements in its construction needed to be kept to a minimum, and finding a fabric that wouldn’t fray and had some stiffness to it would be a good start.
- I also needed it to be at the smaller end of things and pretty, otherwise I wouldn’t want to use it.
Having a rummage upstairs, I found some stiff felt that I used when I made my bag organiser. I had quite a bit left over, more than enough to make a purse with pockets.
Instructions For Making a Purse
You Will Need
Stiff felt. A fat quarter should be enough. You could use some other fabric if you prefer, but bear in mind that any fraying will be visible and you might need to use fusible interfacing to make it a bit stiffer.
A zip. The opening is 12 cm. If you can’t find a zip this length, you could cut one down.
A button
Usual sewing supplies
Cutting Out
It will be easiest to make a pattern piece for the main part of the purse. It’s up to you whether you make them for the other pieces.
For the main part of the purse, cut a rectangle 14 cm x 26 cm. To make the curved edge, mark 4 cm down from one of the short edges, and the centre of the short edge. Draw a curve then cut it out. You could use a plate if you don’t feel confident drawing it. To make it symmetrical, fold the pattern piece in half then cut the curved edge. Then cut out the felt. You’ll need 2 of these pieces.
To help with the later stages, fold the pattern piece 8 cm up from the bottom edge, then again 10 cm further up.
Cut a rectangle 12 cm x 7 cm. This will be the pocket behind the zipped section.
Cut a rectangle 12 cm x 4.5 cm, and another 12 cm x 1.5 cm. This will make the zipped section.
Cut 3 rectangles 10 cm x 5 cm. These will be the pockets for bank cards and things.
Sewing Up
All the pieces will be sewn to one of the big rectangles with a curved edge, then the 2 big rectangles will be sewn together so the outside of the purse is nice and neat.
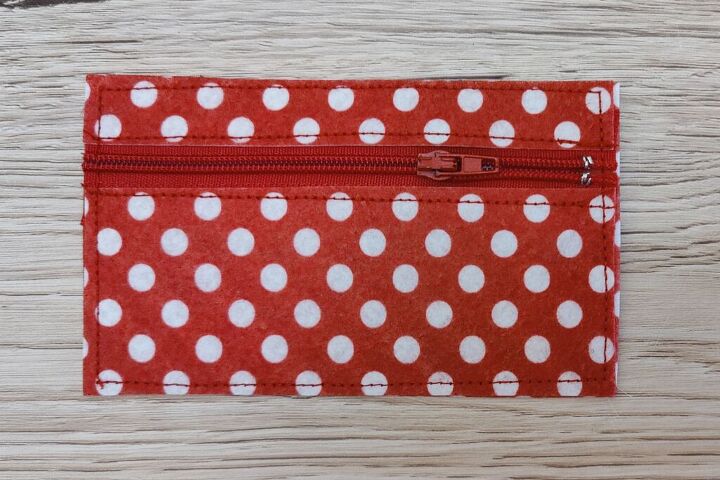
Zipped Section
Pin the zipped section pieces either side of the zip. You can use the pocket piece as a guide to get the size right.
Be careful with pinning! The pin marks will show, so try to put the pins where you will be sewing.
Sew the zip in place. If you have a zip foot, it will make the whole thing a lot easier.
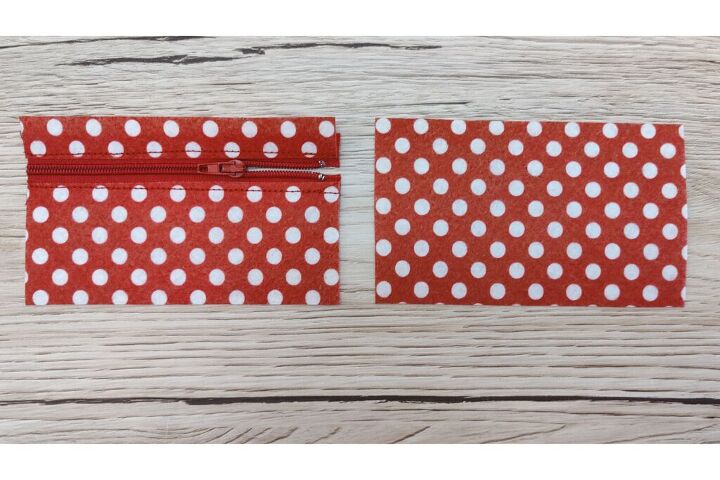
Sew the pieces with the zip to the pocket rectangle all the way round, keeping close to the edge.
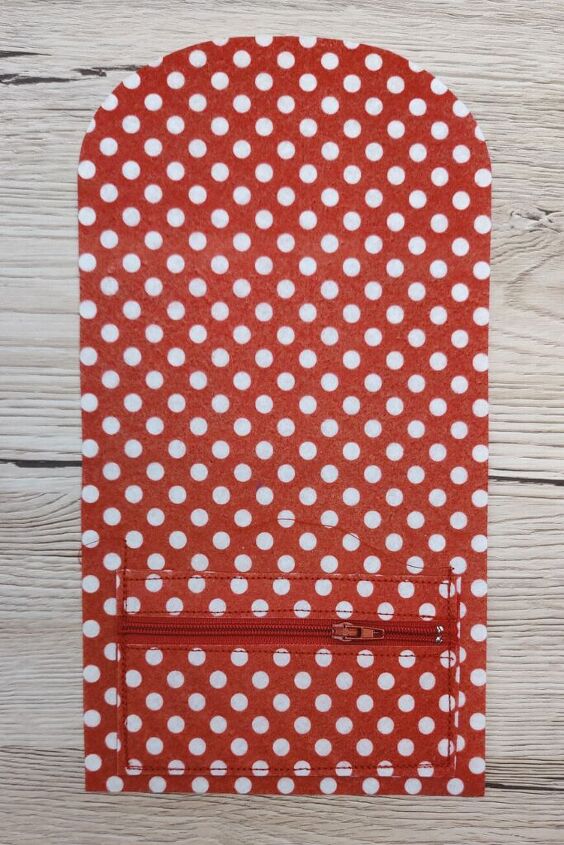
Using the pattern piece as a guide, place the pocket piece with the zipped section attached in the centre of the bottom part of the purse. Sew along the 2 short edges and the bottom edge. It’s a good idea to back stitch the sides at the open edge.
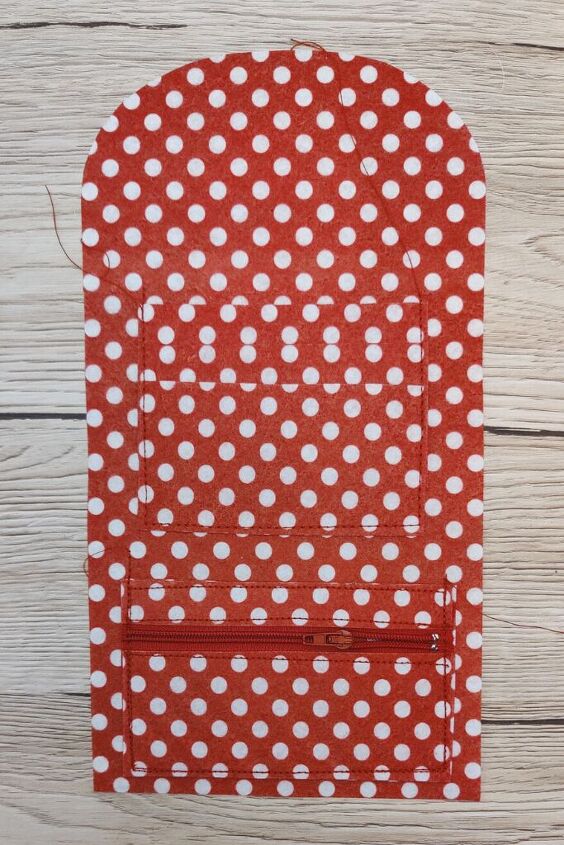
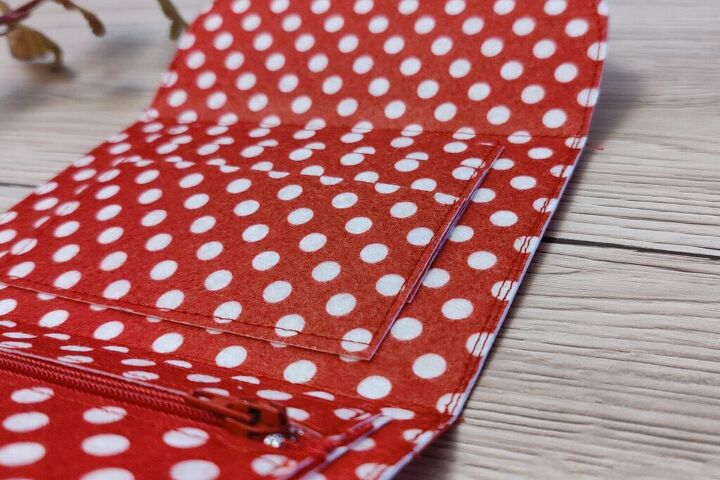
Card Pockets
Starting with the top pocket, and using the pattern piece as a guide, place the top pocket on the middle section of the purse about 1 cm down from where the fold will be. Sew along the bottom edge, but leave the sides for the moment.
Take the 2nd card pocket and layer it onto the 1st pocket, with its top edge about 1- 1.5 cm lower. Sew along the bottom edge.
Pop the last pocket on in the same way. This time, sew along the sides of all three pockets and the bottom of the lower pocket.
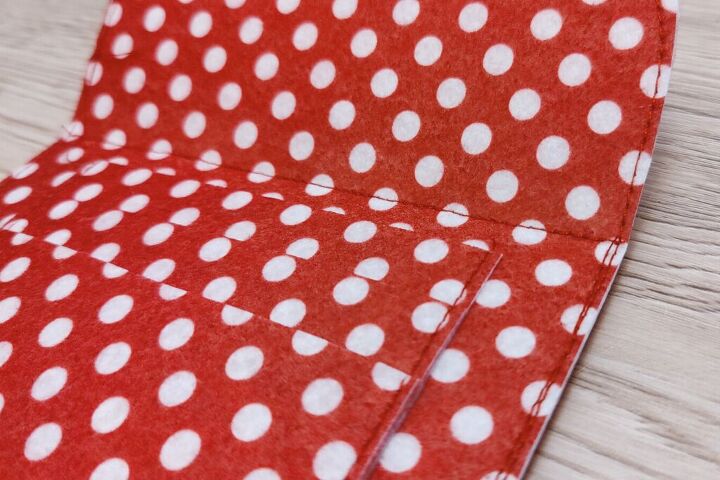
Purse Outer
Pin the purse outer to the inner section so that the wrong sides are together. Sew all around the outside. If you find that the edges don’t quite match after you’ve sewn them, you can trim them down.
Match the folds from the pattern piece, and sew along where the purse will need to fold.
Finishing the Purse
Make a buttonhole in the centre of the curved section 2 cm up from the curved edge.
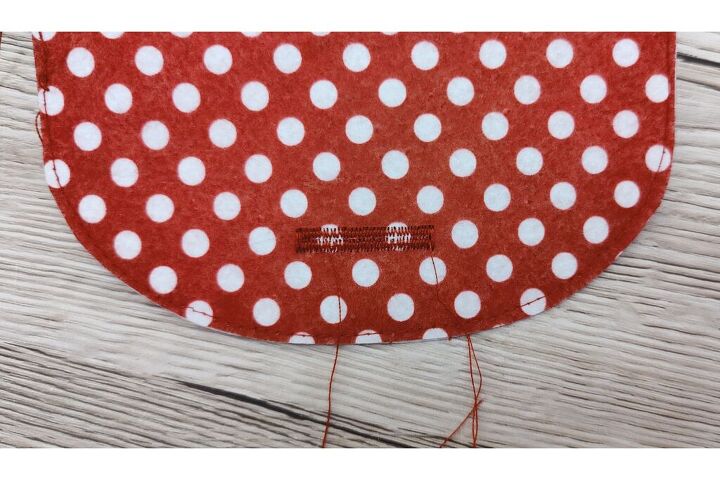
Using the buttonhole as a guide, sew on the button.
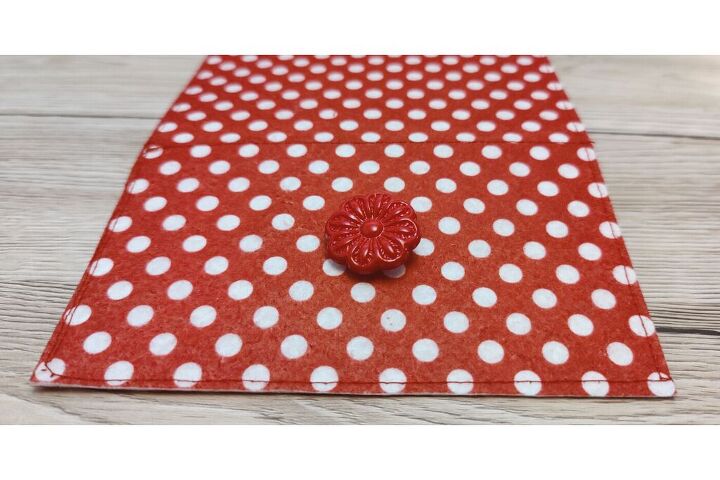
Trim away the threads and your purse is ready to use!
If you’re looking for more purse ideas, I have a Pinterest board here.
The author may collect a small share of sales from the links on this page.


Comments
Join the conversation