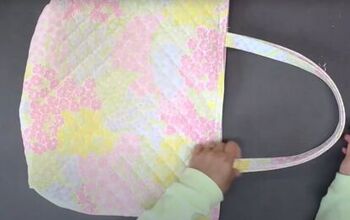
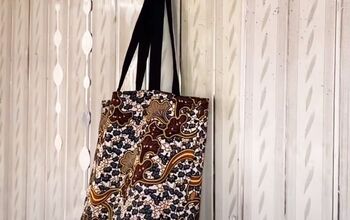
Easy DIY Shopping Bag Pattern Tutorial

It’s not always convenient to carry around a large tote bag but using plastic carrier bags are so bad for the environment.
I’ve made a DIY reusable shopping bag pattern for you that folds up into a small purse.
It’s both eco-friendly and practical. Plus, it’s easy to make too!
Tools and materials:
- Soft cotton fabric
- Snap fasteners
- Fabric marker
- Ruler
- Pins
- Scissors
- Bradawl
- Sewing machine
- Iron
1. Make the bag shell
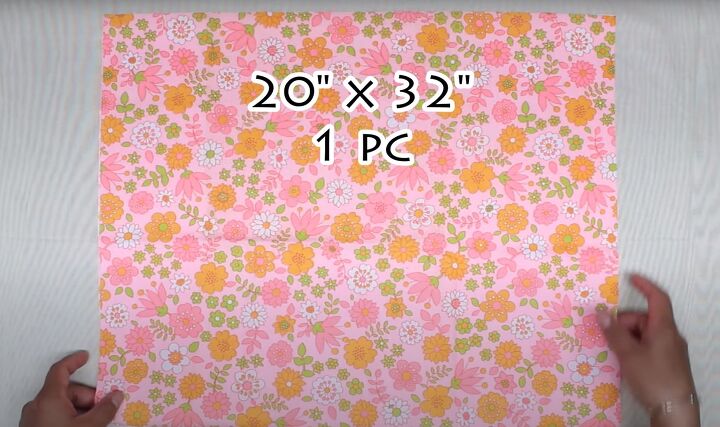
Cut one piece of fabric 32 inches long by 20 inches wide.
Fold it in half widthways with the wrong side inside.
Sew both side seams, taking a quarter inch seam allowance.
Turn the bag wrong side out.
Sew the side seams again with a half inch seam allowance.
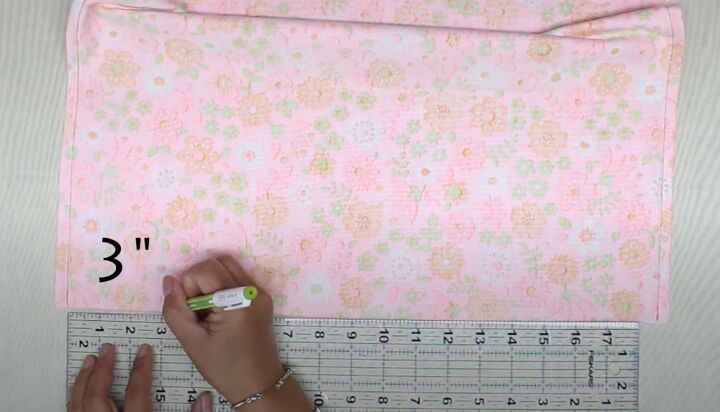
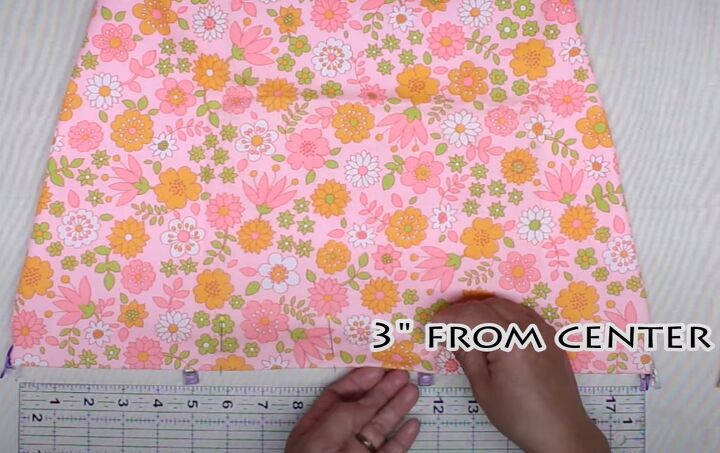
Mark 3 inches in from each side seam.
Fold the sides in at the marks.
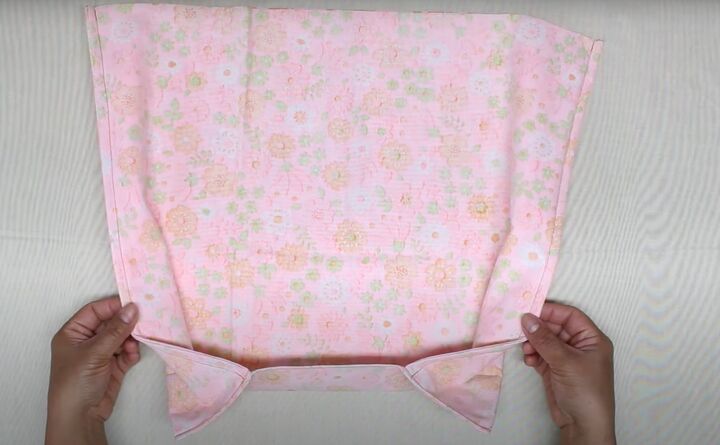
Sew along the lower edge.
Turn the bag right side out.
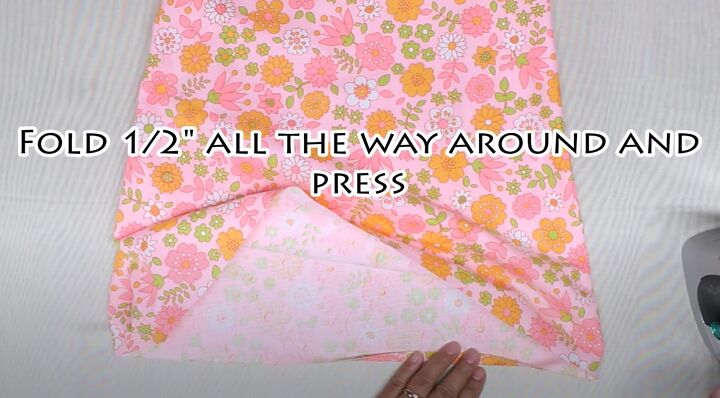
Fold in half an inch all the way around the top edge and press.
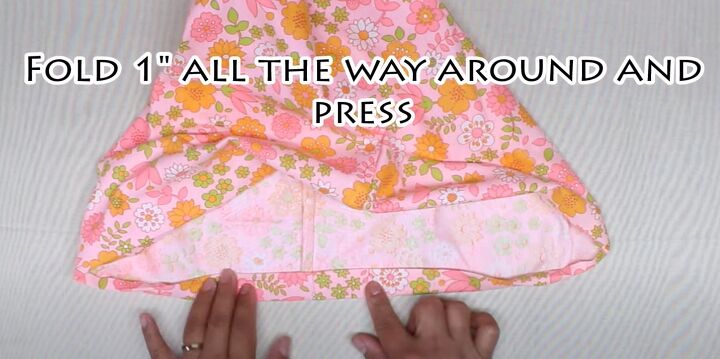
Turn in a further 1 inch around the top edge and press in place.
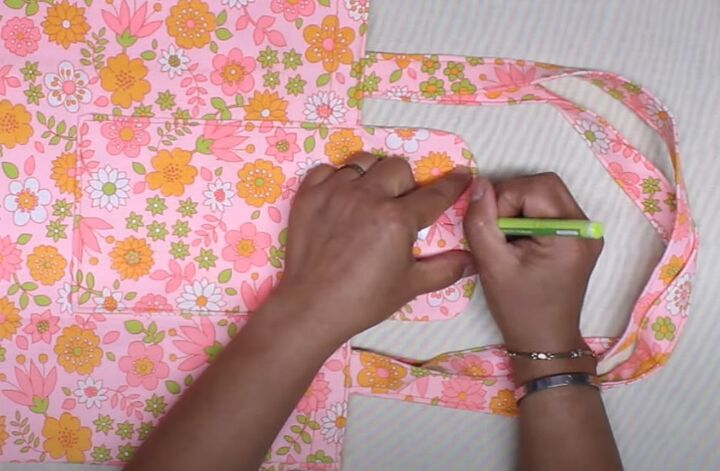
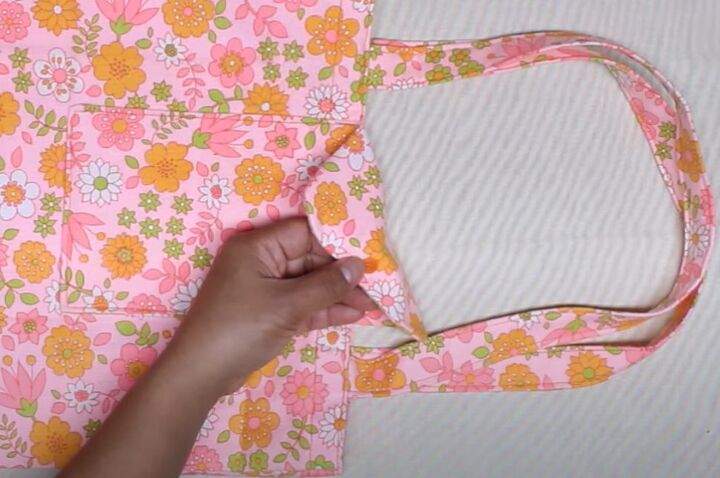
2. Make and attach the handles
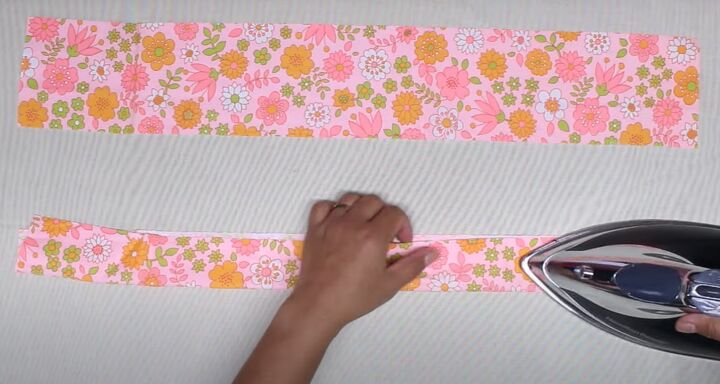
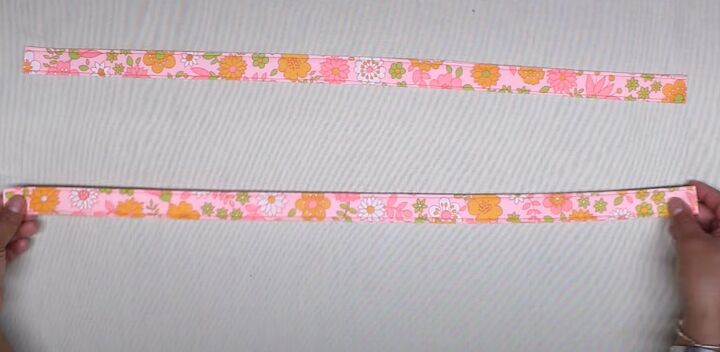
Cut two pieces of fabric, each 24.5 inches long by 4 inches deep.
Fold each piece in half lengthways and press.
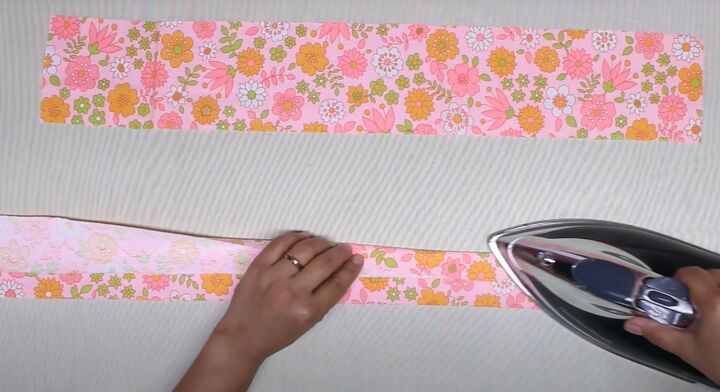
Open out the strip and turn both the long edges to the center line.
Press in place.
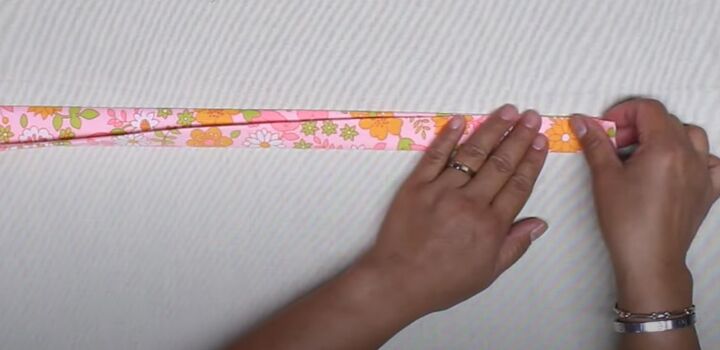
Fold each strip in half lengthways and pin.
Sew along both long edges of each handle.
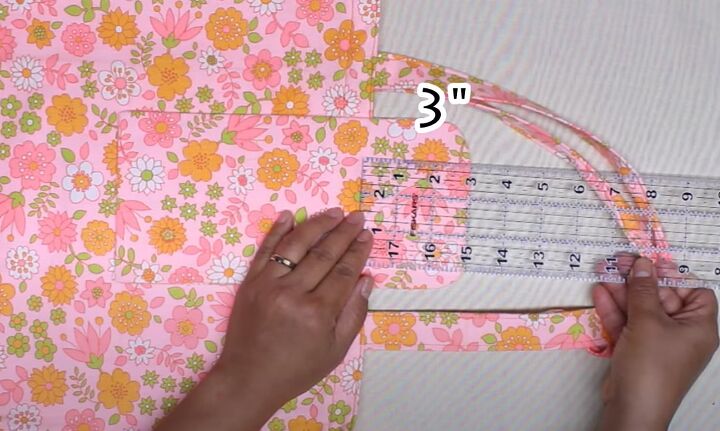
Find and mark the center point of the top edge of the bag on each side.
Place pins 3 inches either side of each mark.
Insert the ends of the handle under the folded edge of the bag, just inside the outer pins.
Fold the handle up towards the top edge of the bag and pin in place.
Sew around the top and bottom of the folded edge.
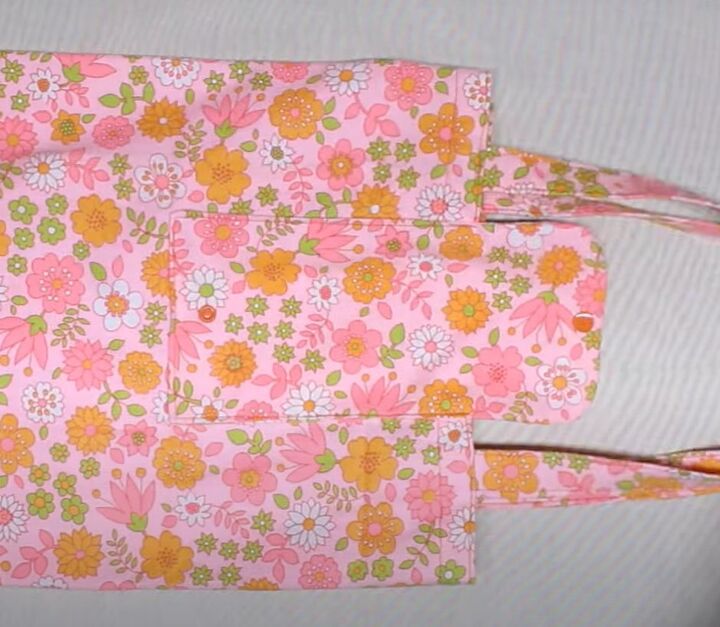
3. Make the outer pocket and flap
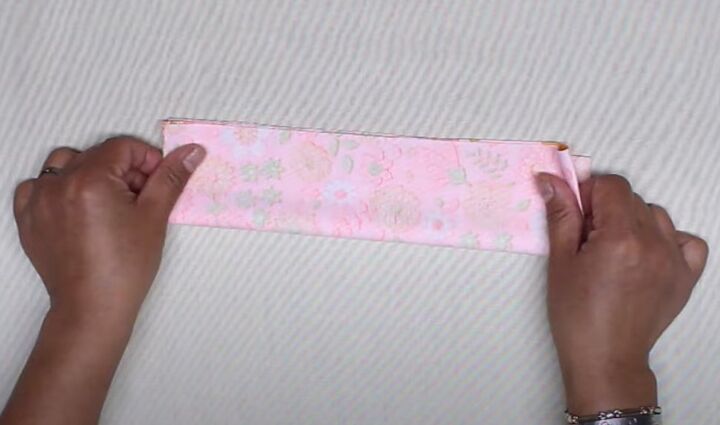
Cut a piece of fabric 20 inches long by 5 inches wide.
With the right side inside, fold it in half widthways and then lengthways.
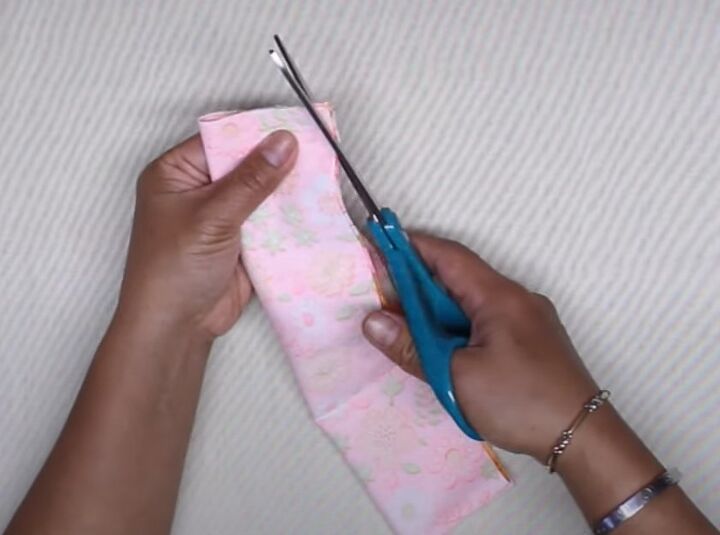
Cut a small curve through all the layers from the corner with the open edges.
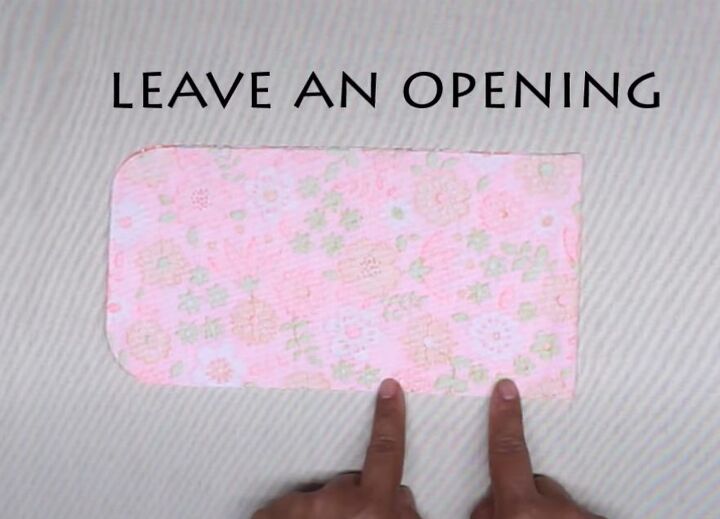
Open out the strip, fold it in half again widthways and sew around the open edges, leaving a small opening near the folded side.
Turn the pocket right side out through the opening. Press it flat.
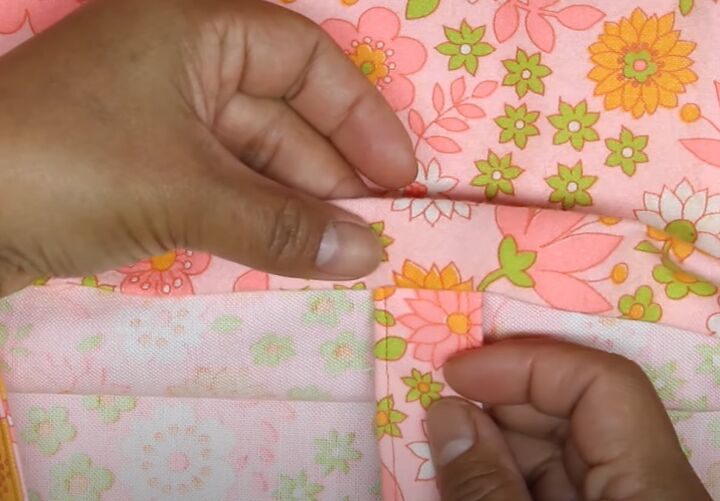
4. Attach the outer pocket
Pin the pocket on the outside of the bag on one side, between the handles.
The flap should extend 3 inches above the top edge of the bag.
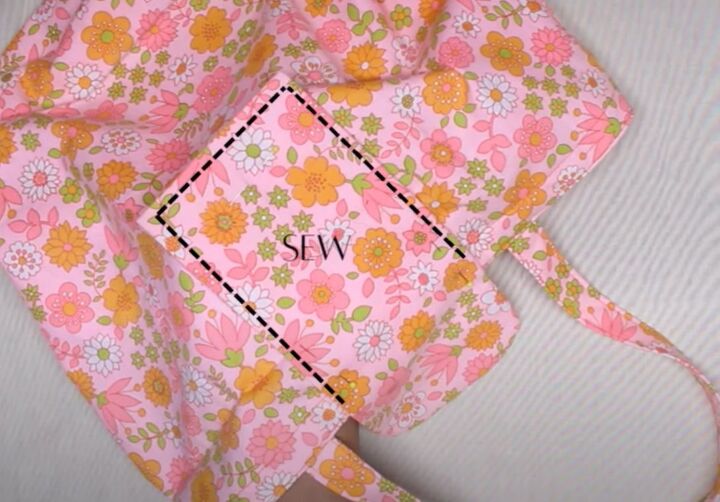
Sew it in place around the side and bottom edges, being careful to only sew through one side of the bag.
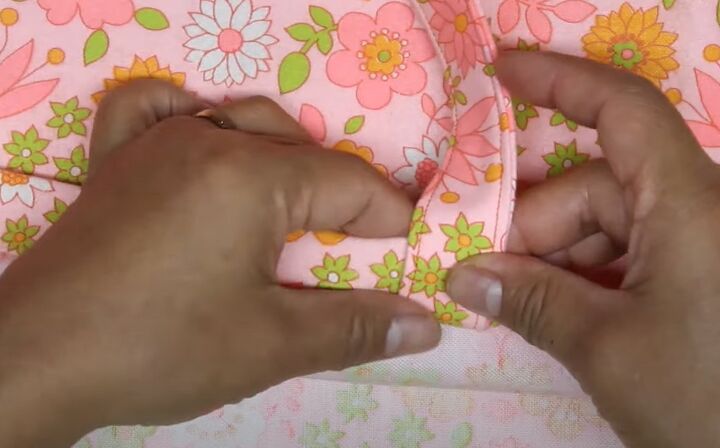
5. Attach the snap fasteners
Find the center of the flap and make a hole about half an inch from the end.
Attach a snap fastener with the prong on the inside of the flap.
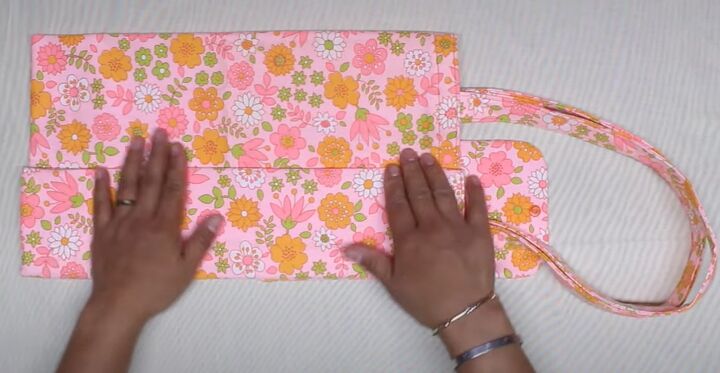
Turn the bag over and fold in the side pleats, so the bag lies flat.
Fold in one side edge by about one third and fold the other side over it, so the bag is the same width as the flap.
Fold the handles down over the bag.
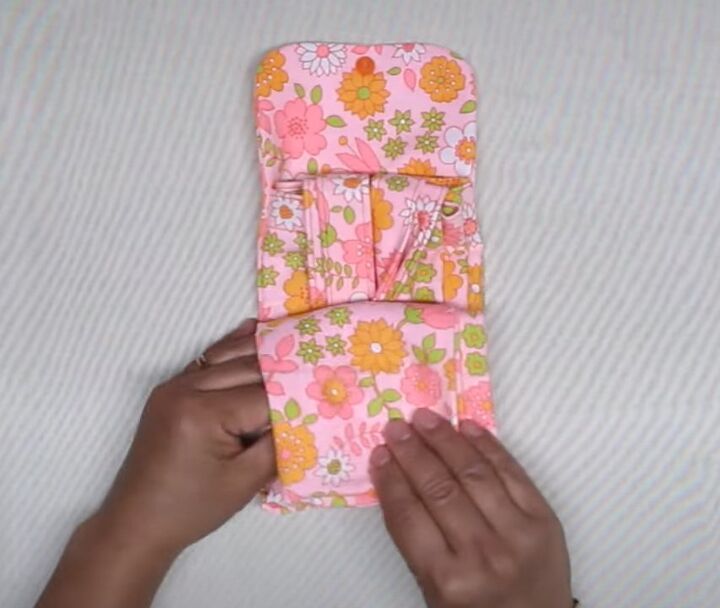
Fold the bottom of the bag up to the level of the lower edge of the pocket and turn the top edge down to the fold.
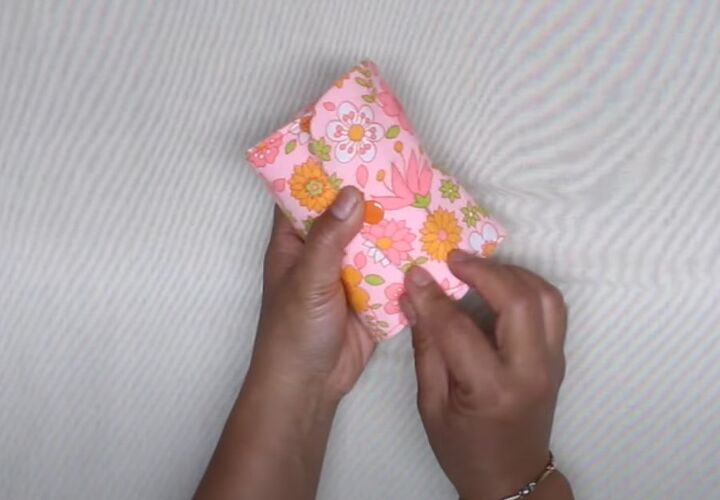
Roll the bag up and wrap the flap around it.
Mark where the prong of the snap fastener meets the bag.
Open out the bag and attach the second part of the fastener.
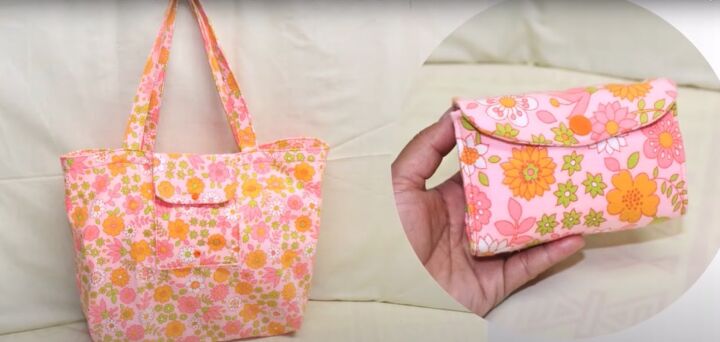
Shopping bag pattern tutorial
The pouch is the perfect size to slip into your purse, but opens out to a lightweight tote 15.5 inches high by 12.5 inches wide and 6 inches deep.
It won’t hold anything too heavy, but it’s a useful item to keep with you.
I love coming up with new DIY tote bag designs but if there’s something you’d like to see me make, or if you have any questions at all, please drop me a comment below.
Next, check out this Upcycled Shirt Tutorial: How to DIY a Tote Bag From a Shirt.
The author may collect a small share of sales from the links on this page.


Comments
Join the conversation