How to Get Hollywood Heatless Waves Overnight Using 6 Bun Makers

Hey, guys! In this tutorial, we'll cover how to get amazing heatless waves overnight, but with a twist! We'll be going for voluminous Hollywood waves, rather than traditional curls or waves.
You may have seen my previous overnight heatless curls videos, including robe curls with the wrap method, the Octocurl no-heat curlers, blowout curls using a t-shirt, and fine Shakira-style waves with braiding.
This time, I'll show you how to get Hollywood waves overnight for a classic, sophisticated hair look that never goes out of style! Let's get started.
Tools and materials:
- Bun makers
- Comb
- Brush
- Mousse or styling cream (optional)
- Water spray
- Hairspray
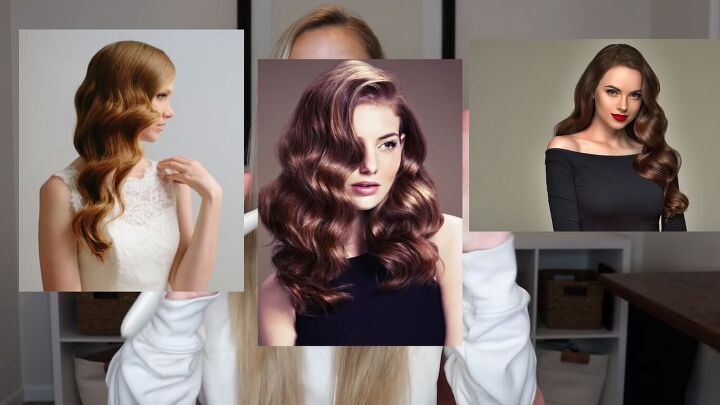
What are Hollywood waves?
Hollywood waves are a glamorous and timeless hairstyle, reminiscent of the Golden Age of Hollywood.
They're sometimes called Marcel waves (named for famous hairdresser Marcel Grateau), Jessica Rabbit waves, or retro waves.
The distinguishing feature is the pattern of the waves, which run in a sleek, continuous line.
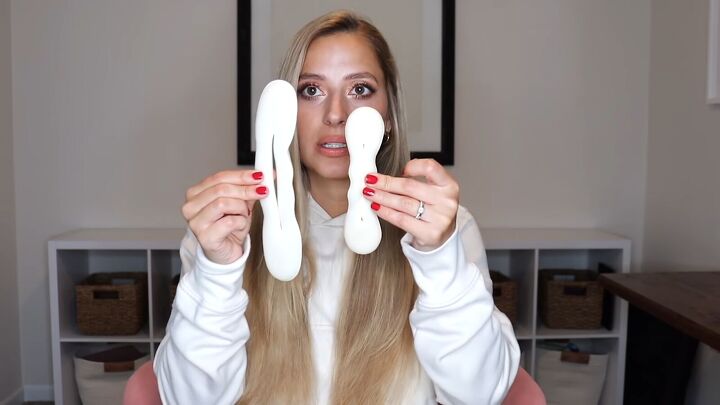
What are bun makers?
To achieve this look overnight, we're going to use bun makers. These are typically used to achieve a “sock bun” but we’re going to repurpose it to help get those classy, Hollywood waves.
I got both a large and a small bun maker, as I didn’t know which ones would fit my hair. My hair is rather long and I ended up using the largest one and it worked just fine.
If you’re unsure like I was, I recommend buying a variety pack.
Heatless Hollywood wave hair tutorial
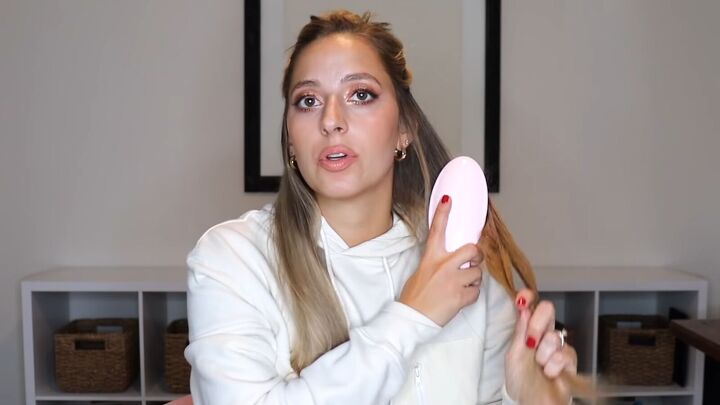
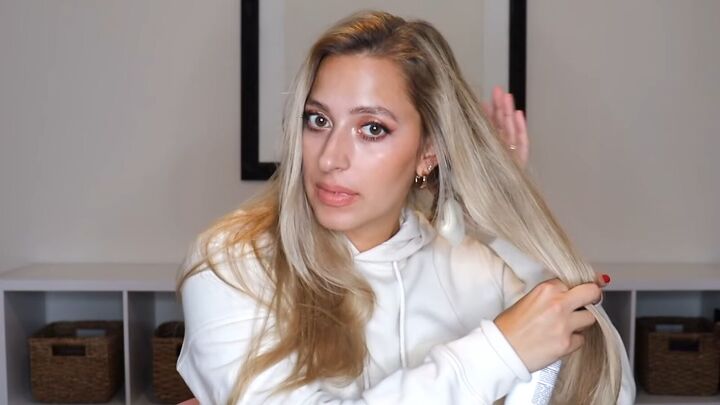
1. Brush and section hair
Separate your hair into three sections: top, left, and right. Brush through them to get rid of any knots and tangles.
If you have a history with heatless curls not holding, this is when you should use a mousse or styling cream to enhance the longevity of your heatless waves.
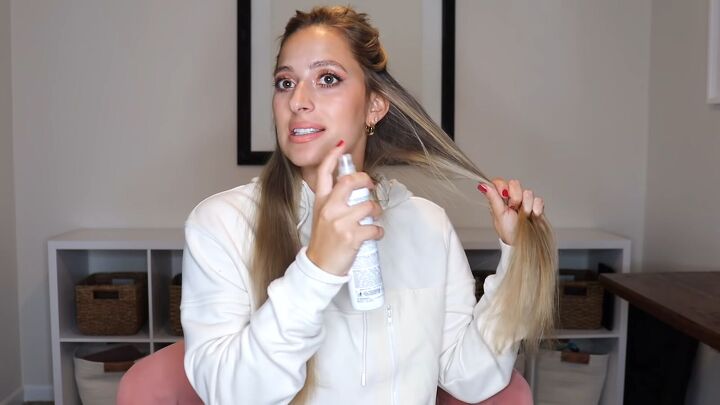
2. Spritz hair with water
Spritz a tiny bit of water onto your hair. Not too much. You don’t want your hair to be wet; you should only be applying a bit of a mist.
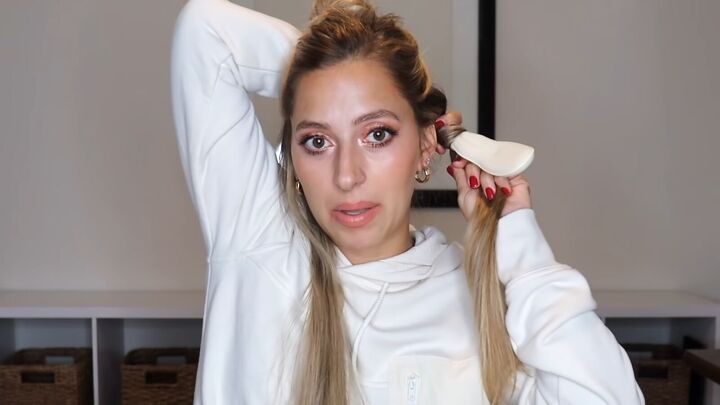
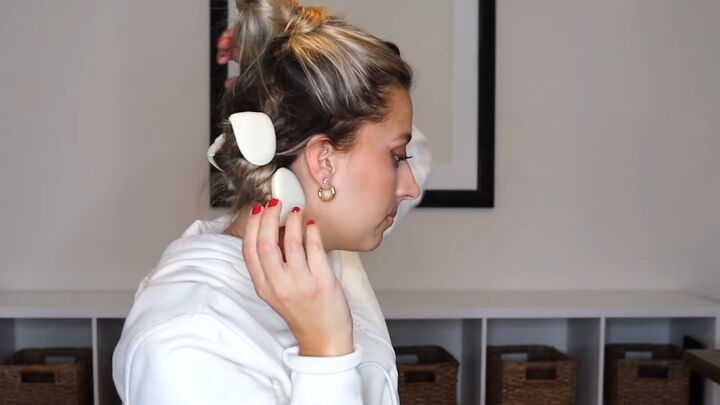
3. Wrap hair around the bun maker
Starting with one side of your hair, take a bun maker and put it under your hair. Then, wrap it around the bun maker until you run out of hair. Make sure your hair isn’t flat when you wrap it as well.
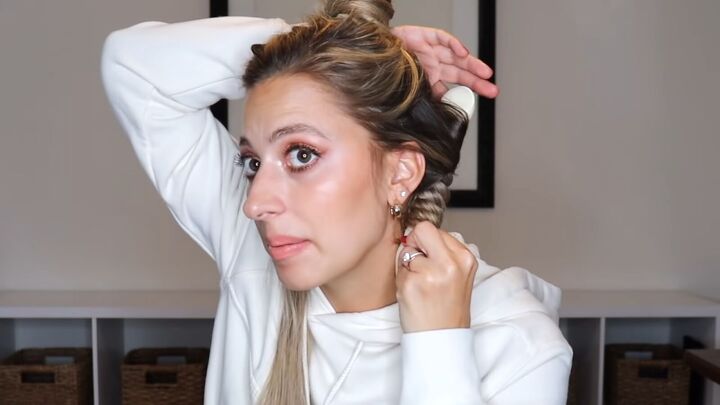
After you’ve wrapped all of your hair around it, roll it up against your head until it’s tight against your head.
4. Secure the bun maker
Now, take the top part of the bun maker and fold it down.
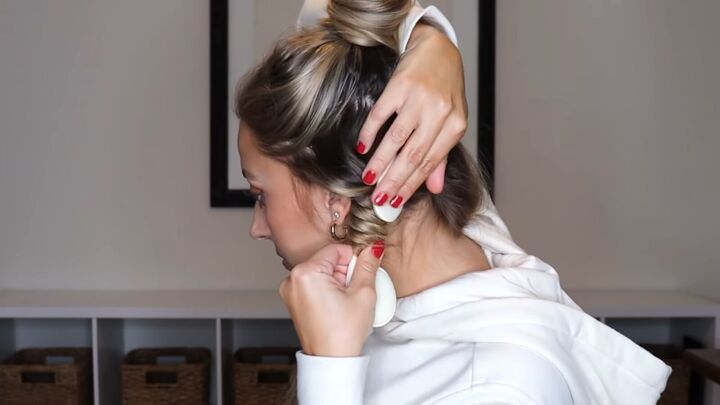
Do the same with the bottom of the bun maker, but this time fold it up. Make sure you’re bending it over your ends. This way, everything is nice and pinned and it should hold up overnight.
If your hair is layered and your hair is sticking out, you can use bobby pins to lay your hair down flat.
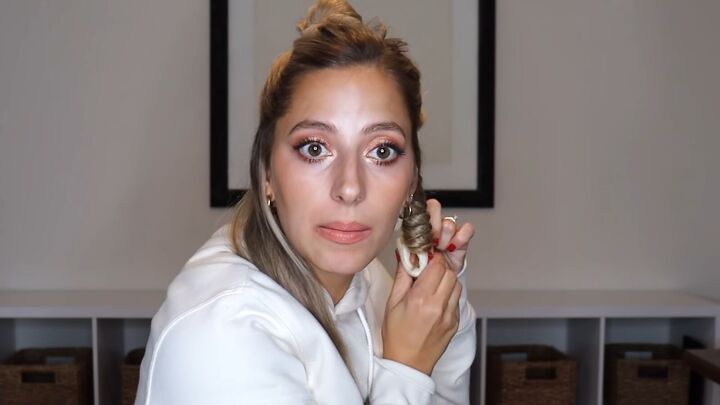
Repeat with the other side.
5. Repeat with the top sections
Now that the bottom sections are done, let down the top section and split it into two new sections on each side.
Split each of those sections into two, so you should now have four sections, two on each side.
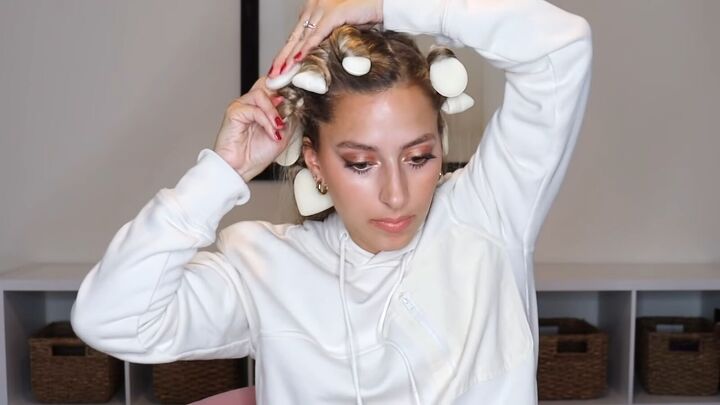
With each section, repeat the process until all of your hair is folded in the bun makers.
6. Wear the bun makers overnight
If you move around a lot at night or your hair tends to frizz up overnight, I recommend using a hair cap or scarf over your curls to secure them for the night. That way, they’ll be frizz-free and smooth when you wake.
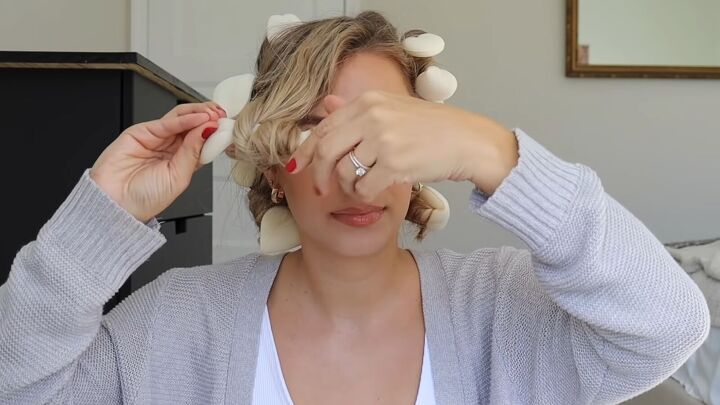
7. Unravel the curls the next morning
When you wake in the morning, slowly unravel your hair from the bun makers.
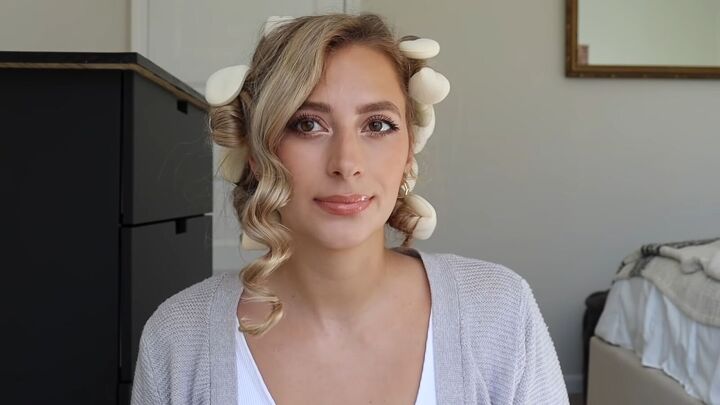
If everything went well, your curls should look something like this. I was actually surprised how comfortable these were to sleep in, and how amazing they turned out in the end.
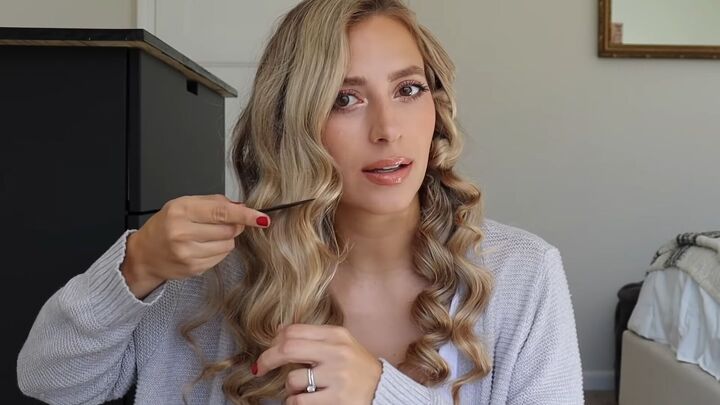
8. Comb the waves to tease them
Once they’re all taken out, use a comb and first comb up in between each wave to tease them a little bit and add a bit of volume. Then, I combed them down.
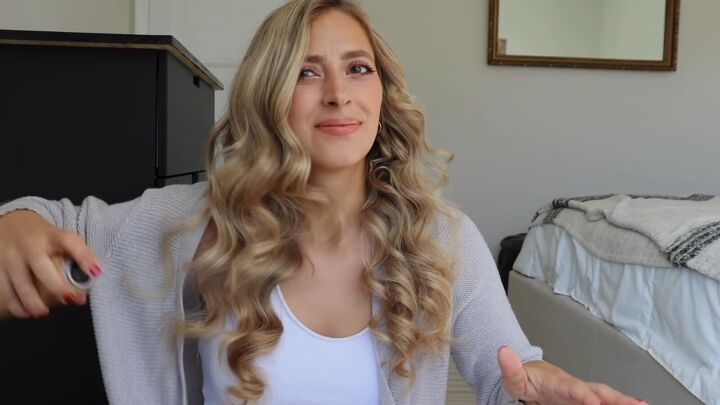
9. Apply hairspray to the waves
To finish, distribute hairspray throughout the waves for maximum hold.

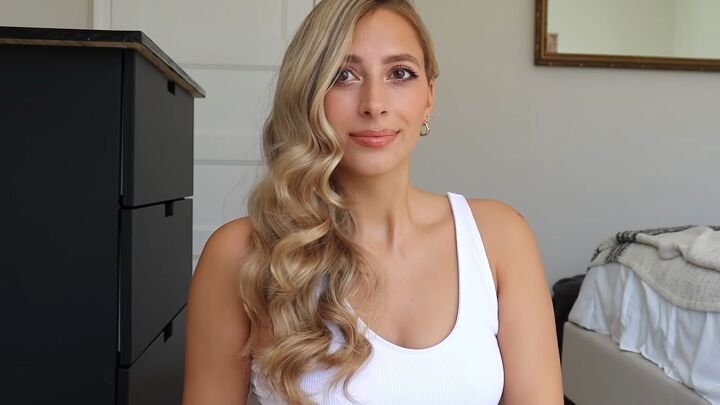
Heatless Hollywood wave hair tutorial
Here’s the final look! Feel free to play around with your heatless Hollywood waves to find the look you like the most.
You can brush them out a bit to loosen the waves, or you can keep them like this so they keep their hold. These heatless, voluminous waves are so beautiful, classy, and very bouncy.
I kept messing around with them to see how well they held shape, and what different styles I could get out of it, and this is what I came up with:
Here I grabbed a bobby pin and pinned all of my hair to one side.
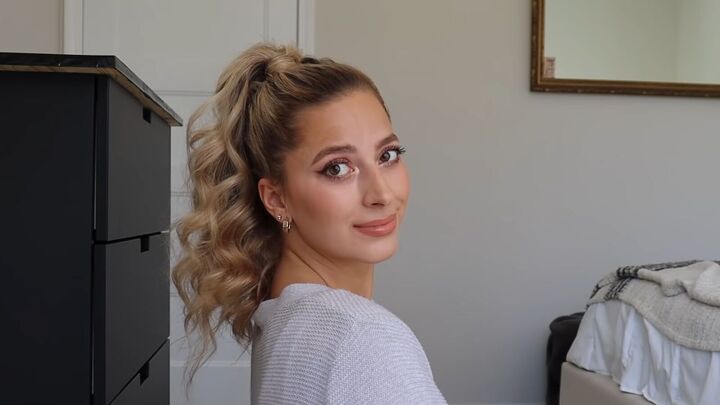
In this look, I brushed the Hollywood waves out and put my hair up in a ponytail. I did a bit of teasing, as well, and thought it looked super cute.
I thought these heatless waves turned out so beautiful, and they’re something I’m definitely going to try again. Let me know if you decide to do this and how you ended up styling your gorgeous Hollywood waves!
The author may collect a small share of sales from the links on this page.


Comments
Join the conversation
Wow! I learned so many things in this tutorial! Tyfs!