How to Diffuse Curly Hair Without Frizz in 4 Simple Steps

Do you have frizzy hair? Do you feel that sometimes your hair just has a mind of its own? I’m here to solve all of your problems with this curly hair tutorial. I’m going to show you how to diffuse curly hair without frizz to get those natural, voluminous, flowy waves that you’re after.
What is a diffuser?
If you aren’t familiar with what diffusers do, let me clue you in. www.cloudninehair.com explains that “A diffuser works by spreading the airstream over a wider area in a more controlled way. Diffusers are great for those with curly to wavy hair types as it can help to keep the natural curl pattern.”
Ok now let’s get into the hair tutorial!
Tools and materials:
- Blowdryer with a diffuser attachment
- Hair gel
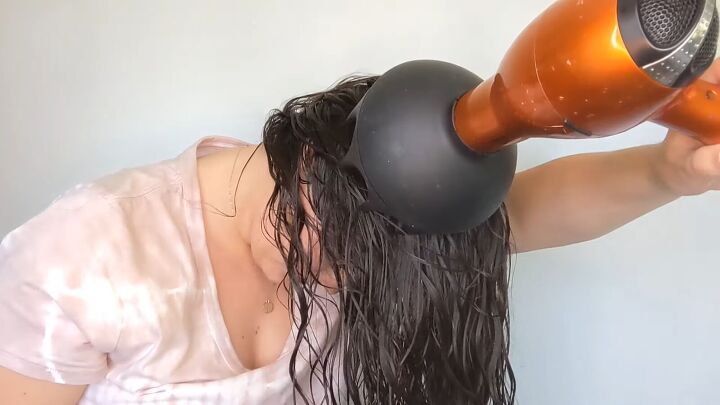
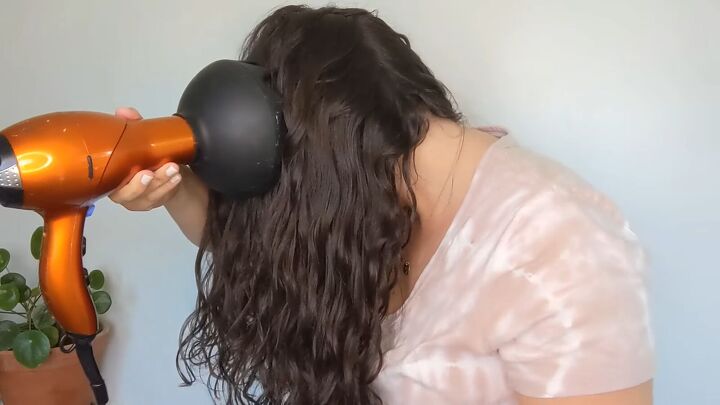
1. Dry the roots at the bottom
I started by washing my hair, then I apply gel to my curls. Now it’s time to dry my hair using my blowdryer with diffuser attachment on low speed with medium heat.
I always do this by flipping my hair over and drying my roots first. I hold the dryer in place for 5-10 seconds, gently touching the little prongs on the diffuser attachment to my scalp, and move it around.
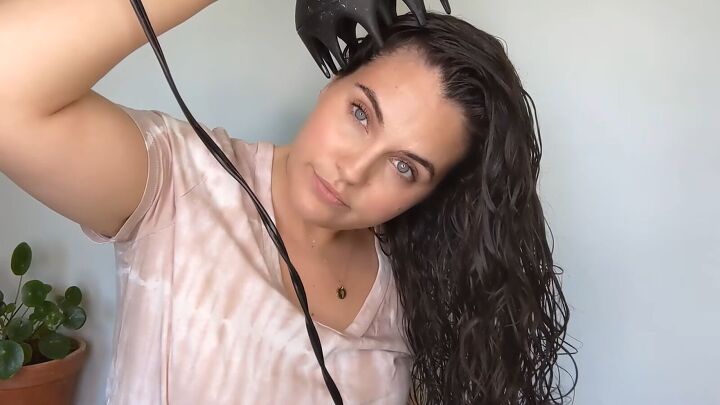
2. Dry the roots at the sides
Then, I flip my hair to the side and do the same thing to the roots on the side of my head.
Once done, I move on to the other side.
On this side, I don’t touch those little prongs to my scalp because I don’t want to squash my roots down. I want to create as much volume as possible, so I’m just going to move the dryer around, again leaving it there for 5-10 seconds.
I do it this way because it gives my curls a chance to form on their own. I find that if I immediately start scrunching my hair up when I diffuse, my curls end up looking very unnatural.
Then I’m going to flip my hair over to the other side and repeat the same thing again until I feel the crunchy gel cast starting to form.
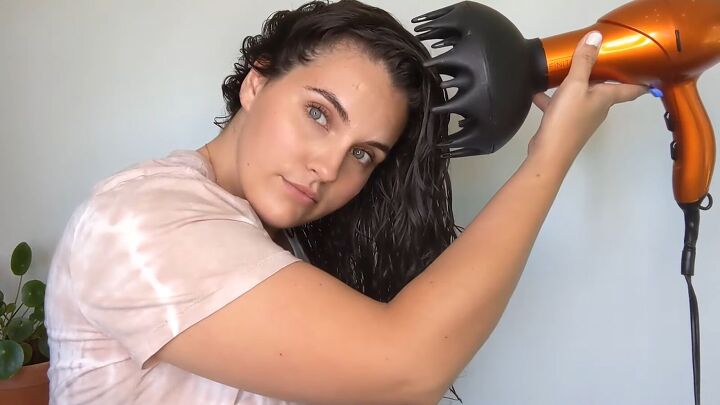
3. Dry the ends
Once I feel that gel cast, I’m going to take my ends and super gently and lightly cup them in the diffuser attachment bowl and dry them.
I love how big this diffuser attachment is; it cuts down on the dry time and helps my curls to stay very natural-looking.
I’m going to keep cupping my ends and then flip my hair over and do the same thing on the other side. I don’t want to scrunch my hair all the way up to my scalp because, like I keep saying, I want them to look as natural as possible.
4. Finish drying
Then I’m going to flip my hair over and continue to dry my roots, repeating the whole process until my hair is totally dry.
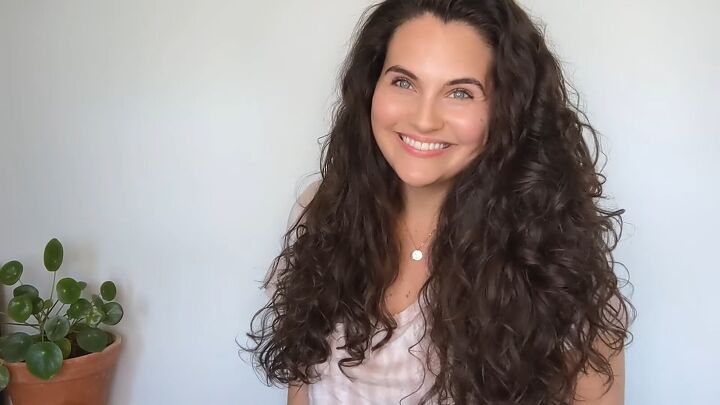
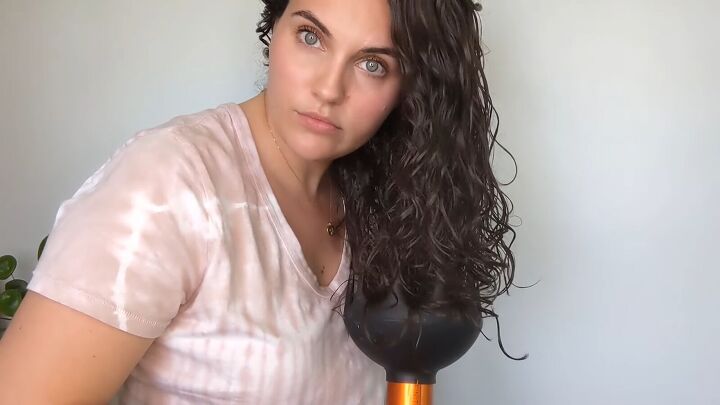
How to diffuse curly hair without frizz
Here are my finished results. I have minimal frizz, my hair is very natural-looking, and has a good amount of volume.
To all my curly and wavy-haired girls out there, I hope that you’ve found this tutorial helpful and if you haven’t tried using a diffuser before, give it a go. It has really helped me get the gorgeous waves that I want.
Products used
The author may collect a small share of sales from the links on this page.


Comments
Join the conversation