Hair Tutorial: How to Do an Easy Blowout at Home

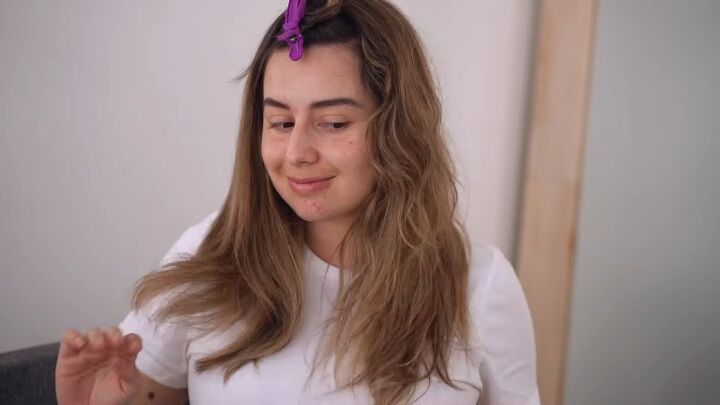
This is my wet to dry hair routine and how I give myself an at home blowout every time I want to get smooth hair. The routine is very easy and I will walk you through it step by step.
By the end of the tutorial, you’ll know how to properly dry hair like a pro. Let’s get started!
Tools and materials:
- Leave-in conditioner spray
- Wet brush
- Microfiber hair towel wrap
- Hair dryer
- Alligator hair clips
- Round, thermal brush
- Small, round brush (for bangs)
- Keratin hair oil
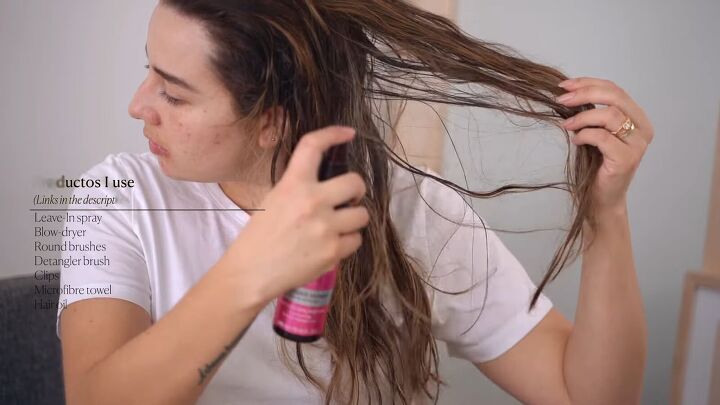
1. Apply leave-in conditioner
Start by spraying leave-in conditioner on your hair. This step is important when you plan to brush your wet hair.
The product I’m using also helps control frizz and offers heat protection.
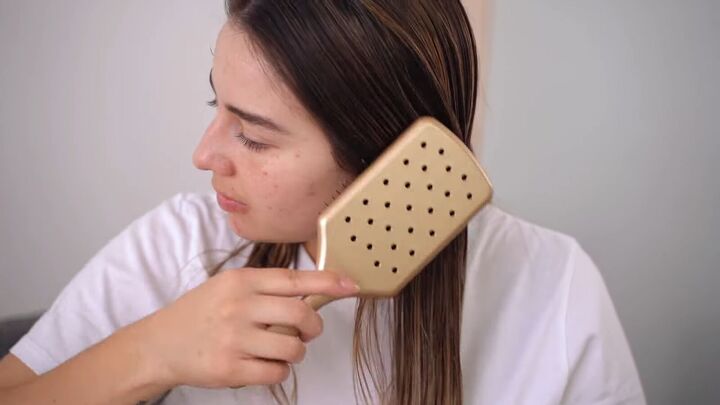
2. Detangle with a wet brush
Then, brush the product through to evenly distribute it and untangle any knots.
The brush I’m using is designed for wet hair to be as gentle and effective as possible.
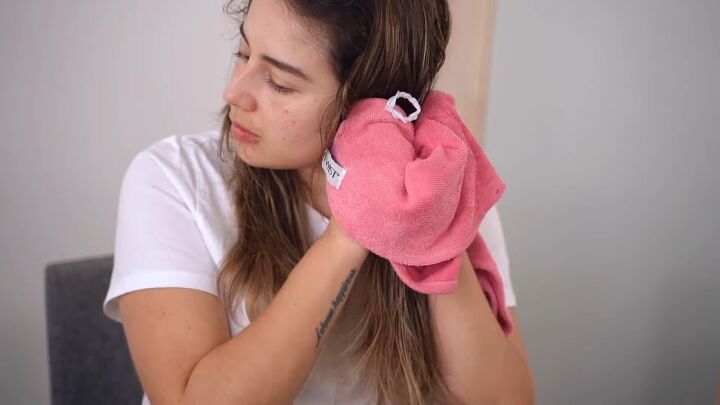
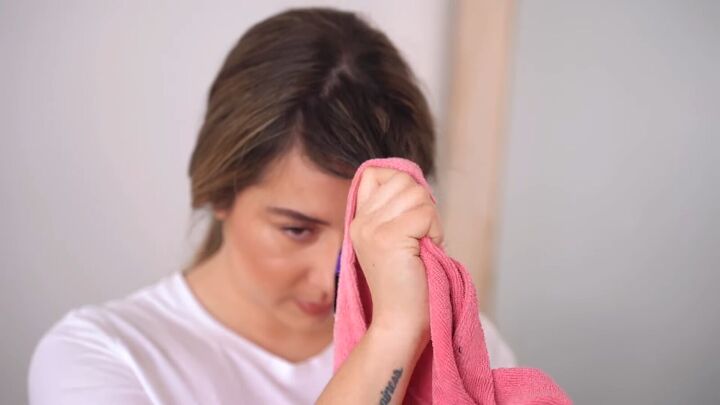
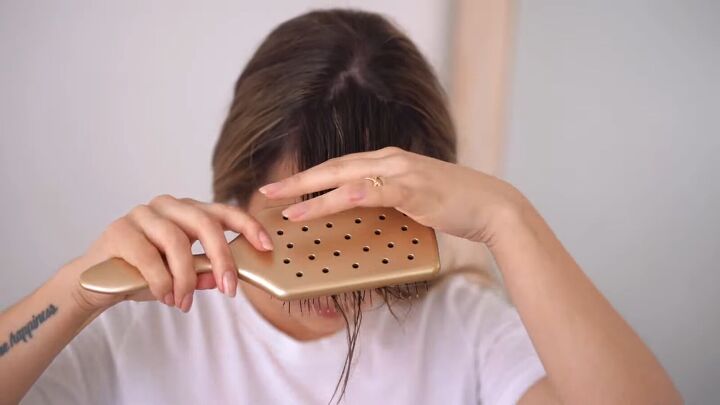
3. Scrunch with a microfiber towel
Next, scrunch your hair with a microfiber hair towel.
I do this to avoid having to heat-dry extremely wet hair, preventing unnecessary damage while also saving time.
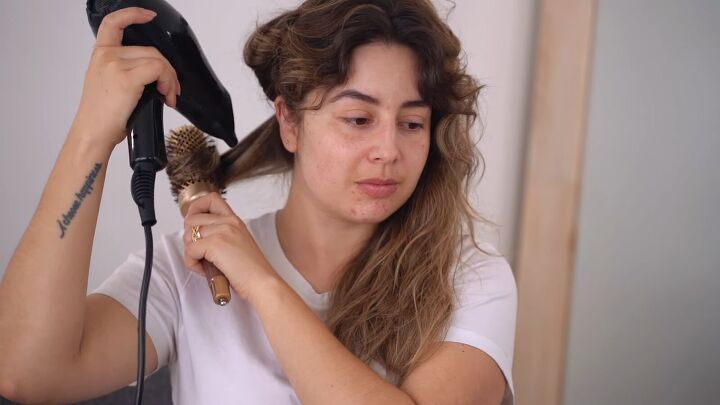
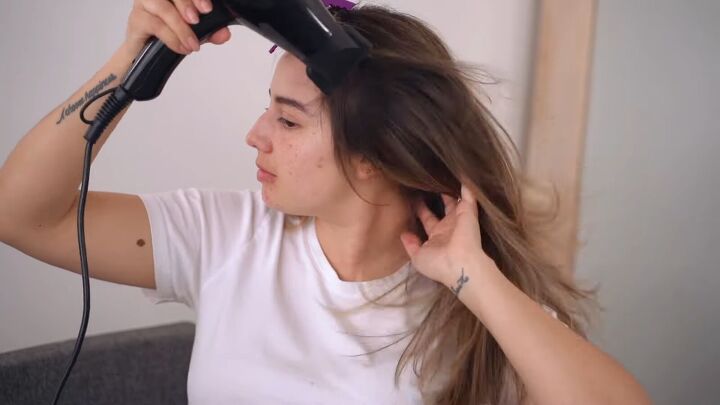
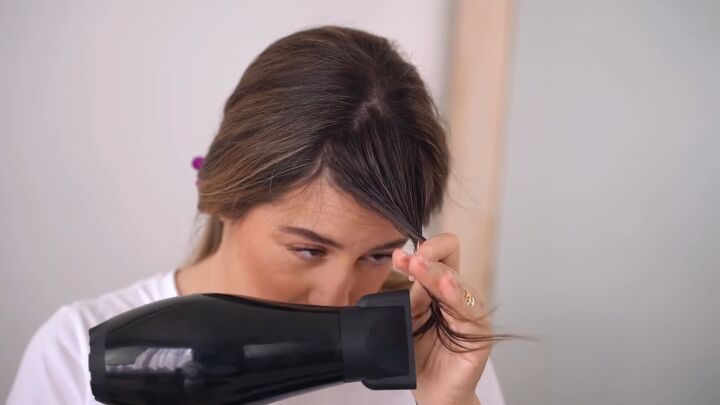
4. Blow dry your hair
Put your dryer on high speed and medium heat. Turn your head down and dry all the hair until it’s about 80-90% dry.
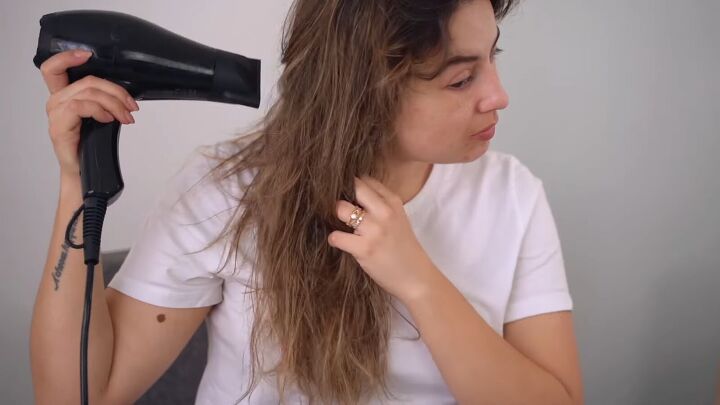
If you have curly hair or a lot of texture, you might find it easier to round brush and dry your hair when it is completely wet (skipping this above step).
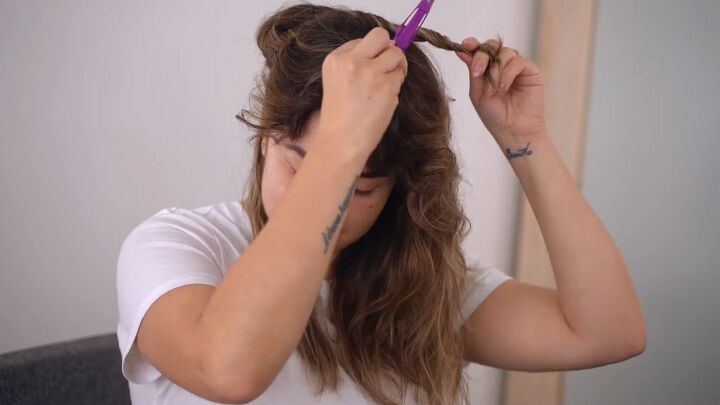
5. Section your hair
Divide your hair and section off pieces from the bottom, twisting the hair gently and clipping it to the top.
The idea is to create sections that will be easy to roll with the brush.
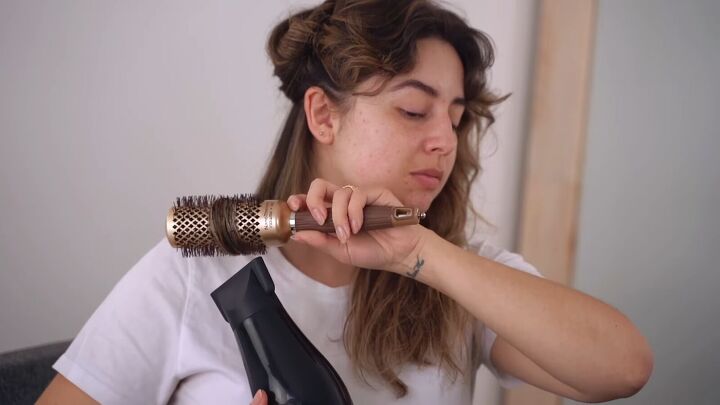
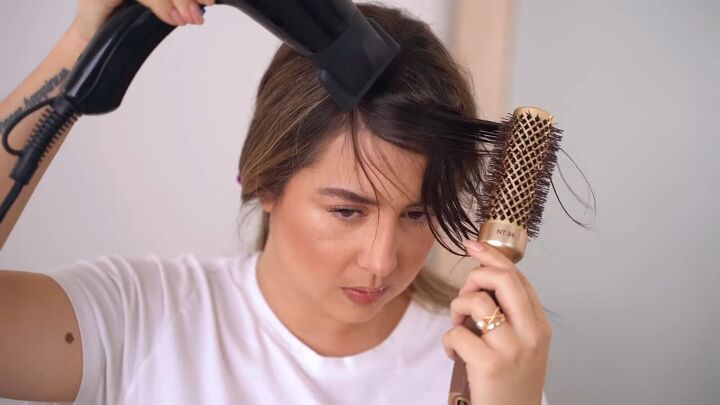
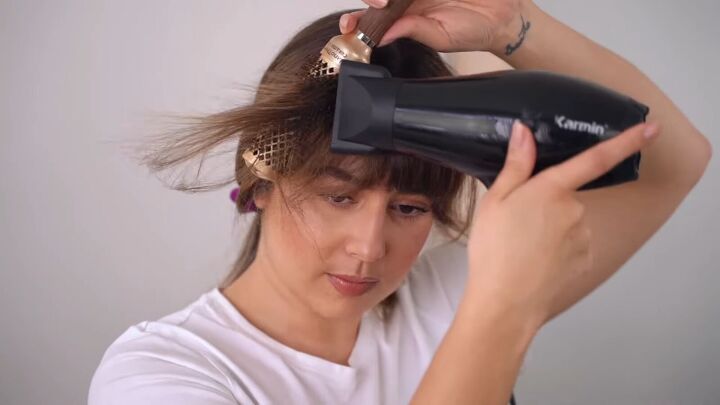
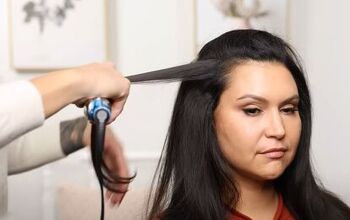
6. Blow dry one section of hair with the round brush
This step takes a bit getting used to, but with practice it will become second nature. If you’re unsure, check out the video at 2:50 -3:35.
Turn your hair dryer on maximum heat and roll your first section with the round brush.
Dry your hair at the roots, but move the hair dryer back and forth in small motions for even, fast drying. This will also help you avoid overheating one area.
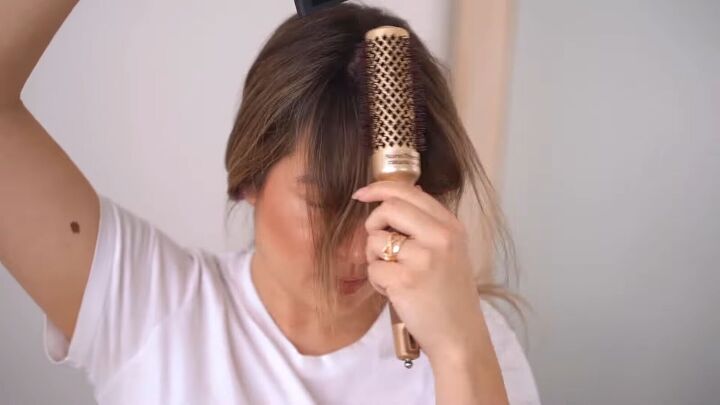
Imagine that each section of hair is divided in 3.
First, start with the roots, then re-roll your hair and focus on the middle. The rolling will make the hair smooth.
Then, re-roll and dry the ends.
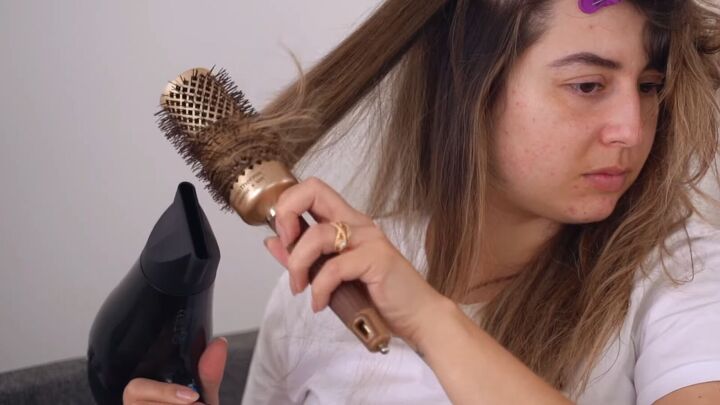
7. Repeat for the rest of your hair
Continue this process for each section of hair, using your dryer and round brush.
Make sure that each section is a good size and easy to work with. If you have bangs, don’t dry those yet–they require a different technique.
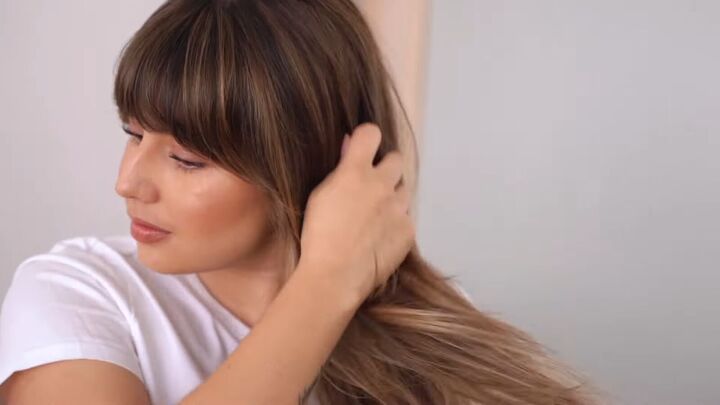
Here you can see the difference round brush drying makes when you see both sides of my hair:
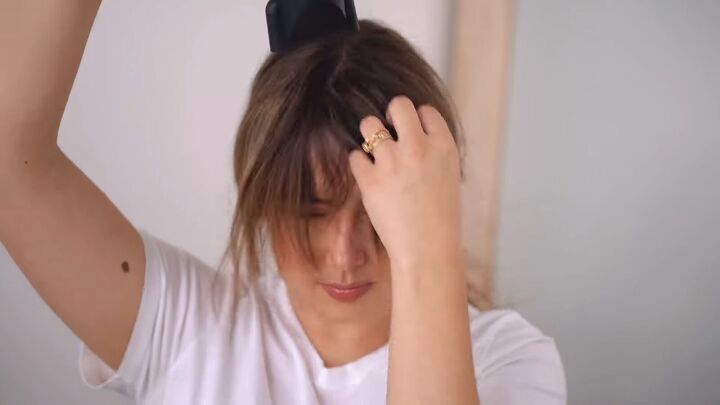
8. Cool your hair
Turn your hair dryer on to medium/high strength with the cool air setting.
Rough dry your hair (without the round brush) with the cool air, while also pressing the cool shot button, to completely remove the heat.
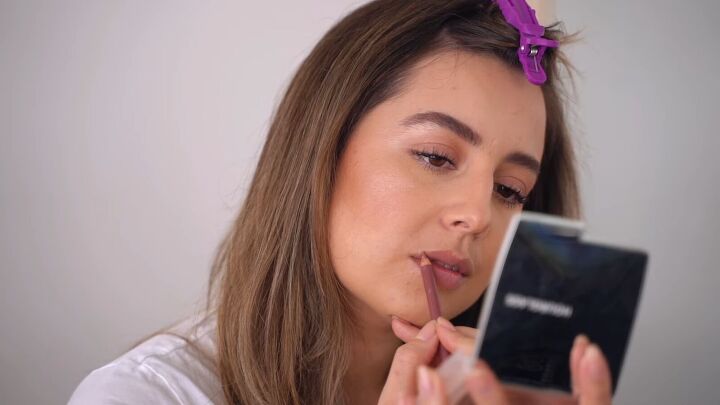
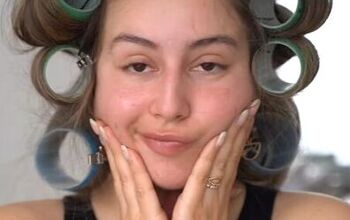
Before I begin drying my bangs, I like to apply my regular makeup and products first.
You don’t want to pin up your bangs once they are styled because this will mess up their shape.
9. Dry your bangs
Start by wetting your bangs using a damp, microfiber towel.
Then brush them through with a wet brush.
Turn your dryer on to medium heat (since your bangs are a smaller section) and high power.
First, rough dry the ends so they aren’t too wet.
Then, using the smaller, round brush, brush the right side of the bangs to the left and vice versa.
Twist the brush a little bit so that the hair doesn’t end up too straight. See what I mean in the video 5:40 - 6:05.

Then, brush the hair from one side to the other while drying from the top.
When the bangs are nearly dry, detail the sides.
Mix the longer parts on the outsides of your bangs with the shorter parts.
10. Cool your bangs
Once again, remove all the heat by turning your hair dryer to the cool setting and press the cold shot button.
Blast the hair from the top and this time just use your fingers to move your hair from one side to the other.
11. Apply hair oil
I always add a small amount of hair oil after drying it. It helps to keep the hair looking smooth.
Put just a few drops on your fingers and run it through your hair.
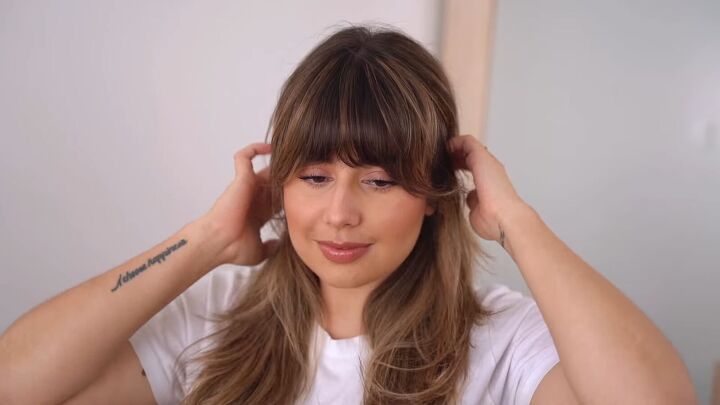
Here’s my hair after my DIY blowout.
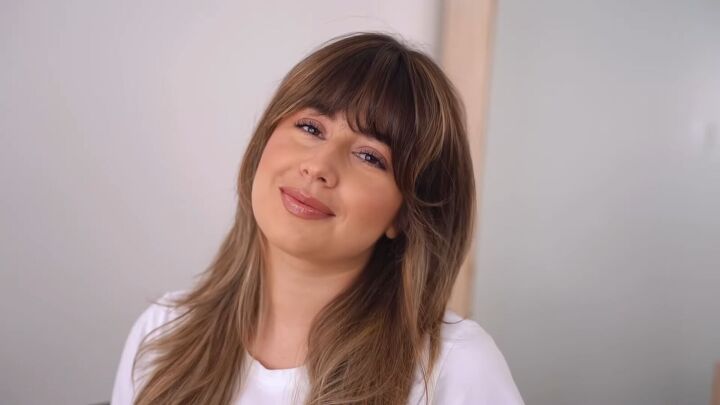
DIY blowout
Now that you’ve seen how to properly dry hair at home, will you try out this DIY blow out? Let me know in the comments below.
If you enjoyed this tutorial, check out my post on Everything You Need to Know to Make Fake Bangs Look Super Cute.
The author may collect a small share of sales from the links on this page.


Comments
Join the conversation
Thank you so much I learn a lot ! I definitely try it once my bangs get longer I have short bangs u know so thank u ☺️